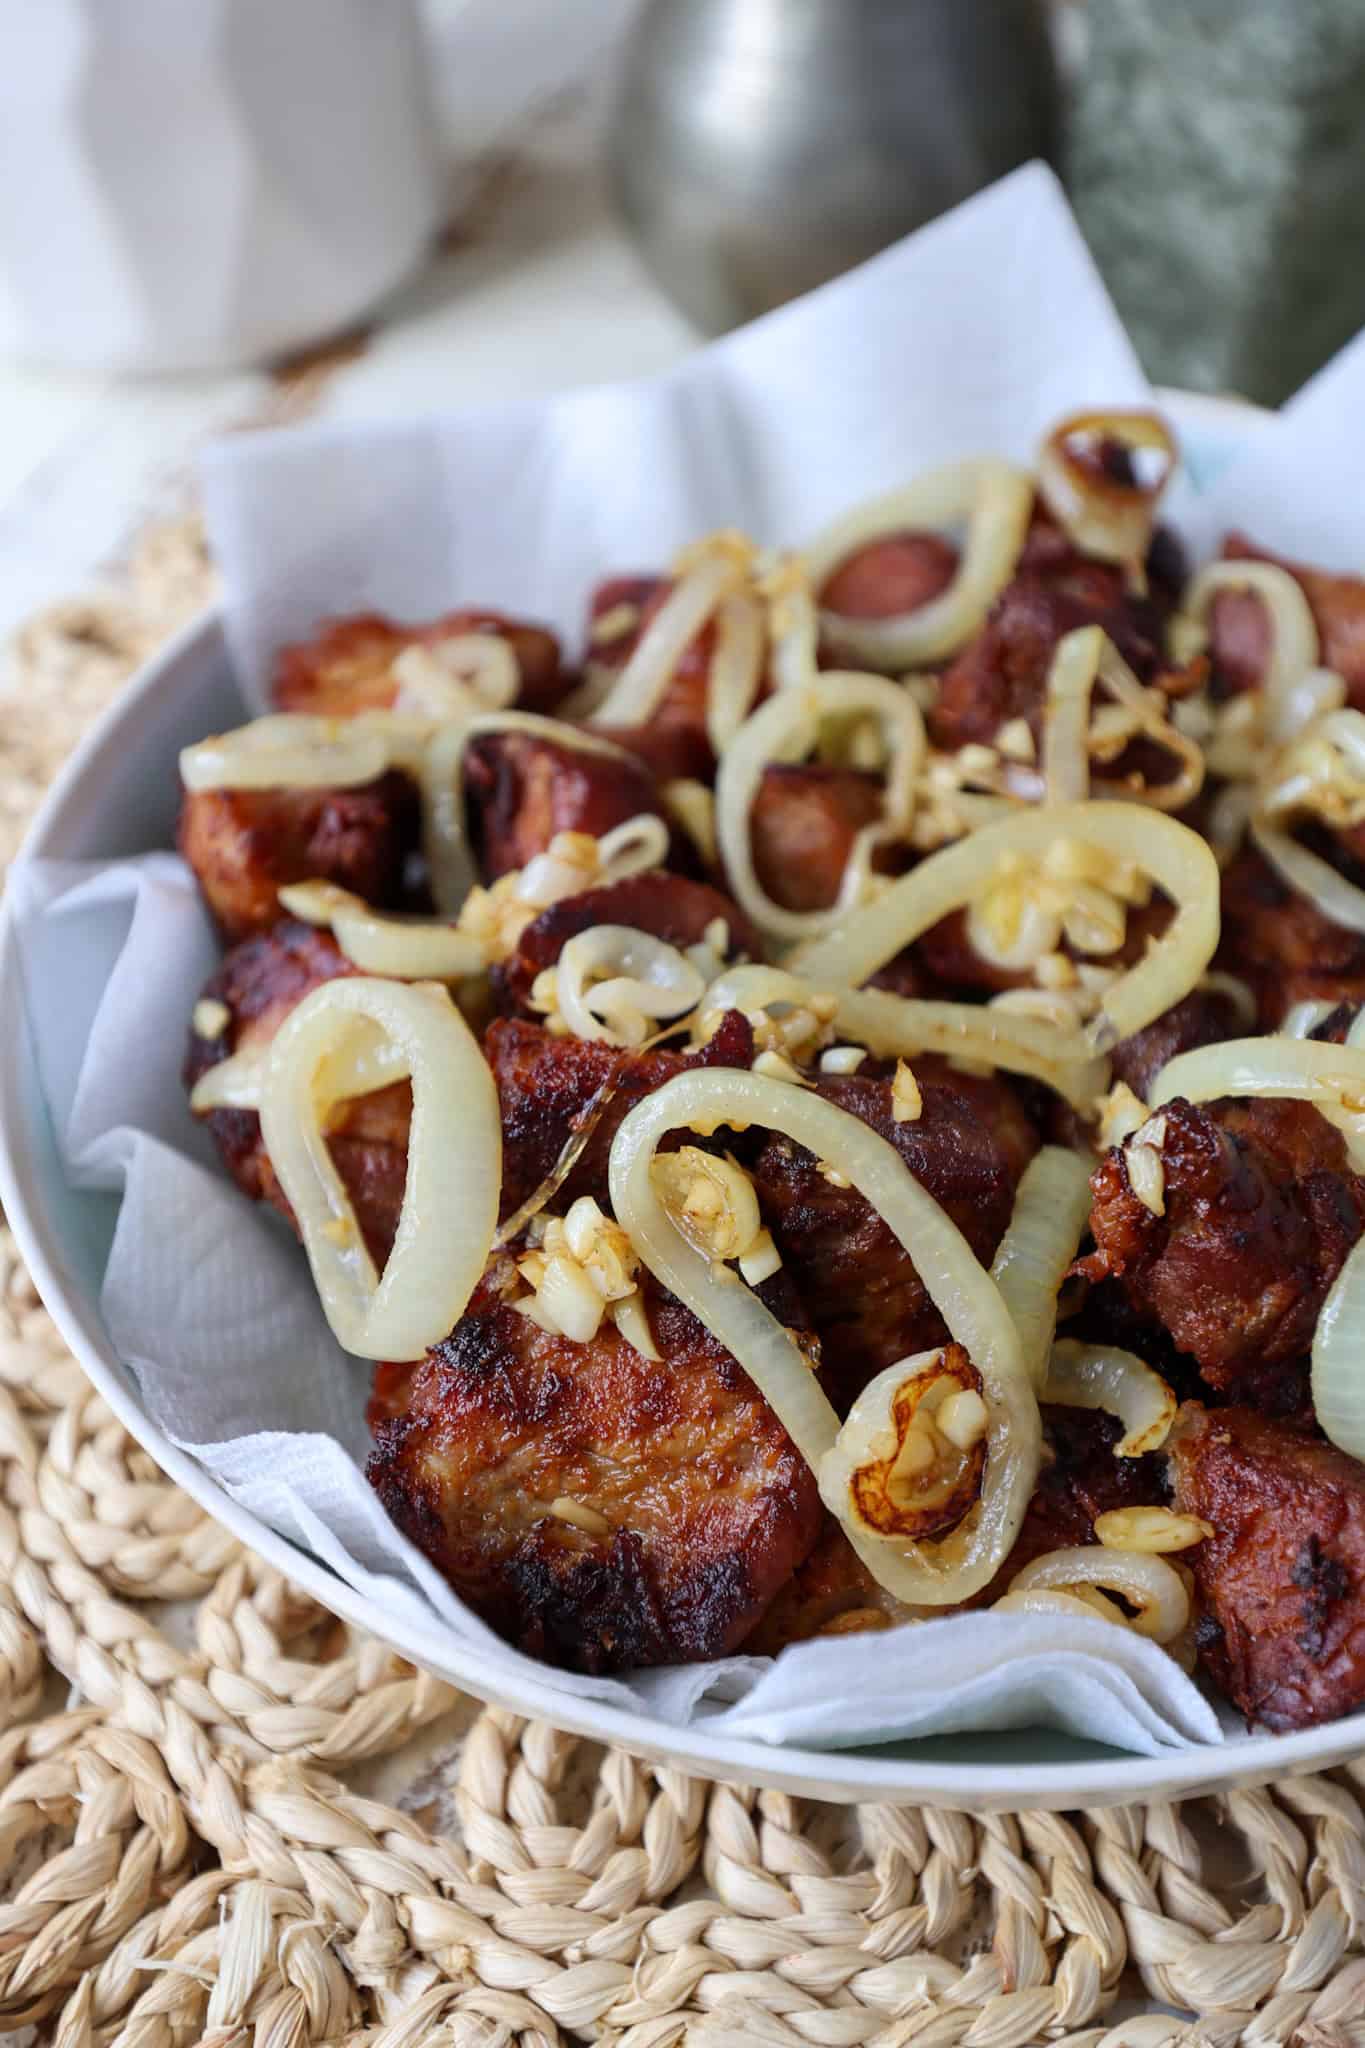
Cuban garbanzo frito is one of those deeply comforting, soul warming dishes that takes me straight back to my childhood with every single bite. Growing up in a Cuban household with a dad who was a talented and passionate chef in Cuba meant that this hearty, flavor packed dish was a regular staple on our dinner table, and the incredible aroma of the sofrito sizzling in the kitchen is a smell that is forever etched in my memory. My dad had a way of making garbanzo frito that was so rich, so deeply seasoned, and so incredibly satisfying that no other version has ever quite compared.
When I left home for college and the homesickness started to set in, garbanzo frito was the first dish I taught myself to make in my tiny dorm kitchen because nothing else could cure that longing for home quite like a warm bowl of this comforting Cuban classic. Today I am so proud and honored to share this cherished family recipe with you, and I hope that every single bowl brings you the same warmth, comfort, and sense of home that it has always brought to me.
Why you'll love this Cuban chickpea recipe
- Deep, authentic Cuban flavor with minimal effort – The Instant Pot helps the garbanzo beans absorb the rich flavors of chorizo, smoked pork belly, garlic, and spices, creating a hearty, traditional dish without hours of stovetop cooking.
- Perfect balance of smoky, savory, and satisfying textures – Crispy chorizo and tender smoked pork belly add layers of flavor and texture that make every bite of the garbanzo frito incredibly comforting and memorable.
- No overnight soaking required – The Instant Pot transforms dried chickpeas into perfectly tender, creamy garbanzos in about 25 minutes, saving hours of planning and making this classic Cuban dish much more accessible for busy home cooks.
- Nutritious comfort food that feeds a crowd – Protein-rich garbanzo beans combined with flavorful meats create a filling, budget-friendly dish that's perfect for meal prep, family dinners, or sharing with guests.
What is "Garbanzos Fritos?"
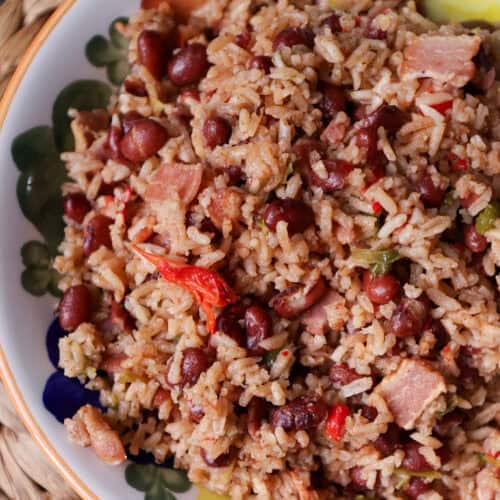
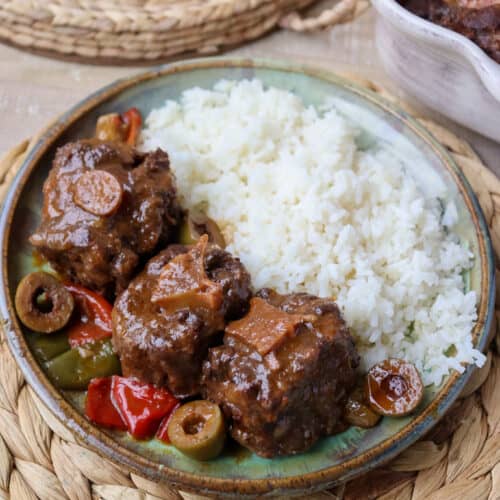
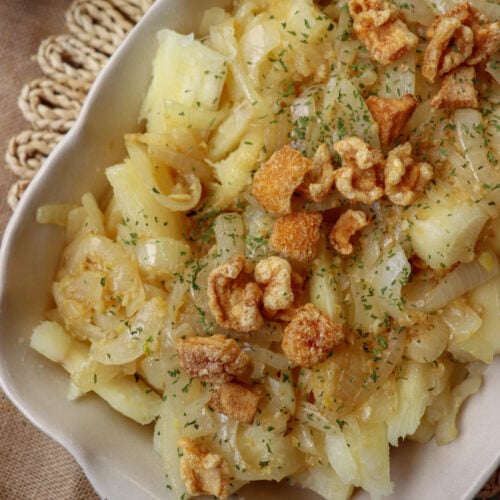
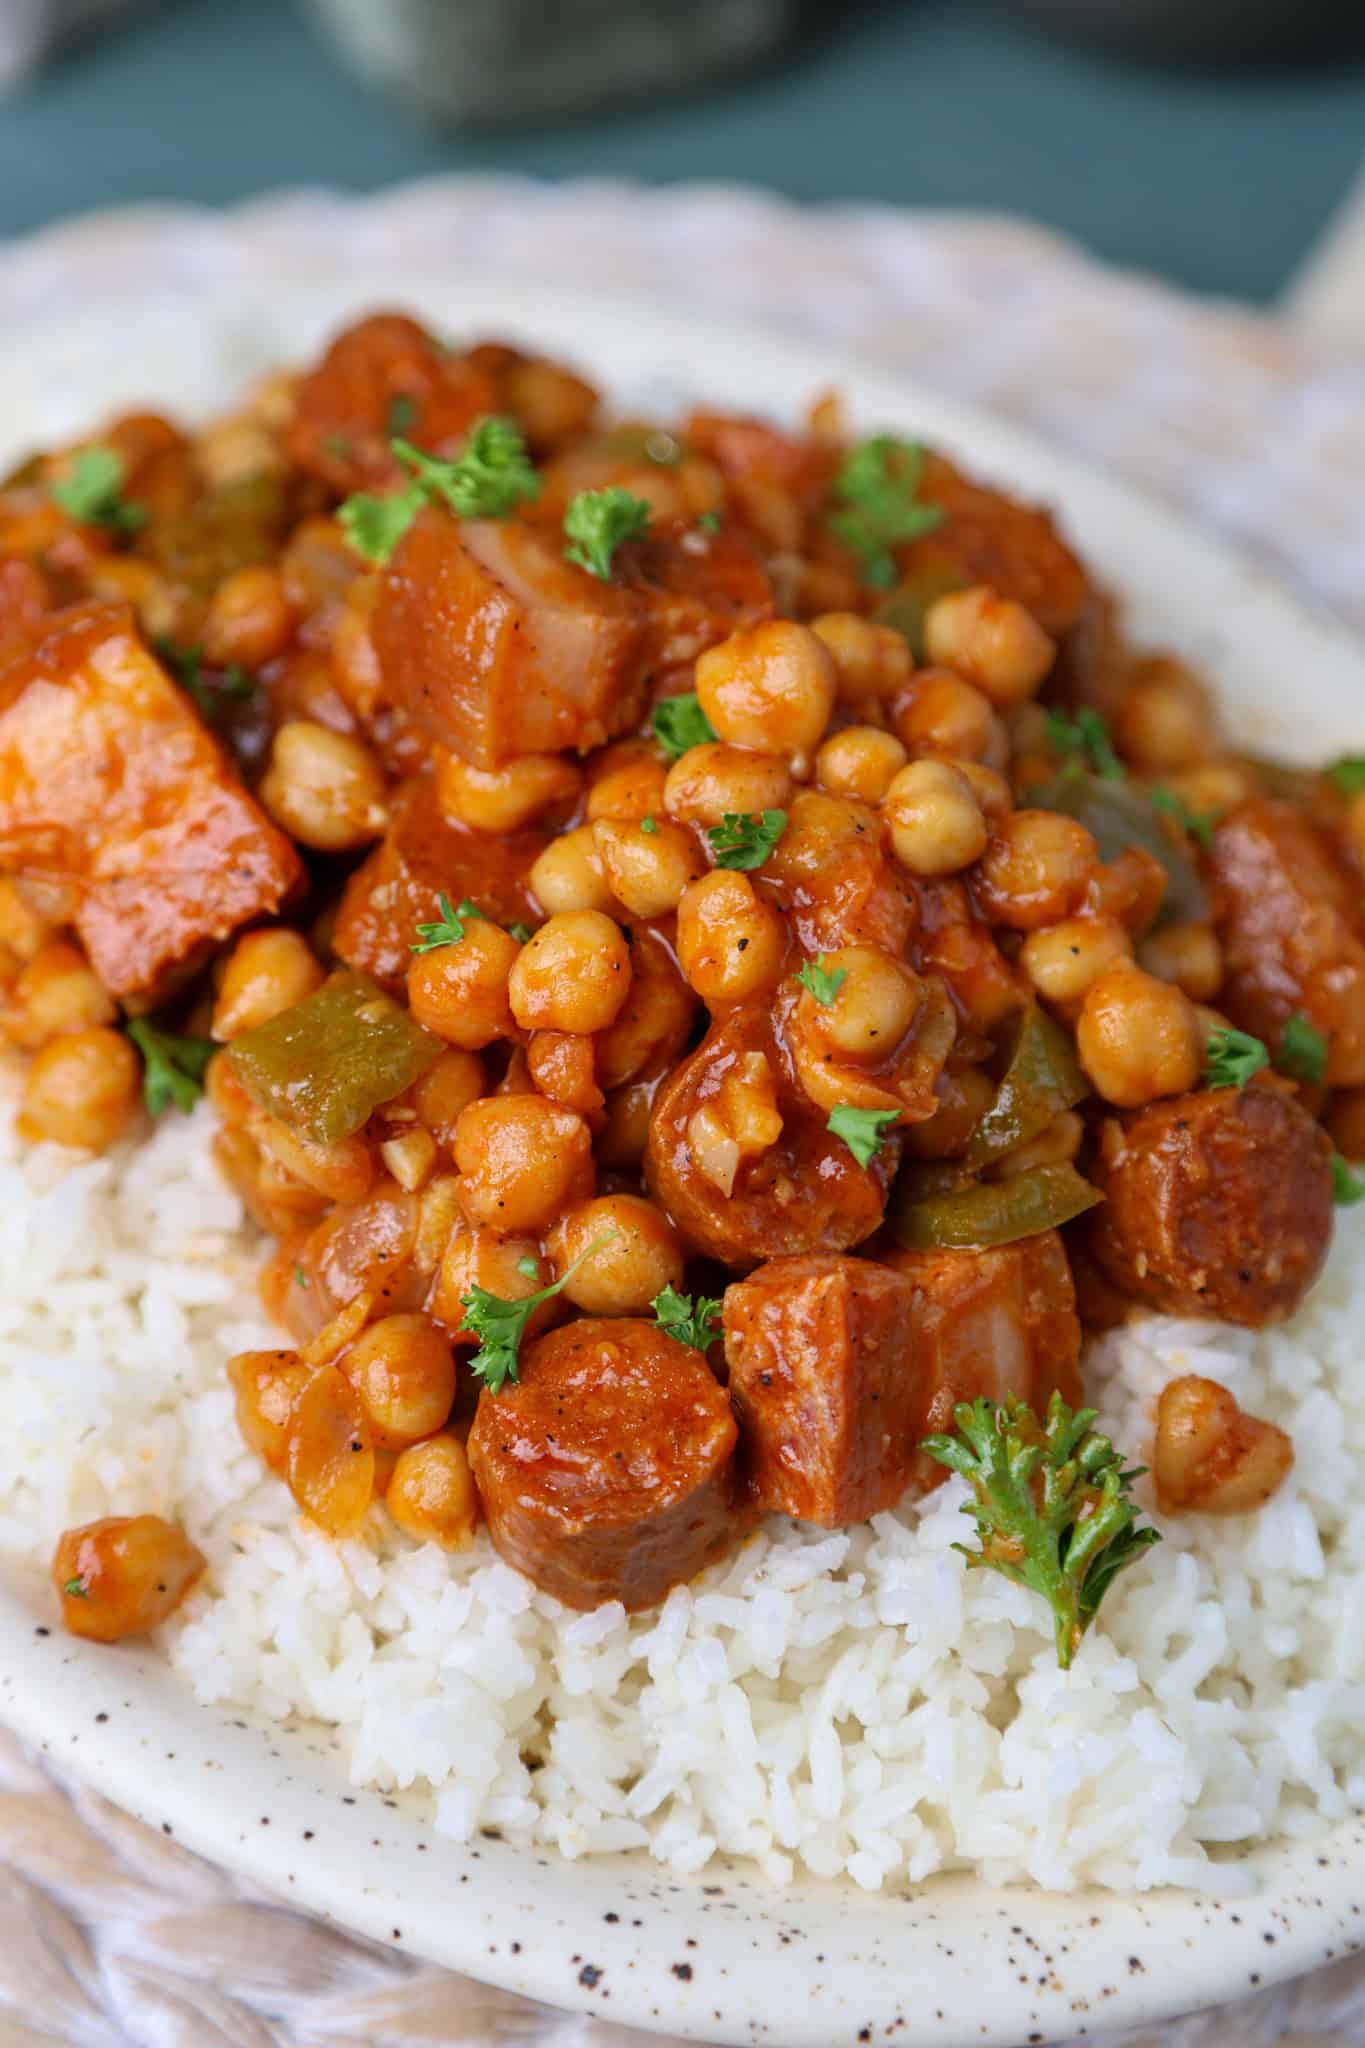
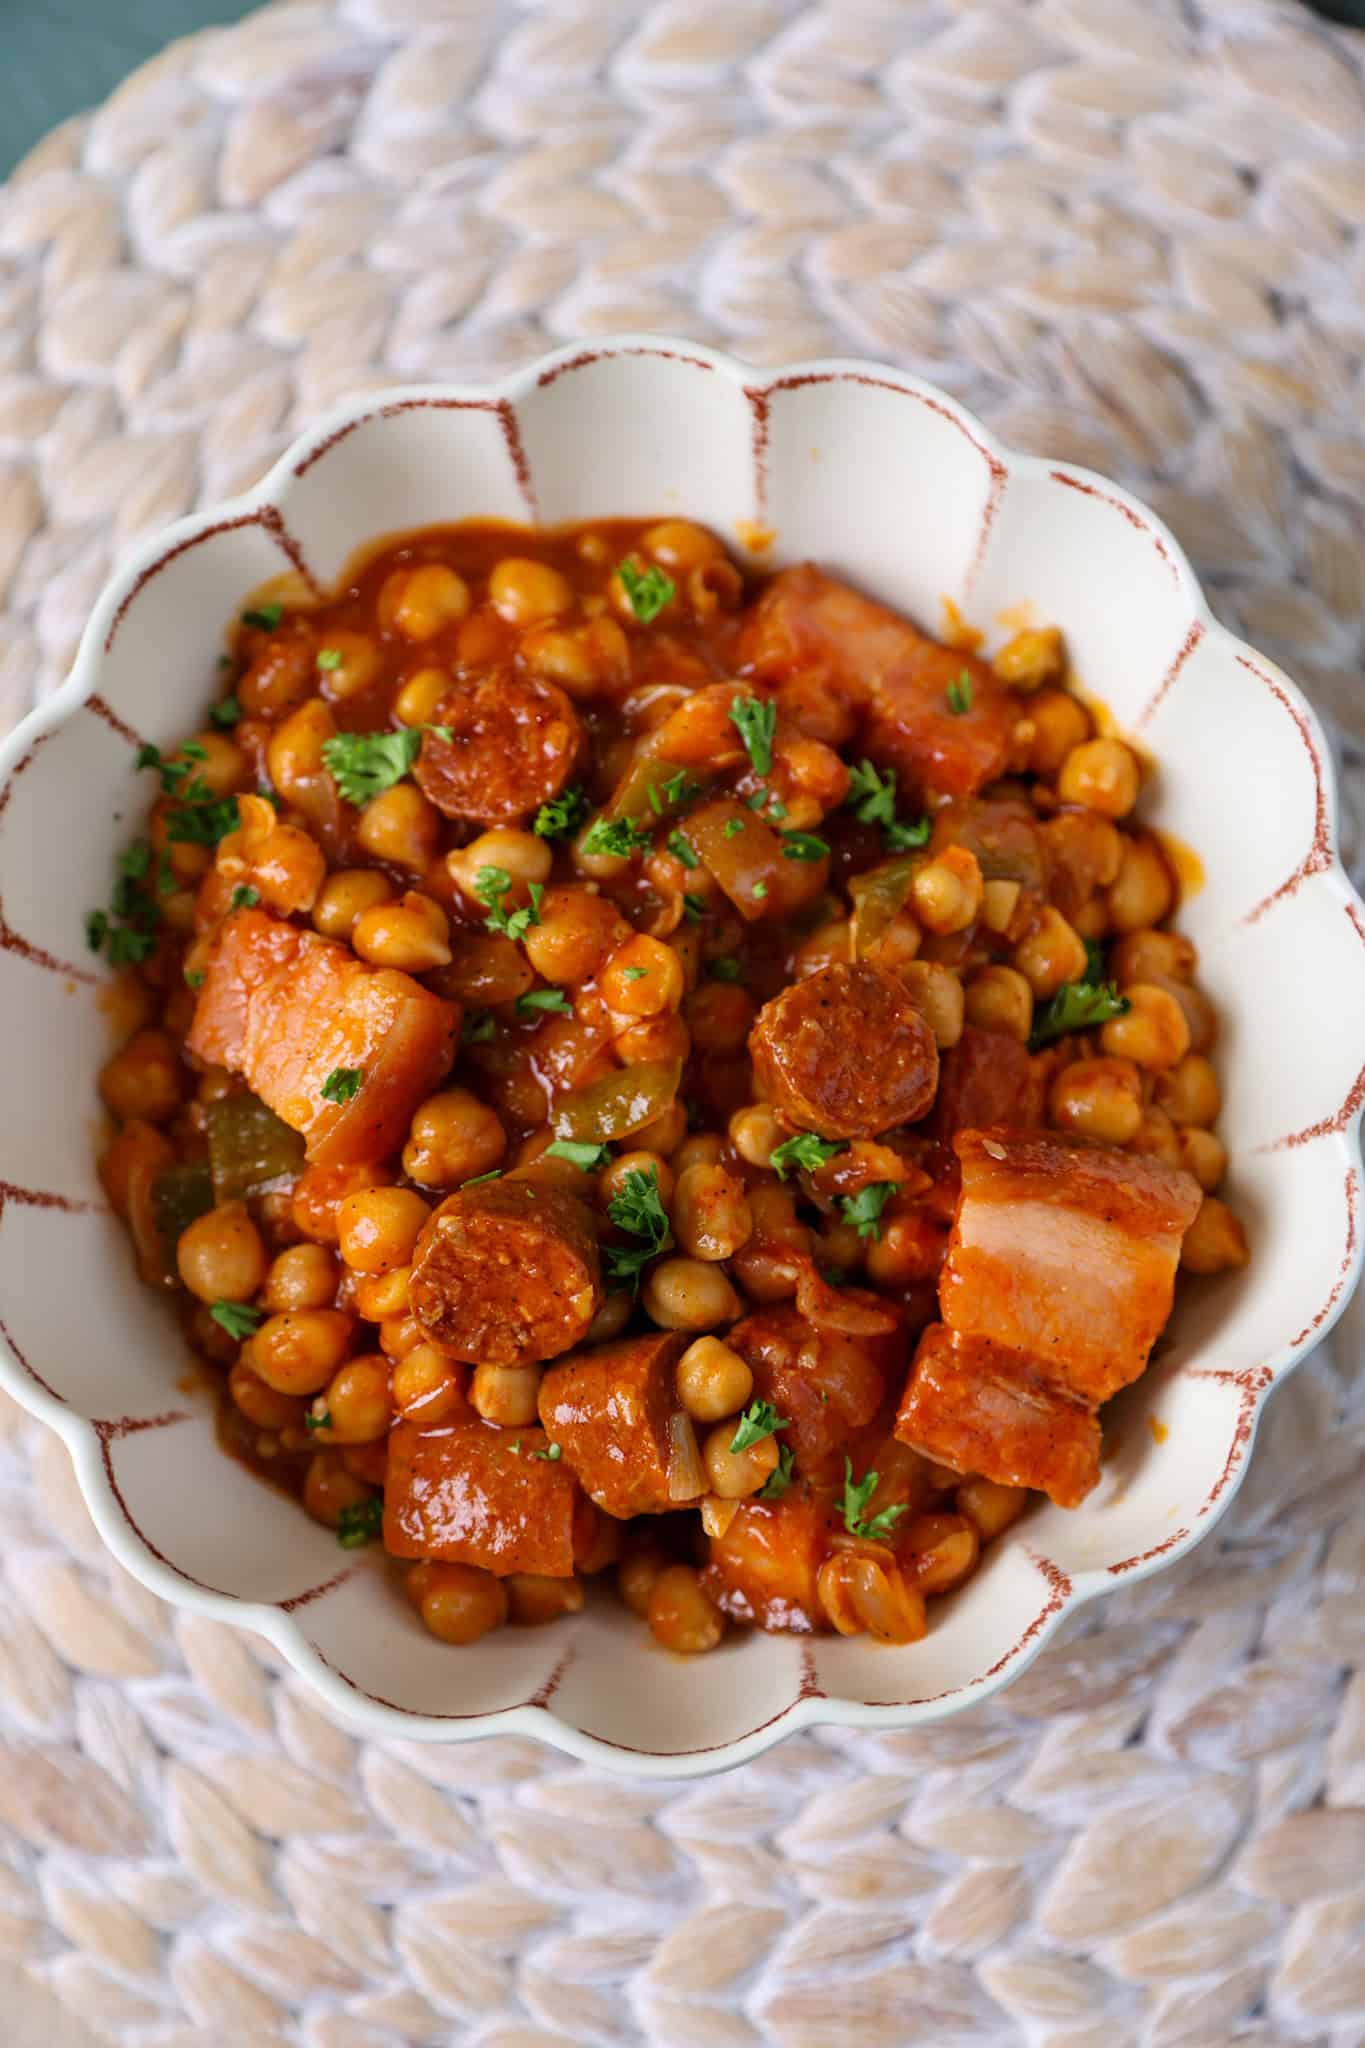
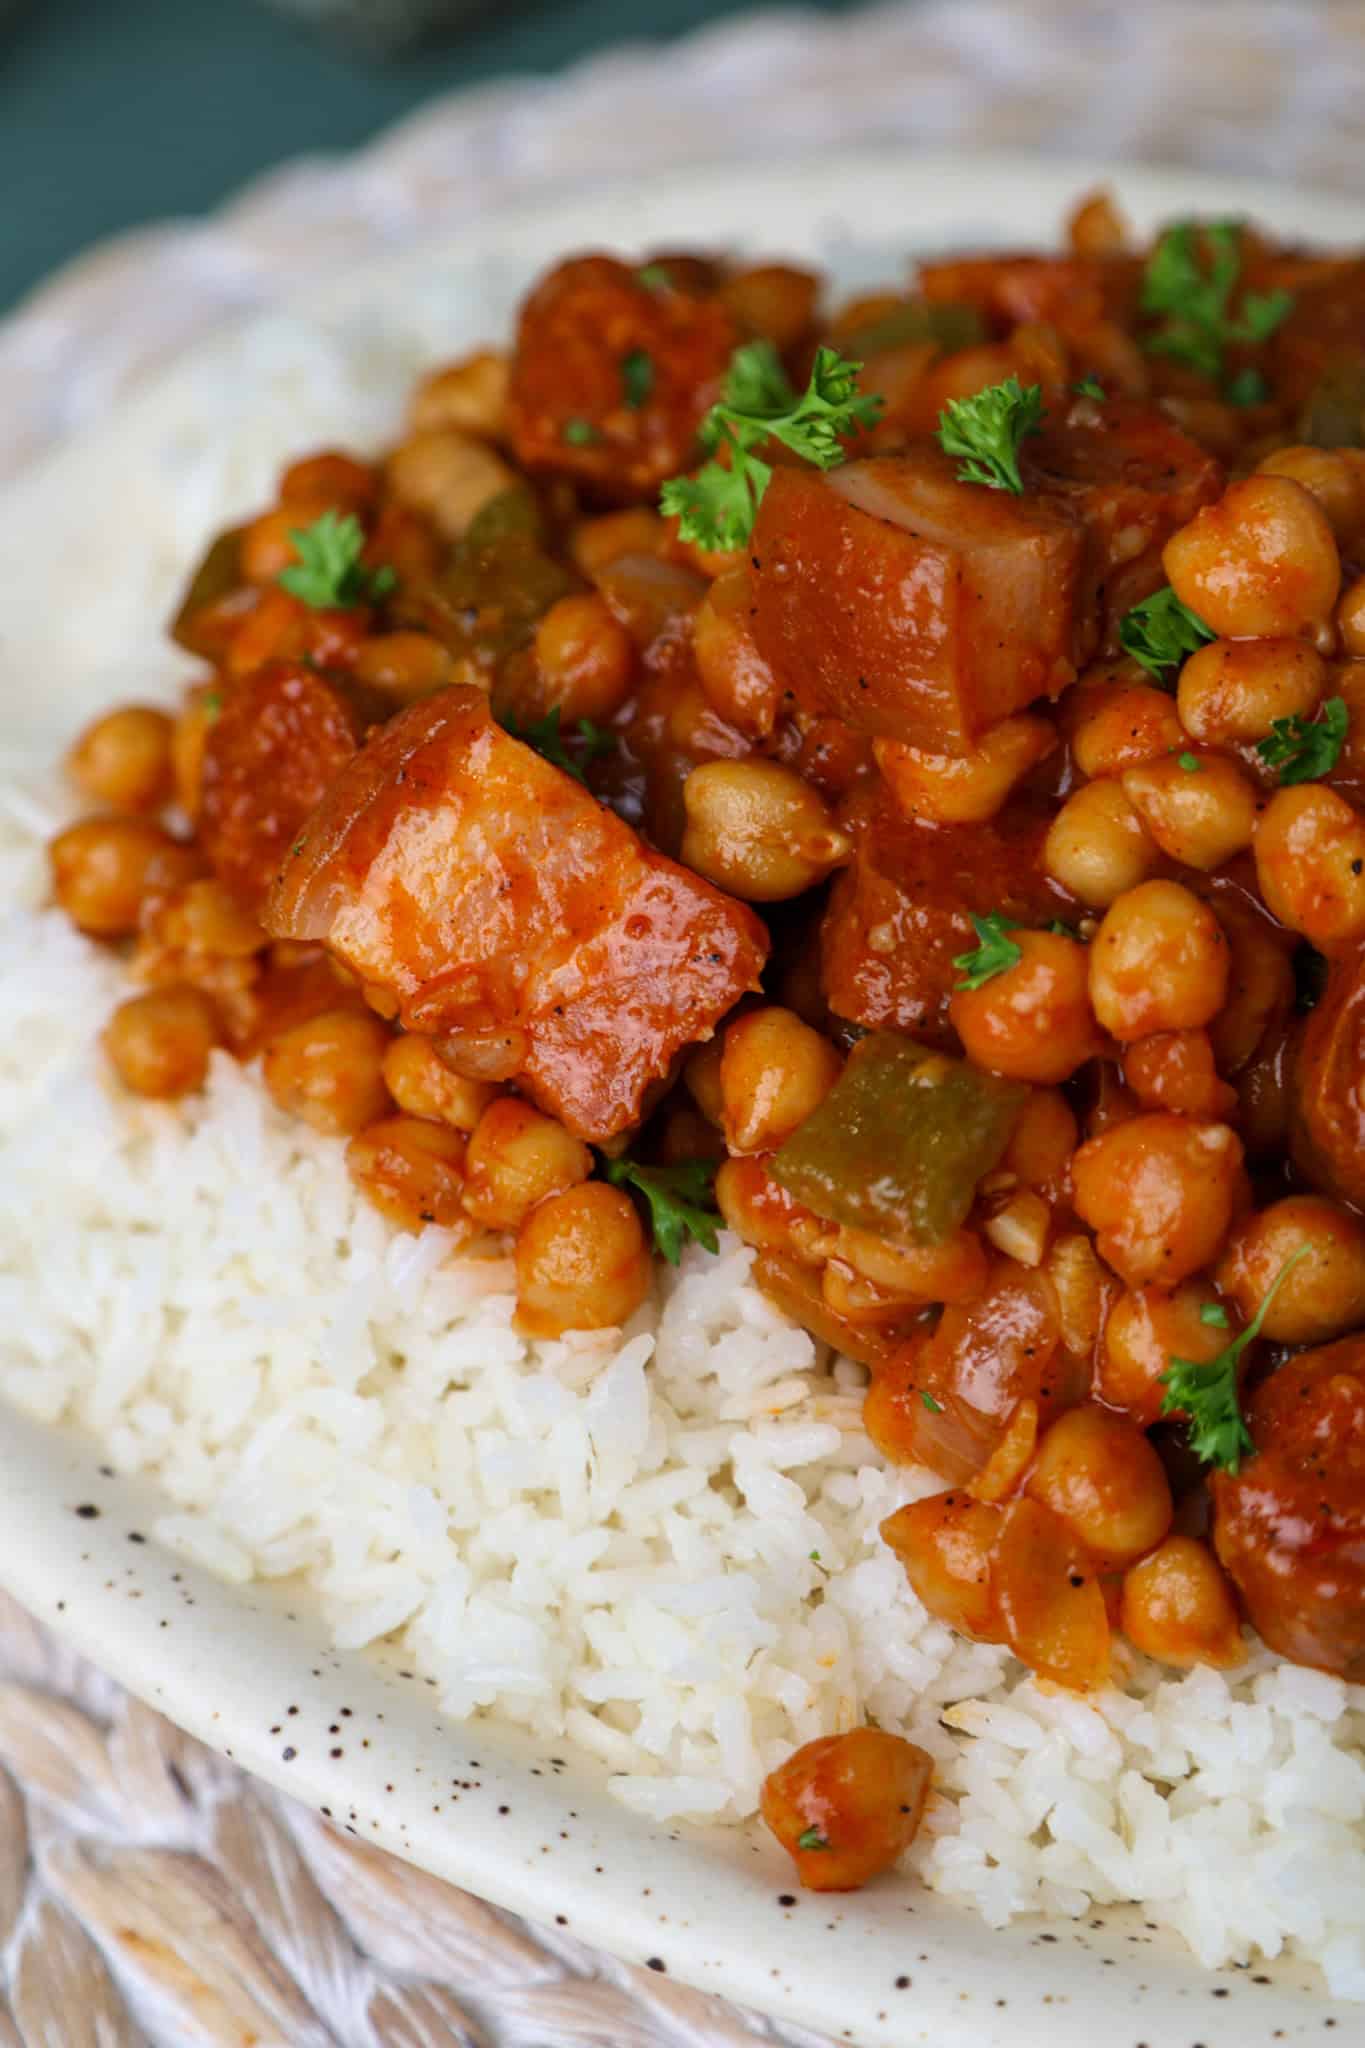
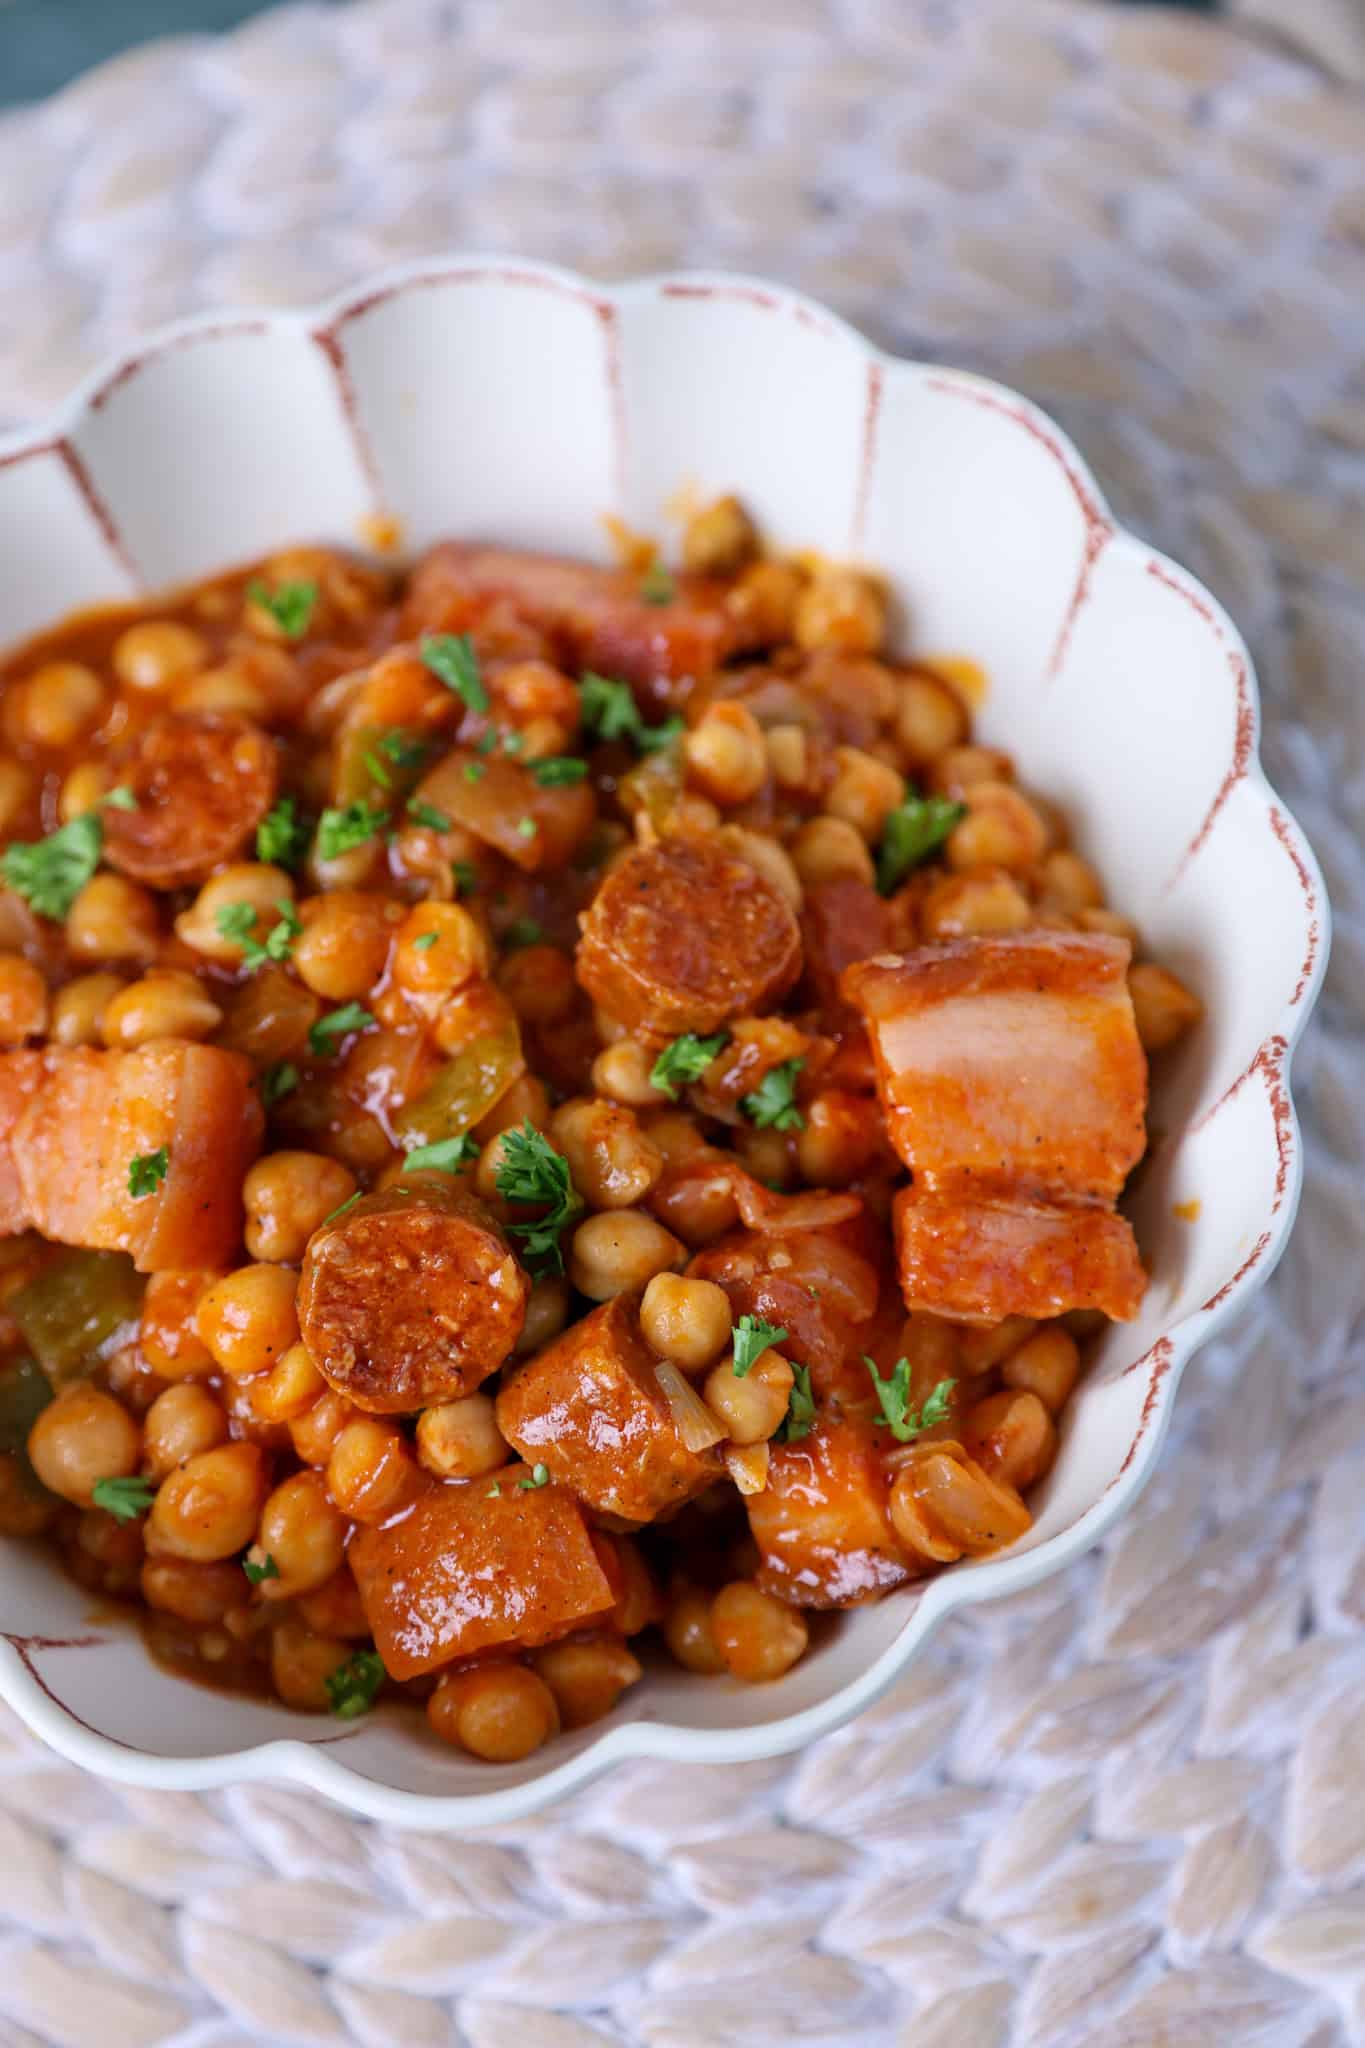
Cuban Garbanzos Fritos is a traditional Cuban comfort food made with cooked chickpeas (garbanzo beans) simmered in a flavorful tomato-based sauce with aromatic vegetables, spices, and often pork products such as chorizo, ham, bacon, or pork belly. Despite the name "fritos" (which means "fried"), the dish is typically a hearty stew or braise rather than a deep-fried preparation.
The recipe begins with a sofrito of onions, bell peppers, and garlic, which is cooked until fragrant. Tomato sauce, seasonings, and broth are then added along with tender chickpeas. Many Cuban families enhance the dish with Spanish chorizo and smoked pork for extra depth and richness. The result is a savory, smoky, and satisfying meal with a thick, stew-like consistency.
What Makes Cuban Garbanzos Fritos Special?
- Rich, comforting flavor from slow-simmered chickpeas and a tomato-based sauce.
- Smoky, savory notes from ingredients like Spanish chorizo and smoked pork belly.
- Budget-friendly and filling, thanks to the protein- and fiber-rich chickpeas.
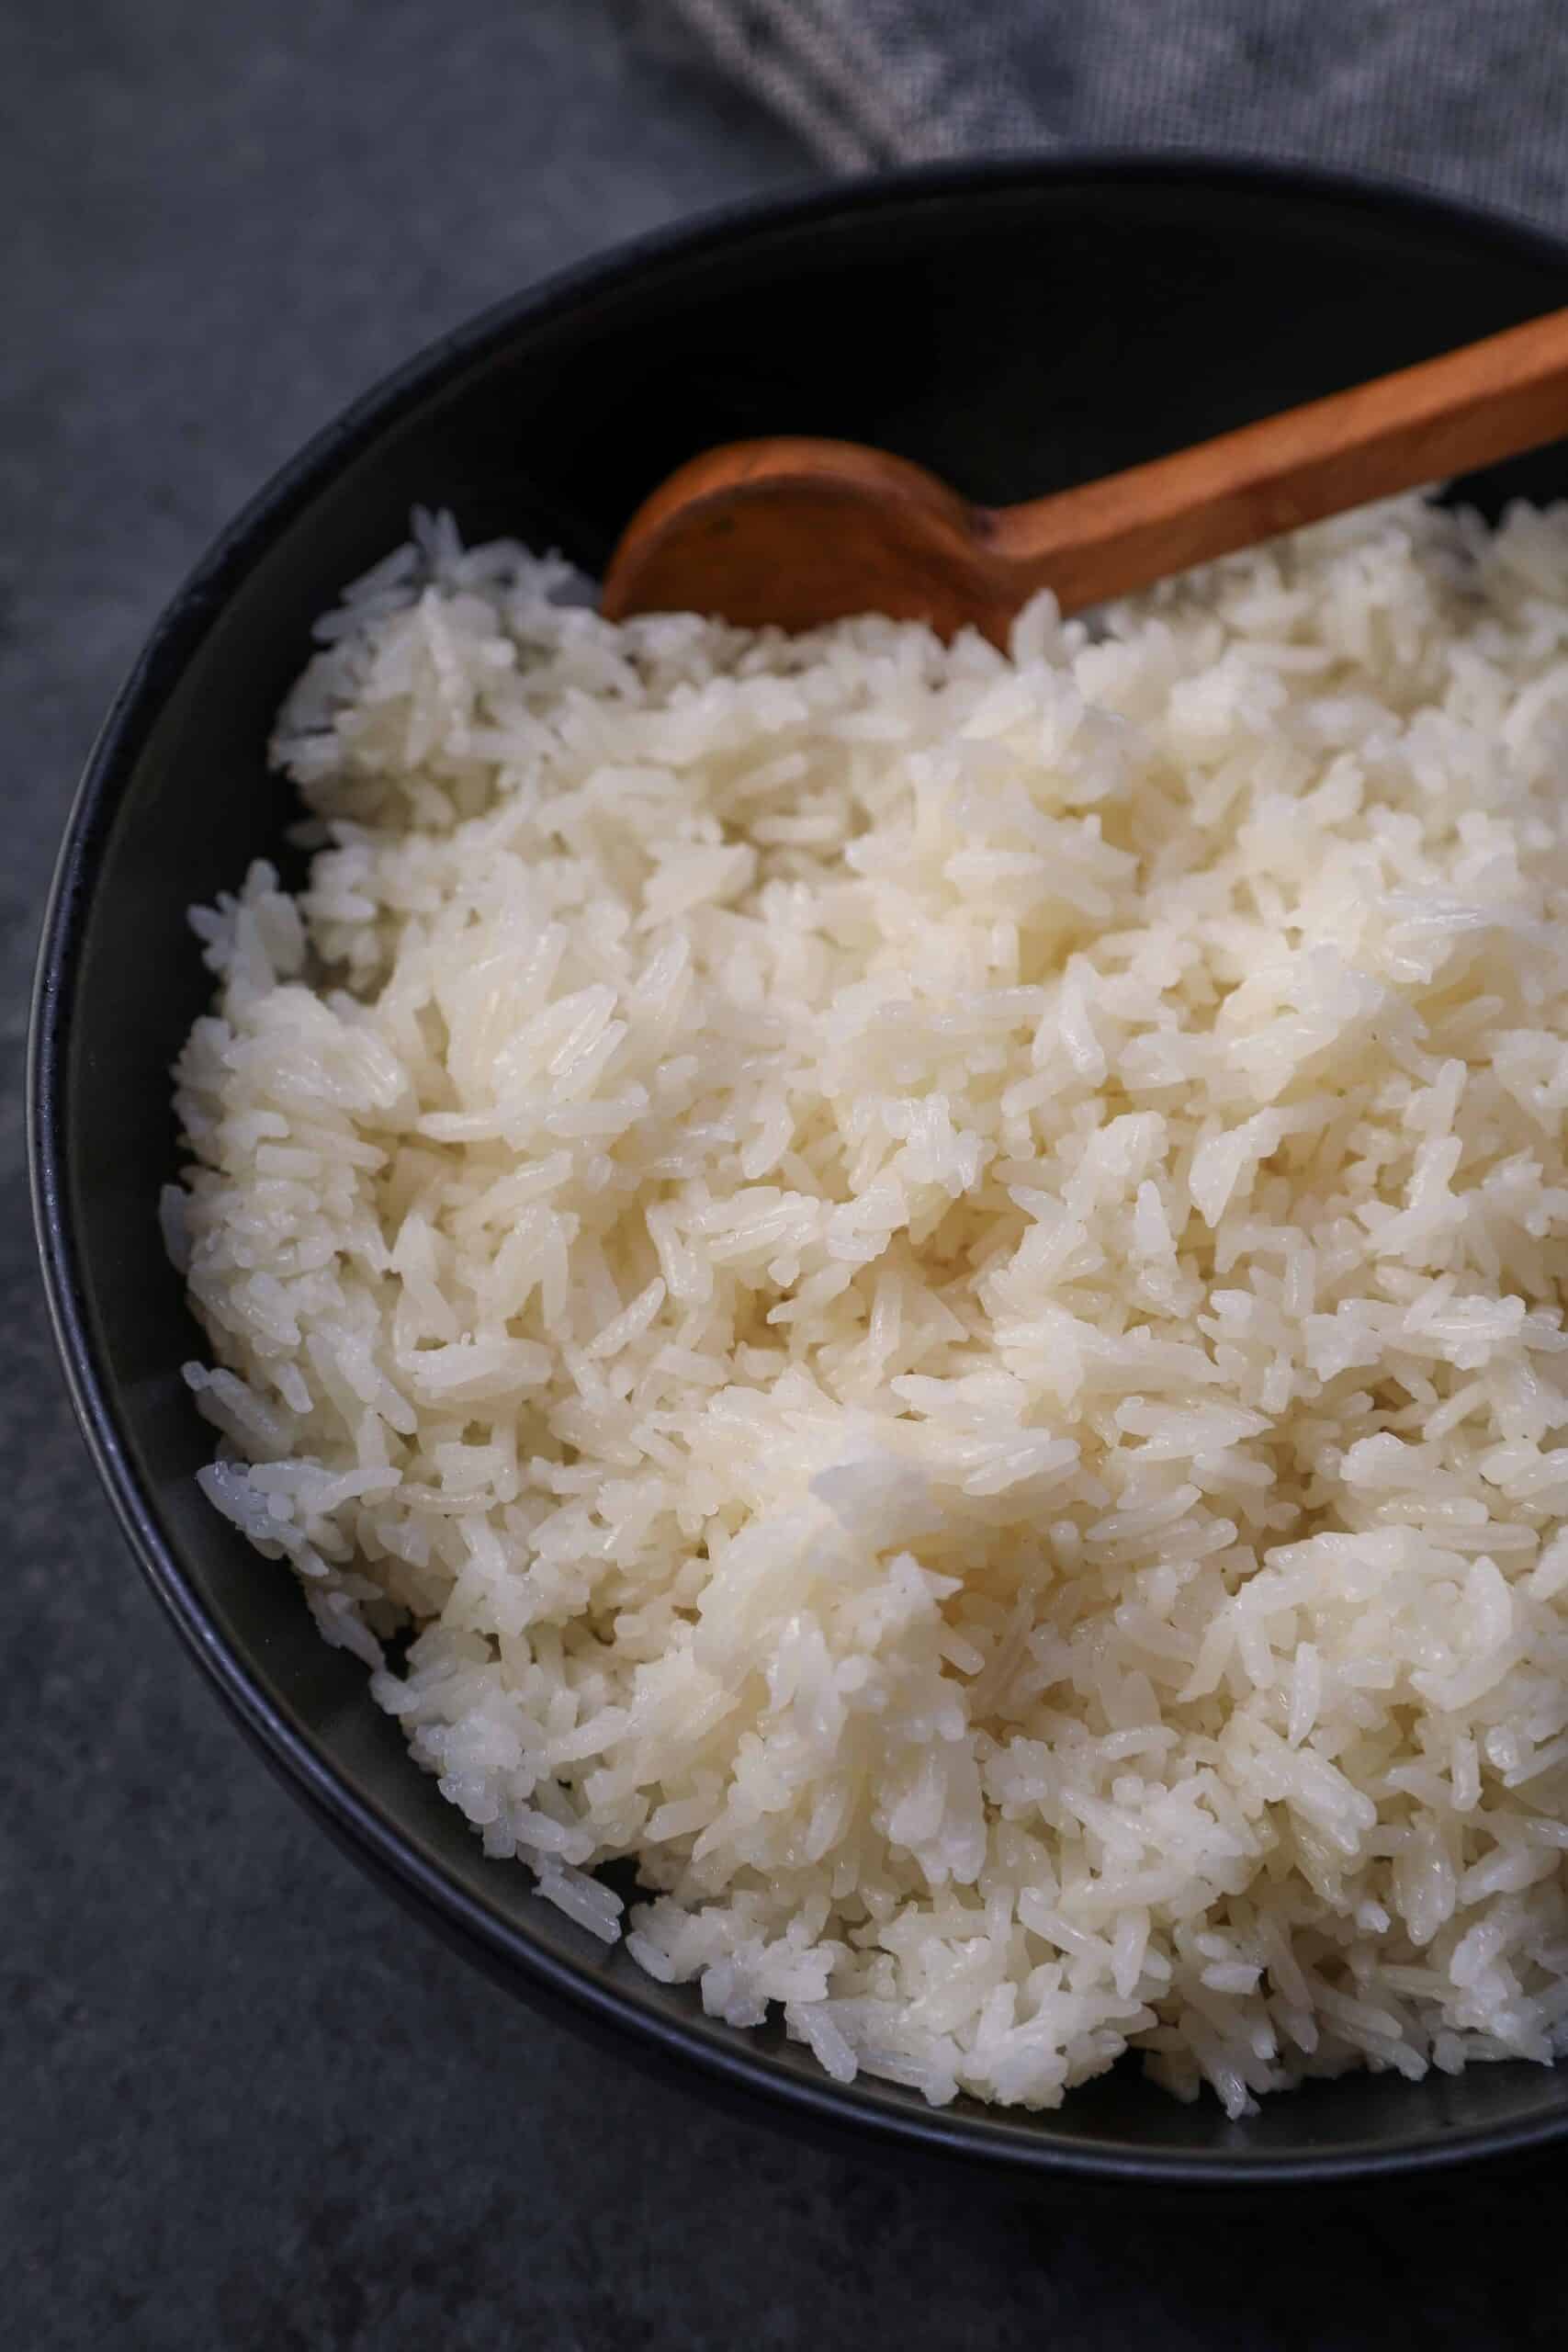
- Versatile, as it can be served as a main dish or alongside Cuban staples such as white rice and crusty bread.
Equipment needed for this recipe
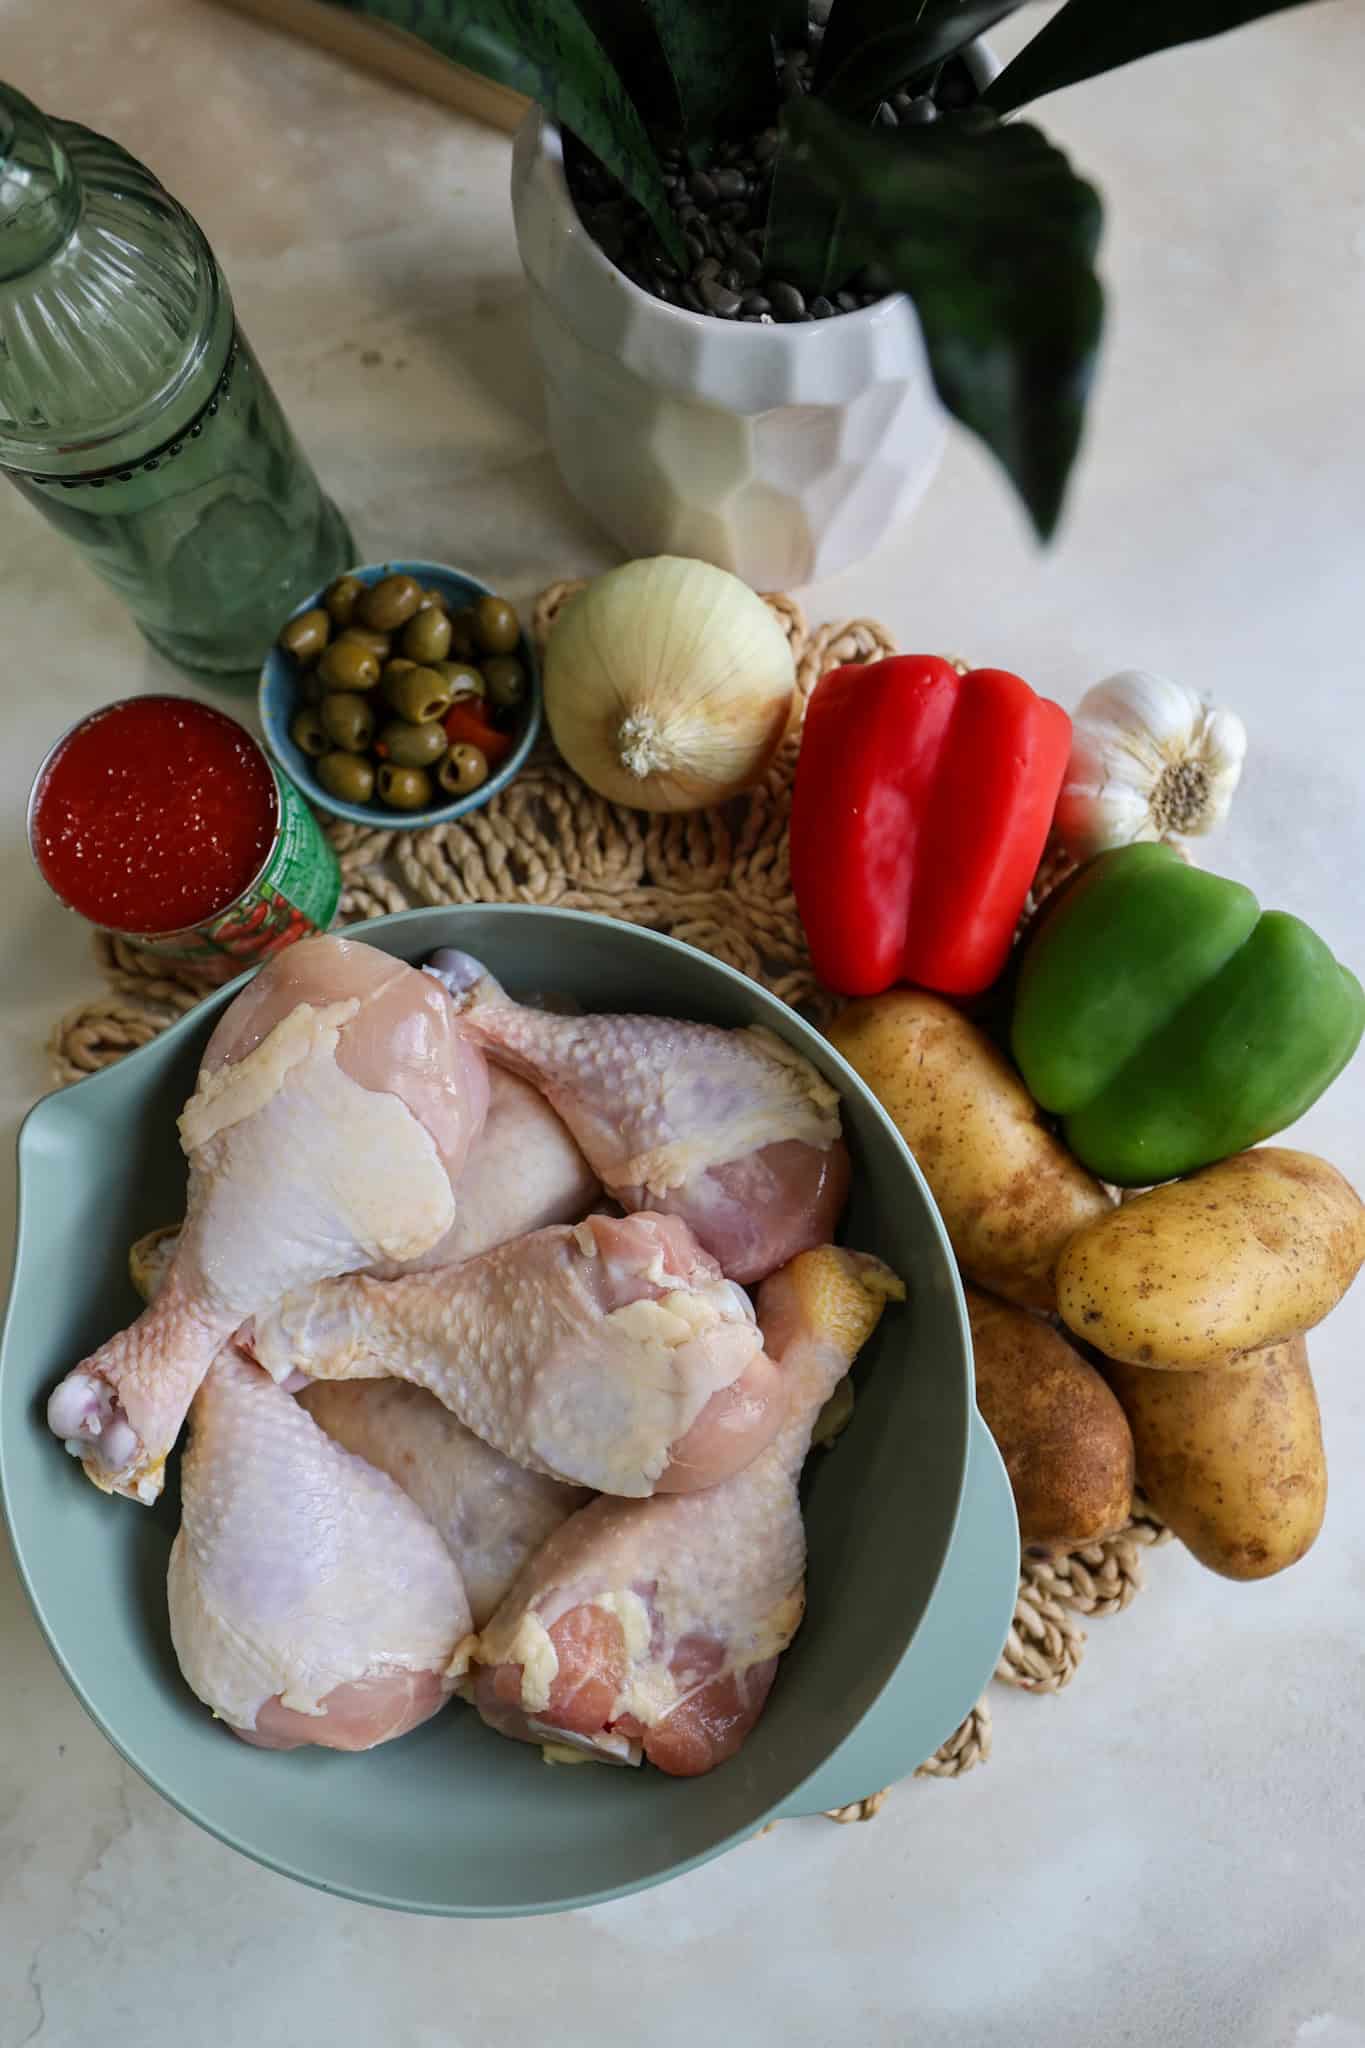
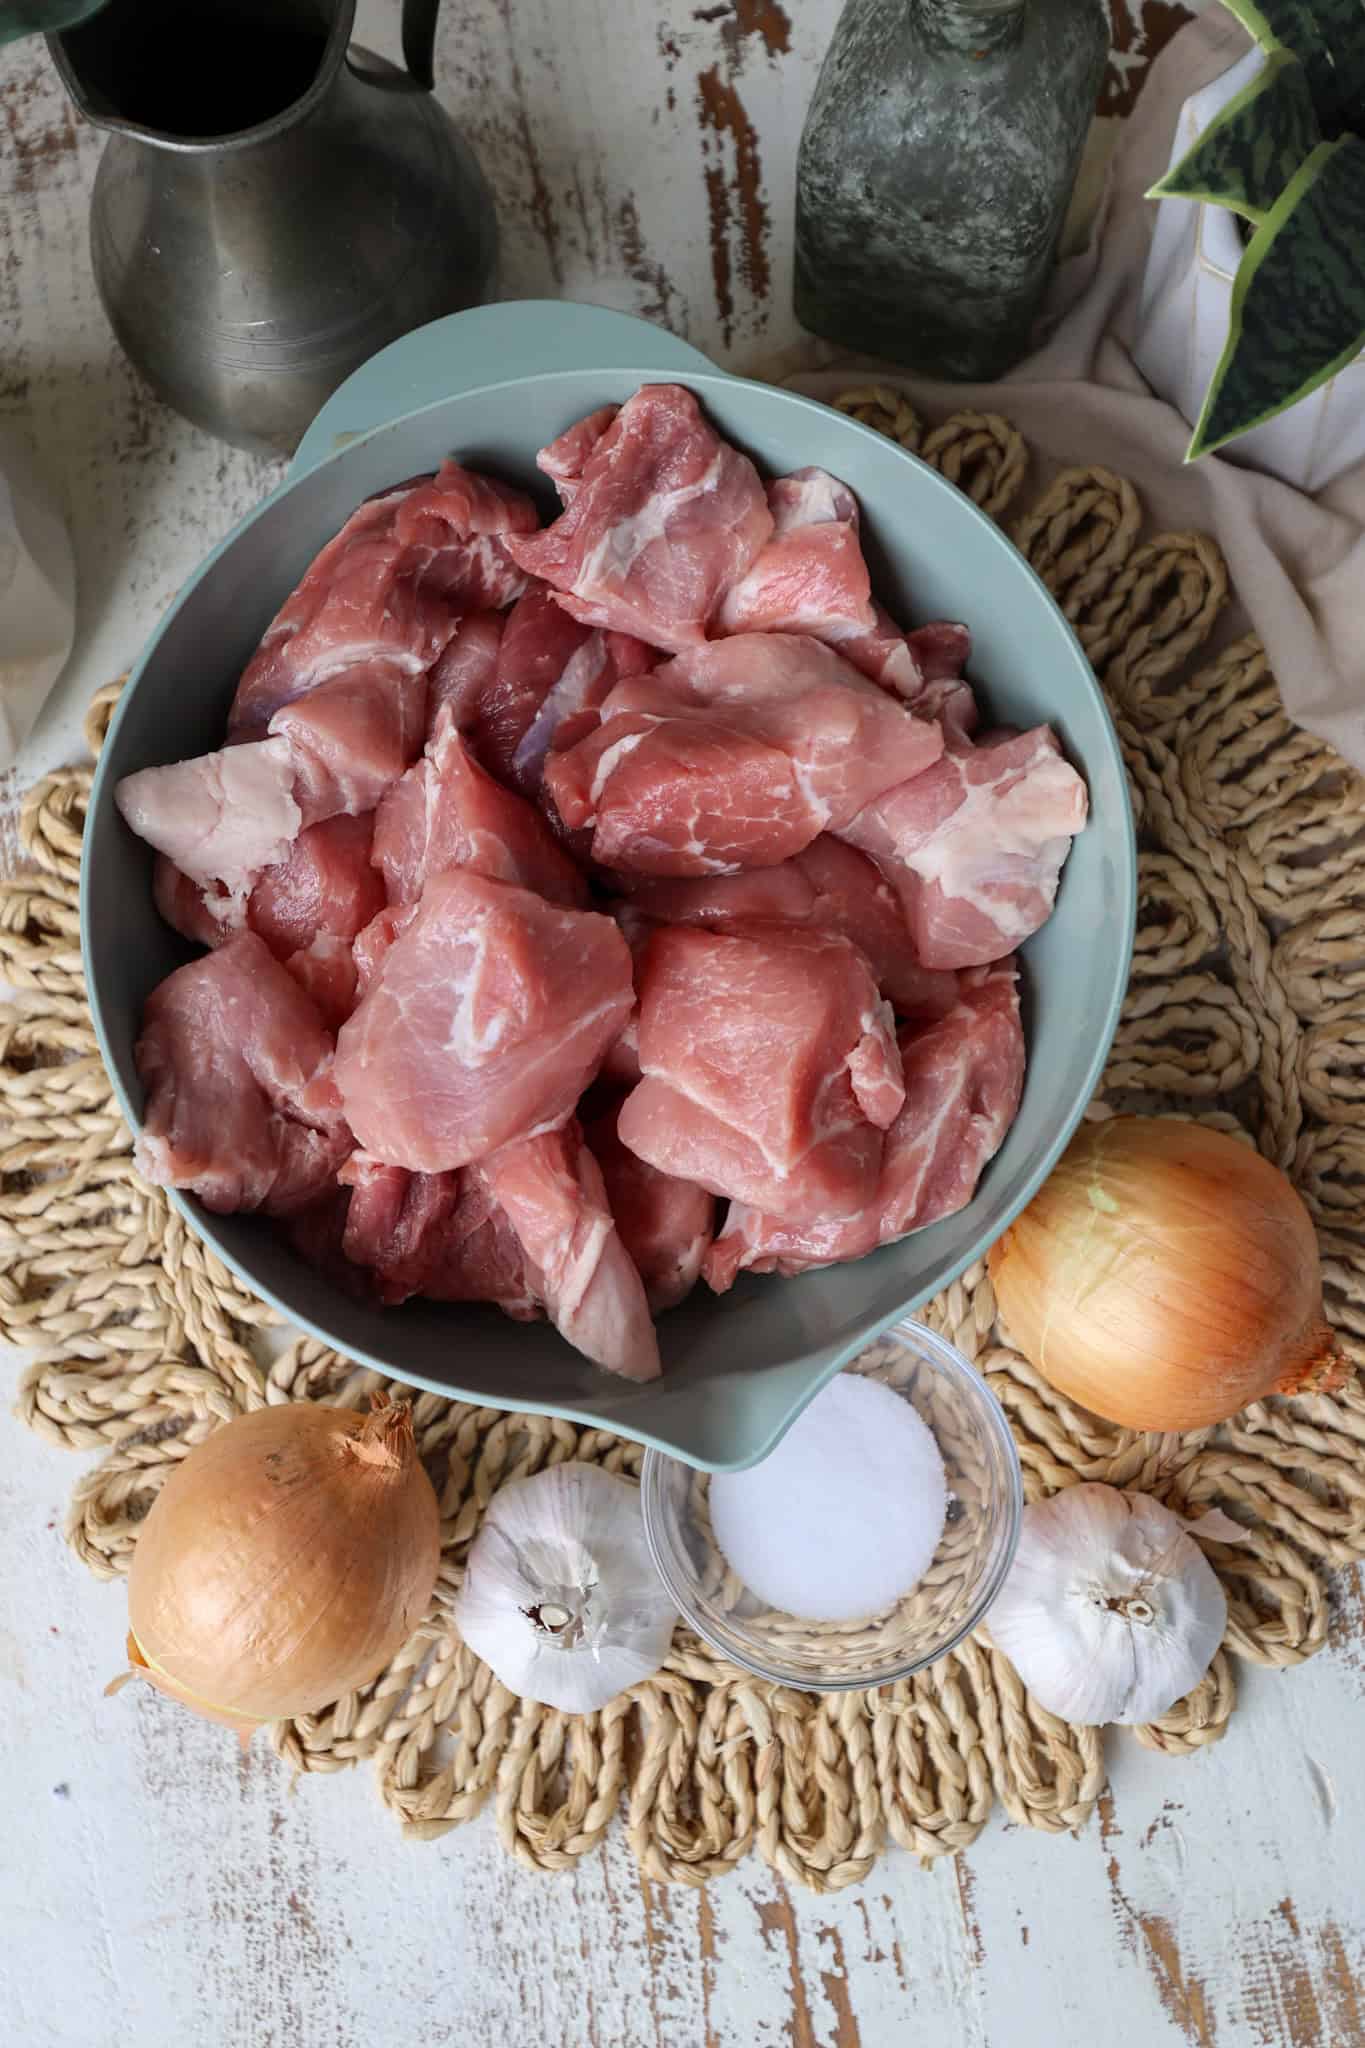
Key Ingredients needed for this Cuban garbanzo recipe
For the full list of ingredients and quantities, scroll down to the recipe card.
- Garbanzo Beans (Chickpeas) – The foundation of the dish, garbanzo beans provide a creamy texture, hearty bite, and absorb the rich flavors of the seasonings and meats.
- Spanish Chorizo – This cured sausage adds a bold, smoky, and slightly spicy flavor that infuses the entire dish with authentic Cuban-inspired character.
- Smoked Pork Belly – Tender and flavorful, smoked pork belly contributes a deep smoky richness and melt-in-your-mouth texture that complements the chickpeas perfectly.
- Sofrito (Onions, Bell Peppers, and Garlic) – This aromatic flavor base creates depth and sweetness while building the traditional savory profile found in many Cuban recipes.
- Tomato Sauce – A small amount of tomato sauce brings acidity, color, and a subtle richness that helps tie all the ingredients together into a cohesive, comforting stew-like dish.
How to make this chickpea recipe
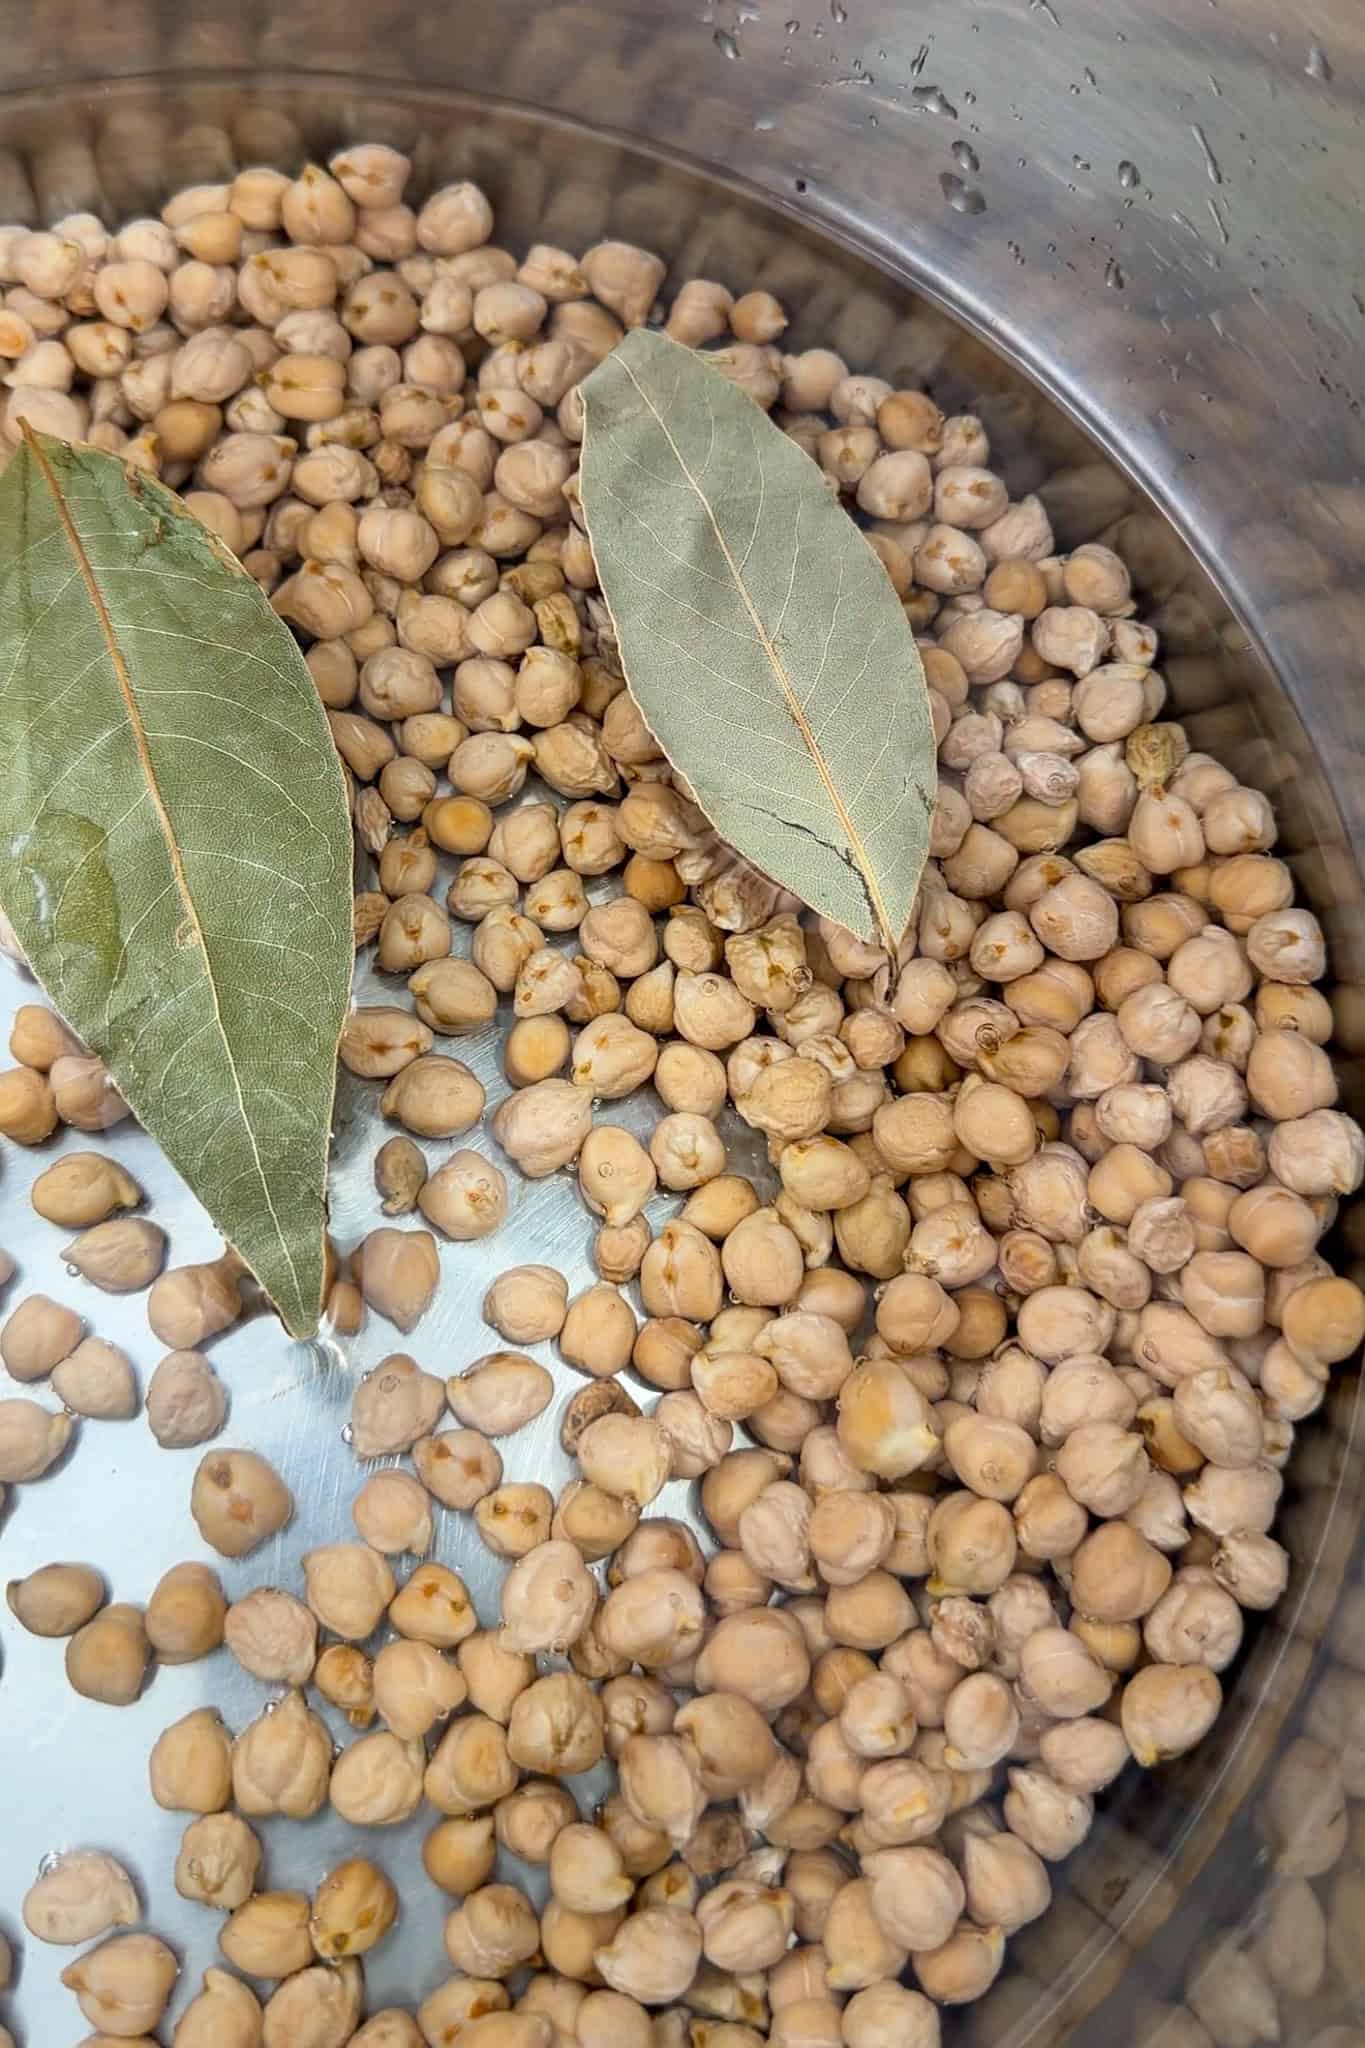
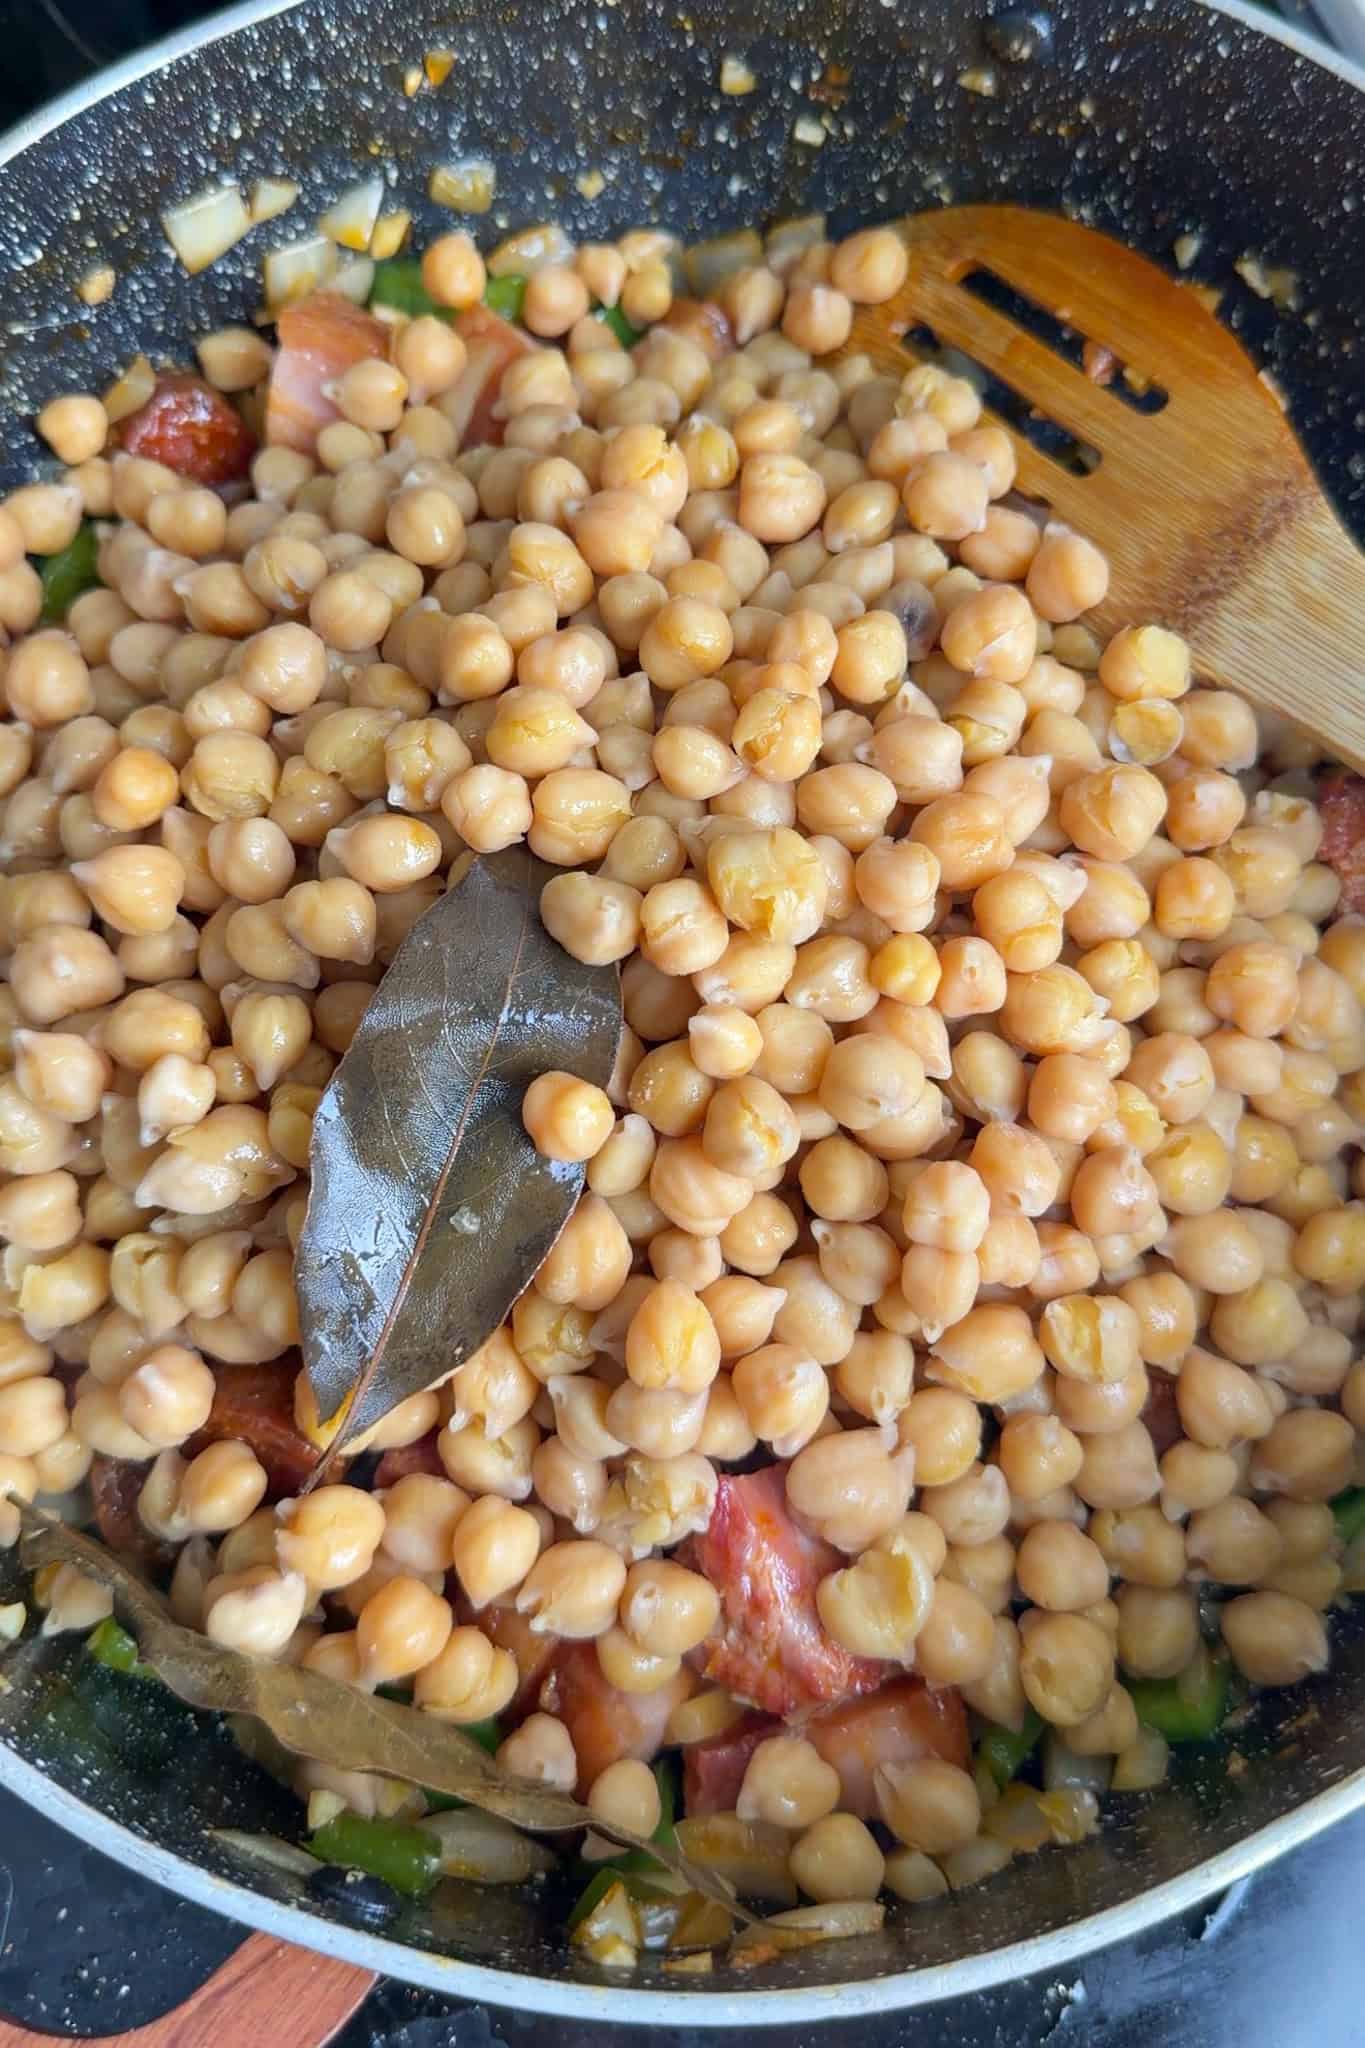
- Place your chickpeas, water, bay leaves and 1 teaspoon salt in the Instant Pot. Select bean/chili on low pressure for 25 minutes.
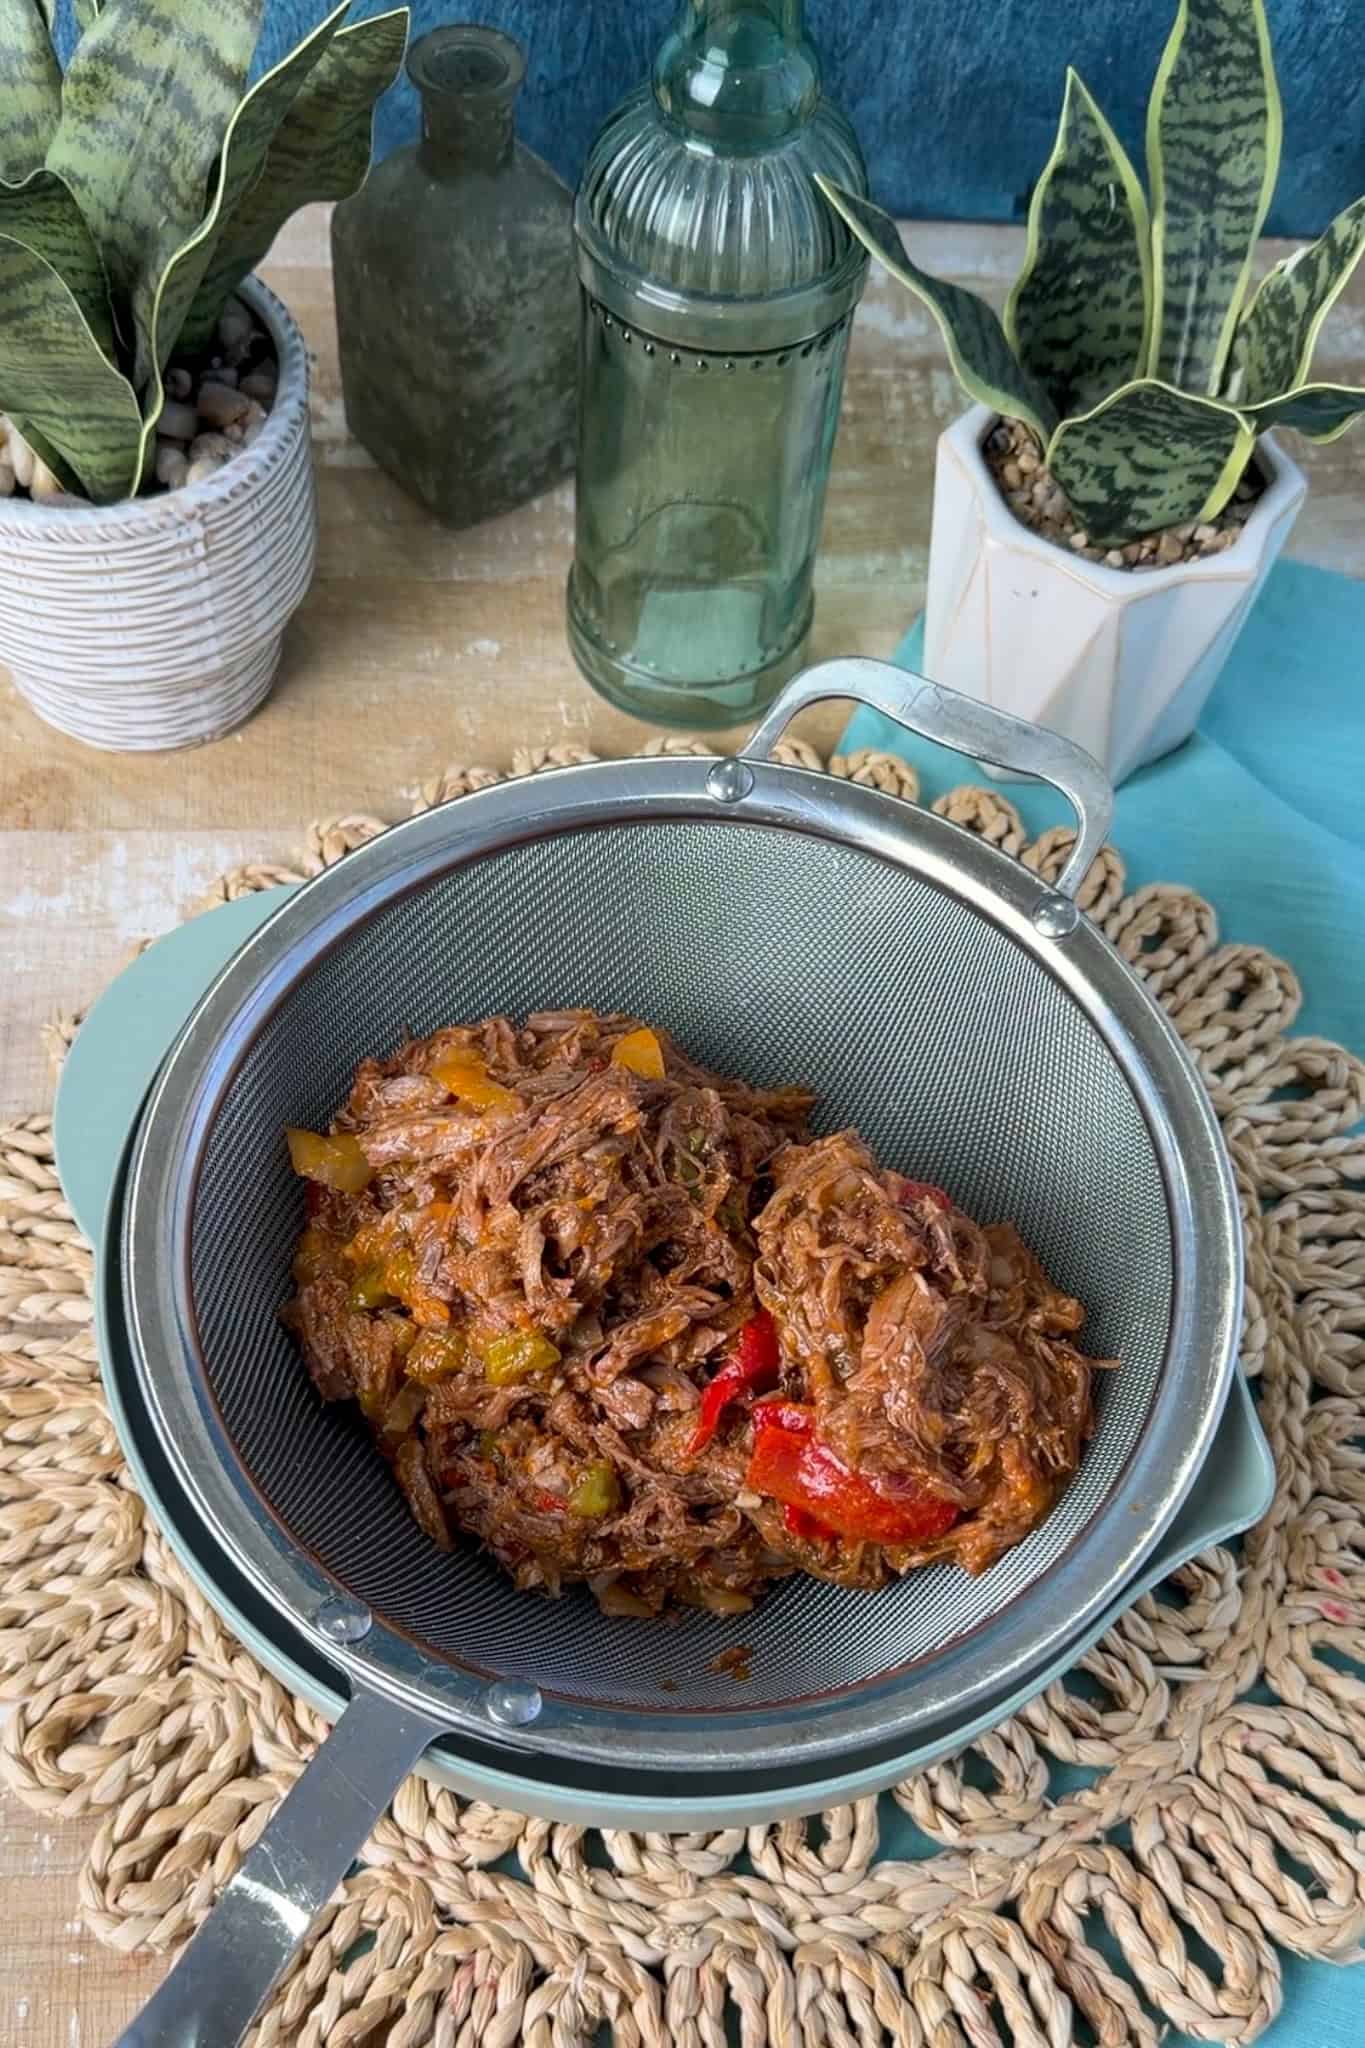
- Once the Instant Pot is done, vent to release the steam and carefully open the Instant pot. Test the Chickpeas for done-ness, the checkpeas should be soft but still retain their shape.
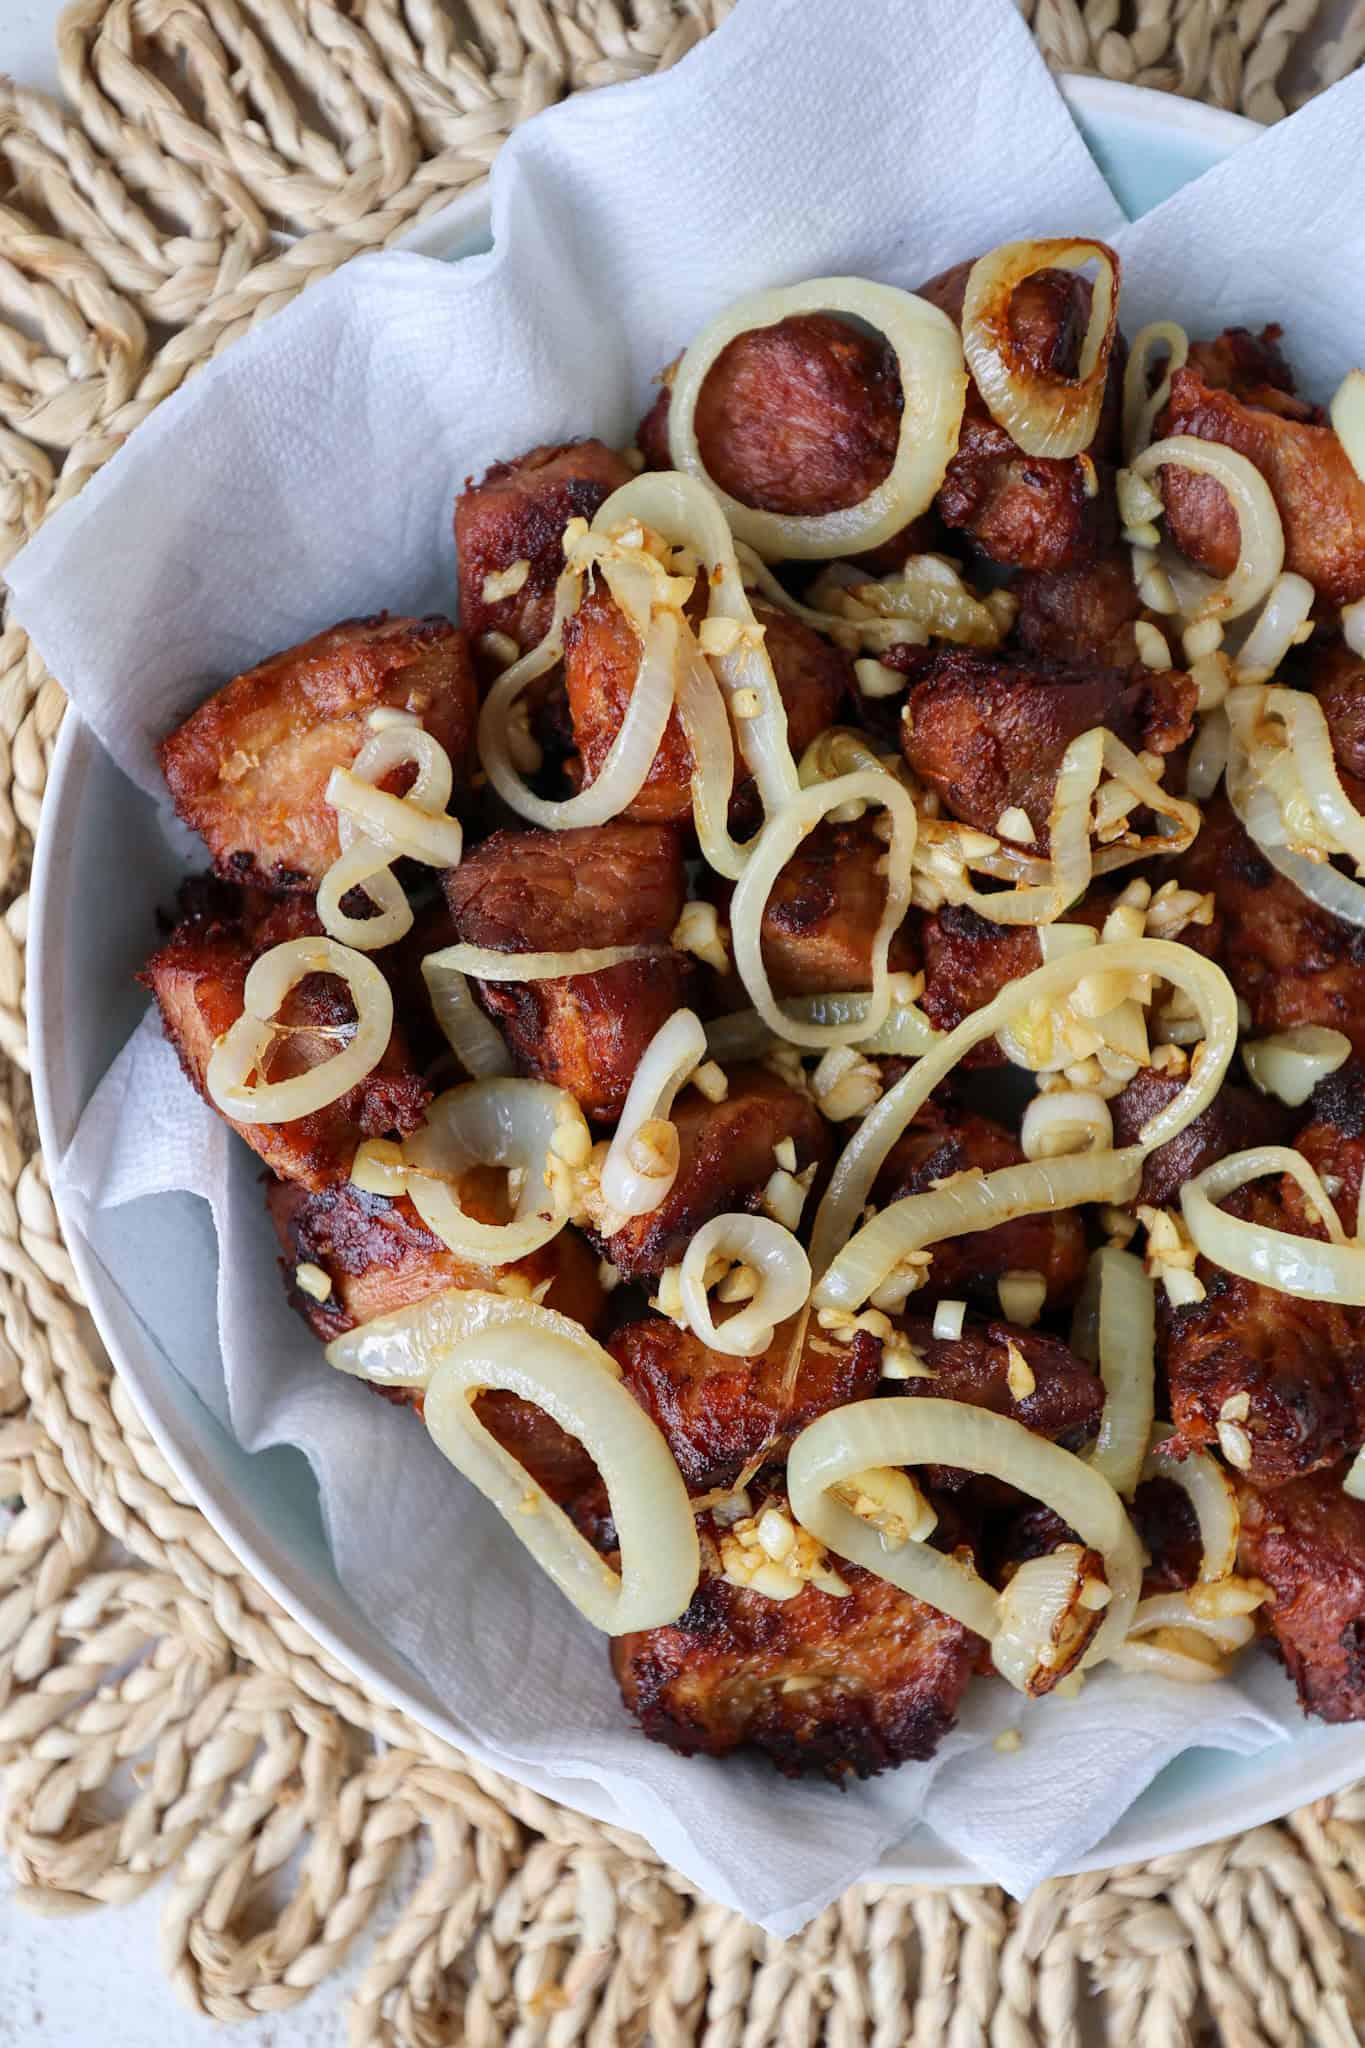
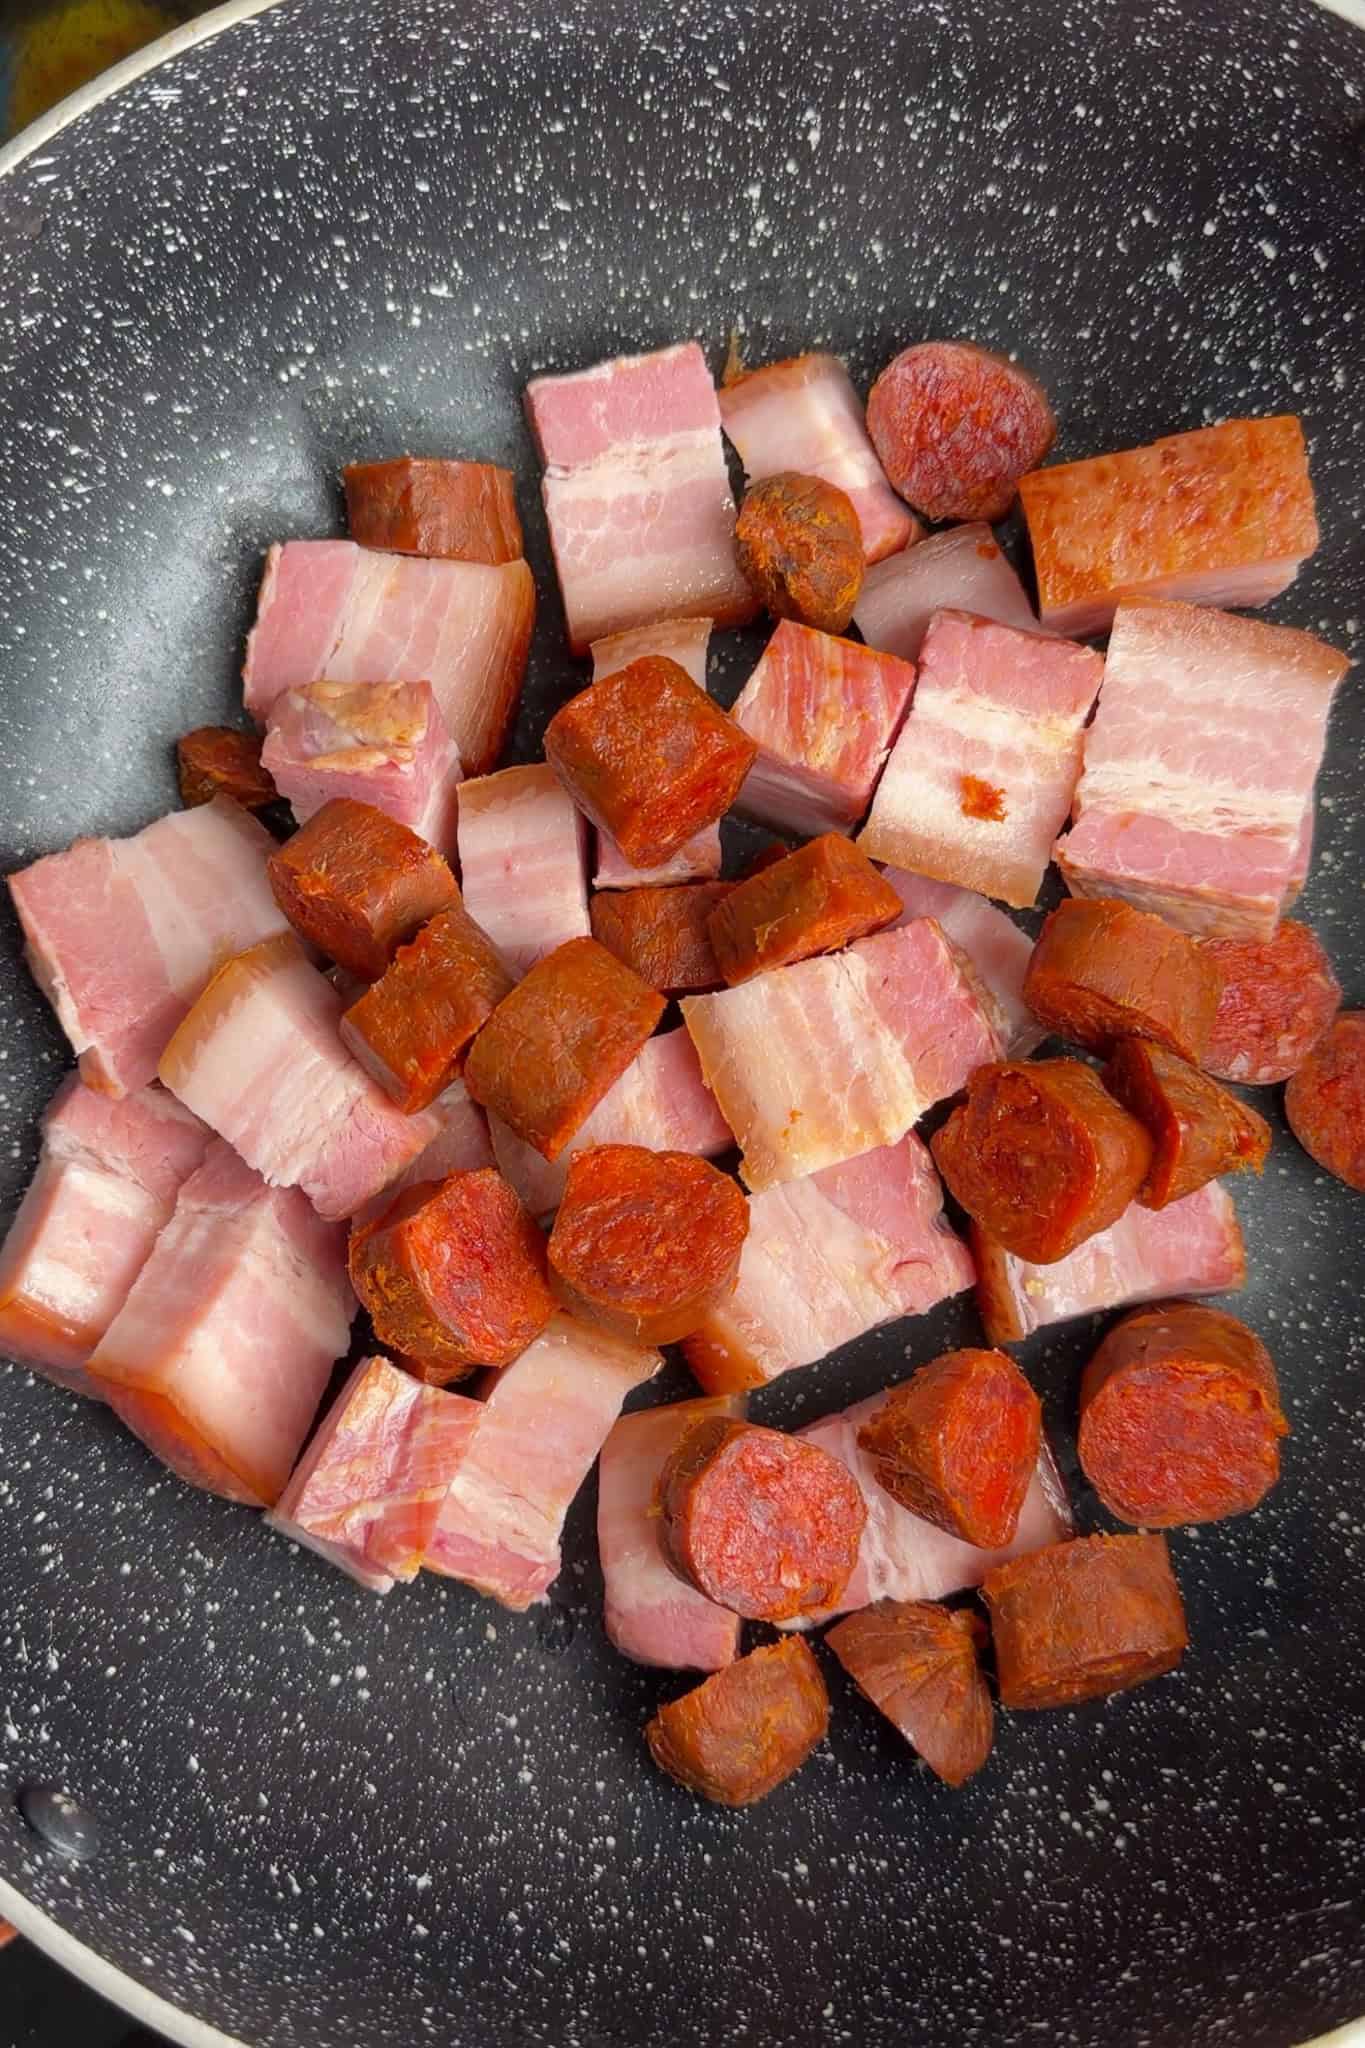
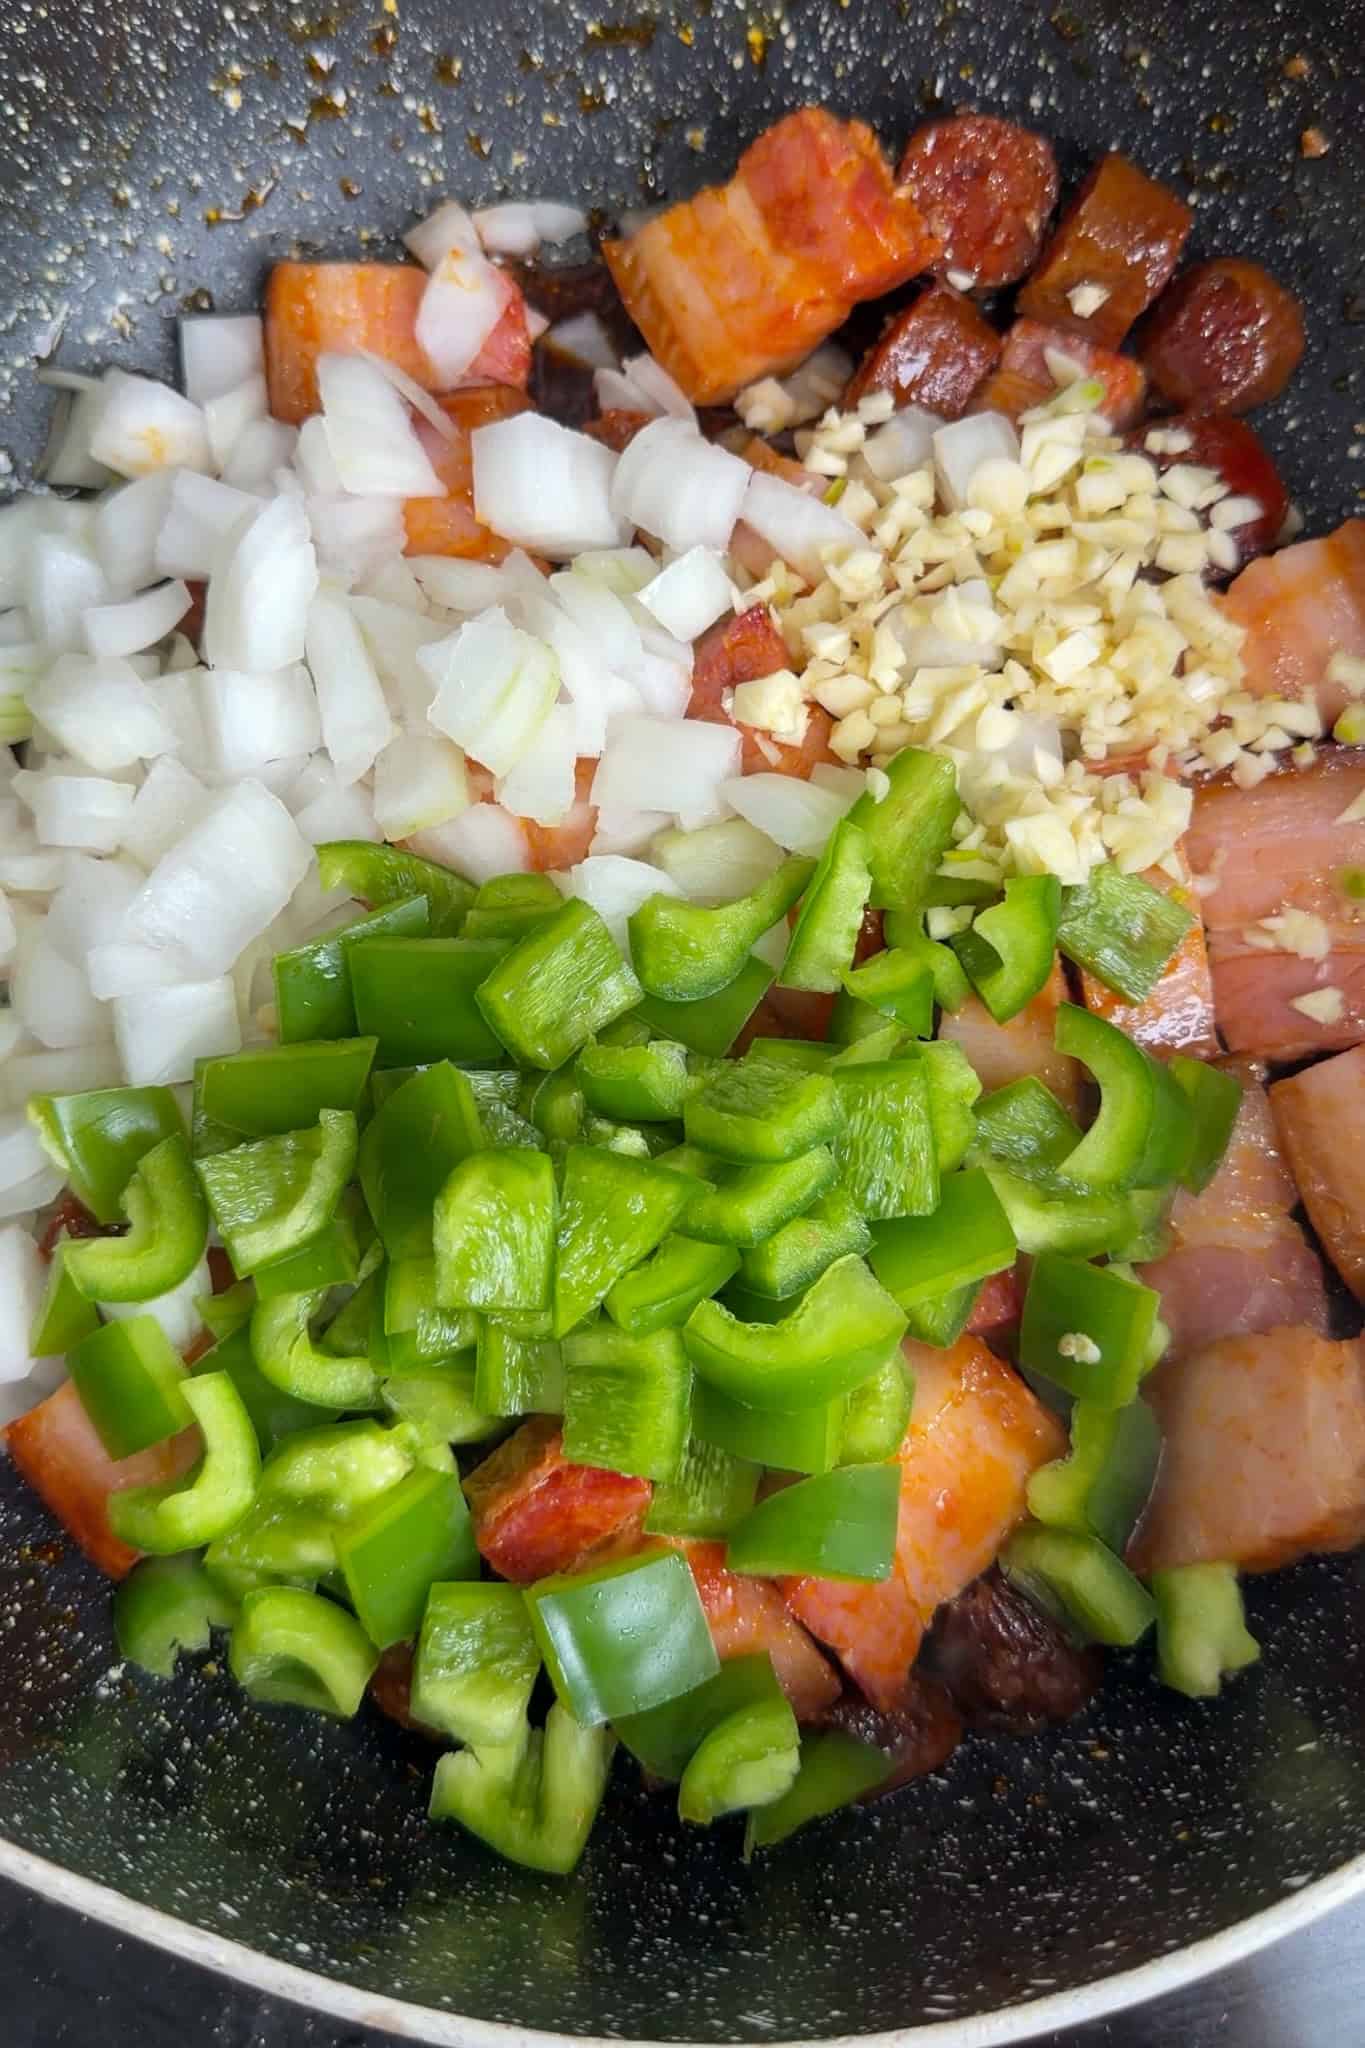
- In a dutch oven over medium heat, add the chopped chorizo and chopped smoked pork belly. Saute for five minutes or until the pork belly and chorizo release some of their grease.
- Add to the dutch oven the chopped green bell pepper, onion and garlic. Saute in the released chorizo and pork belly grease for another 5 minutes or until the onions and translucent.
- Lower the heat to low and then add to the dutch oven the drained chickpeas, tomato sauce, cumin, black pepper and ½ teaspoon salt.
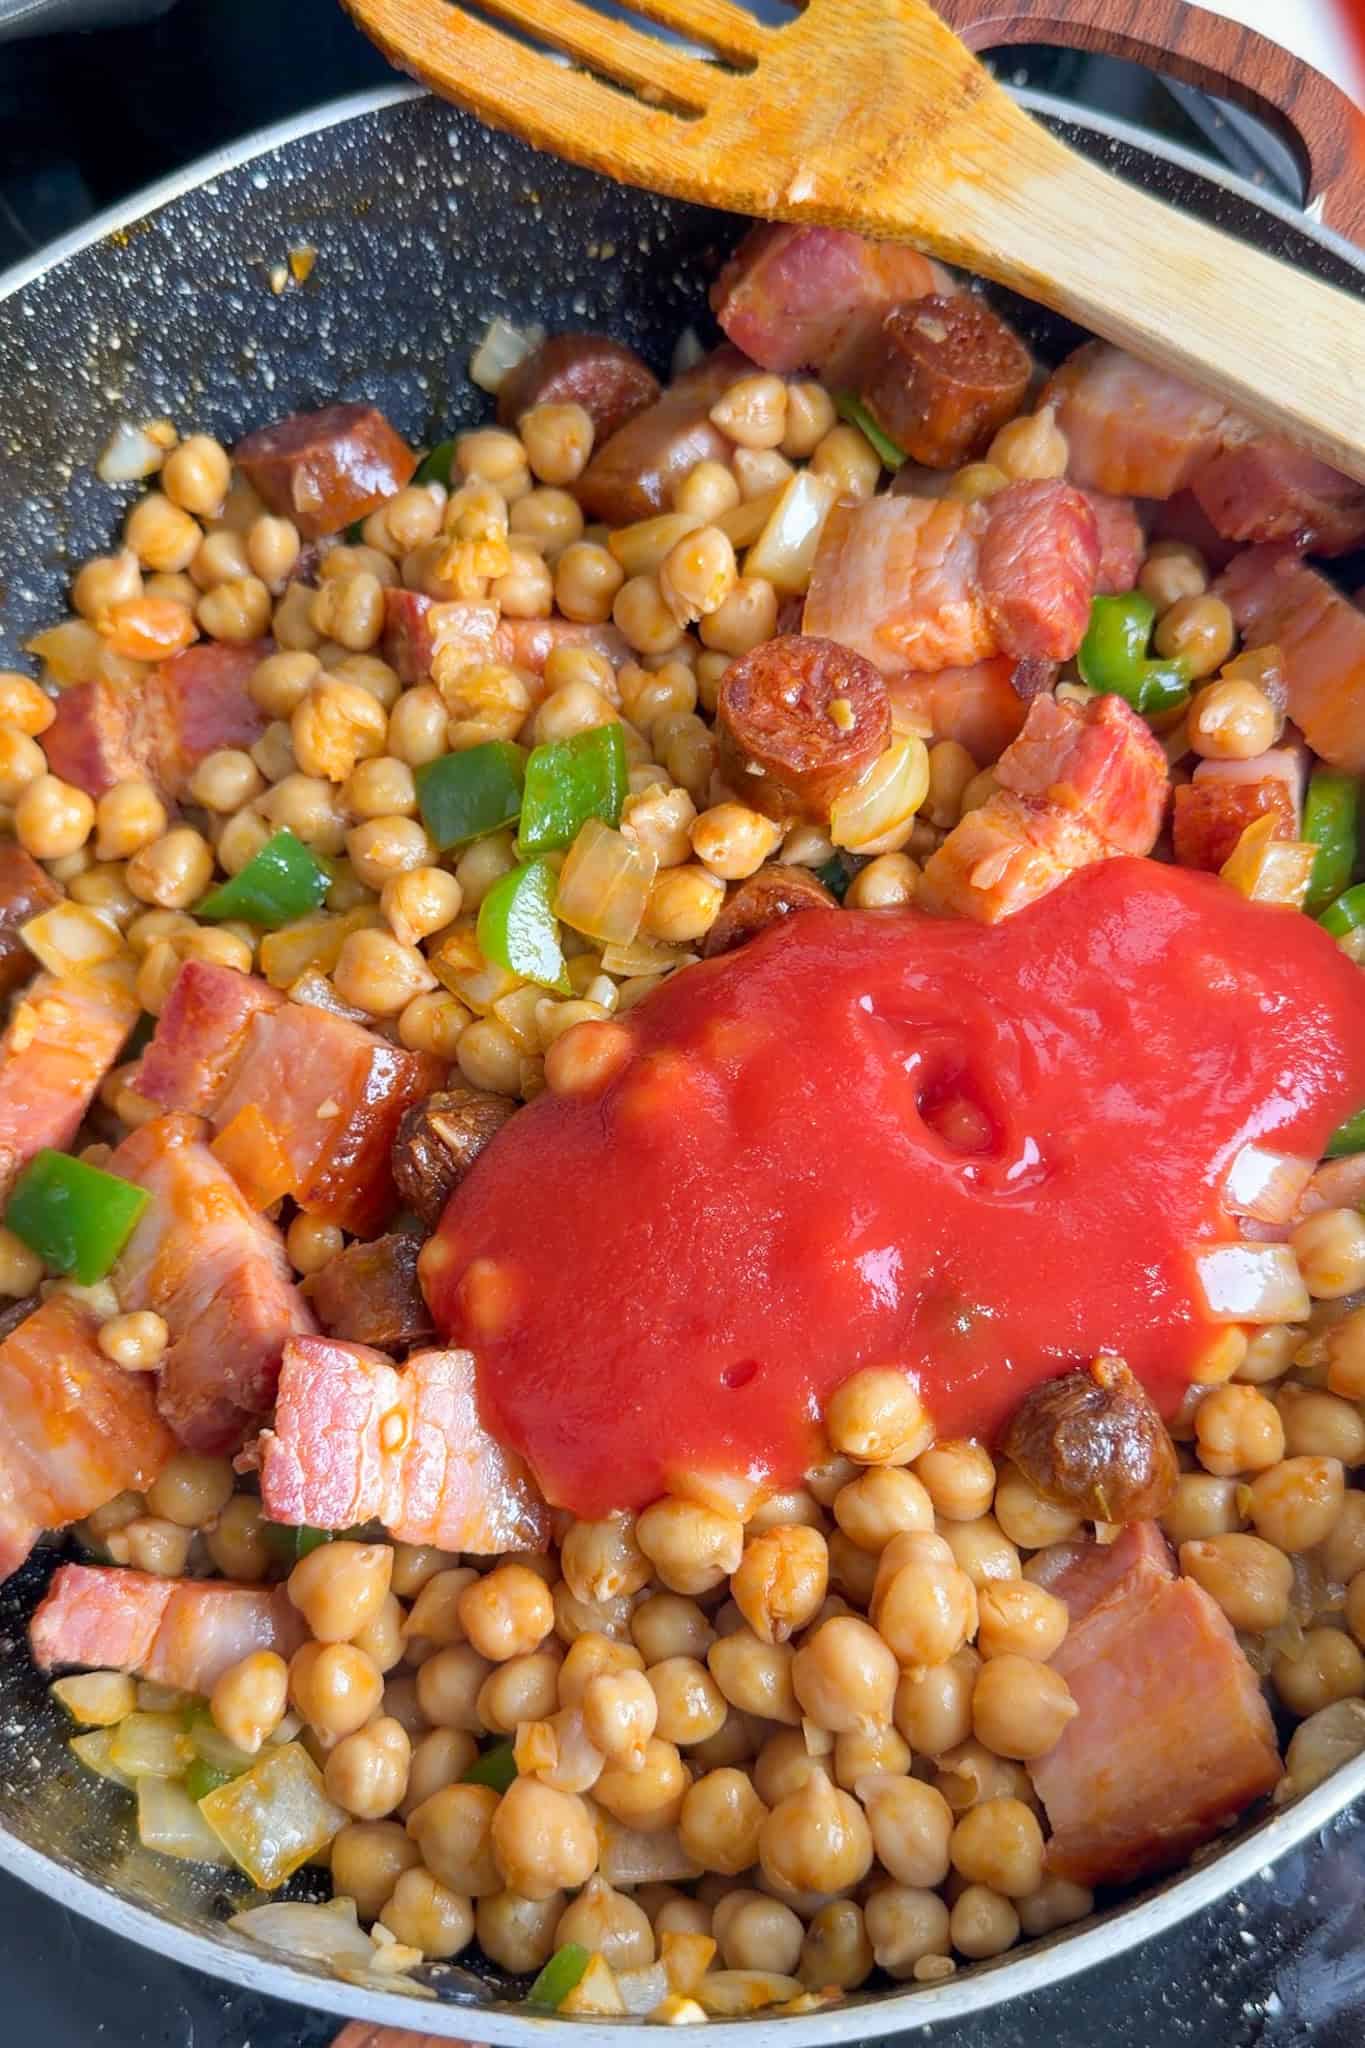
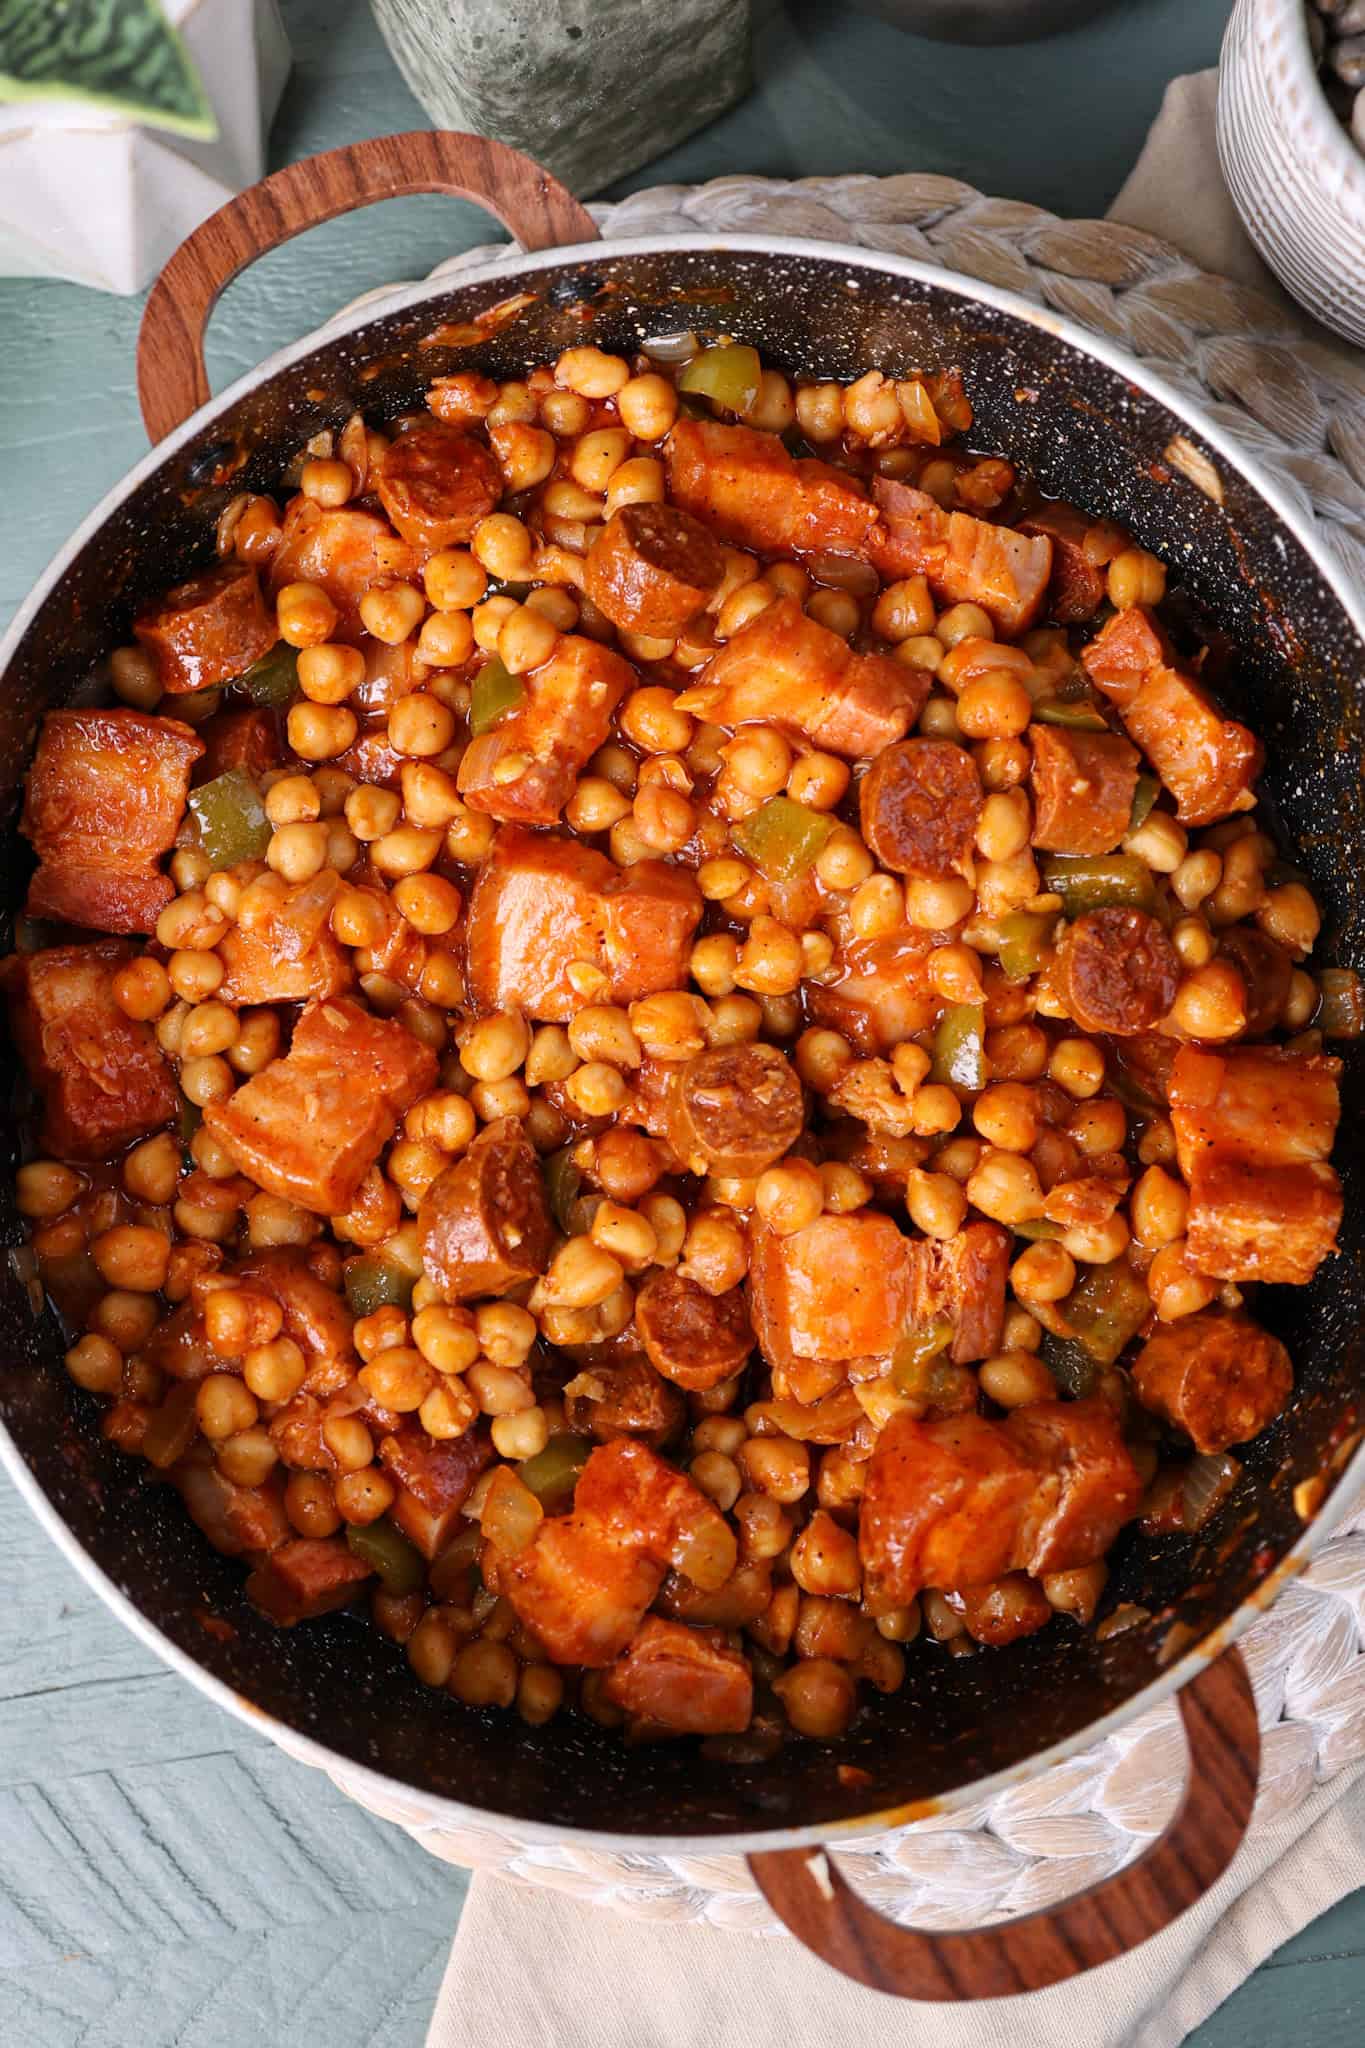
- Fold the ingredients until combined and then cover the dutch oven and allow to simmer for 30 minutes for the flavors to marry. Test the recipe for salt and add more if desired.
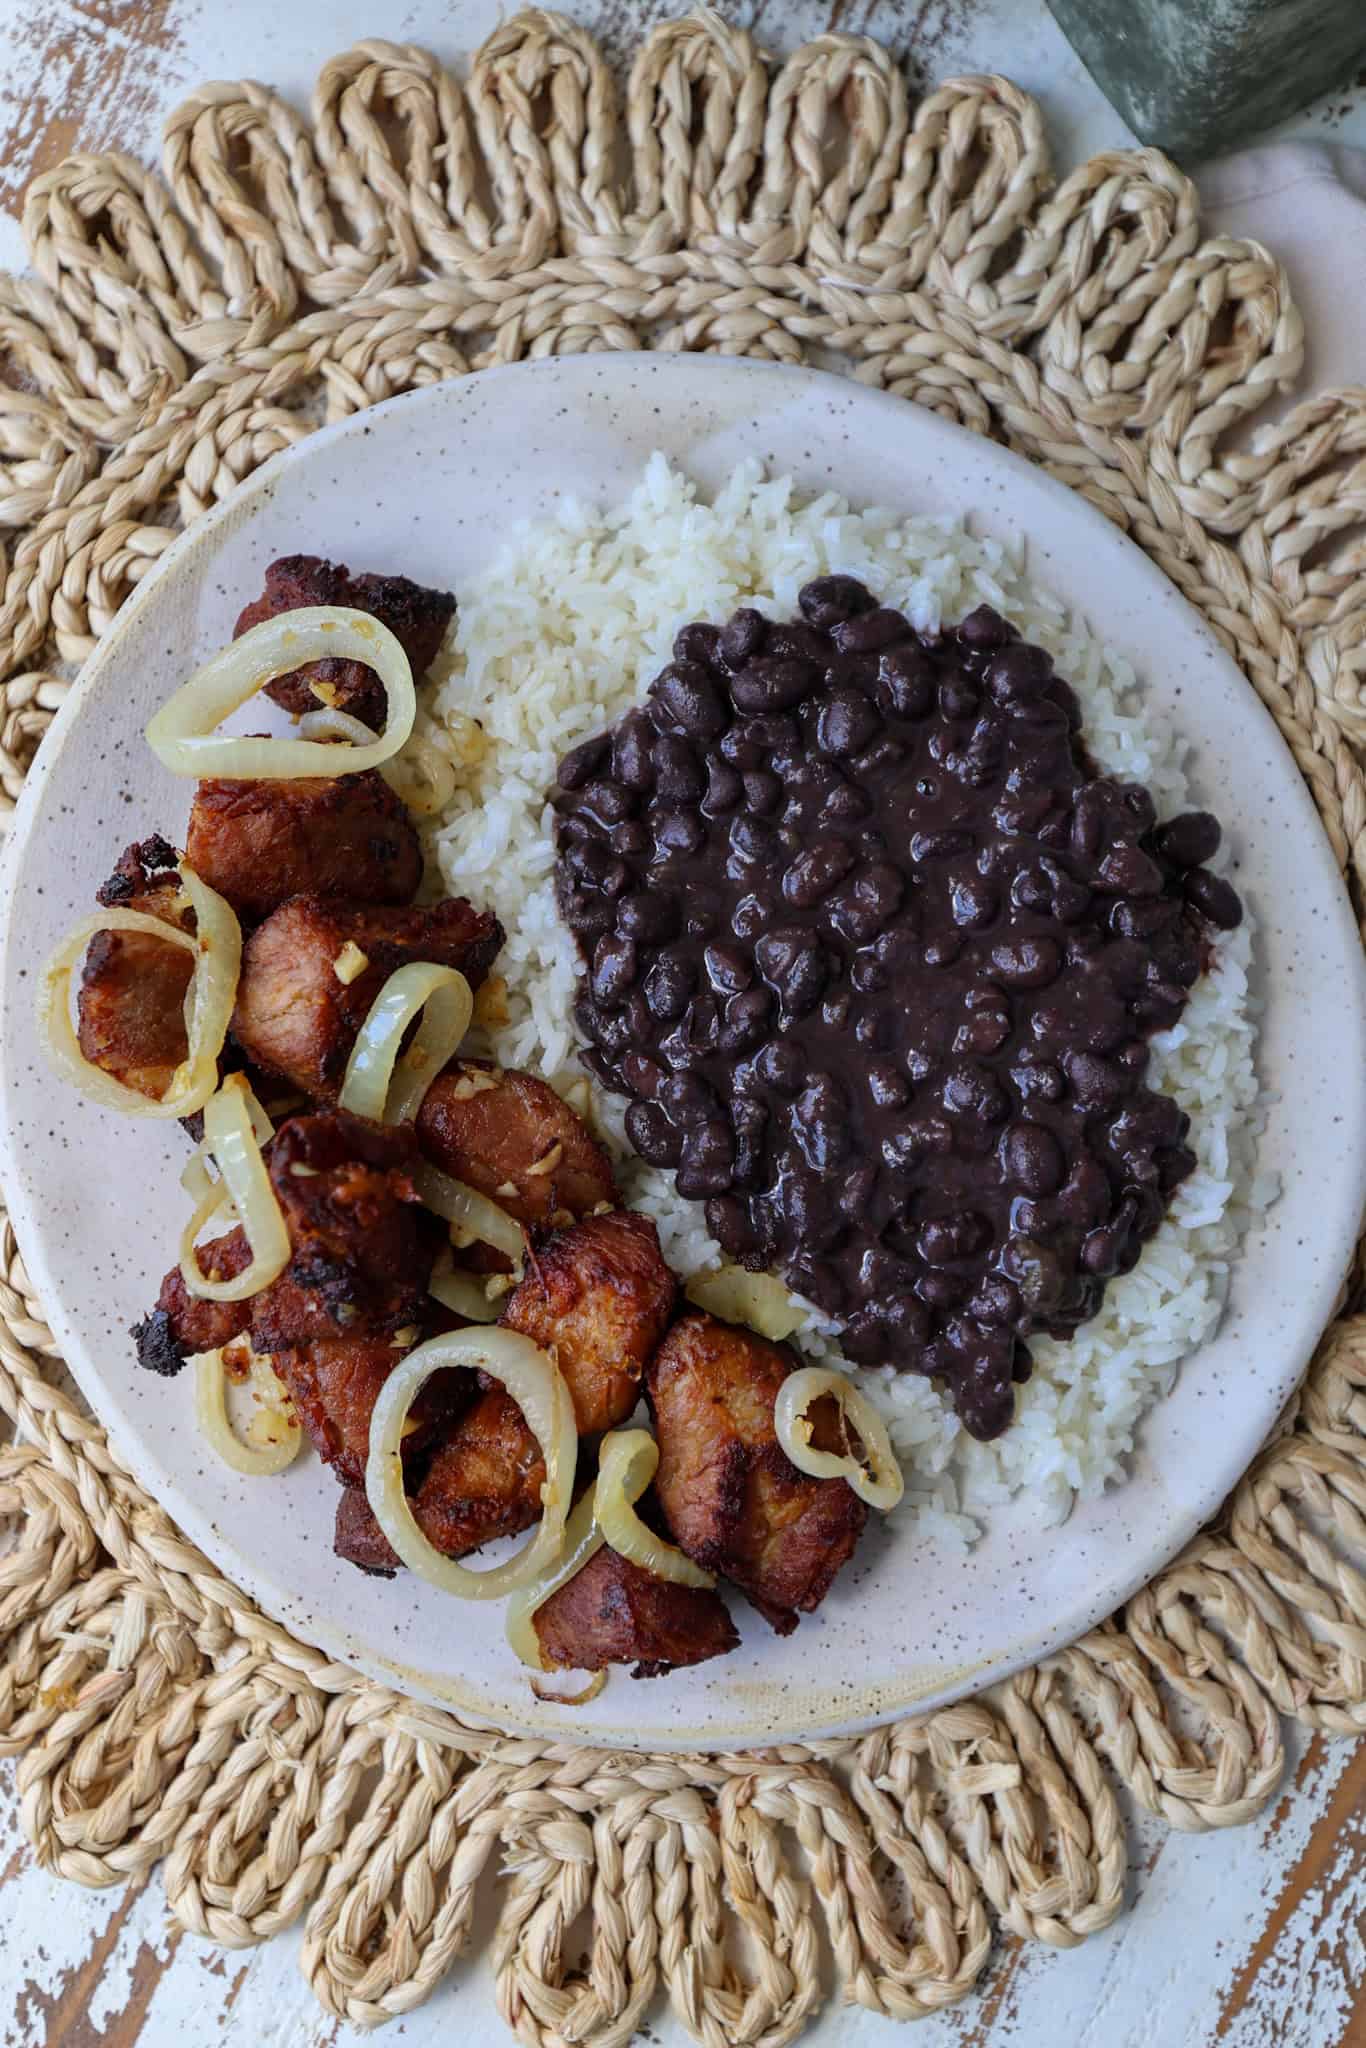
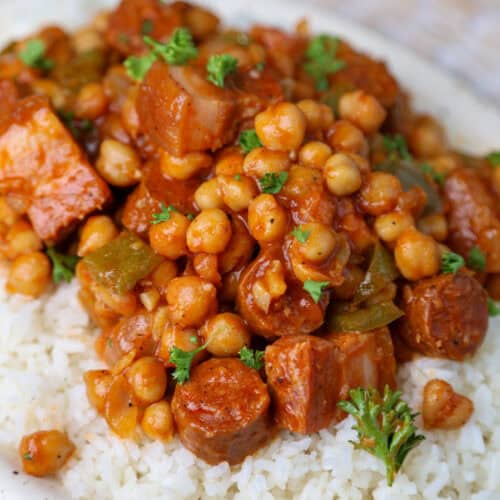
- Garnish with cilantro or parsley, if desired. Serve with rice and enjoy.
Variations and Substitutions for this garbanzo recipe
Here are some great variations and substitutions for a Cuban Garbanzo Frito recipe:
The Protein
- Smoked Pork Belly: Replace smoked pork belly with bacon, smoked ham hocks, diced ham, pancetta, or salt pork for a similar depth of flavor.
- Spanish Chorizo: Although I think there is no substitution for spanish chorizo in this recipe, some options you can use in a pinch are smoked sausage, kielbasa, or andouille sausage if needed.
The Garbanzos
- Canned garbanzos: Canned garbanzos are a perfectly convenient and delicious substitute that significantly cuts down on cooking time without sacrificing flavor
Instant Pot
- Soaking overnight: Don't have an Instant Pot? Soak the beans overnight in a large bowl with enough water to fully soak the beans.
- Slow Cooker: Ideal for a hands-off approach and all-day simmering.
Dietary Adjustments
- Vegetarian: Simply omit the meat entirely and add an extra drizzle of olive oil and a pinch of smoked paprika to maintain the rich, deep flavor of the dish
- Vegan: The dish is naturally easy to make vegan by omitting the meat and using vegetable broth instead of chicken broth for an equally delicious and satisfying result
- Low sodium Use low sodium canned garbanzos and low sodium broth to significantly reduce the sodium content without compromising on flavor.
- Lower Fat: Use turkey sausage and reduce or omit the pork belly.
- Gluten-Free: Most versions are naturally gluten-free, but always verify packaged ingredients such as chorizo and broth.
- Dairy-Free: Traditional Cuban garbanzos fritos is naturally dairy-free.
Storage instructions for cooked Cuban garbanzo frito
- Refrigerate: Allow the garbanzo frito to cool to room temperature, then transfer it to an airtight container and refrigerate for up to 4 days.
- Freeze: For longer storage, place cooled portions in freezer-safe containers or heavy-duty freezer bags and freeze for up to 3 months. Leave a little space at the top of the container to allow for expansion.
- Reheating from Refrigerated: Warm the garbanzo frito in a saucepan over medium-low heat, stirring occasionally, until heated through. Add a splash of water or broth if the sauce has thickened too much.
- Reheating from Frozen: Thaw overnight in the refrigerator before reheating, or reheat directly from frozen over low heat, adding a little liquid as needed to restore the desired consistency.
- Food Safety Tip: Do not leave cooked garbanzo frito at room temperature for more than 2 hours (or 1 hour if temperatures are above 90°F/32°C), and avoid reheating the same batch multiple times.
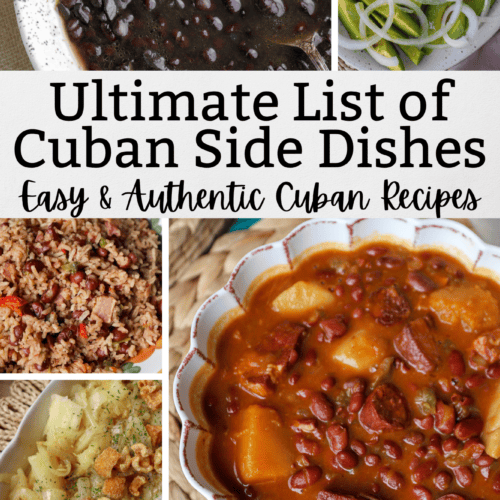
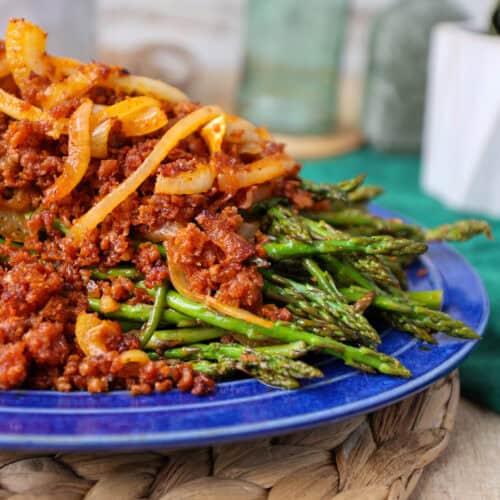
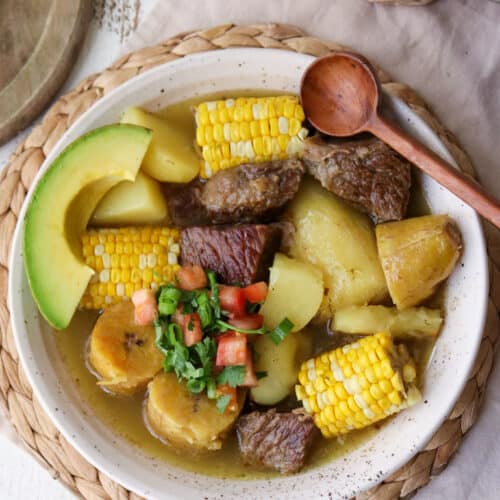
Try these other Cuban recipes


Cuban Garbanzos Fritos
Ingredients
- 1 ½ teaspoon salt separated
- 2 bay leaves
- 4 cups water
- 5.5 oz spanish chorizo chopped into ½ inch slices
- 1 lb smoked pork belly chopped into ½ inch slices
- 1 green bell pepper chopped
- 1 yellow onion chopped
- 4 garlic cloves minced
- ½ teaspoon black pepper
- ½ teaspoon smoked paprika
- ½ teaspoon cumin
- 8 oz tomato sauce
- 4 oz Spanish red cooking wine I used the brand Iberia
Instructions
- Place your chickpeas, water, bay leaves and 1 teaspoon salt in the Instant Pot. Select bean/chili on low pressure for 25 minutes.
- Once the Instant Pot is done, vent to release the steam and carefully open the Instant pot. Test the Chickpeas for done-ness, the checkpeas should be soft but still retain their shape.
- In a dutch oven over medium heat, add the chopped chorizo and chopped smoked pork belly. Saute for five minutes or until the pork belly and chorizo release some of their grease.
- Add to the dutch oven the chopped green bell pepper, onion and garlic. Saute in the released chorizo and pork belly grease for another 5 minutes or until the onions and translucent.
- Lower the heat to low and then add to the dutch oven the drained chickpeas, tomato sauce, cooking wine, smoked paprika, cumin, black pepper and ½ teaspoon salt.
- Fold the ingredients until combined and then cover the dutch oven and allow to simmer for 30 minutes for the flavors to marry. Test the recipe for salt and add more if desired.
- Garnish with cilantro or parsley, if desired. Serve with rice and enjoy.
Notes
Variations and Substitutions for this garbanzo recipe
The Protein
- Smoked Pork Belly: Replace smoked pork belly with bacon, smoked ham hocks, diced ham, pancetta, or salt pork for a similar depth of flavor.
- Spanish Chorizo: Although I think there is no substitution for spanish chorizo in this recipe, some options you can use in a pinch are smoked sausage, kielbasa, or andouille sausage if needed.
The Garbanzos
- Canned garbanzos: Canned garbanzos are a perfectly convenient and delicious substitute that significantly cuts down on cooking time without sacrificing flavor
Instant Pot
- Soaking overnight: Don't have an Instant Pot? Soak the beans overnight in a large bowl with enough water to fully soak the beans.
- Slow Cooker: Ideal for a hands-off approach and all-day simmering.
Dietary Adjustments
- Vegetarian: Simply omit the meat entirely and add an extra drizzle of olive oil and a pinch of smoked paprika to maintain the rich, deep flavor of the dish
- Vegan: The dish is naturally easy to make vegan by omitting the meat and using vegetable broth instead of chicken broth for an equally delicious and satisfying result
- Low sodium Use low sodium canned garbanzos and low sodium broth to significantly reduce the sodium content without compromising on flavor.
- Lower Fat: Use turkey sausage and reduce or omit the pork belly.
- Gluten-Free: Most versions are naturally gluten-free, but always verify packaged ingredients such as chorizo and broth.
- Dairy-Free: Traditional Cuban garbanzos fritos is naturally dairy-free.
Storage instructions for cooked Cuban garbanzo frito
- Refrigerate: Allow the garbanzo frito to cool to room temperature, then transfer it to an airtight container and refrigerate for up to 4 days.
- Freeze: For longer storage, place cooled portions in freezer-safe containers or heavy-duty freezer bags and freeze for up to 3 months. Leave a little space at the top of the container to allow for expansion.
- Reheating from Refrigerated: Warm the garbanzo frito in a saucepan over medium-low heat, stirring occasionally, until heated through. Add a splash of water or broth if the sauce has thickened too much.
- Reheating from Frozen: Thaw overnight in the refrigerator before reheating, or reheat directly from frozen over low heat, adding a little liquid as needed to restore the desired consistency.
- Food Safety Tip: Do not leave cooked garbanzo frito at room temperature for more than 2 hours (or 1 hour if temperatures are above 90°F/32°C), and avoid reheating the same batch multiple times.