

I grew up eating Colombian arepas for breakfast, lunch, dinner and snacks. Arepas were a part of my daily life throughout my entire childhood. Whether it was scrambled eggs and a buttered arepa for breakfast or melted cheese on an arepa. There wasn't a day that passed that I didn't eat one of these.
This was another dish that I didn't realize weren't "normal" until adulthood.
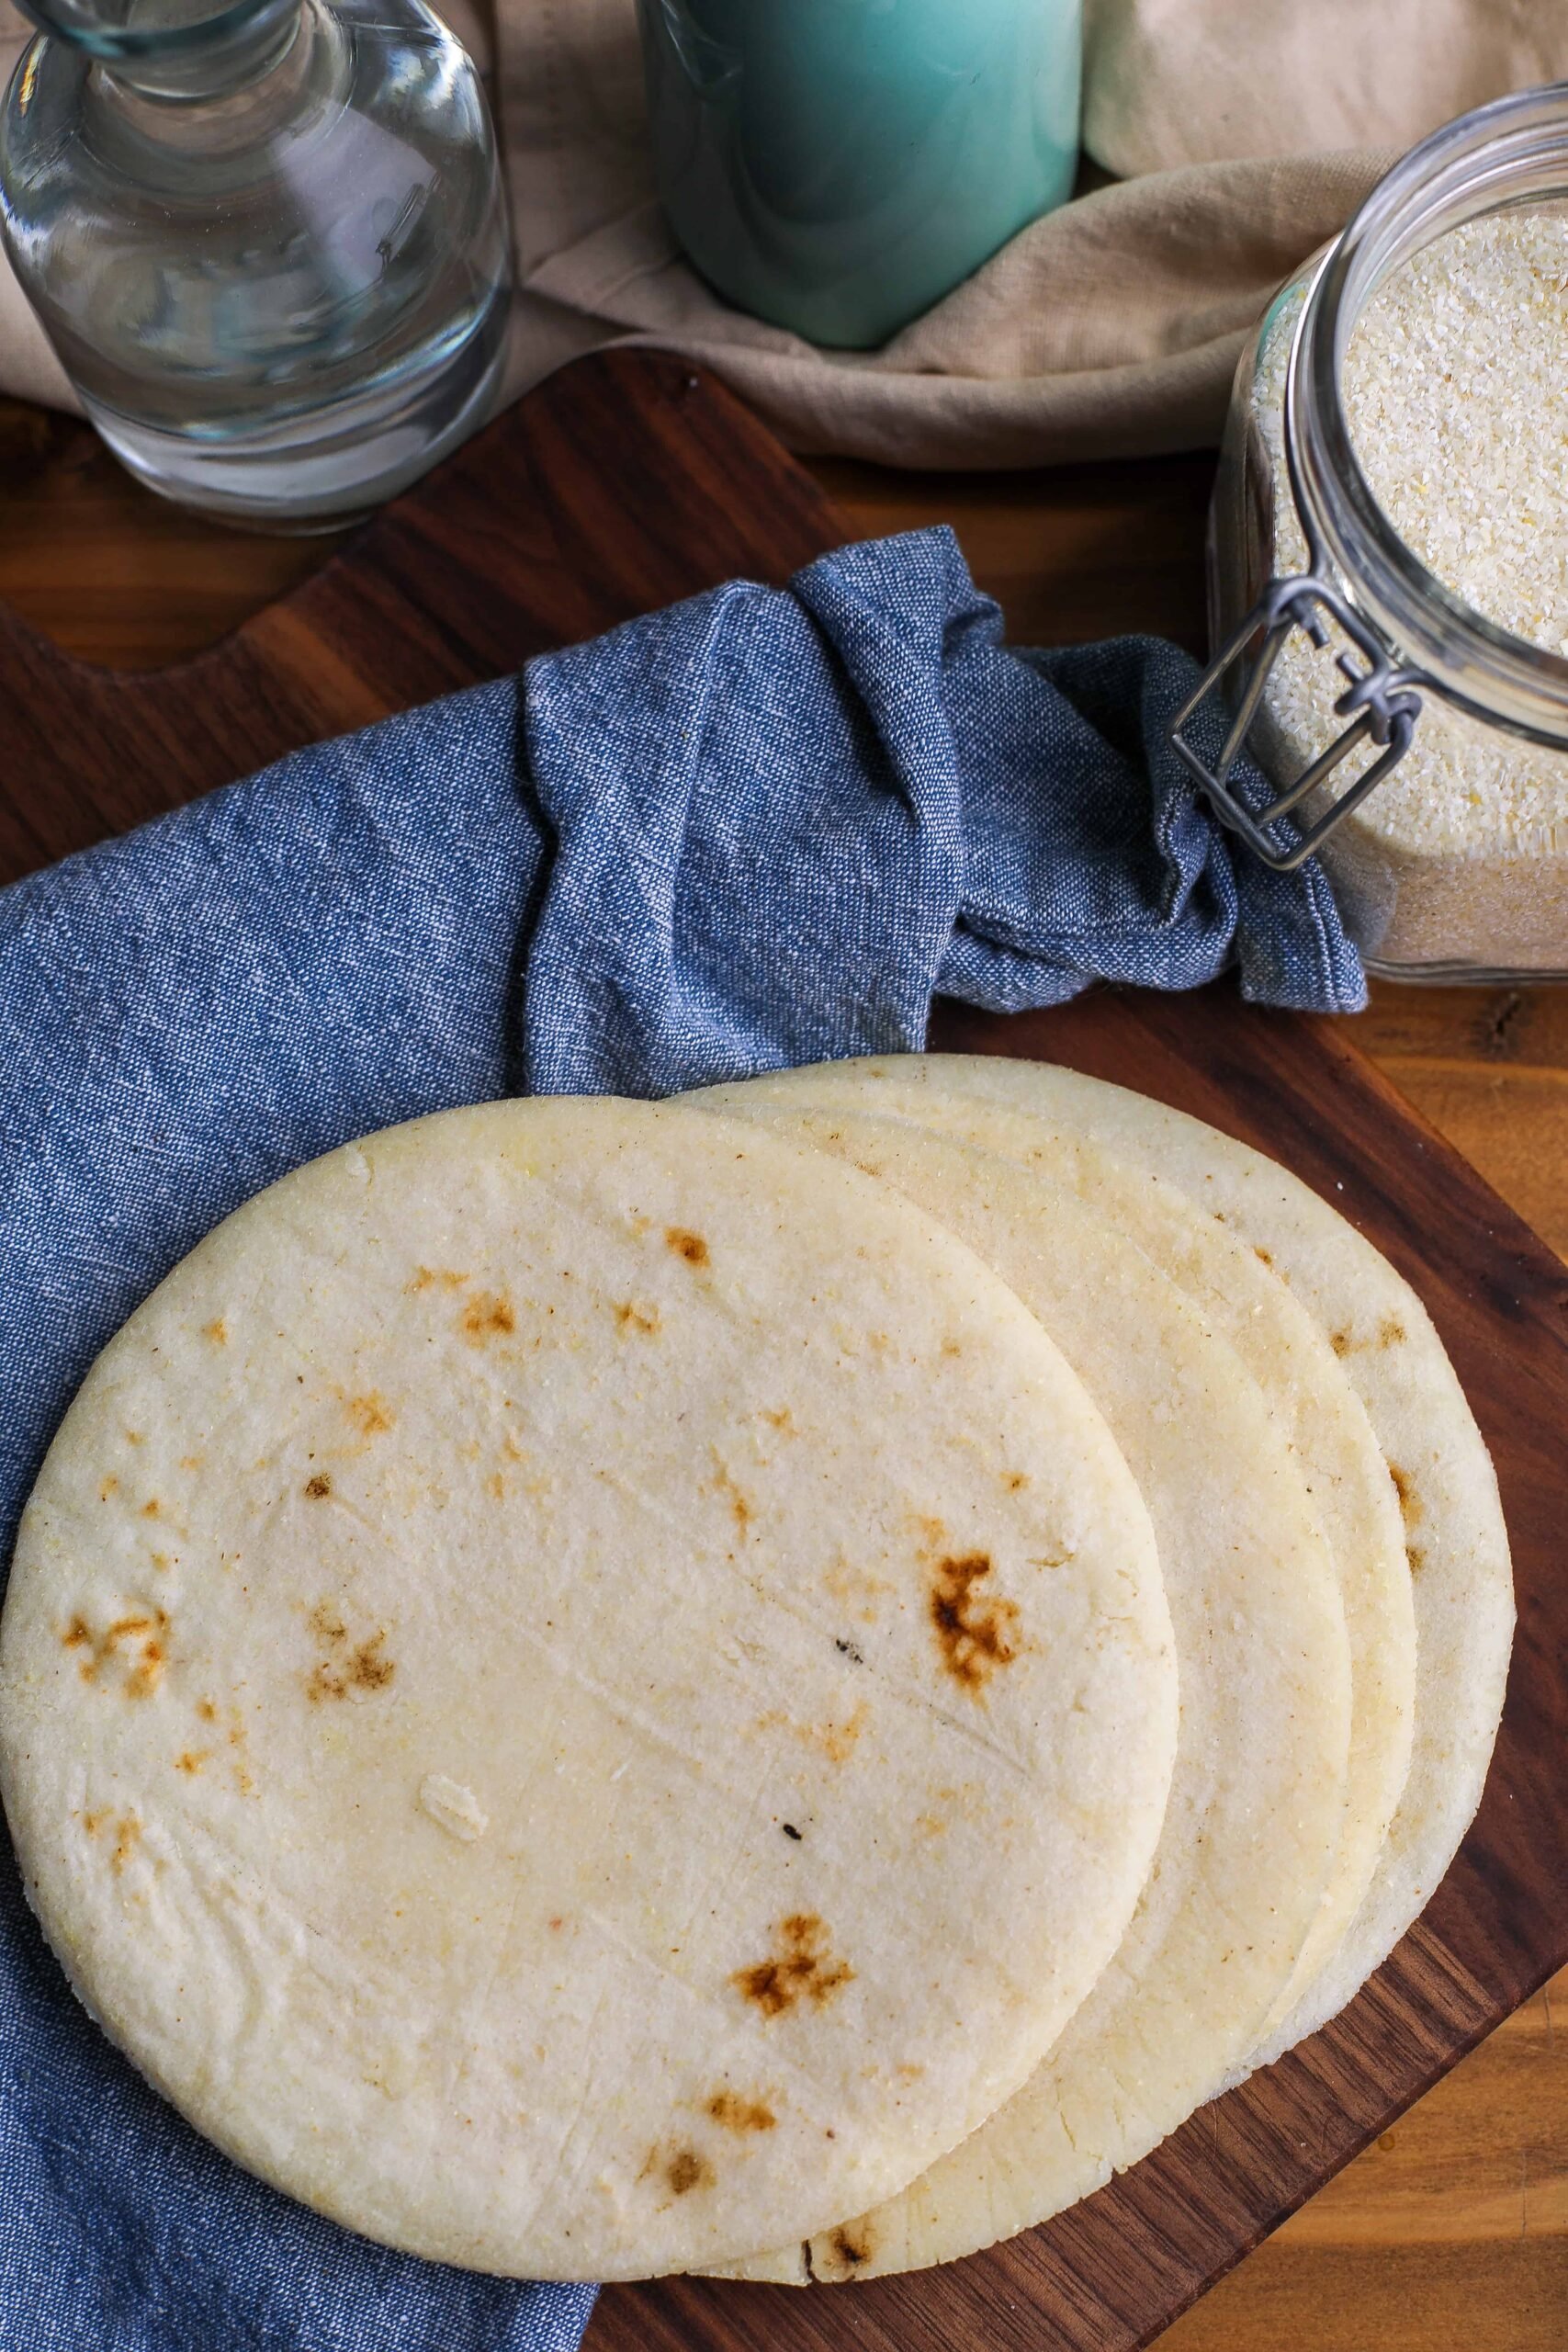
What are arepas made of?
Colombian arepas consist of only 2 ingredients, that's it! Arepas are made of masarepa and water. Masarepa is arepa flour made of white or yellow corn.
Some arepa variations include adding shredded Colombian white cheese or mozzarella to the dough.
Are arepas gluten-free?
YES! Since arepas only contain corn, salt and water they are completely gluten free. Be sure that your masarepa packaging says 100% corn flour.
Ingredients needed
- Masarepa of your choice
- Water
- Salt
Directions
- Add the water and salt (optional) to a large bowl.
- Slowly mix in the masarepa and about ½ cup at a time. Using your hands, knead the masa unit a smooth dough is formed. If you find the masa to be too dry and crumbly add ¼ cup of water. If you see your dough is too mushy, add more masarepa. Cover with a kitchen towel and allow to rest for 10 minutes.
- Form balls the size of a medium onion and place them between 2 sheets of plastic wrap. Flatten with a rolling pin to your desired thickness.
- Using a dessert plate or soup bowl (about 6-7 inches in diameter), cut the dough into circles through the plastic wrap. Remove excess dough and use it to make more arepas.
- Set your stovetop to medium and place your arepa on your arepa grill. Cook for about two minutes on each side or until cooked and lightly toasted.
- Once cooked, eat as is or store in an airtight container in the refrigerator for upto a week.
What is the difference between Colombian and Venezuelan arepas?
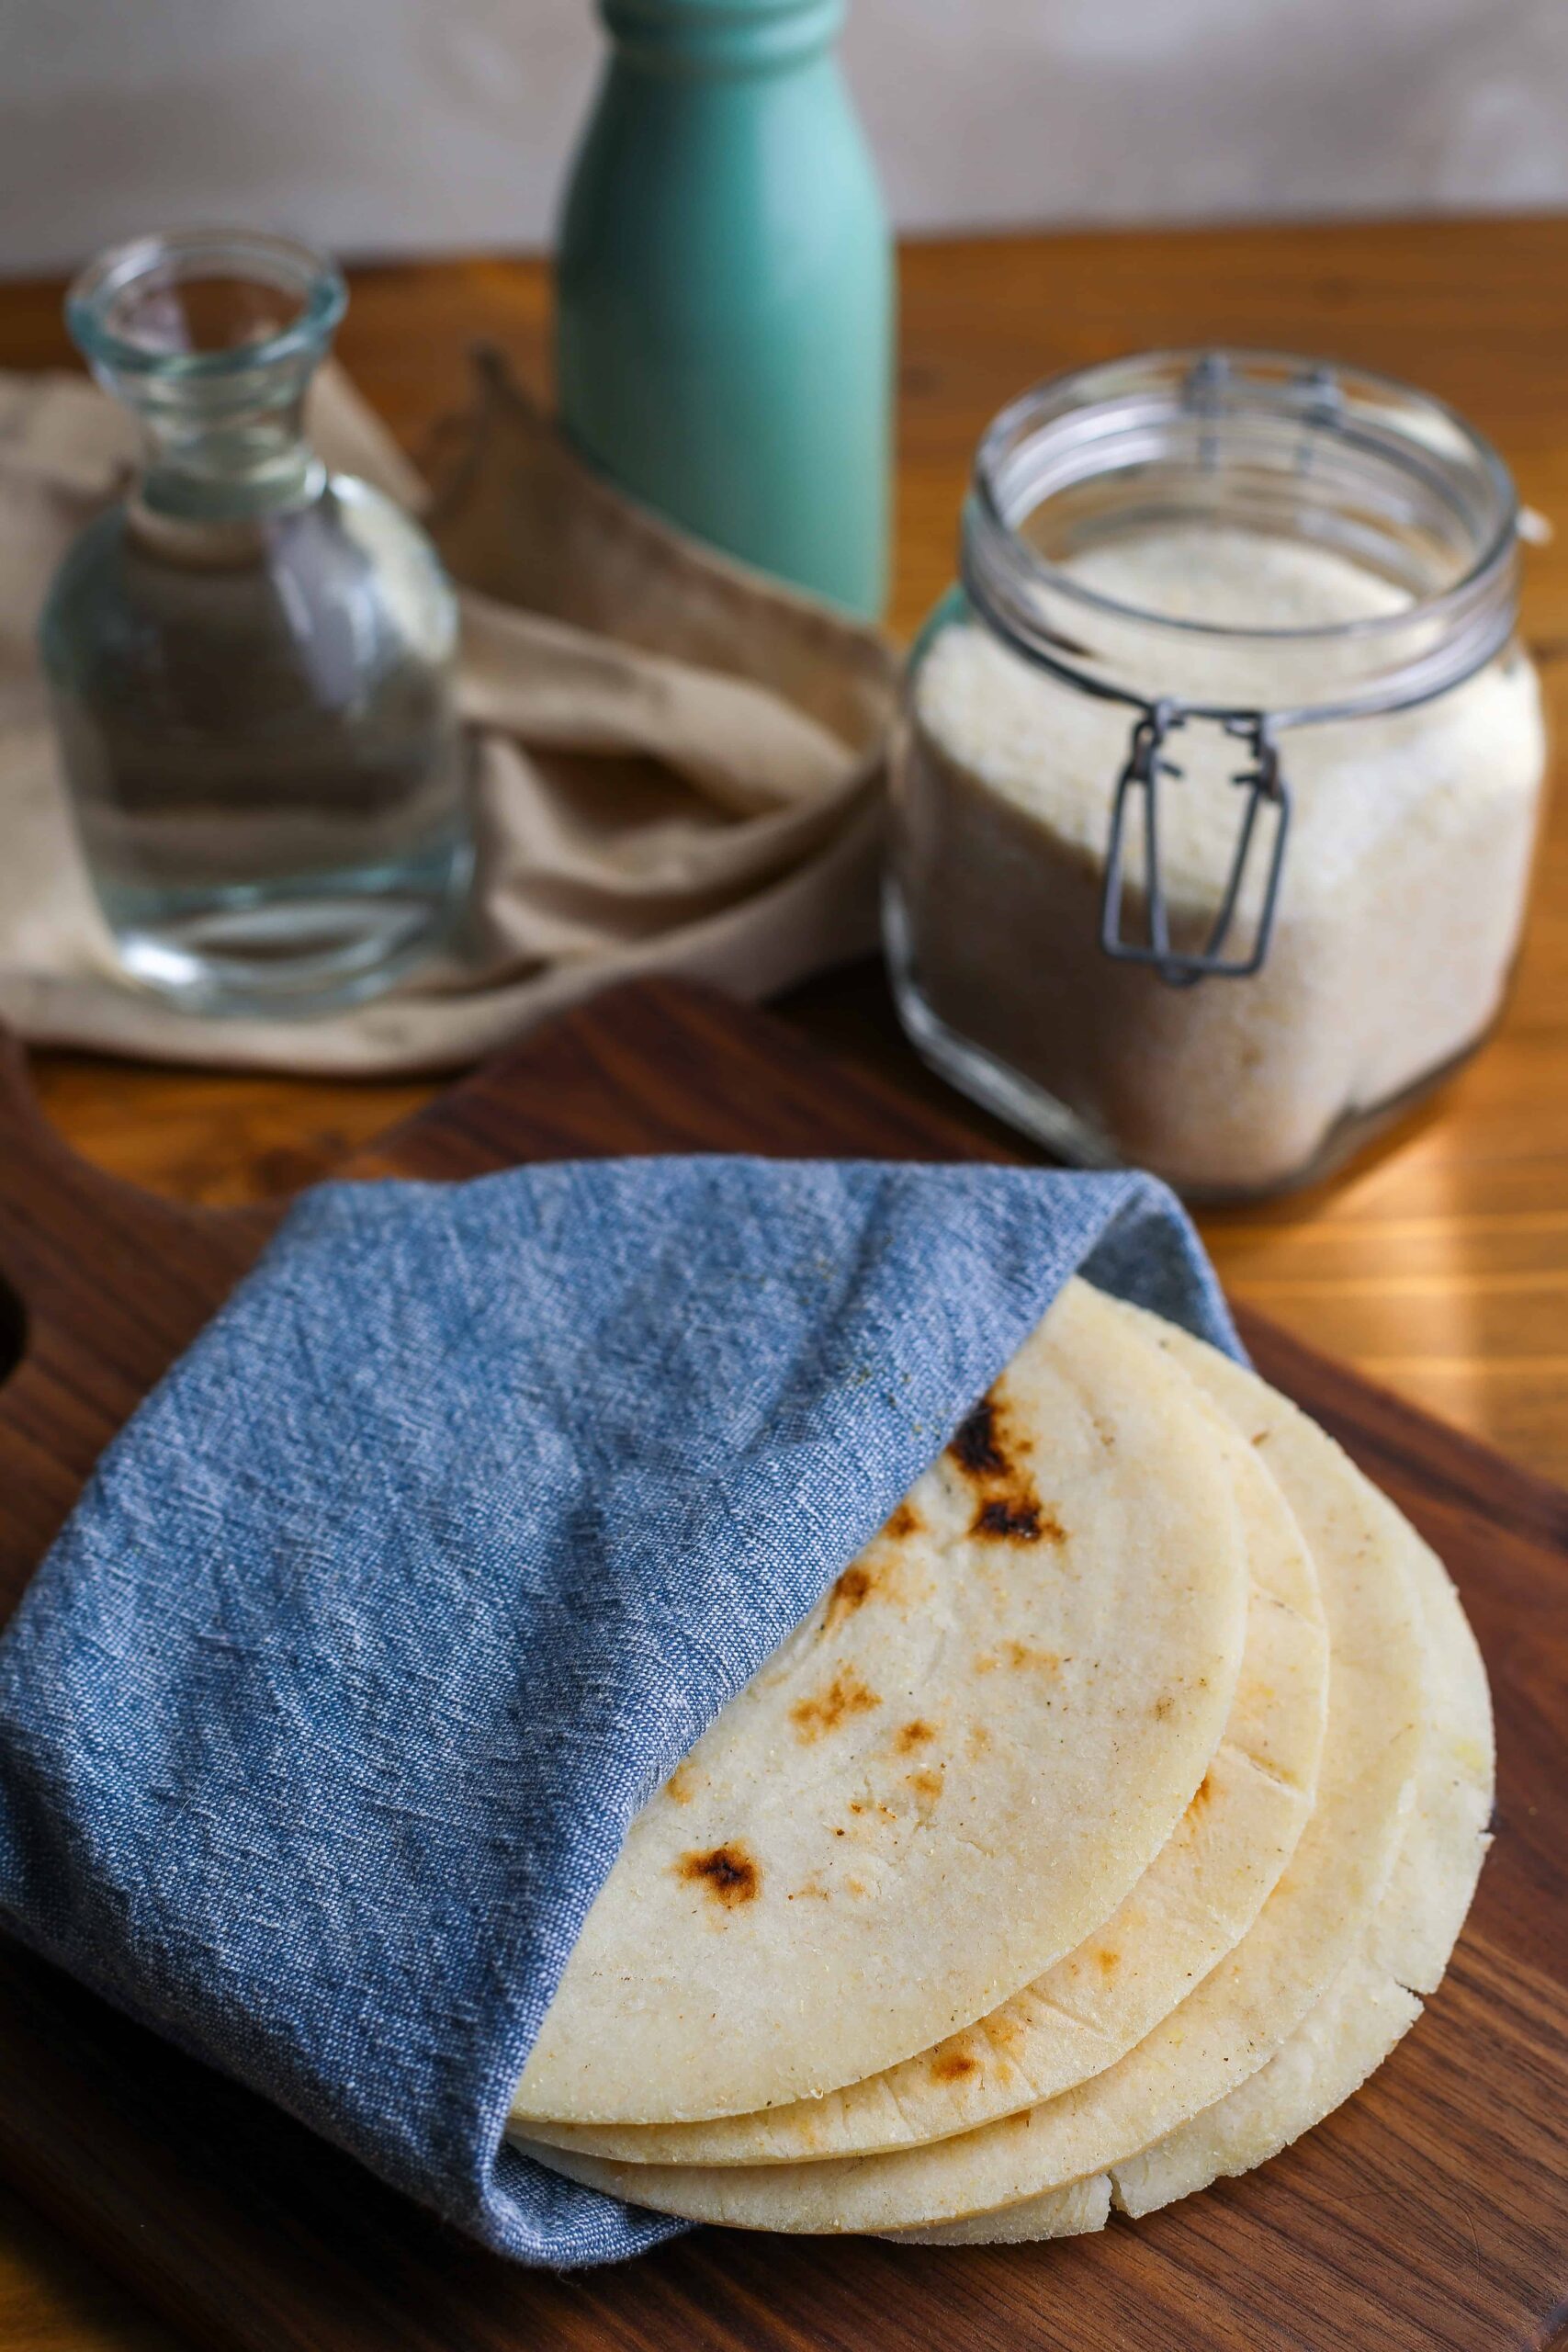
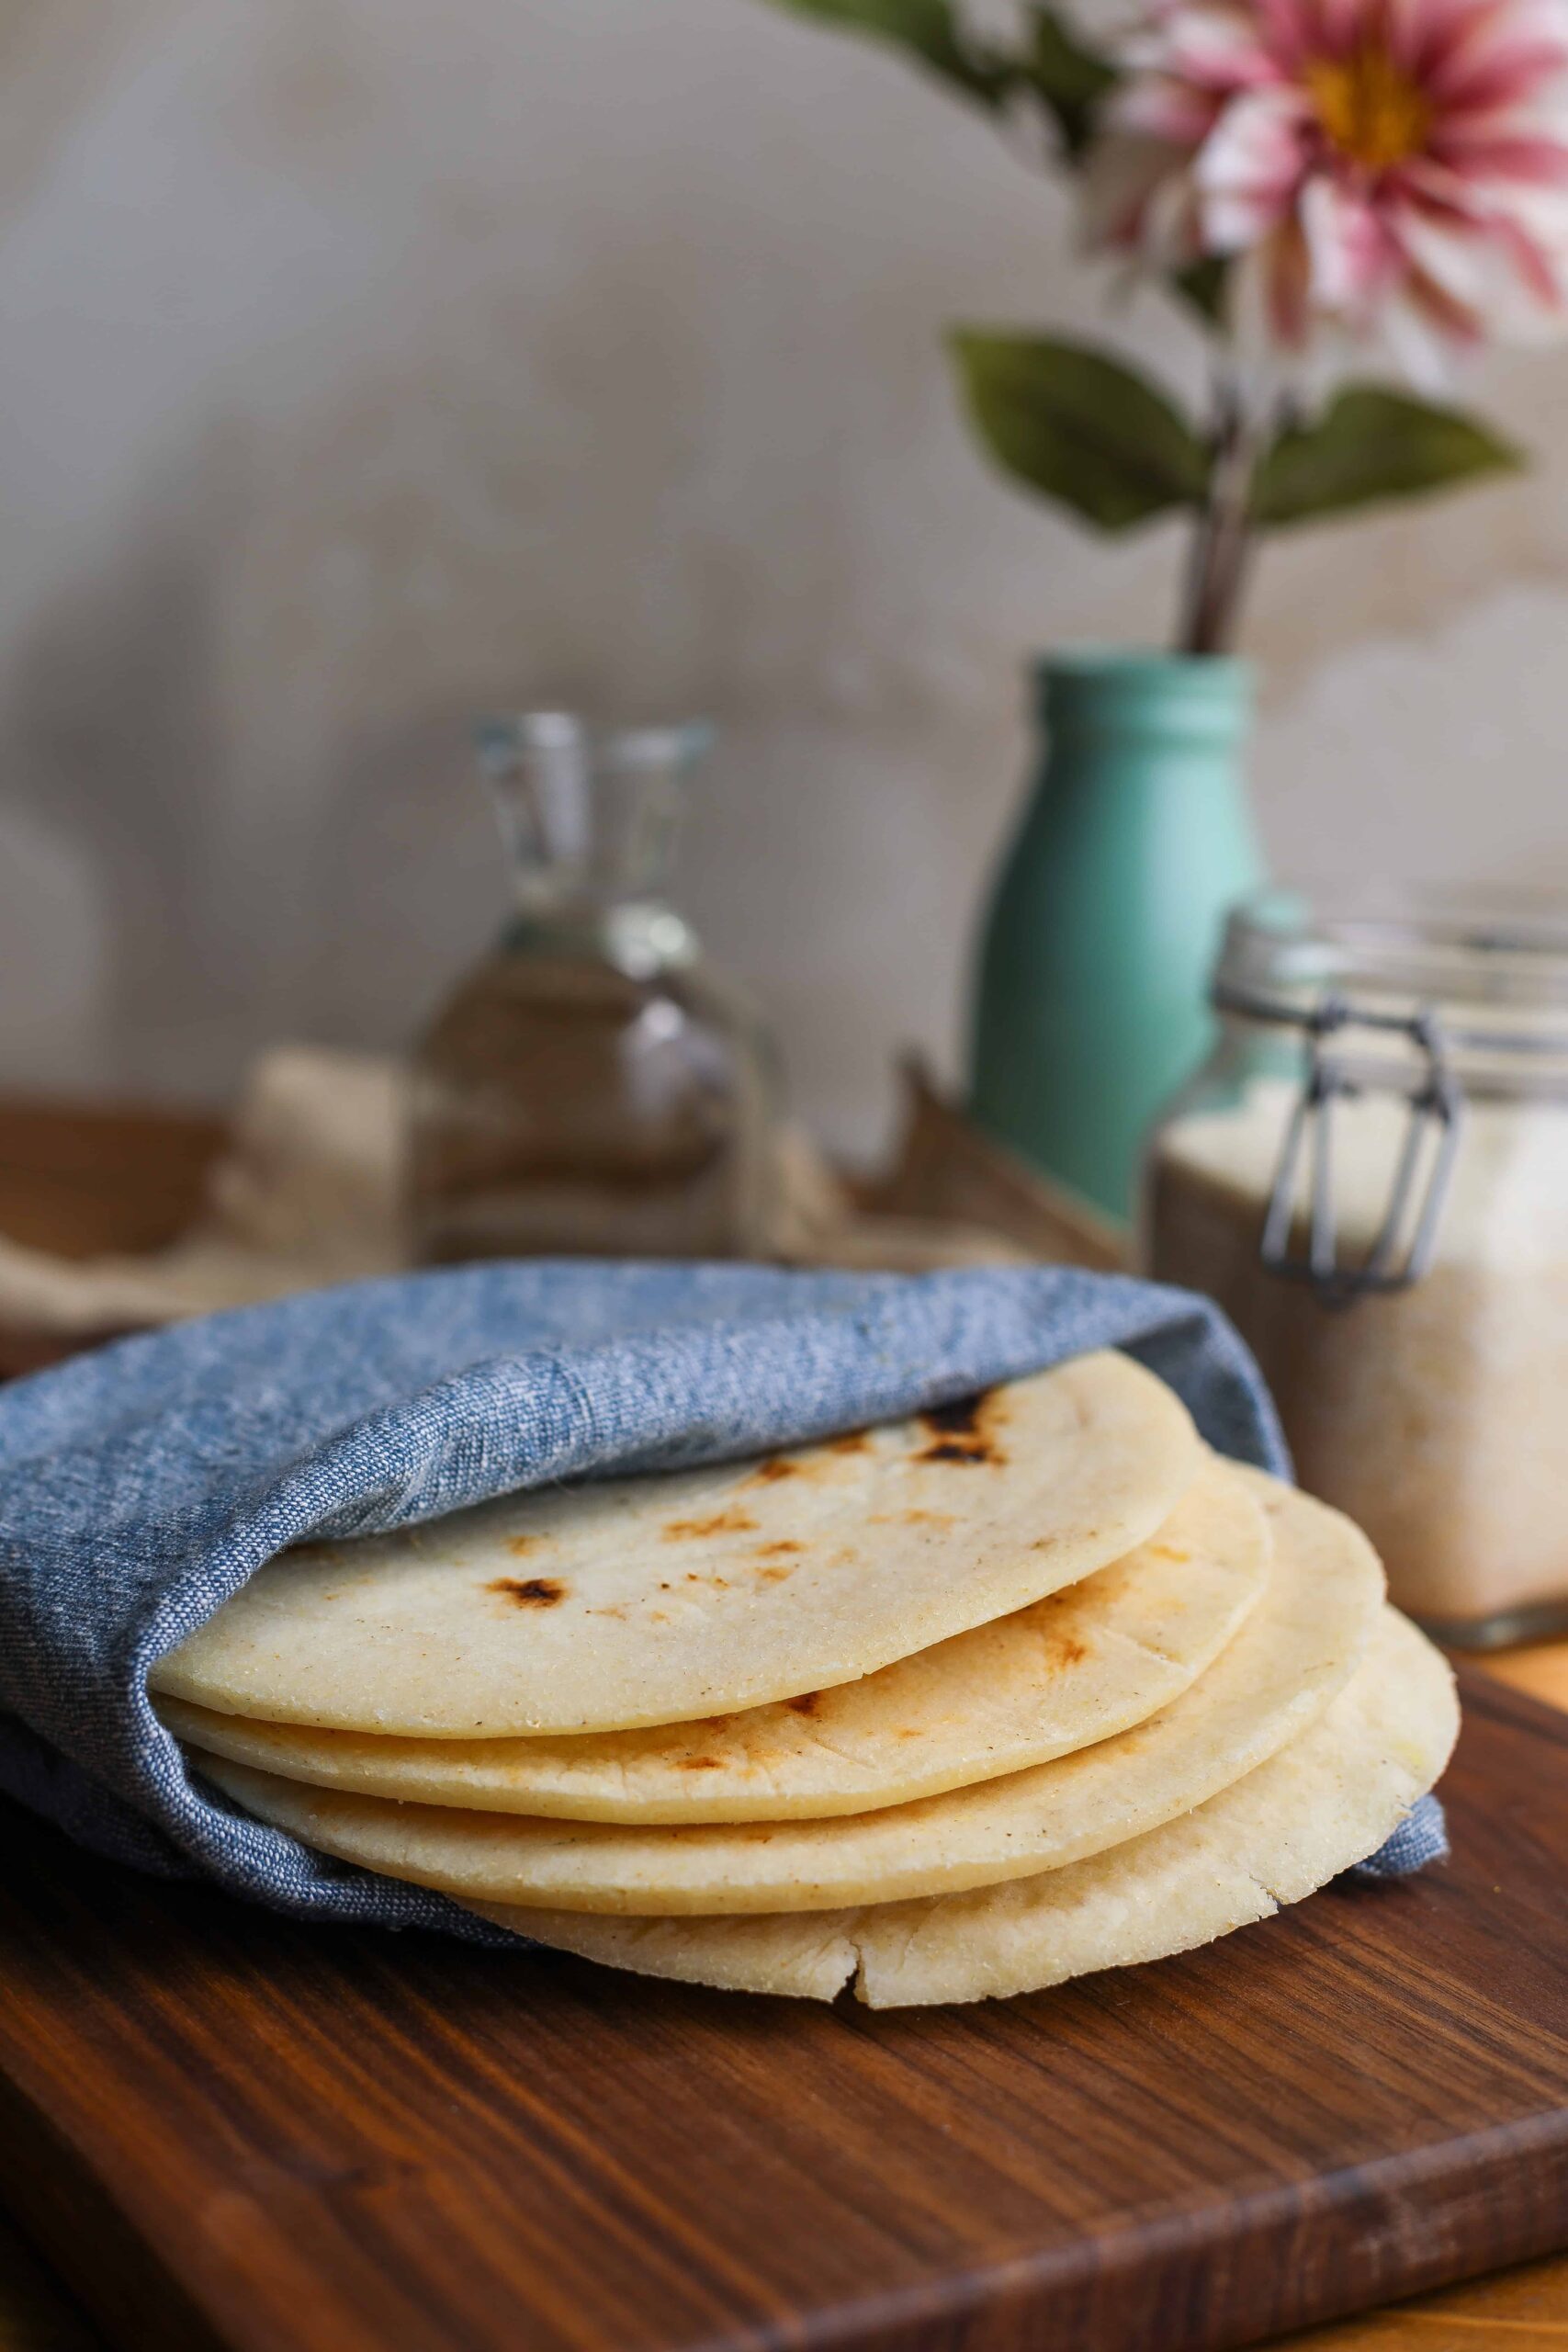
Colombian arepas are thin, griddled/grilled, about 7-8 inches in diameter. Colombian arepas are used as a side dish to your main course. Most commonly eaten during breakfast, but can be served as an accompaniment to lunch or dinner. Sometimes, you'll rip a piece of your arepa off and use it to pinch off a piece of meat or dip it into your stew. In some occasions, you'll treat a Colombian arepa like an open faced sandwich by piling on top cheese or meat.
Venezuelan arepas are thicker and smaller. Their recipe typically calls for the addition of salt and oil. Sometimes they're fried. Since they're thicker, they're sliced in half and stuffed with protein like chicken salad, cheese, beans, shredded beef, or pork. Similar to a pita pocket. They're part of the main course, unlike their Colombian counterpart.
Variations
Looking for arepas de queso Colombianas? To this masa add ⅓ cup of grated queso Colombiano. If you can't find Colombian white major cheese goals right here, you can use a semi-firm mozzarella.
Storage
I was taught to store these arepas by allowing them to cool to room temperature after cooking. Once cooled, wrap each arepa in plastic wrap then place all the arepas in a gallon ziplock bag and place in the refrigerator. They will keep in the refrigerator for upto 5 days.
These arepas also can also be frozen. Once at room temperature, wrap each arepa in plastic wrap then place all the arepas in a freezer safe ziplock bag. They will be good upto 1 month in the freezer.
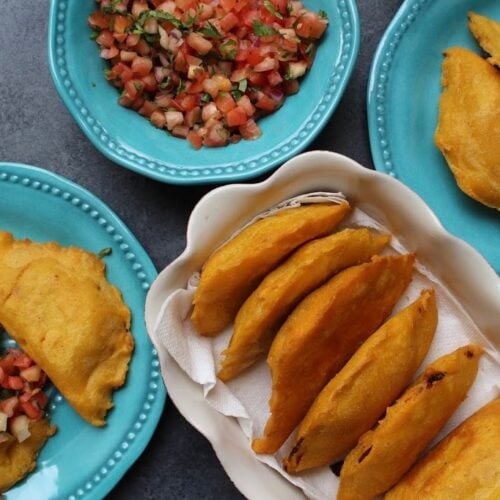
Check out these other Colombian recipes

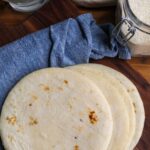
Colombian Arepas
Ingredients
- 2 cups of masarepa of your choice
- 2 ¼ cups water
- pinch of salt optional
Instructions
- Add the water and salt (optional) to a large bowl.
- Slowly mix in the masarepa and about ½ cup at a time. Using your hands, knead the masa unit a smooth dough is formed. If you find the masa to be too dry and crumbly add ¼ cup of water. If you see your dough is too mushy, add more masarepa. Cover with a kitchen towel and allow to rest for 10 minutes.
- Form balls the size of a medium onion and place them between 2 sheets of plastic wrap. Flatten with a rolling pin to your desired thickness.
- Using a dessert plate or soup bowl (about 6-7 inches in diameter), cut the dough into circles through the plastic wrap. Remove excess dough and use it to make more arepas.
- Set your stovetop to medium and place your arepa on your arepa grill. Cook for about two minutes on each side or until cooked and lightly toasted.
- Once cooked, eat as is or store in an airtight container in the refrigerator for upto a week.
Notes
- If you have a tortilla press, you can use that instead to flatten the dough. Be sure to wrap it plastic wrap so the dough doesn't stick to the press.
- If you don't have an arepa grill, you can use a nonstick frying pan to toast them
- Do not stack your arepas on top of each other. They will stick to one another and become soggy. Place a paper towel between each arepa to avoid this.
- You can freeze your arepas for upto 3 months. If cooking from frozen, place the arepa in the microwave with a damp paper towel for 30 seconds on high heat. Then cook regularly. This helps avoid the arepa cracking in half.
Jose lara says
Historically, the Venezuelan Arepas have never had a specific size, since each region of the country has its own modalities such as large, small, thin, thick, etc. Initially, when they were made from pilao corn, it was that more uniformity in size was maintained, when it was invented. Pre-cooked flour allowed families in its preparation to experiment with different sizes and shapes due to its versatility.
Christine Wheeler says
Where can i buy a good quality arepa grill/ tortilla grill?
Cari says
If you have a latin, colombian or venezuelan market near you they will typically have them. If you don't have that kind of market nearby, you can find them Amazon!