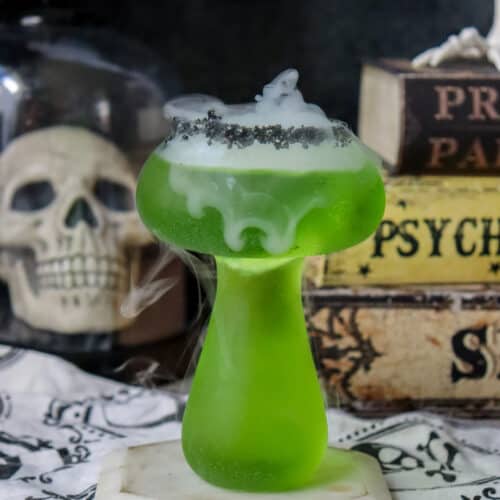
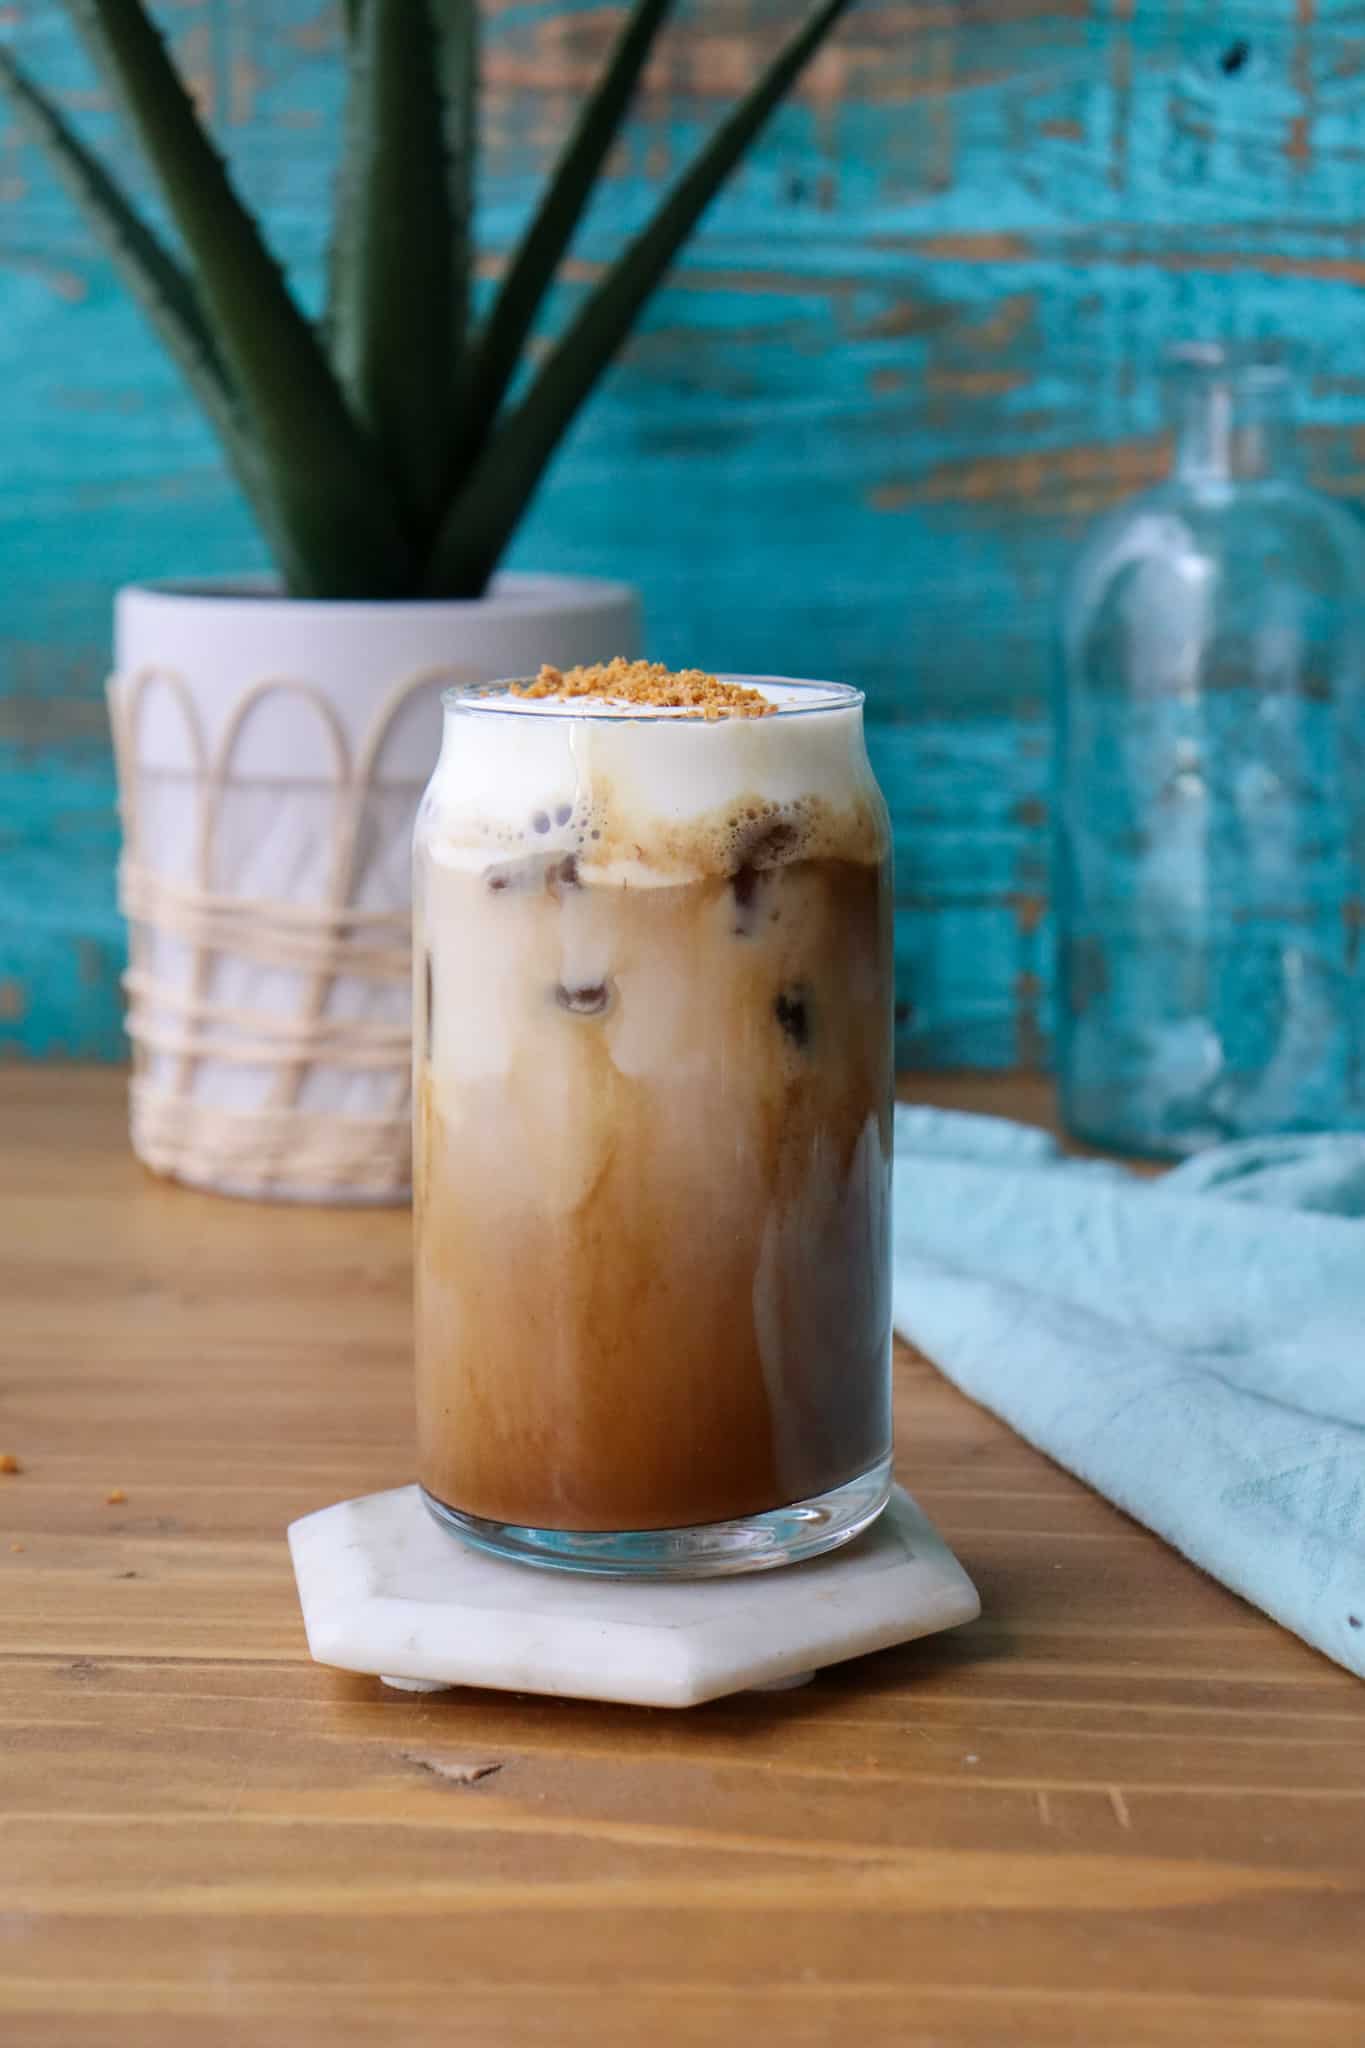
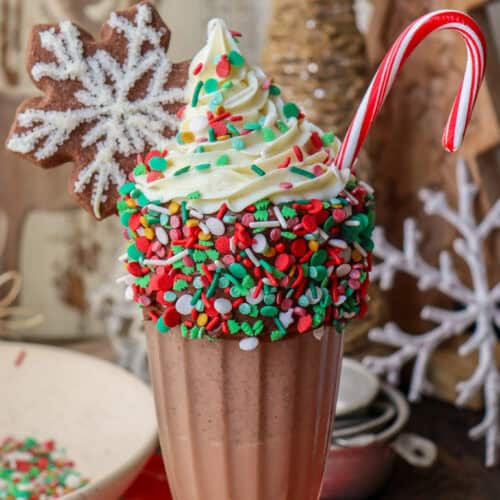
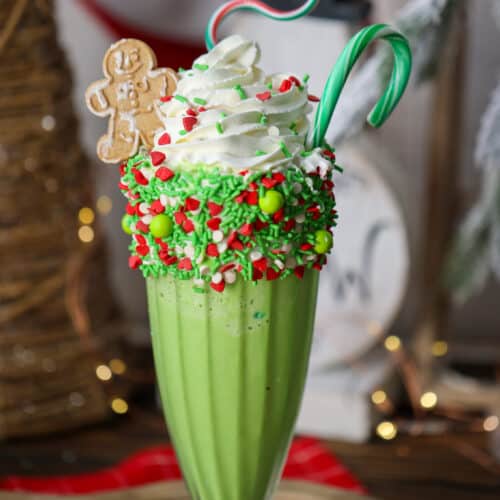
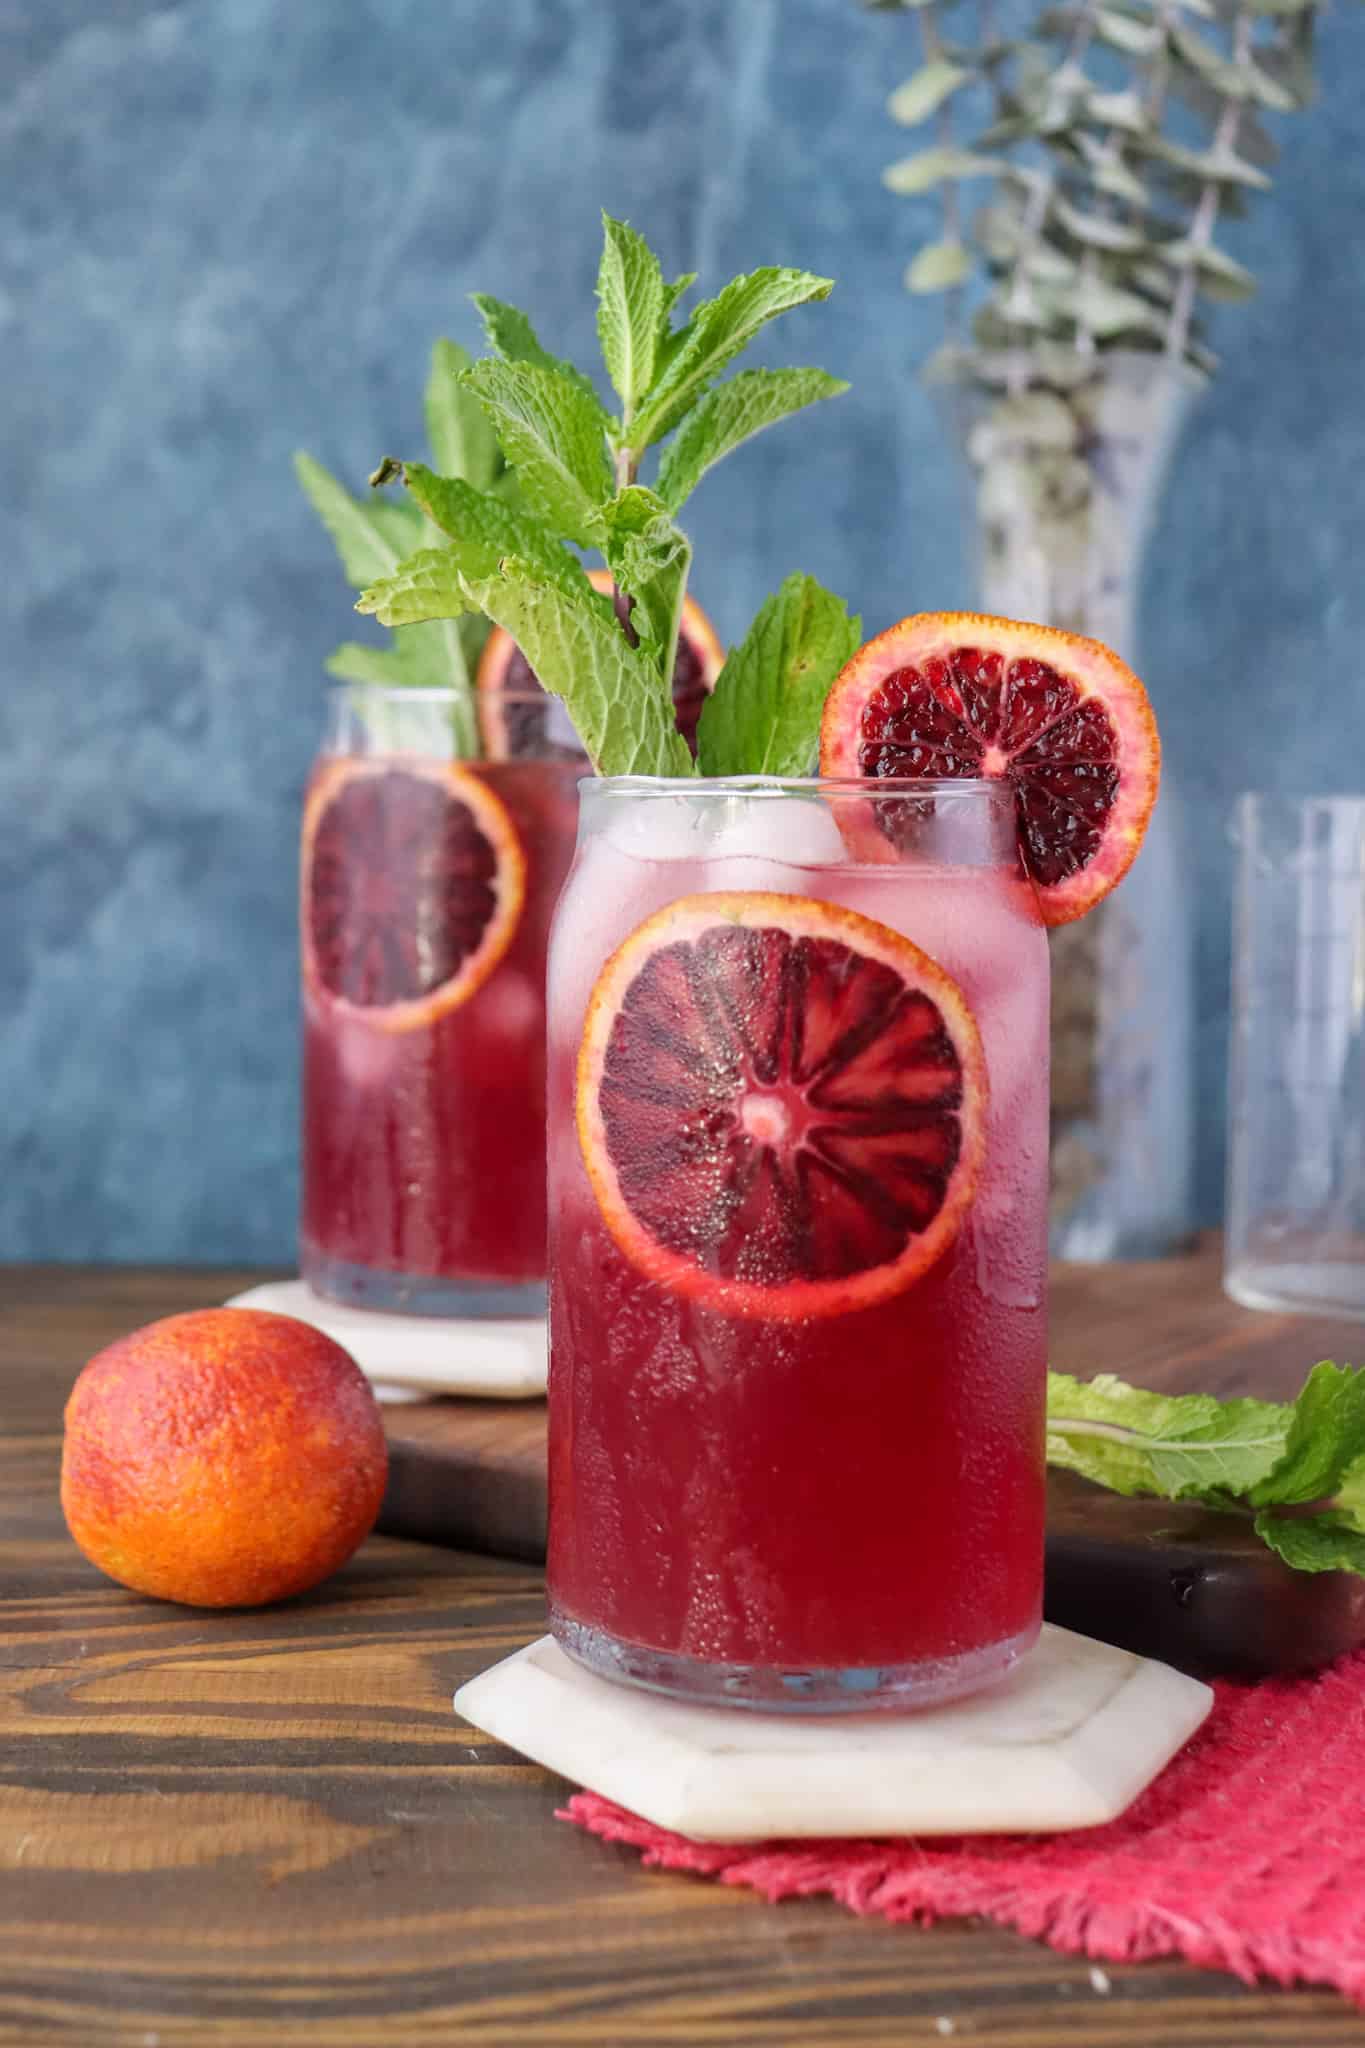
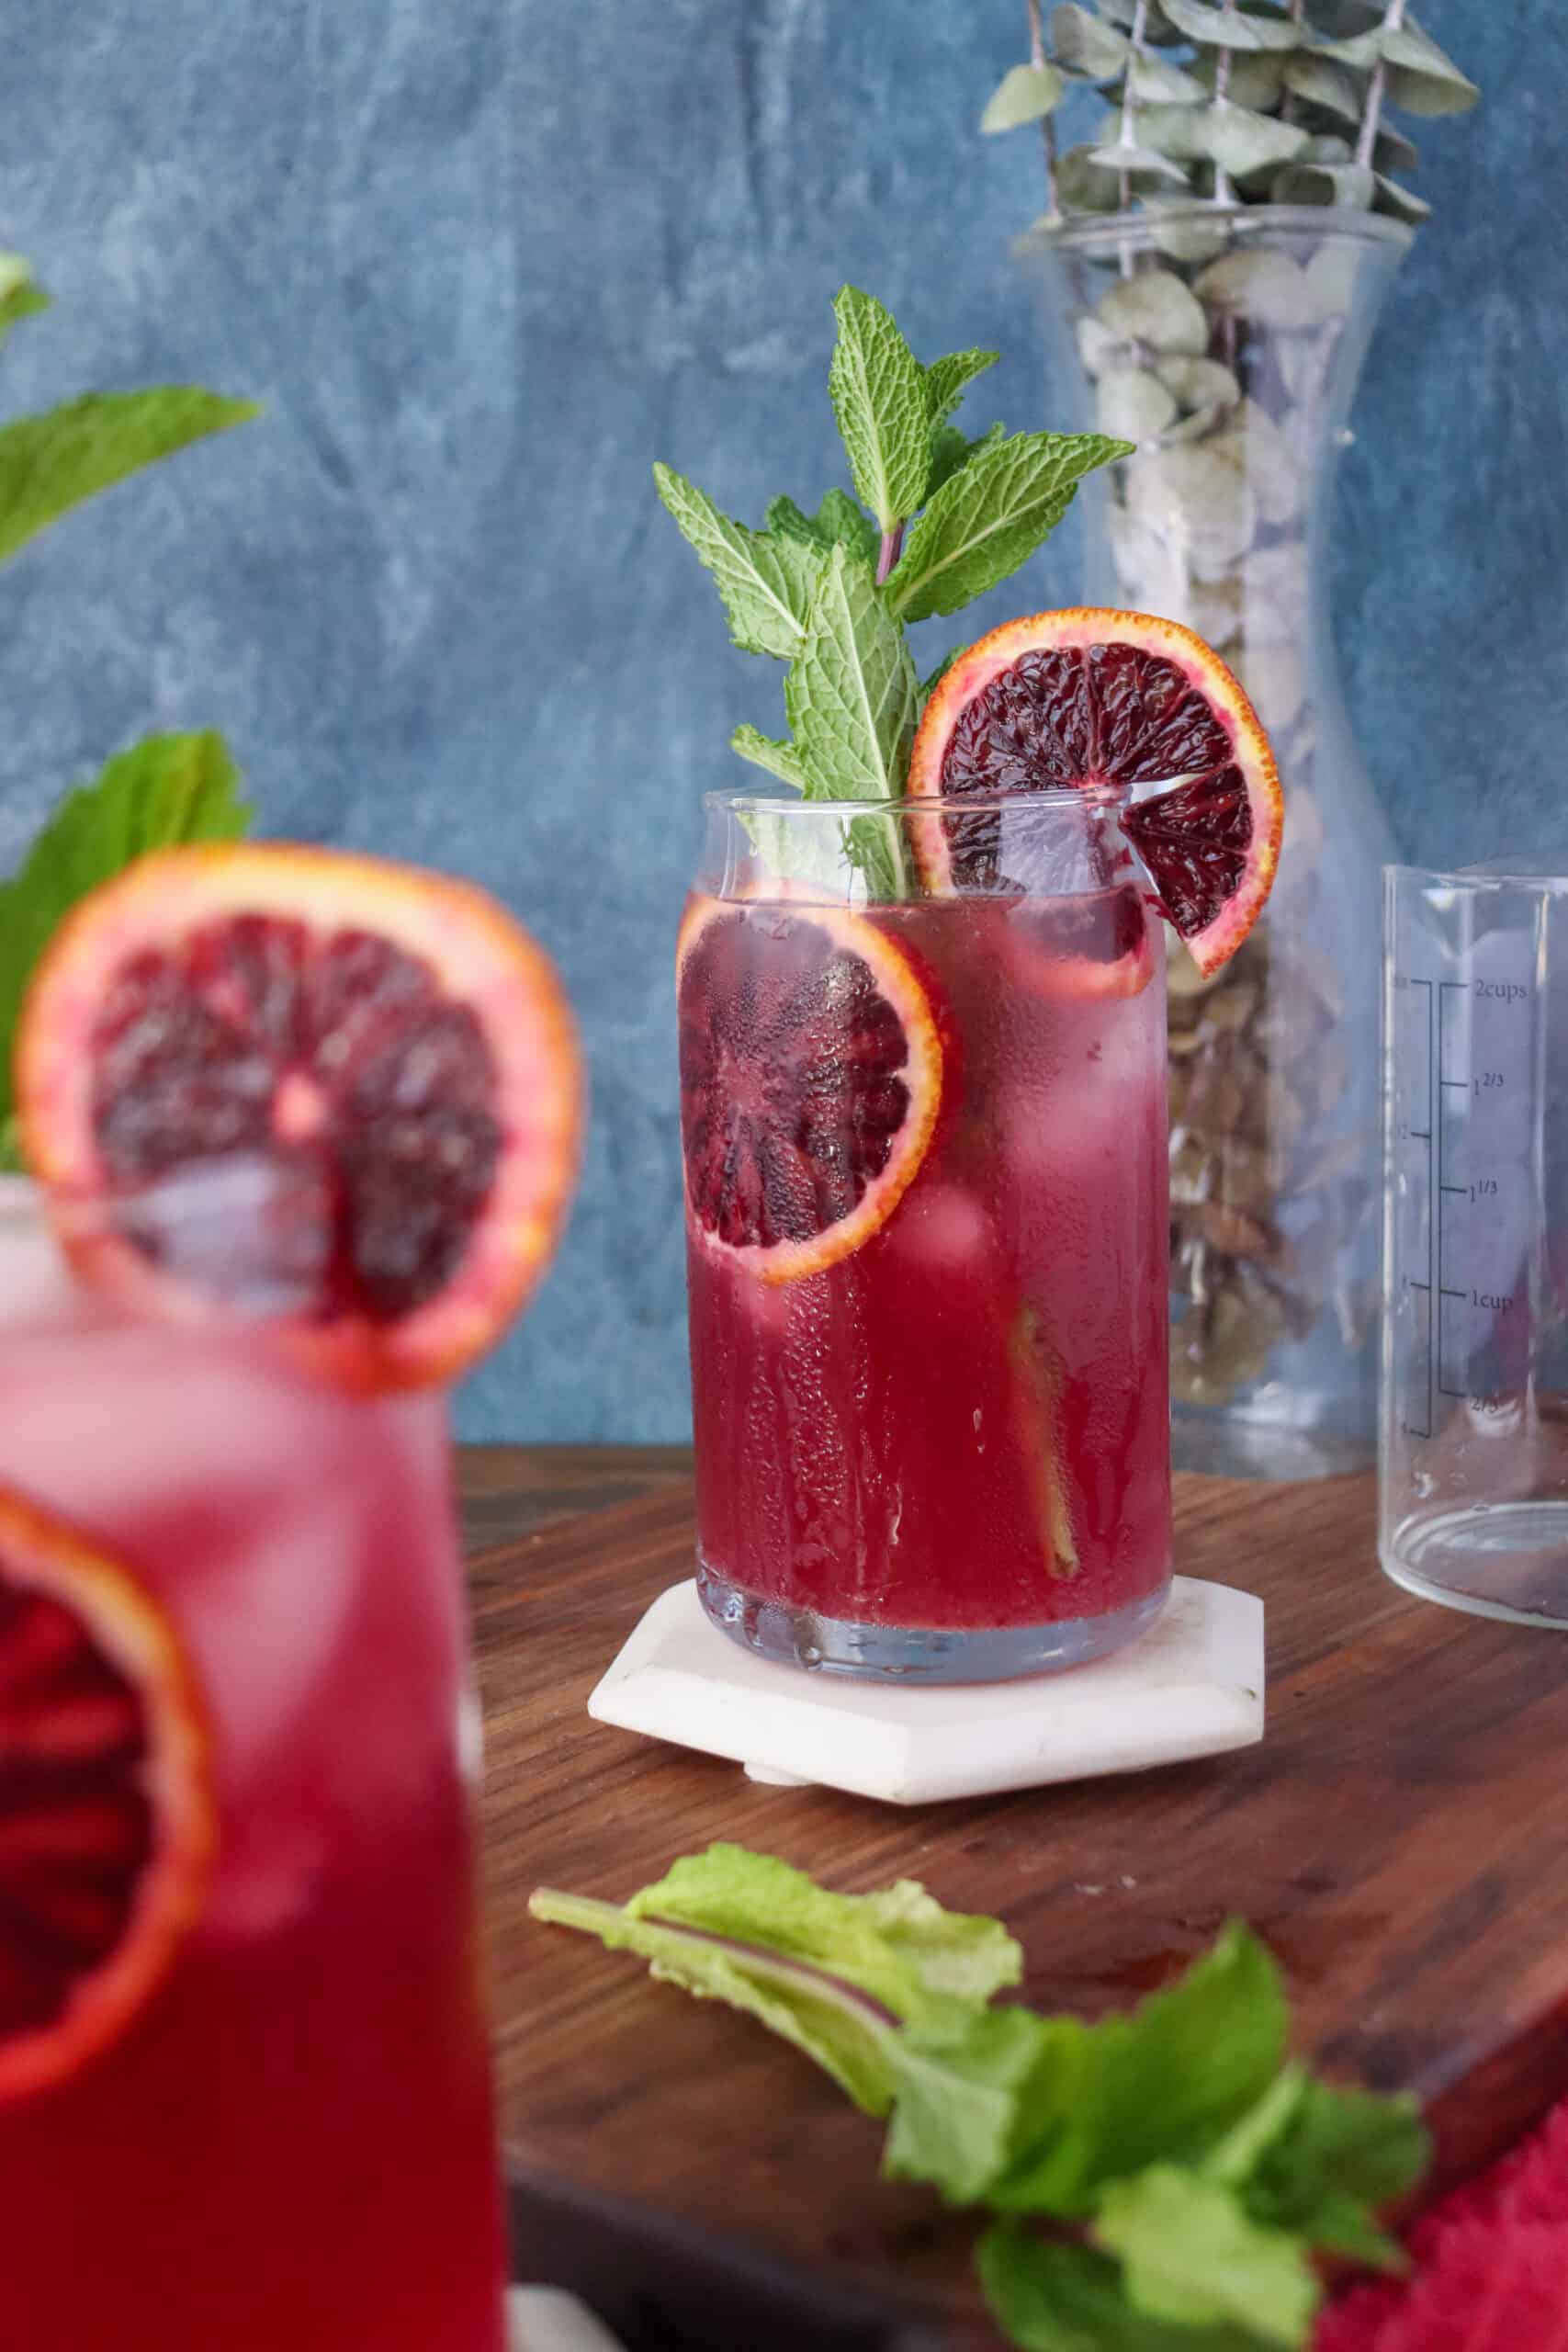
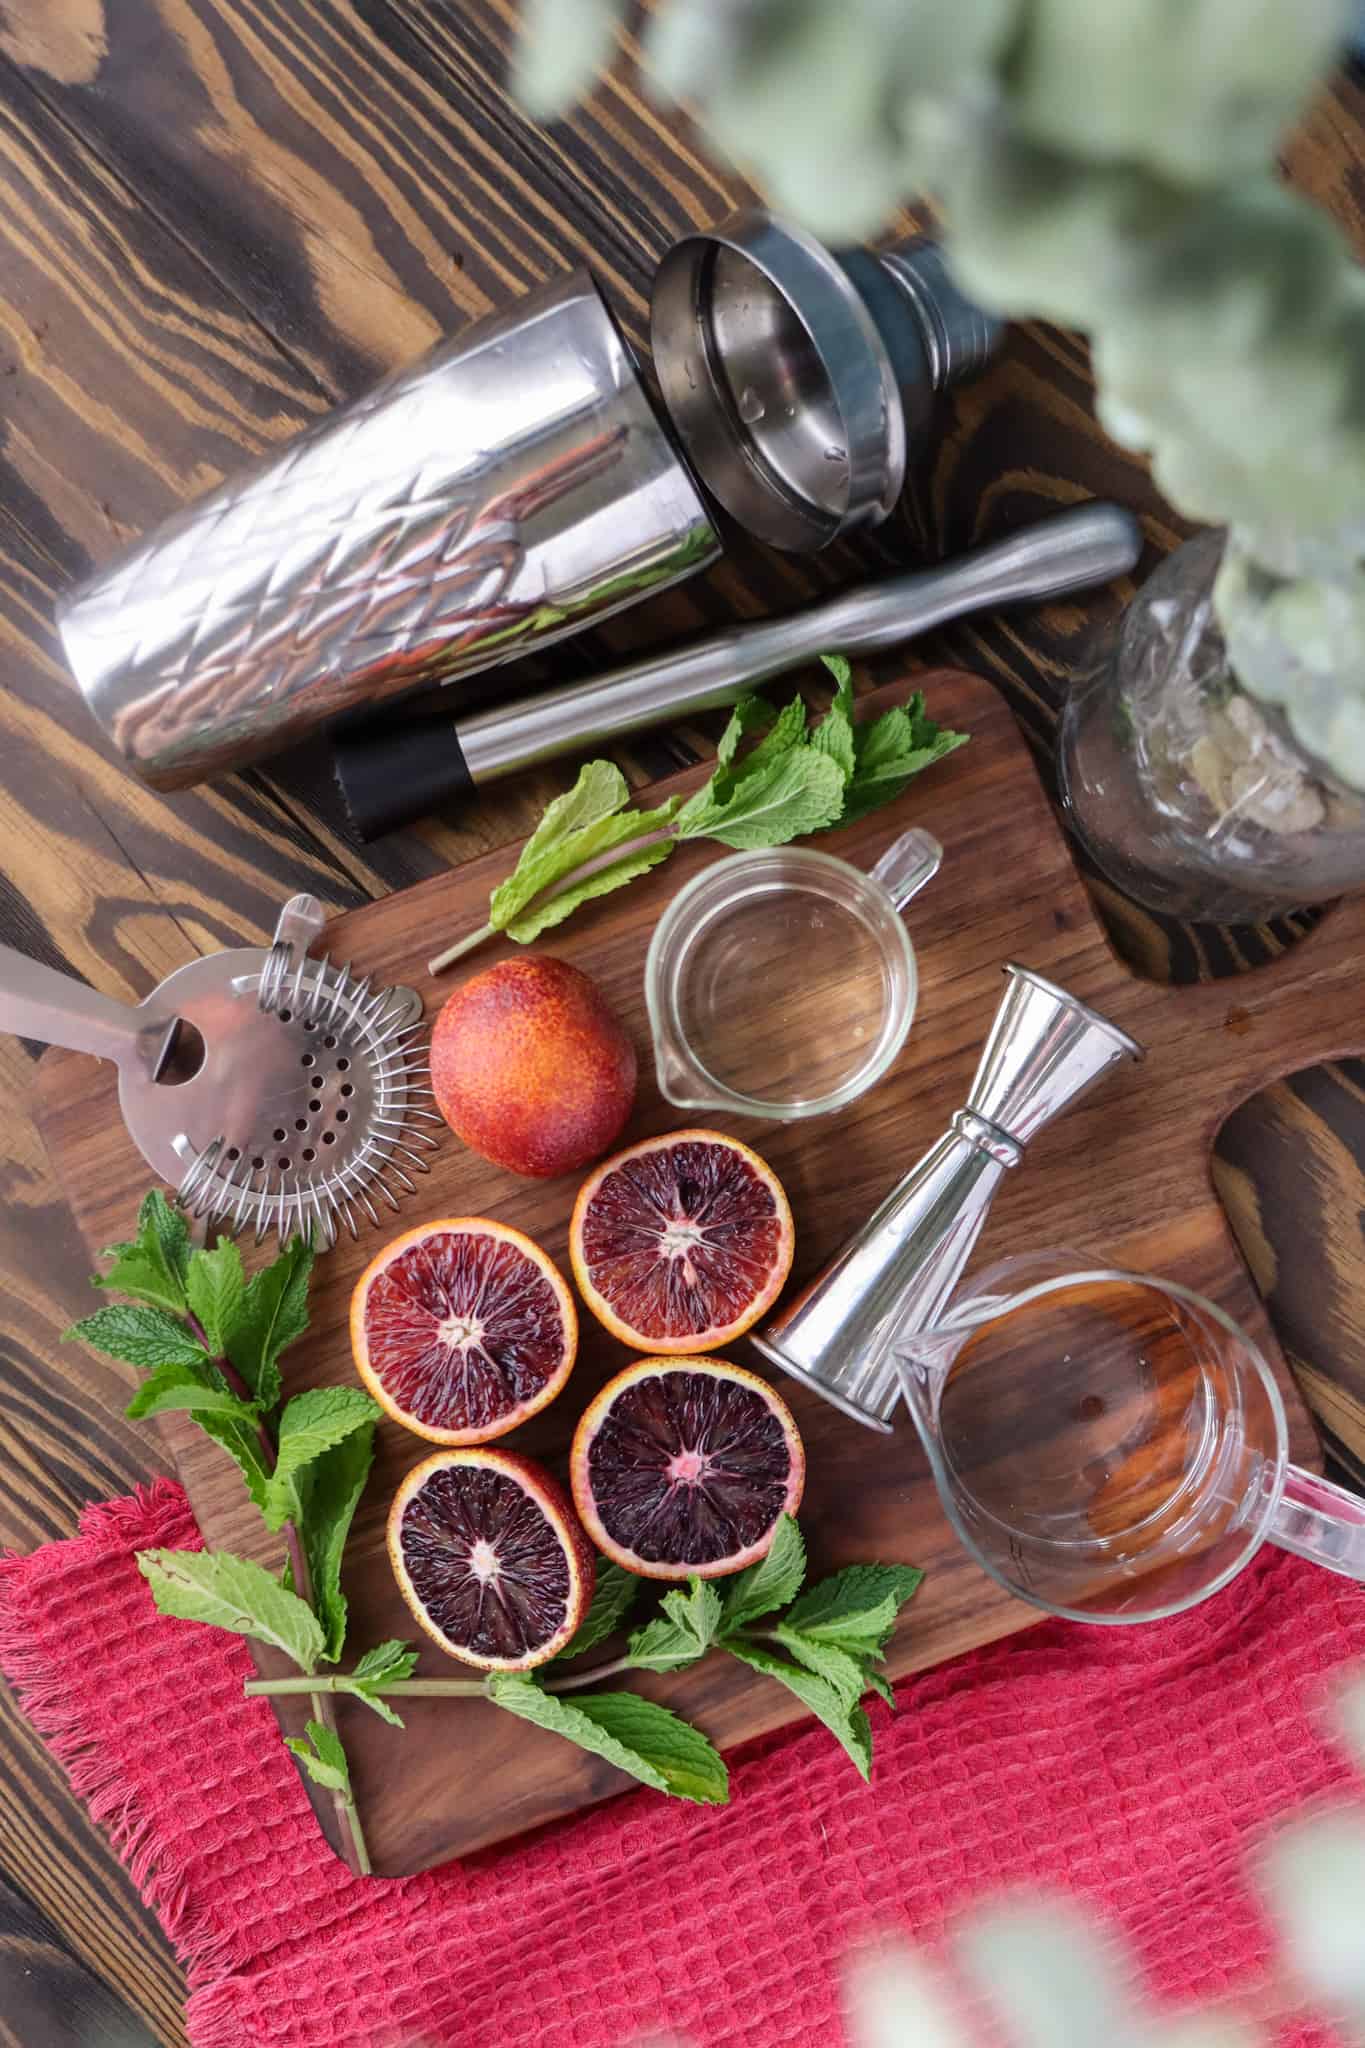
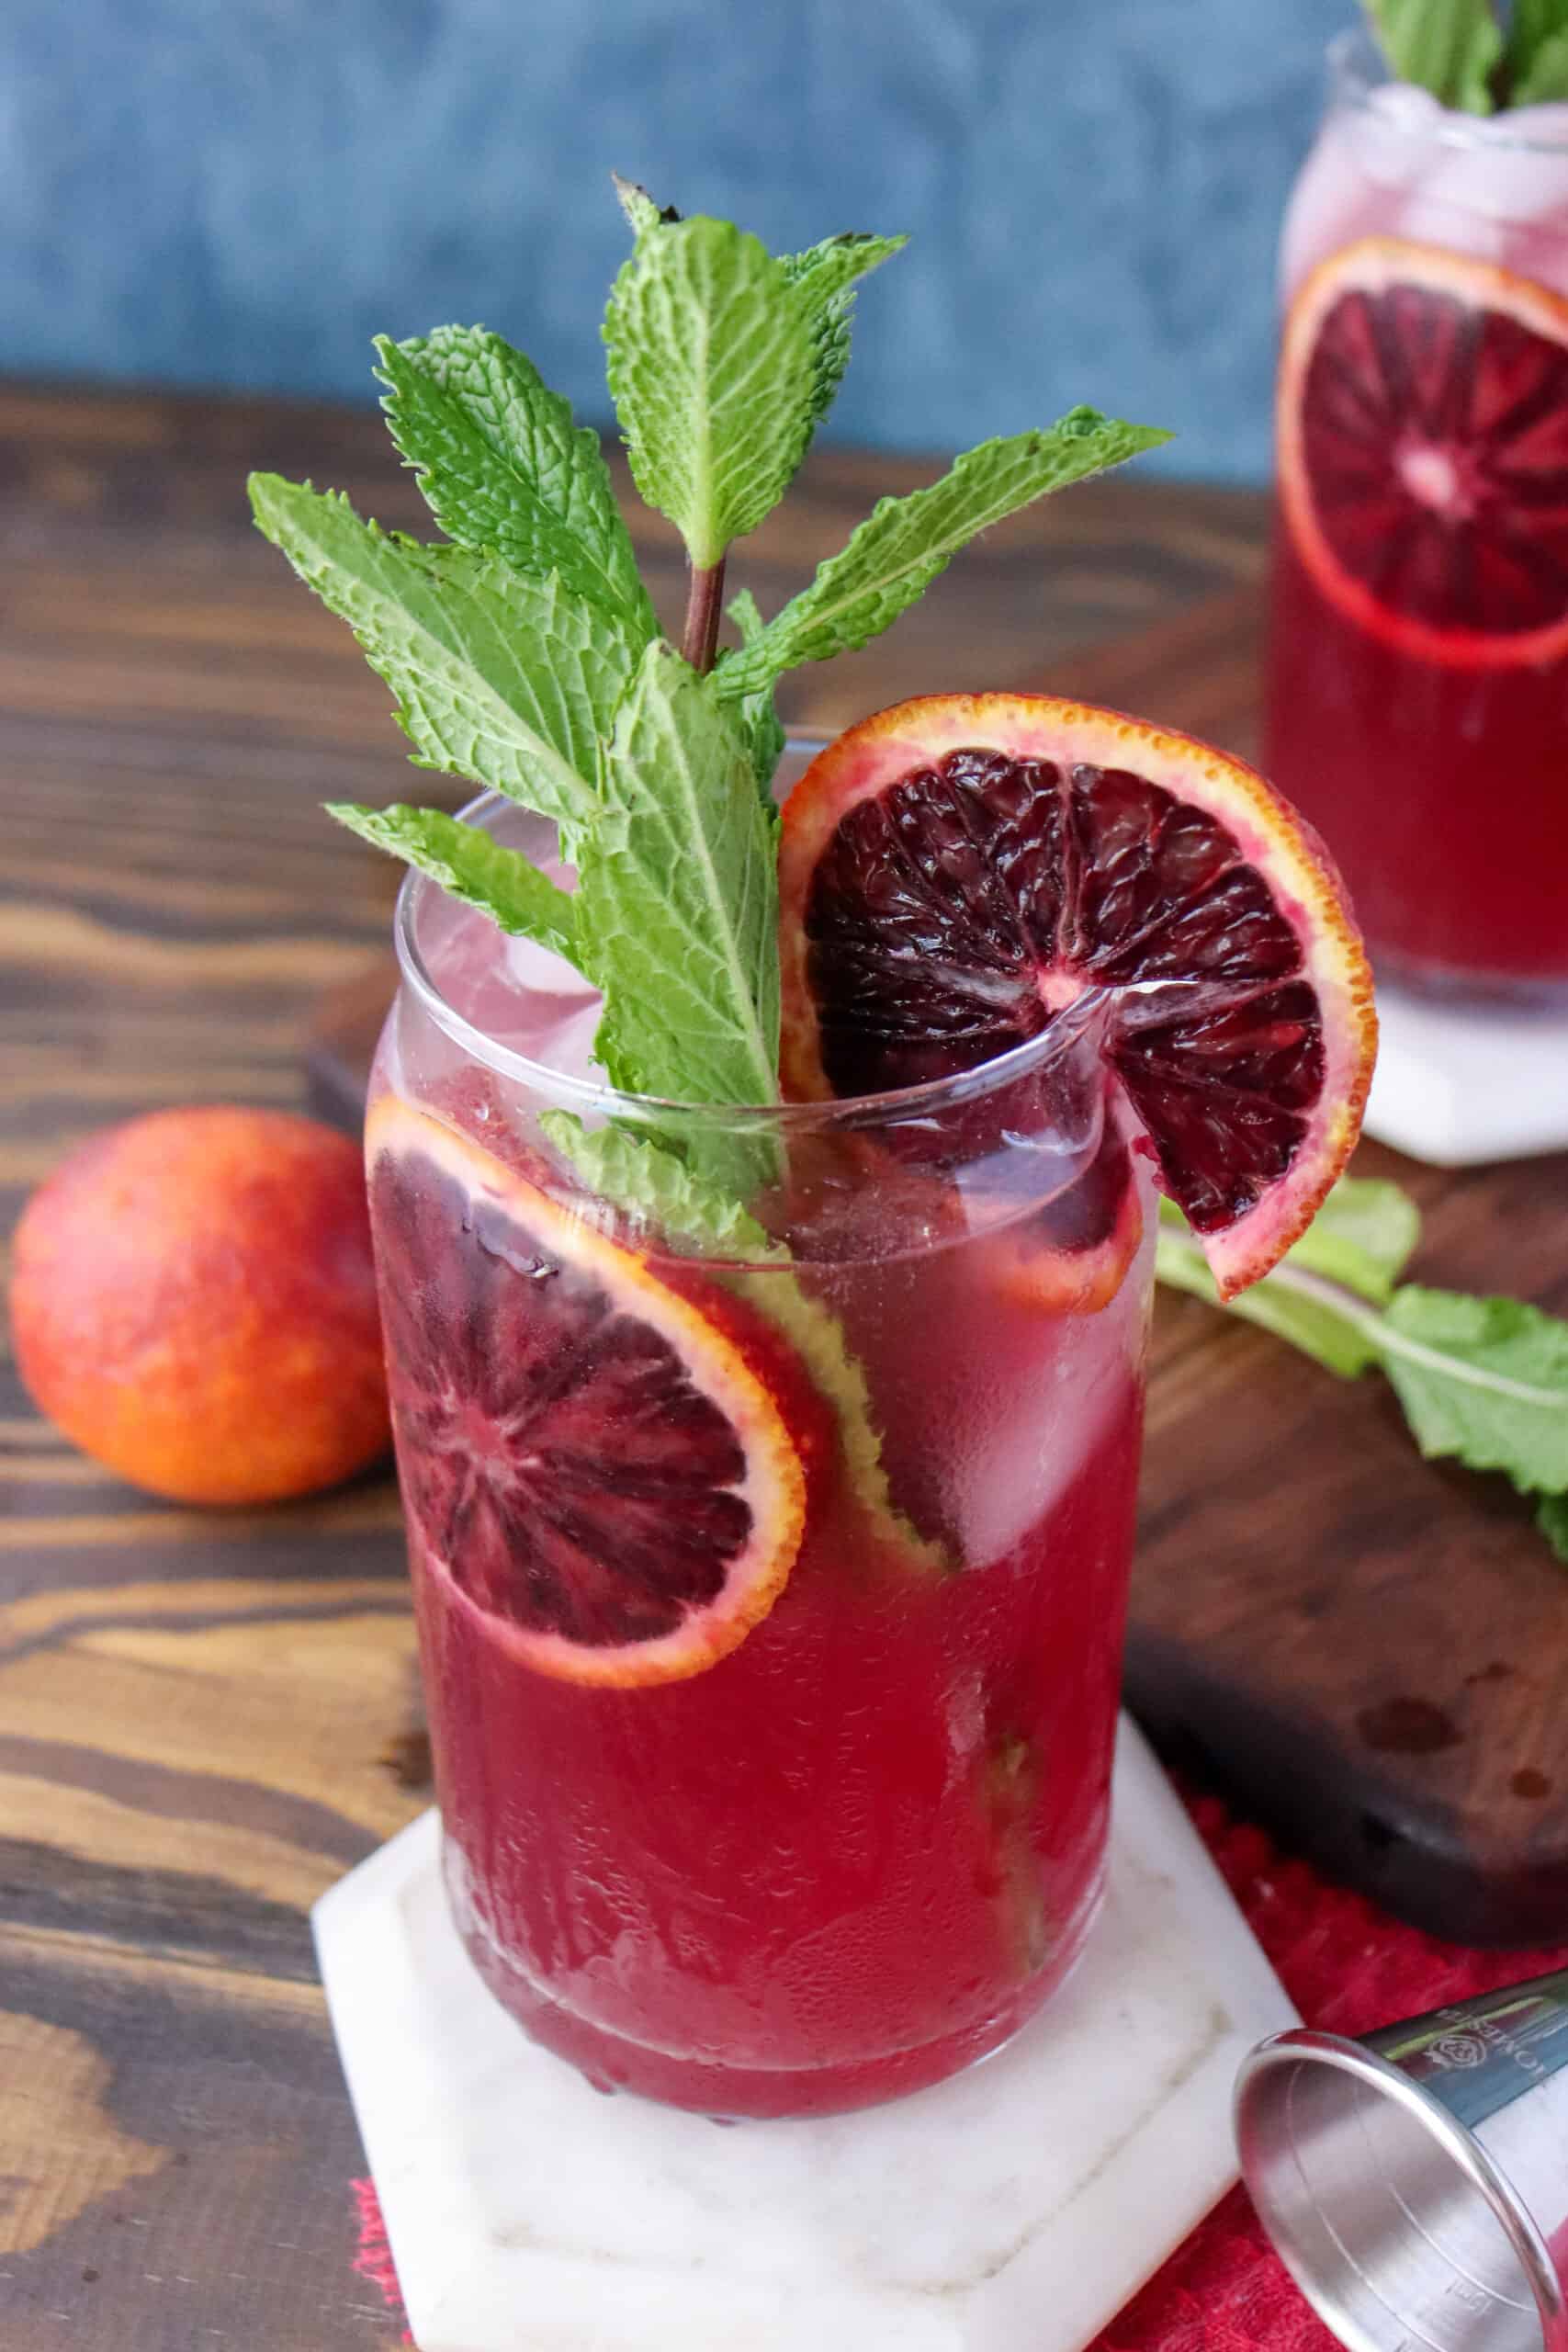
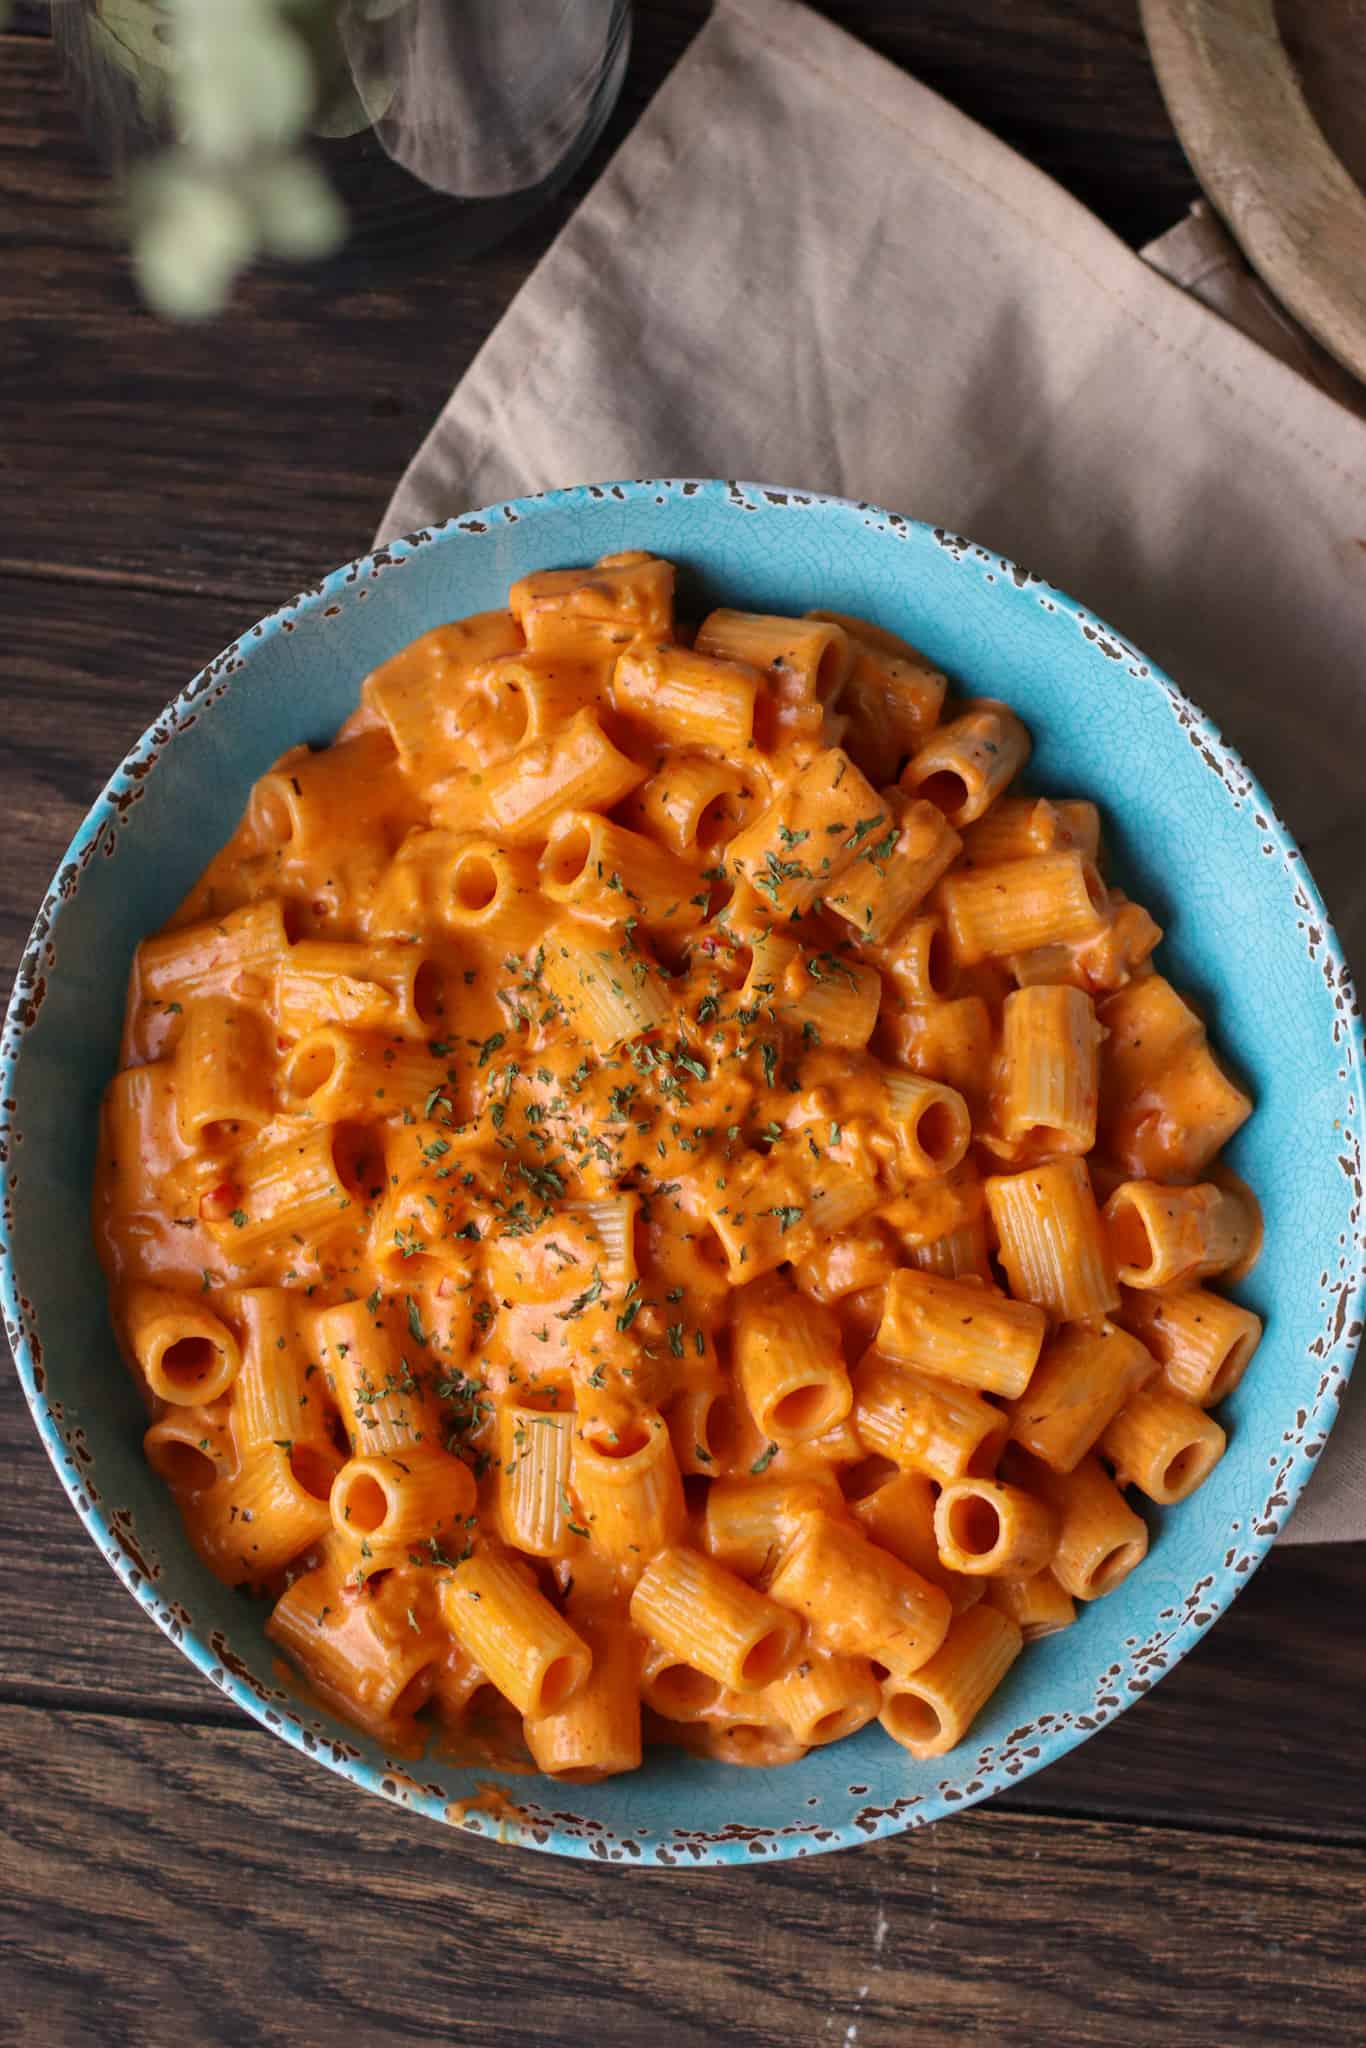
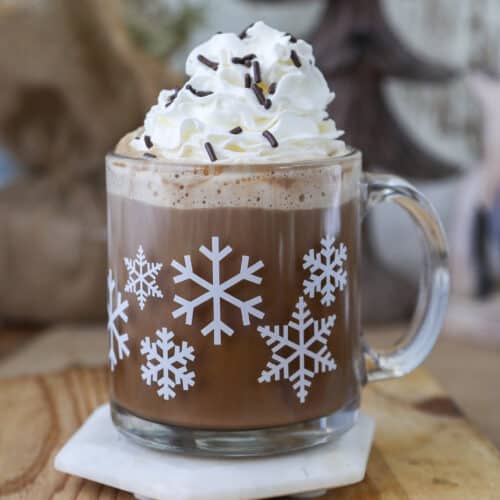
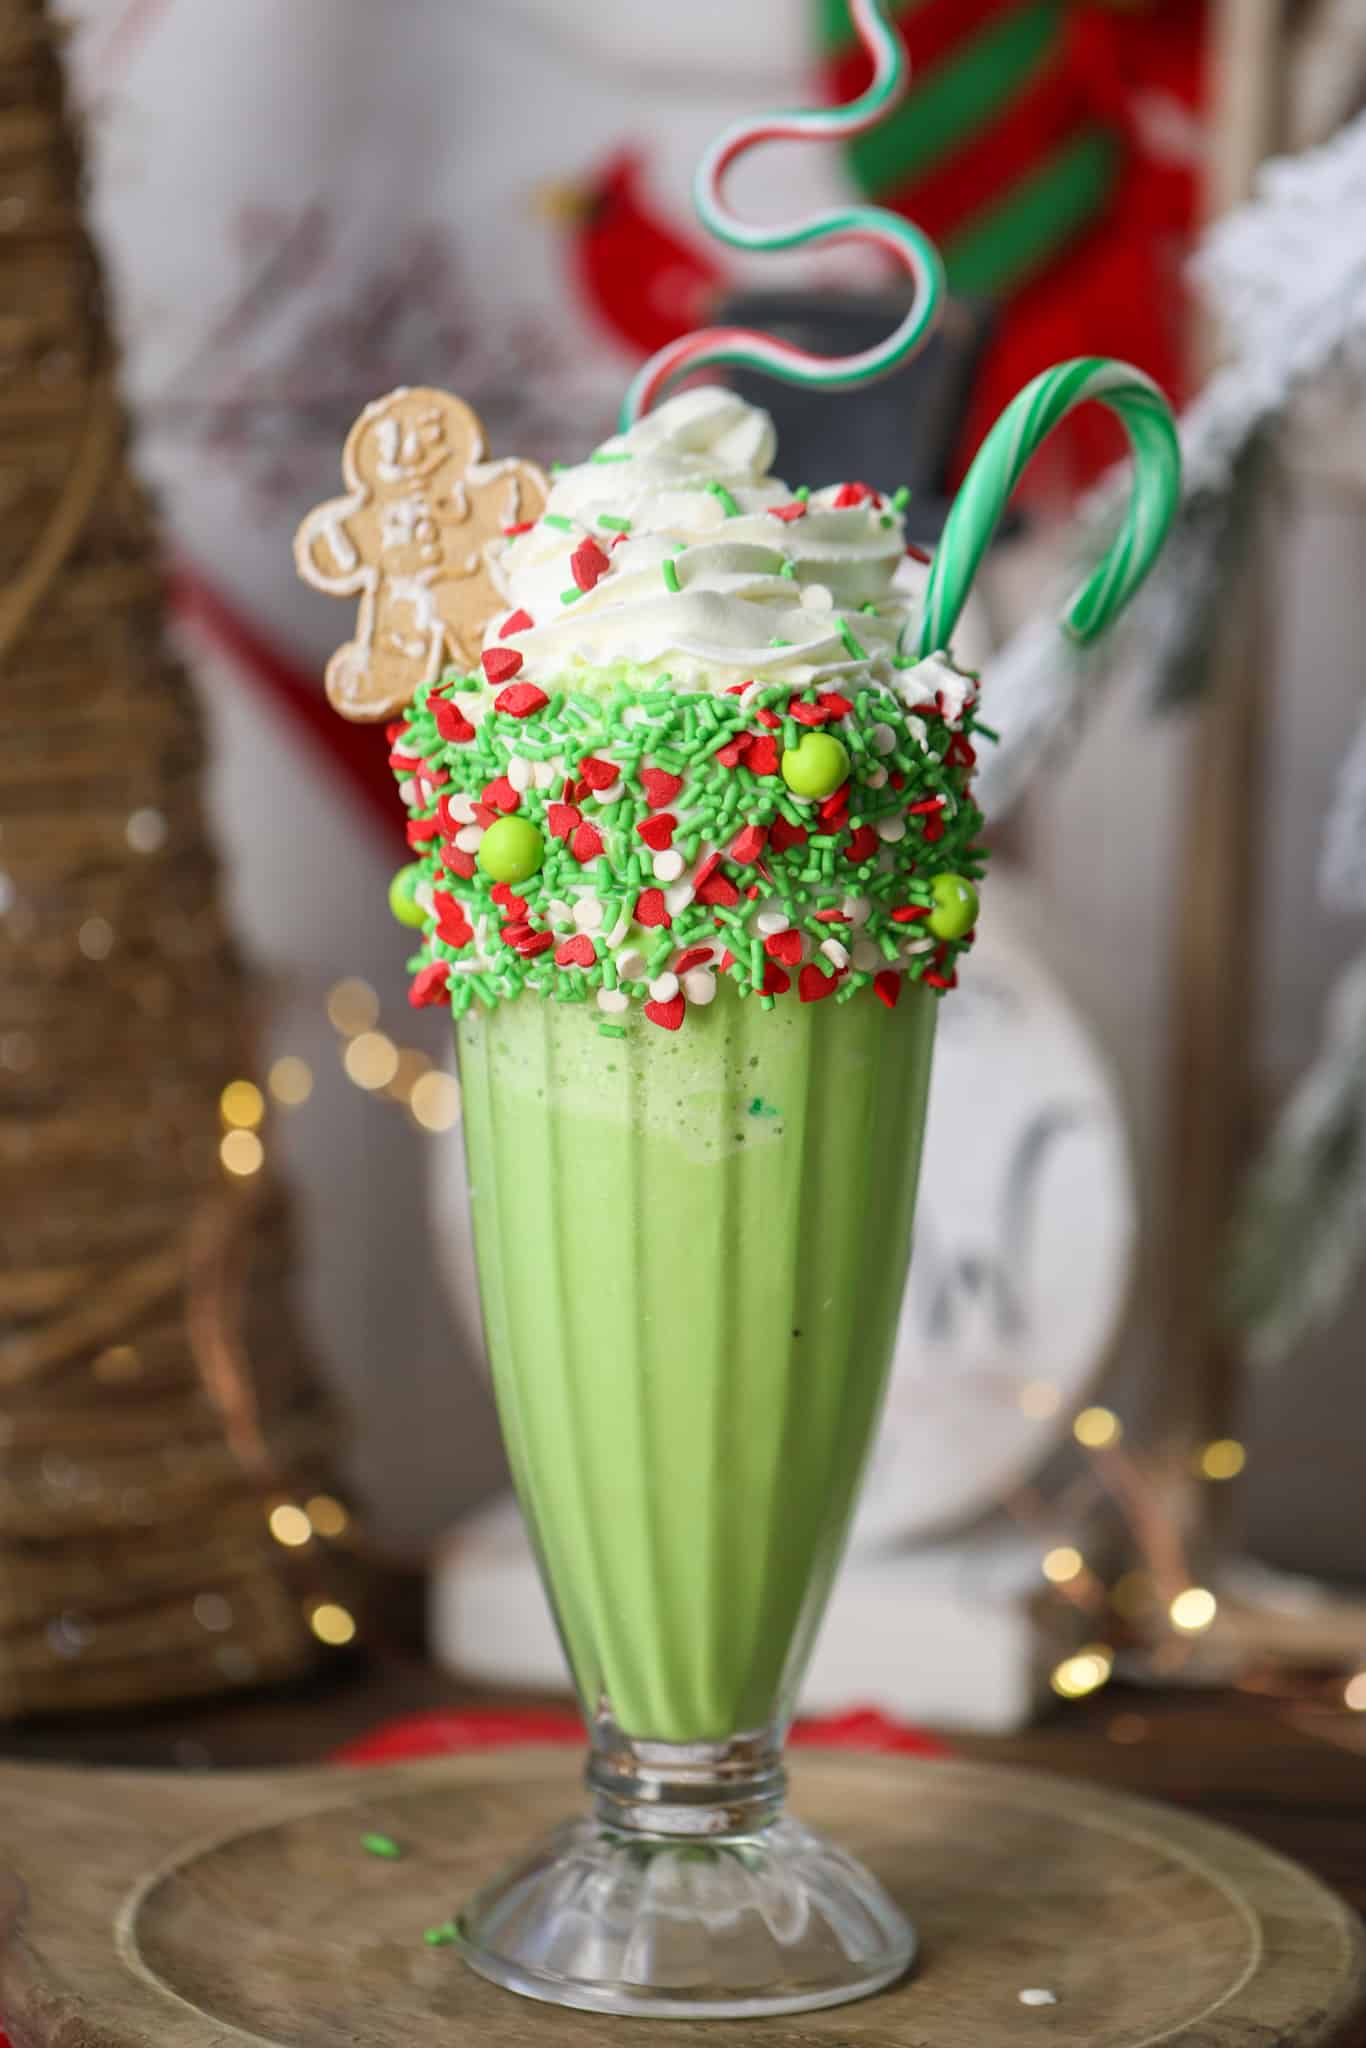
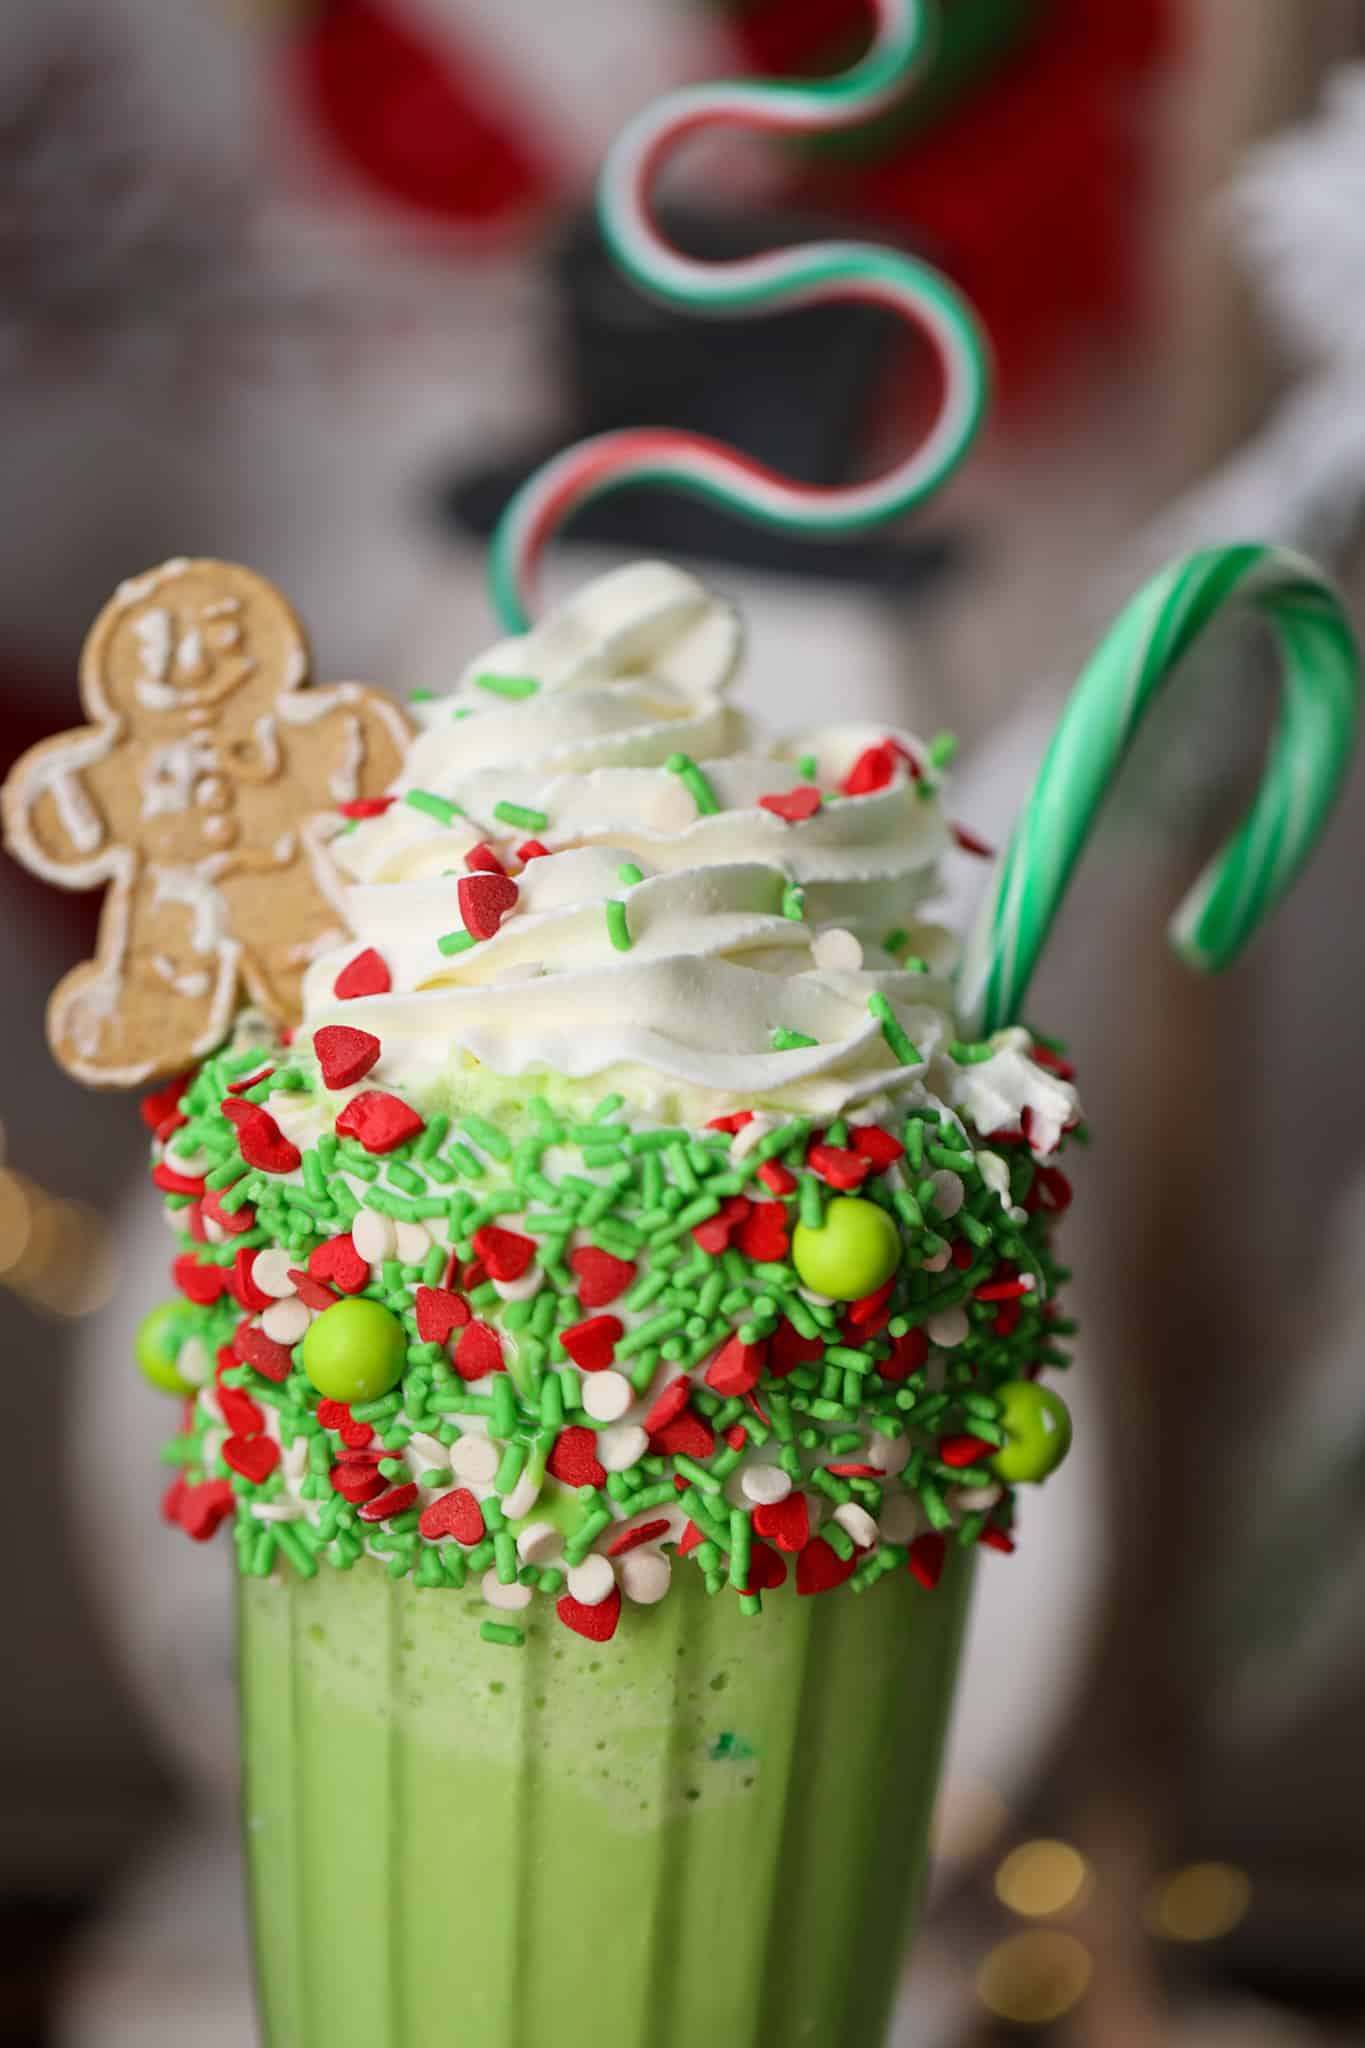
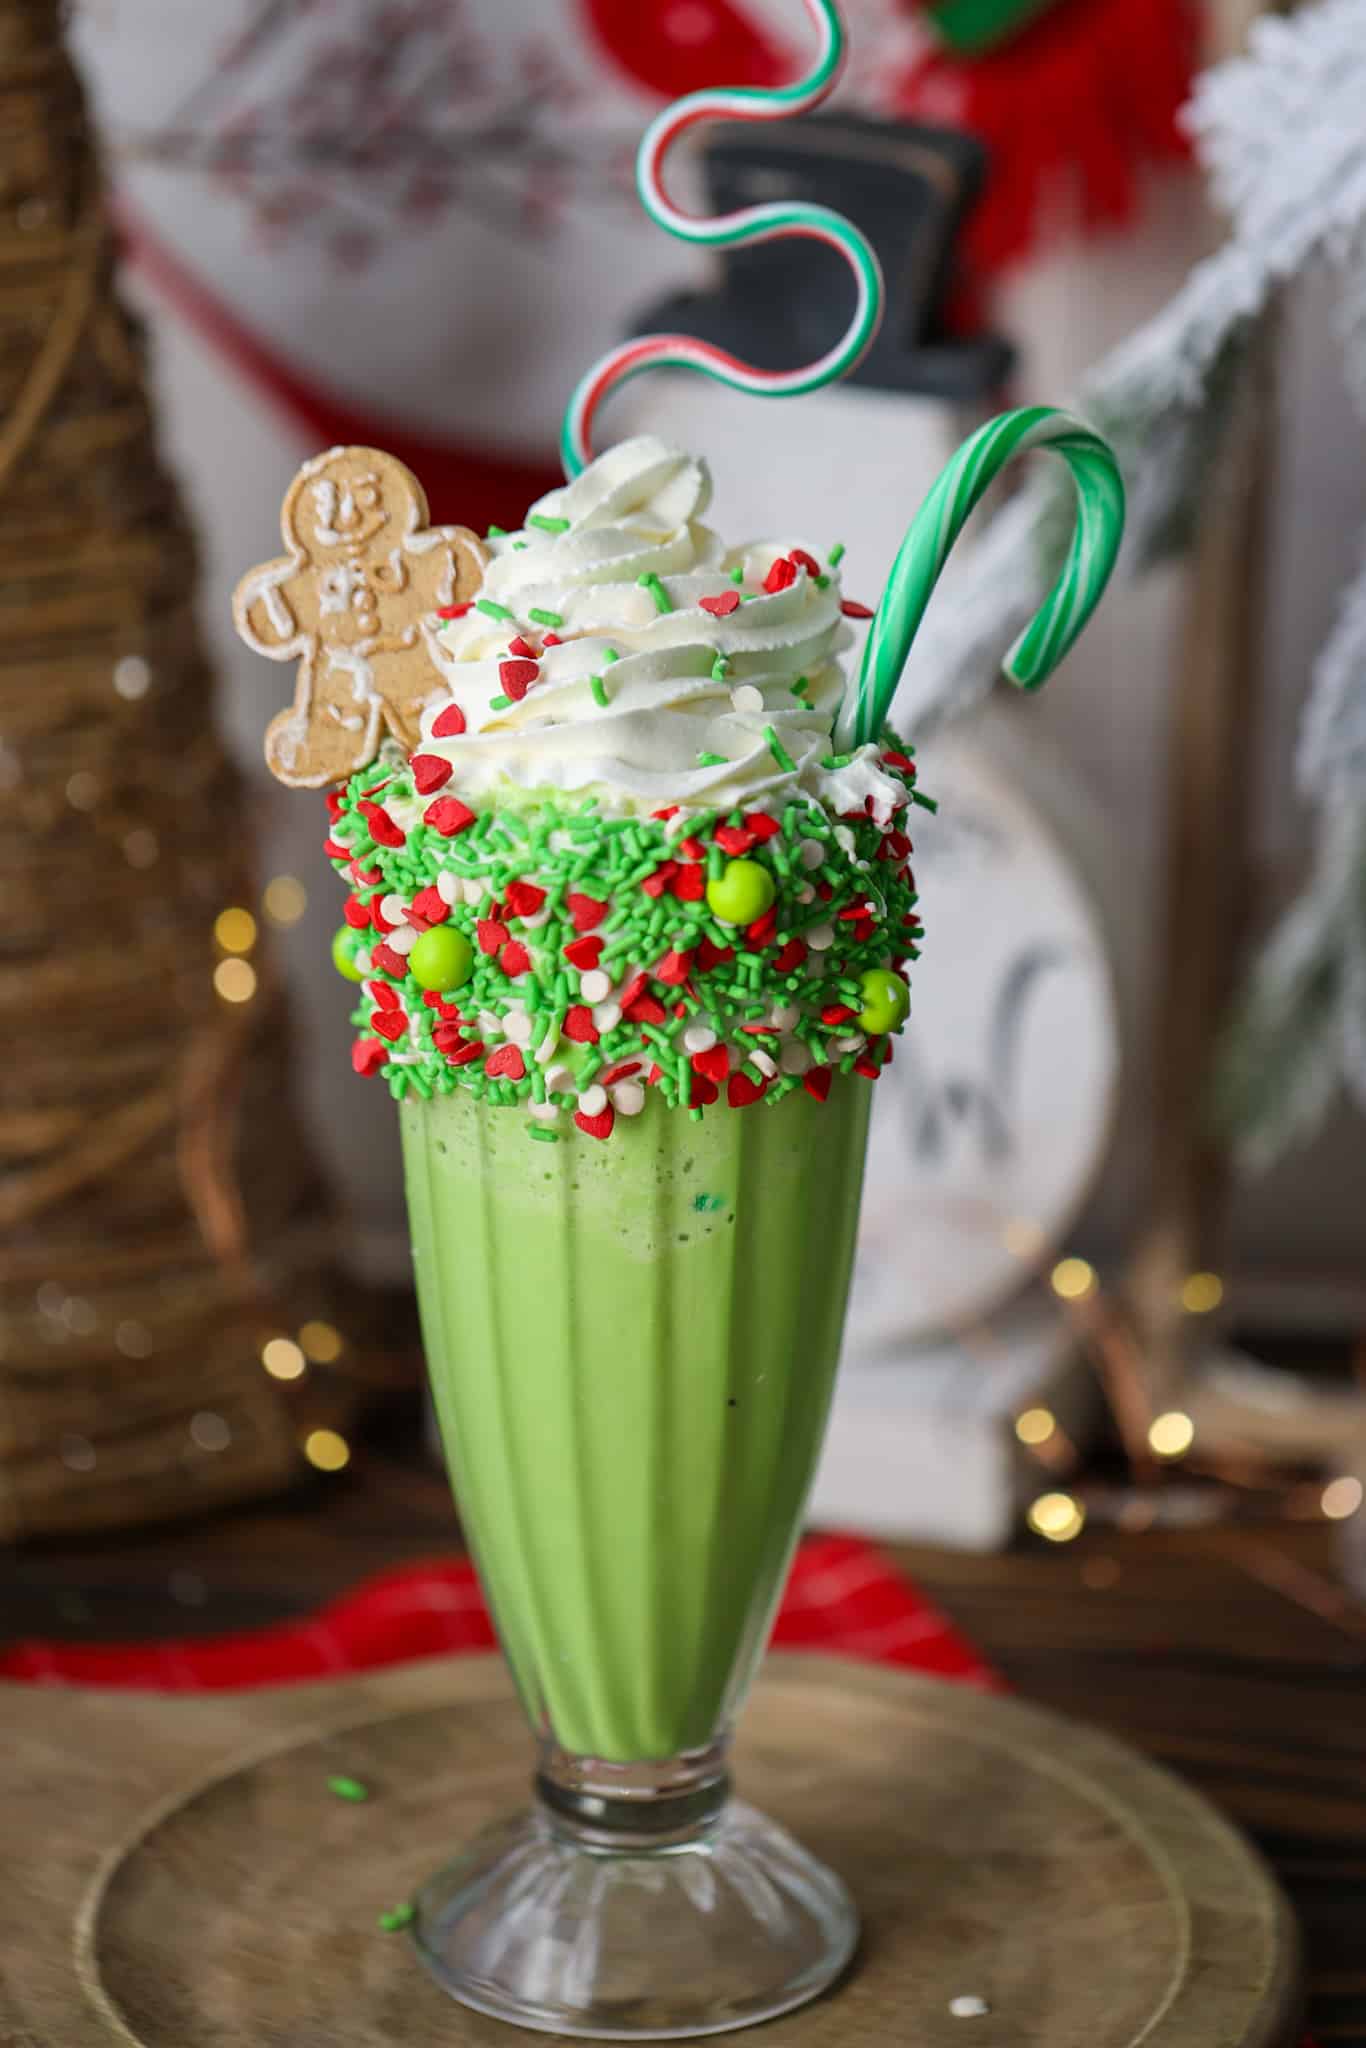
This grinch milkshake is the perfect treat for any grinchmas lover this holiday season. This is a great festive treat for the whole family especially for kids.
Why you'll love this specialty milkshake
- Fun treat for kids and the whole family
- Easily customized to your preference
- Easy recipe that will quickly become a family favorite
- Enjoy a favorite Christmas movie with this festive drink.
Everything you'll need to make this grinch stole christmas shake
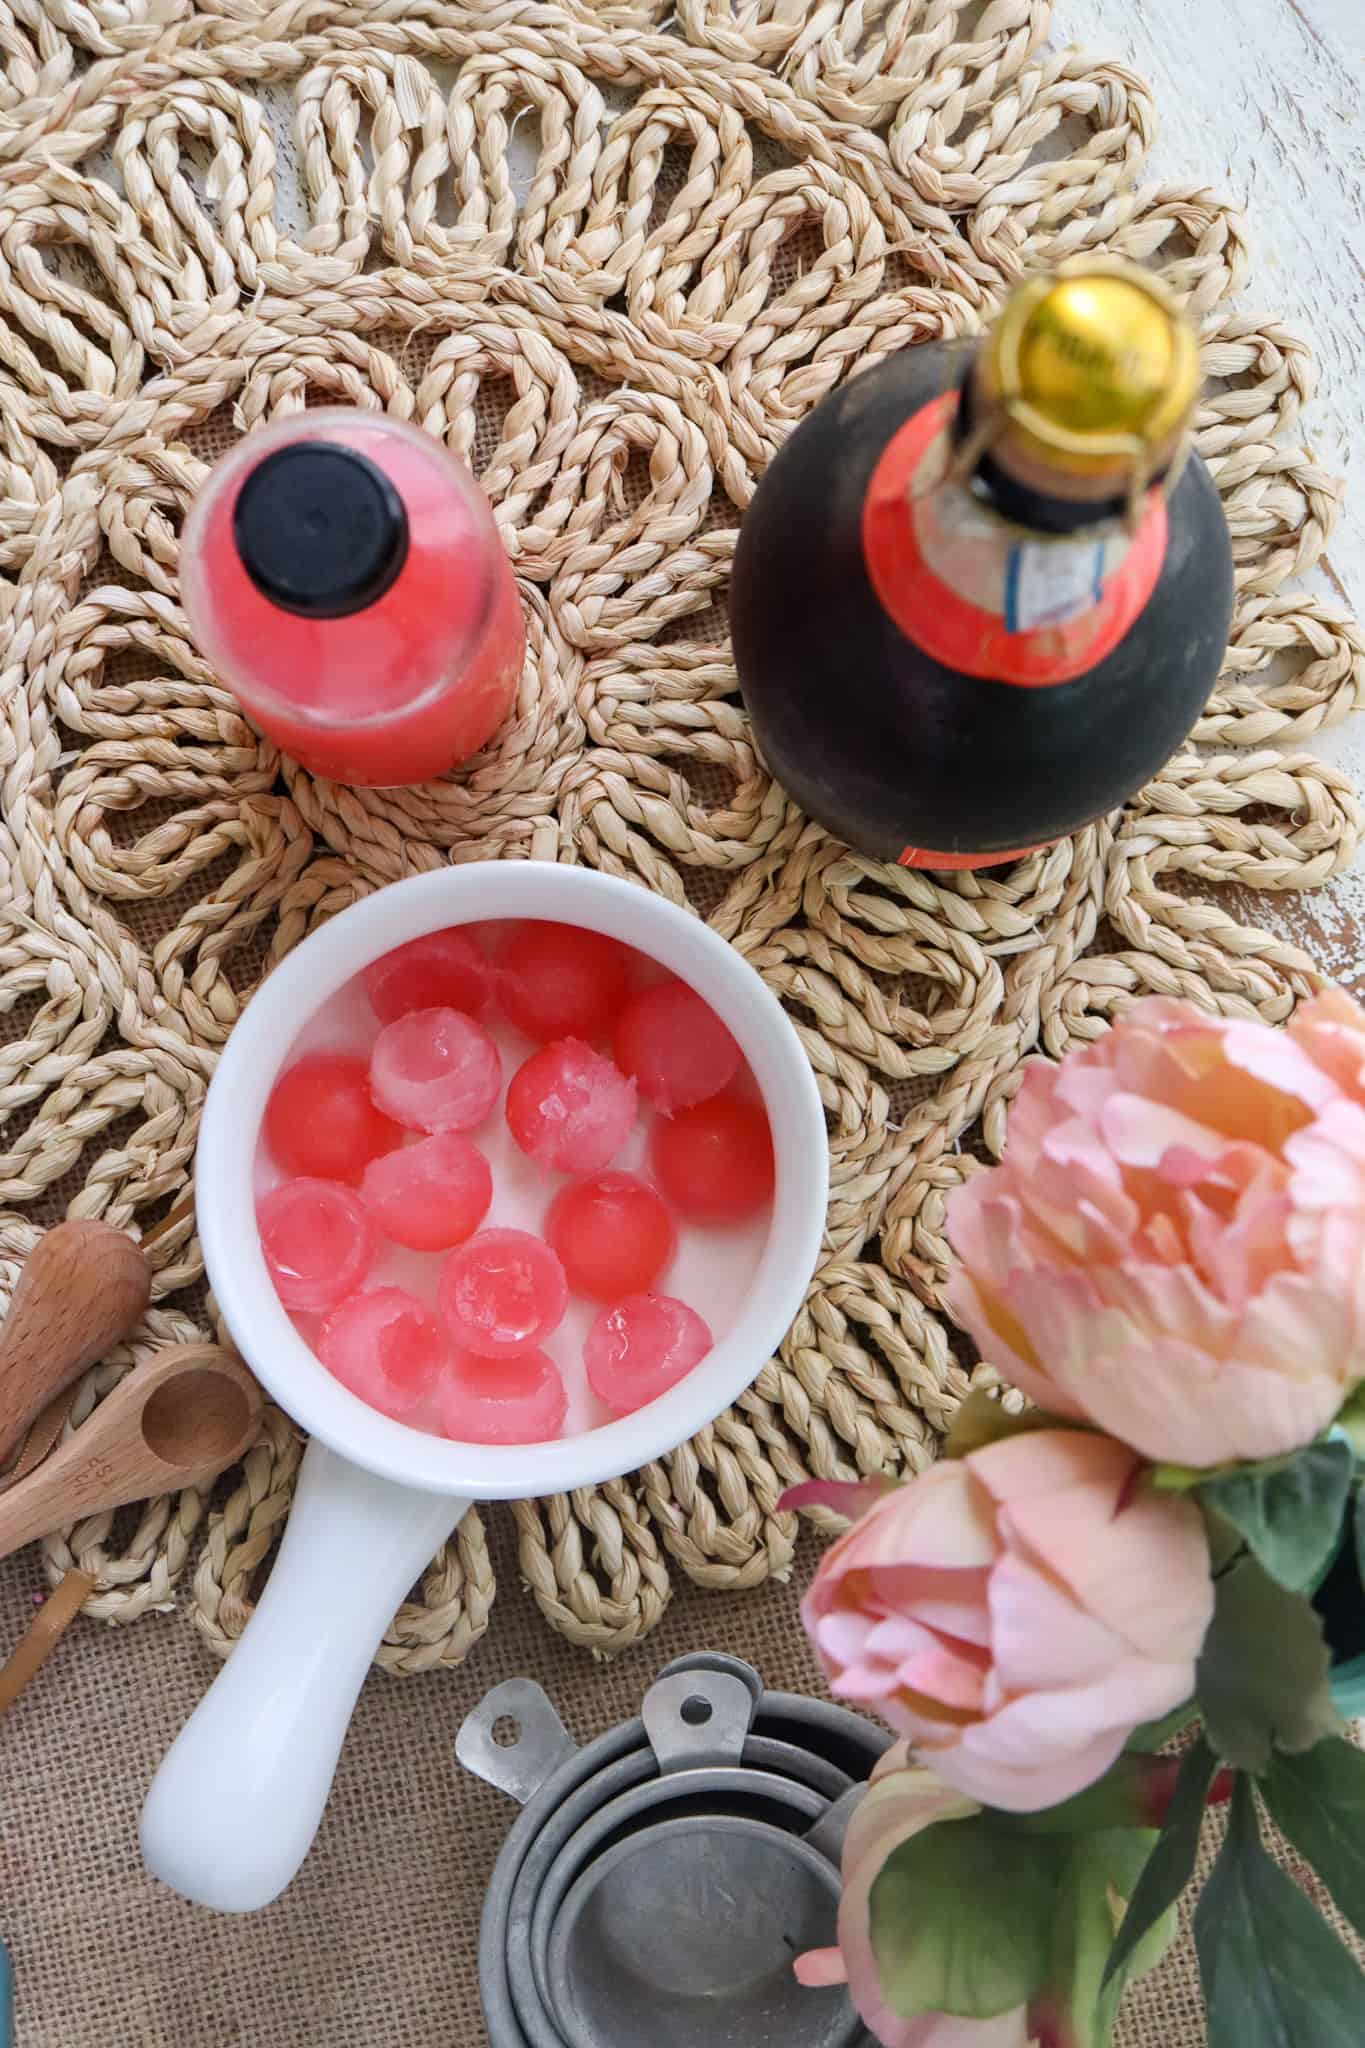
- Grinch sprinkles (bright green sprinkles with red heart sprinkles)
- whole milk
- festive straw
- green candy cane
- store-bought vanilla frosting
- whipped cream
- green food coloring gel (I use a mix of regular green and neon green)
- vanilla ice cream
- Christmas cookies
Instructions to make this green milkshake
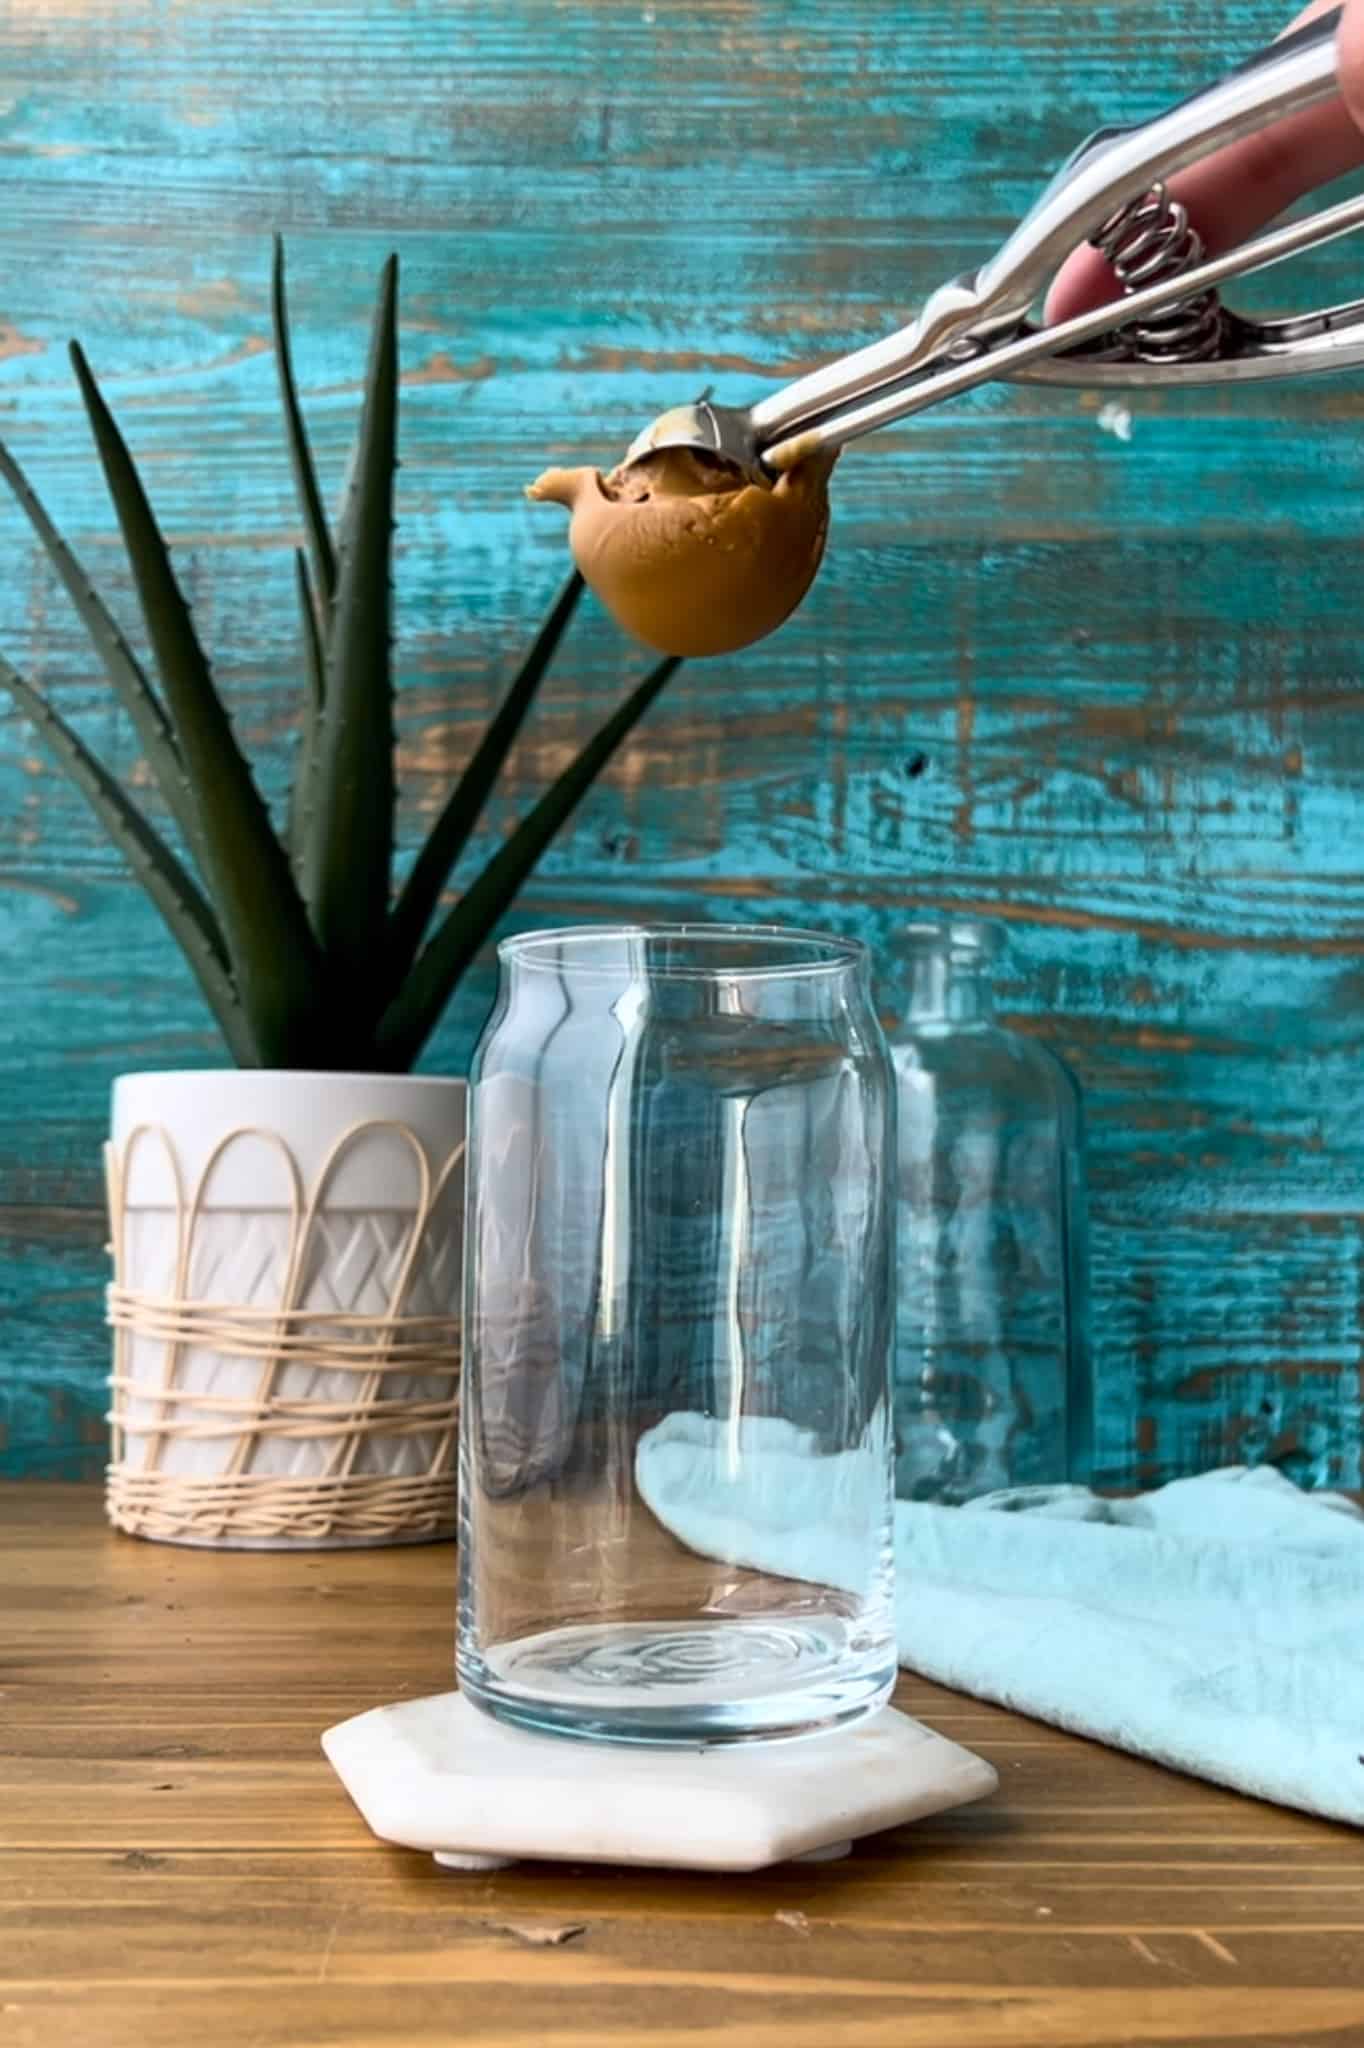
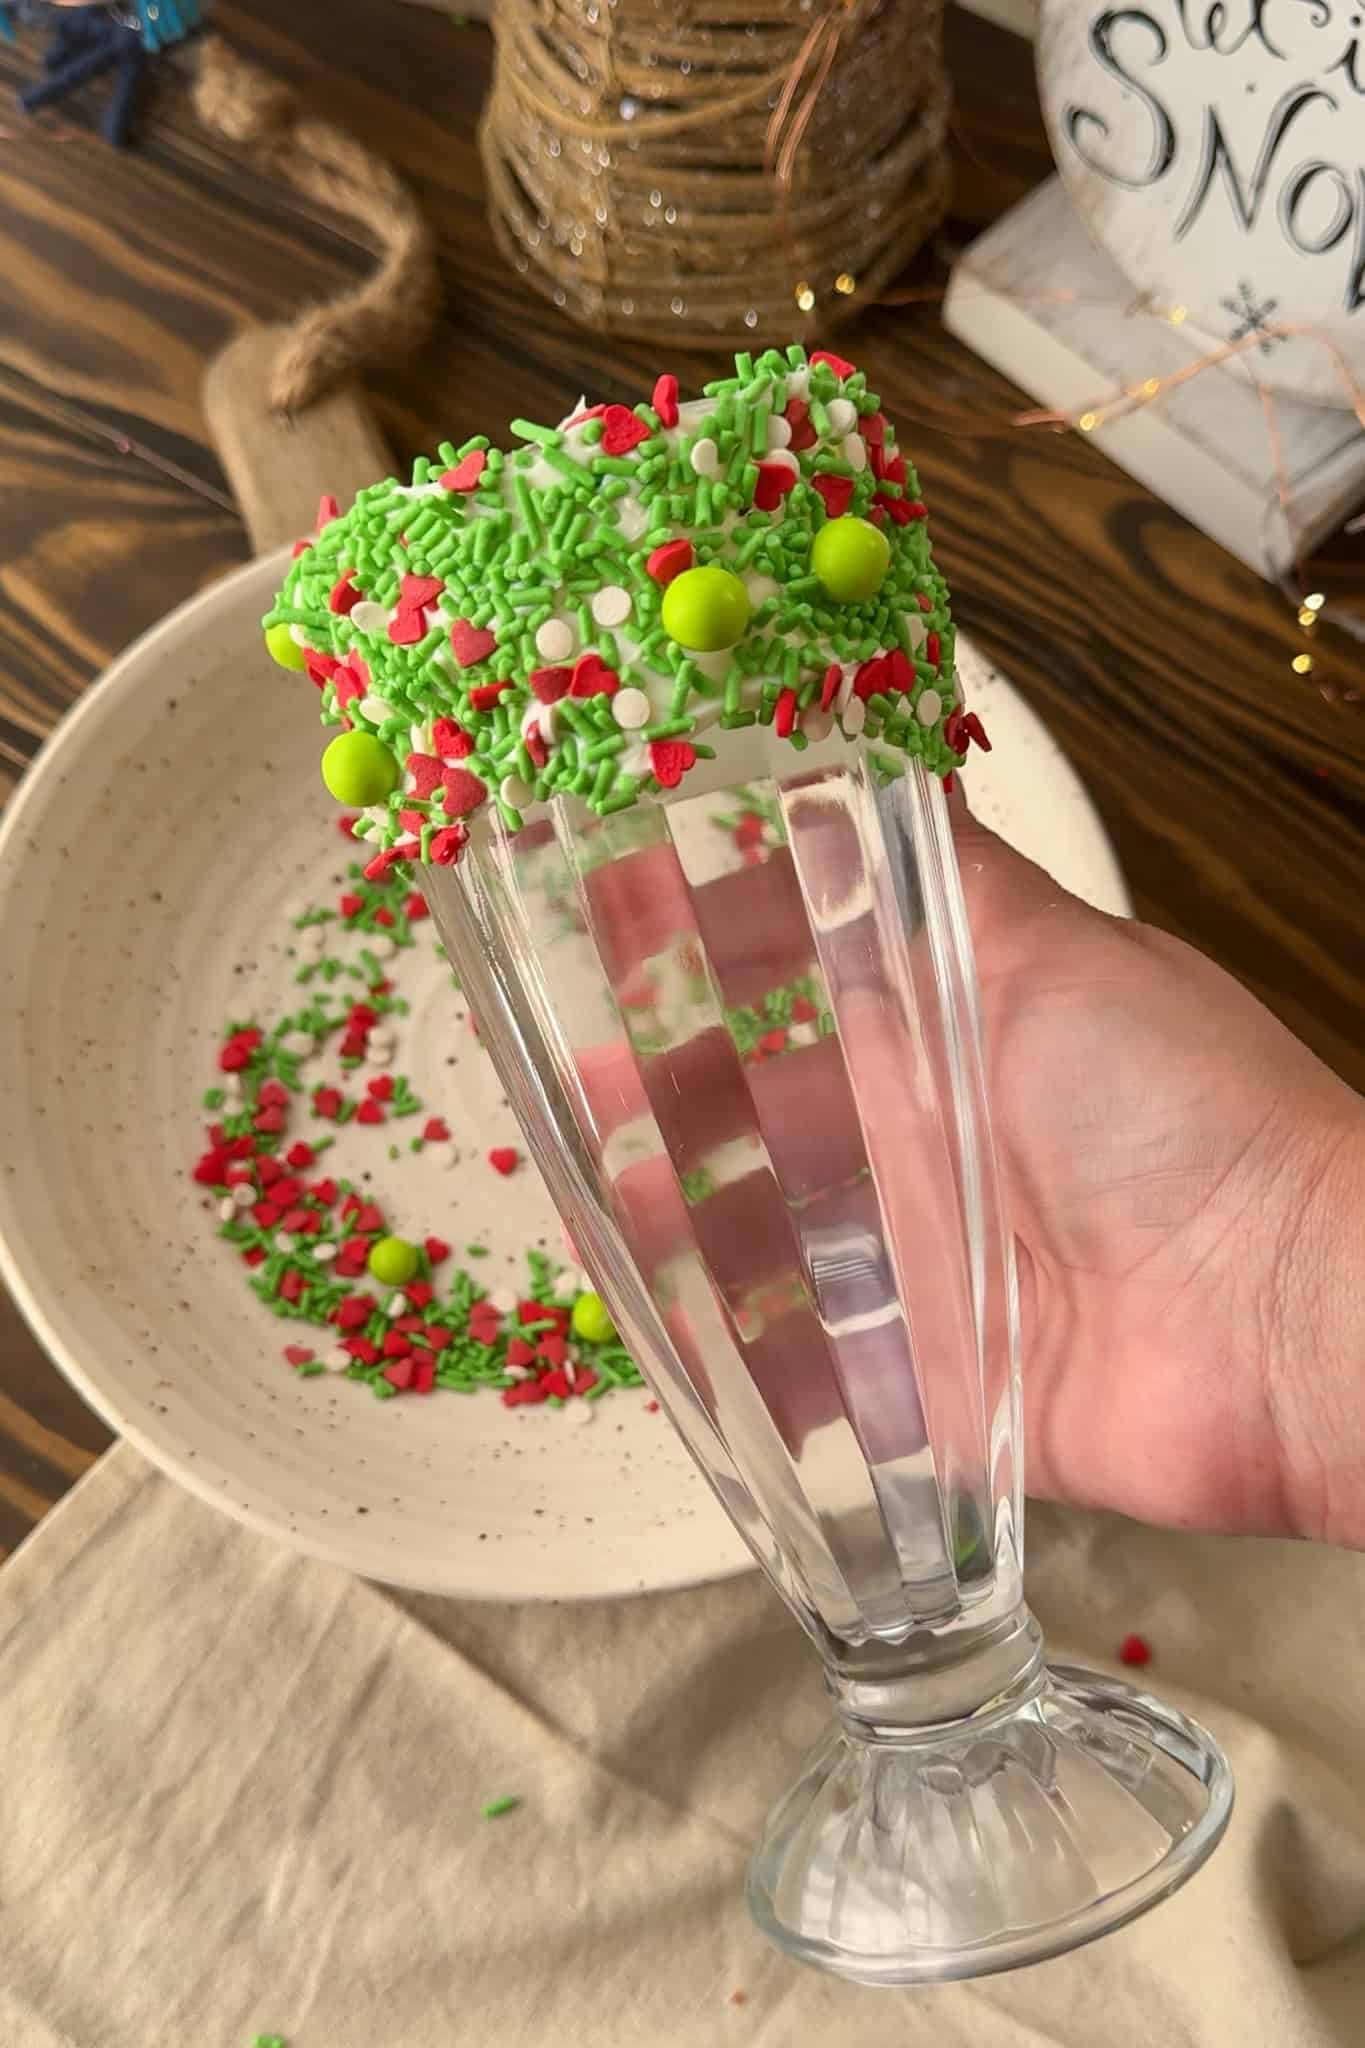
Start my covering the rim of the milkshake glass with vanilla frosting using a rubber spatula or wooden spoon. Sprinkle the grinch sprinkles over the vanilla frosting on the rim of the glass. Place the prepared glass in the freezer while you make your milkshake.
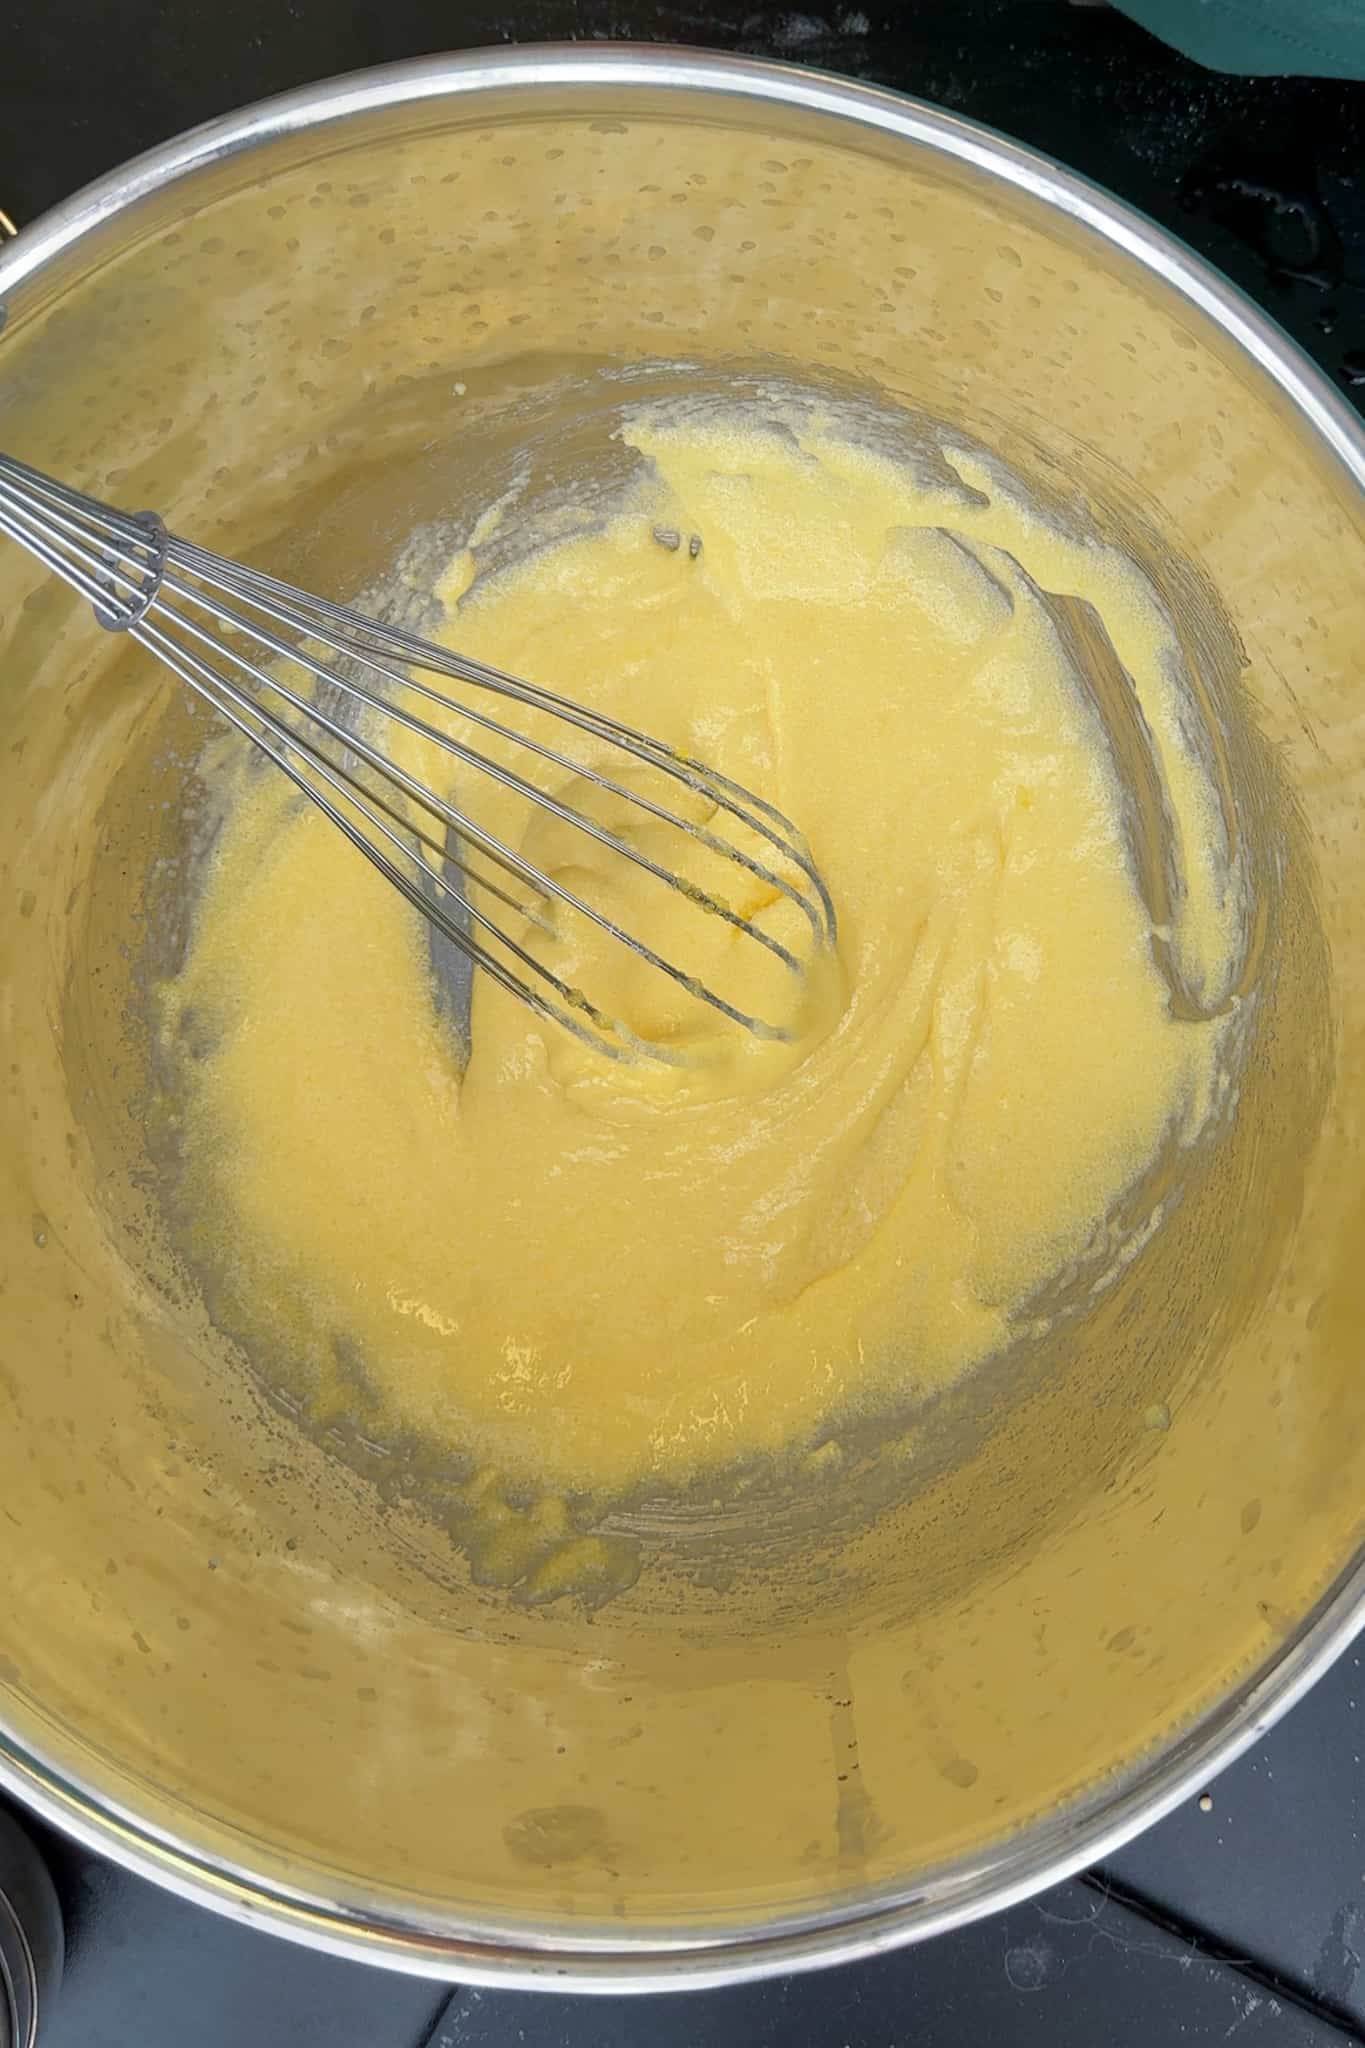
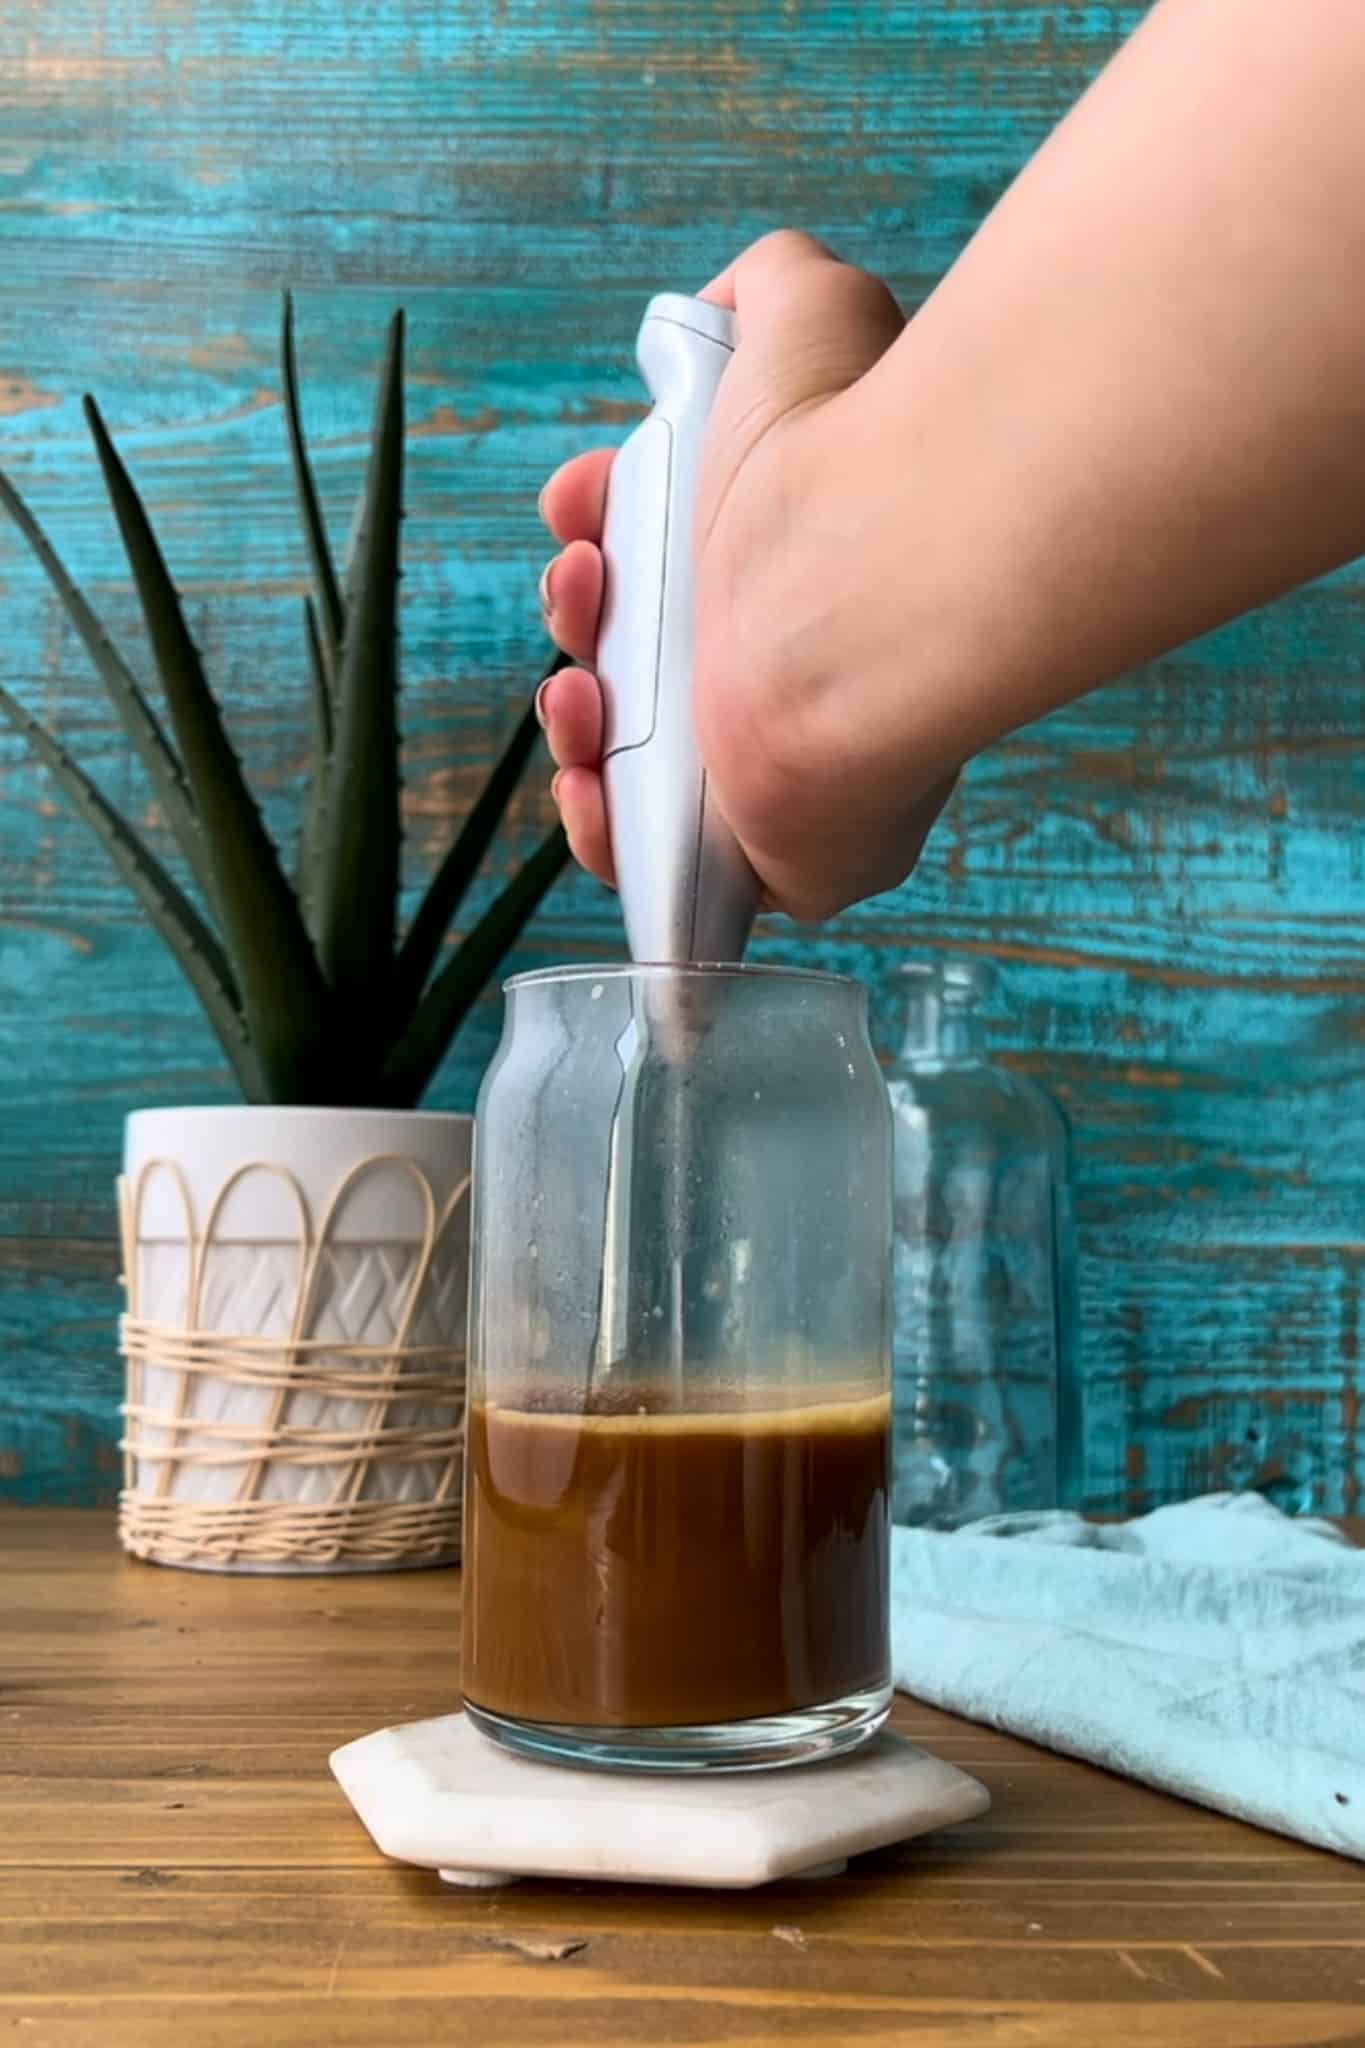
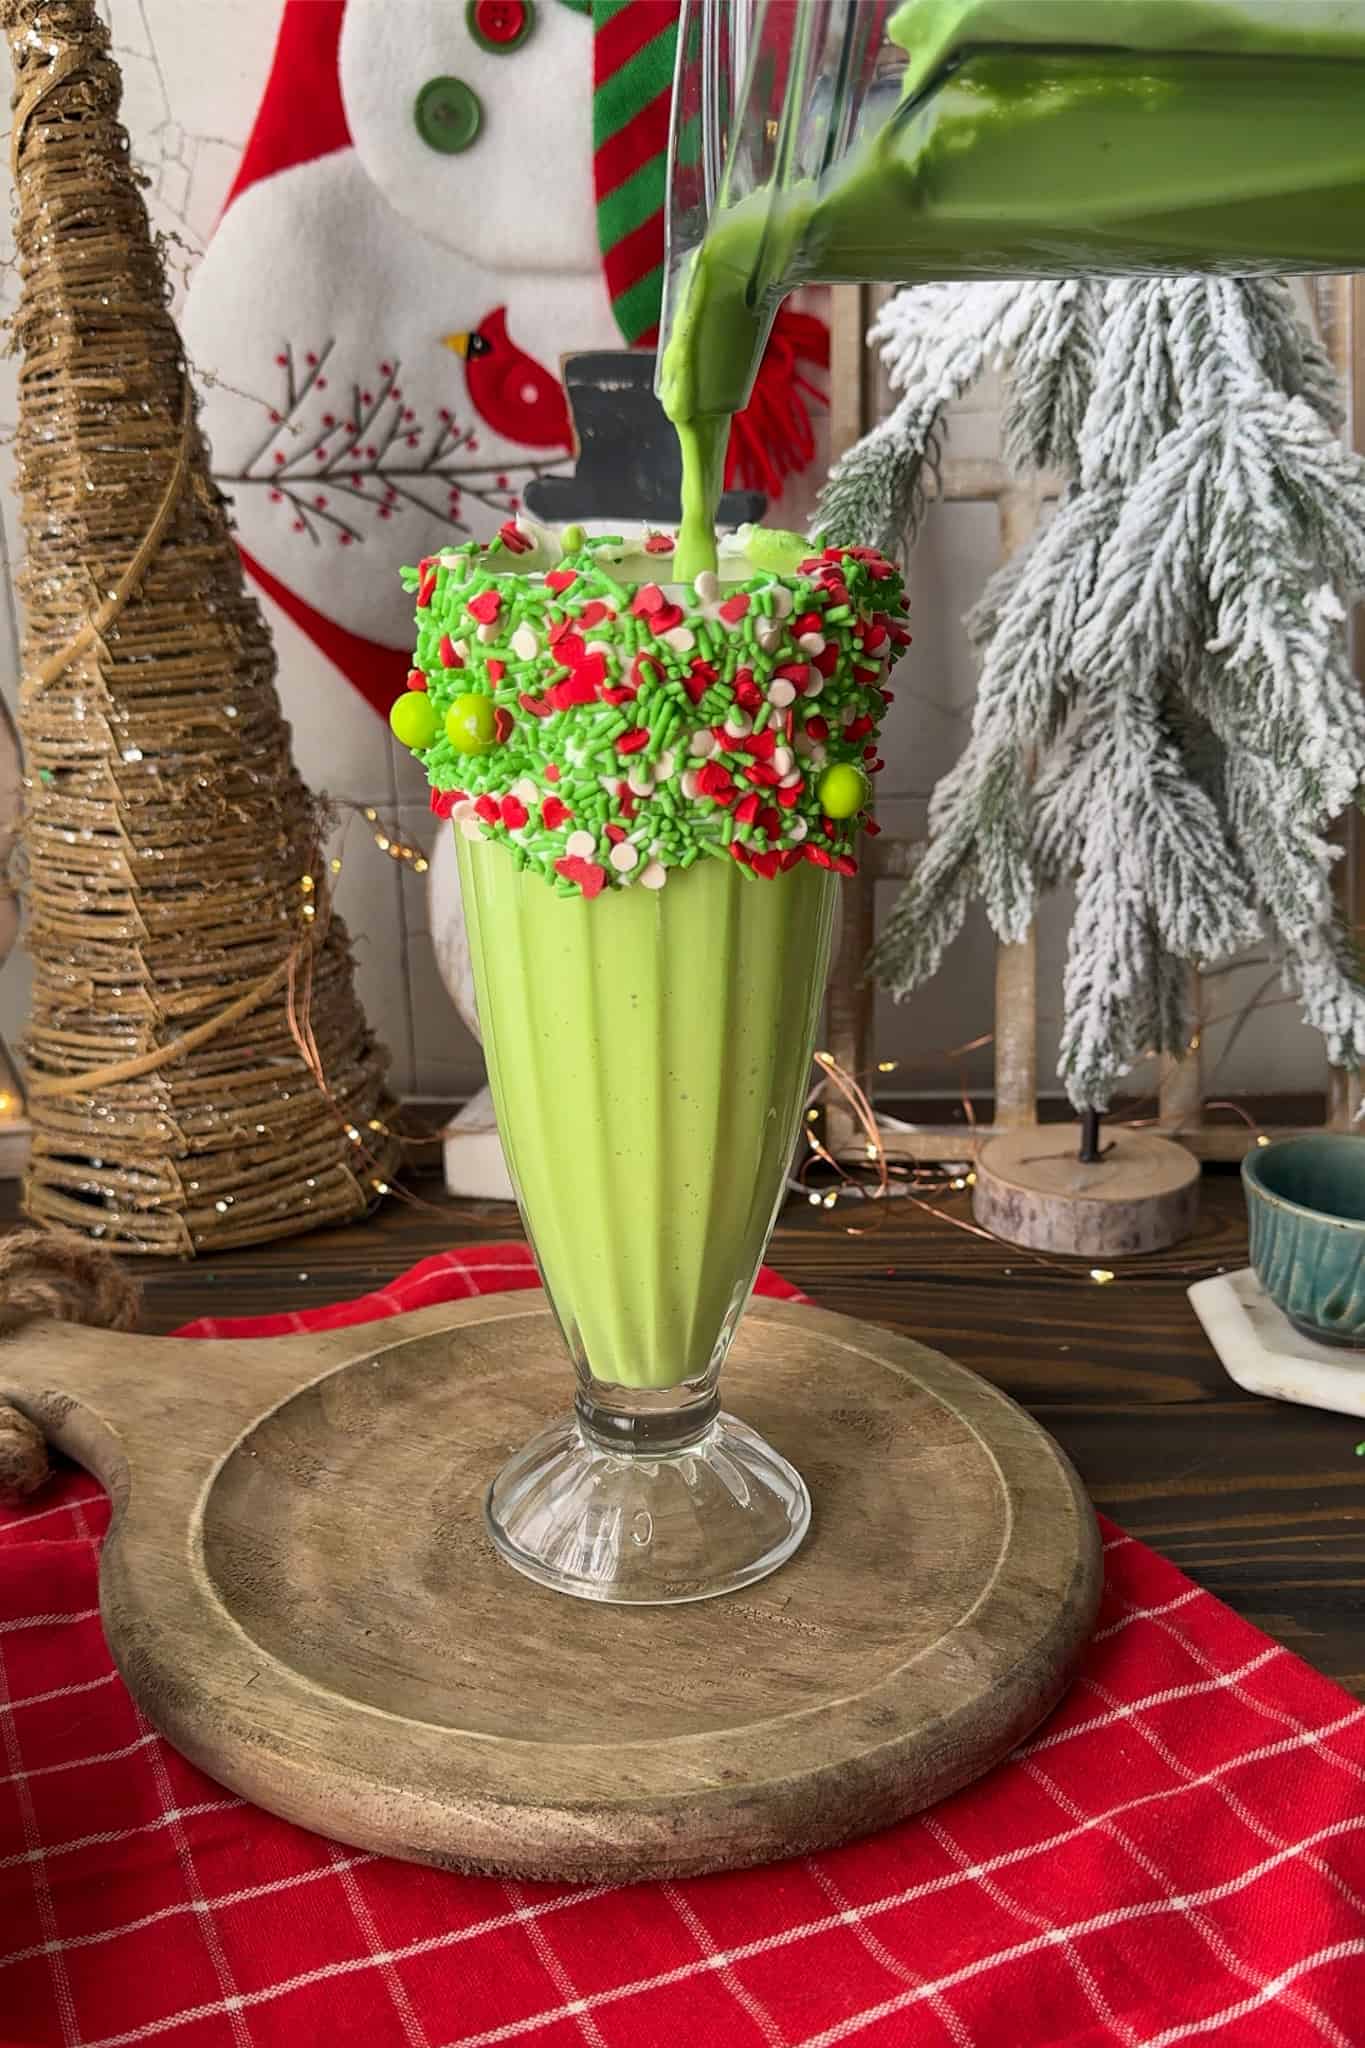
In a blender add your ice cream, green food coloring and milk. Blend until creamy. If it's not as green as you'd like, add more food coloring until it reaches your desired color.
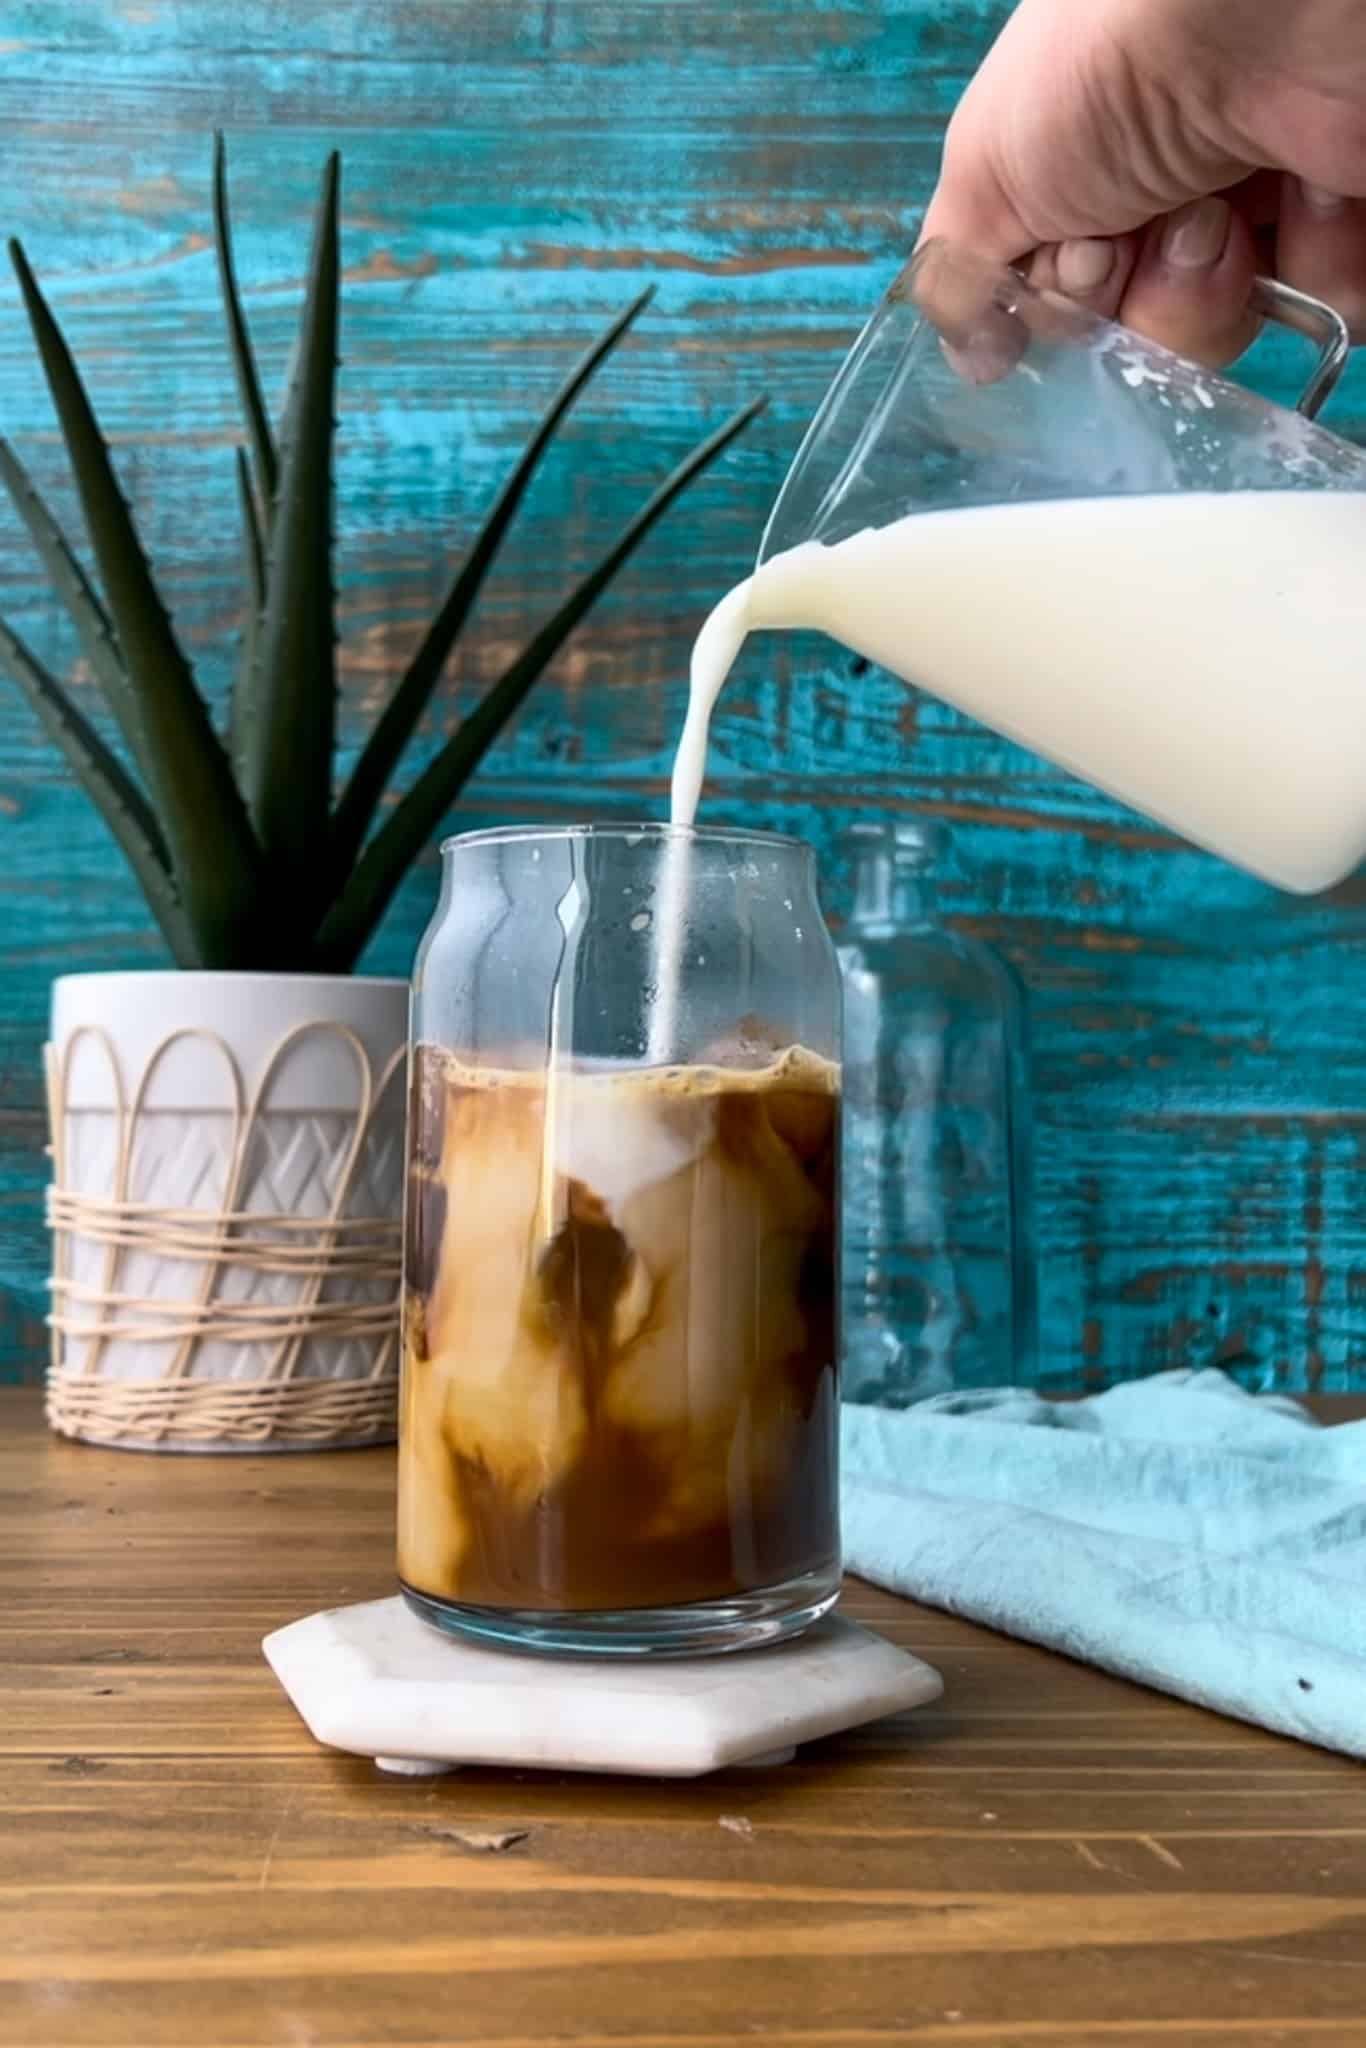
Pour the shake into your prepared glass. DO not fill to the brim of the glass, leave about half an inch of room from the top of the glass.
On the top of the milkshake add in your whipped cream. Top the whipped cream with additional sprinkles, add the green candy cake and additional toppings.
Variations and substitutions for this Grinch milkshake
Not a fan of vanilla ice cream? Use mint chocolate chip or pistachio instead.
Want boozy grinch milkshakes instead? add in a shot of rum or whiskey.
Want a dairy free milkshake? Opt instead for non-dairy milk, non dairy whipped cream and non-dairy ice cream.
Don't want to use storebought vanilla frosting? You can use melted white chocolate or melted white chocolate almond bark instead.
What other toppings can I use for my grinch shake? Top your milkshake with a maraschino cherry
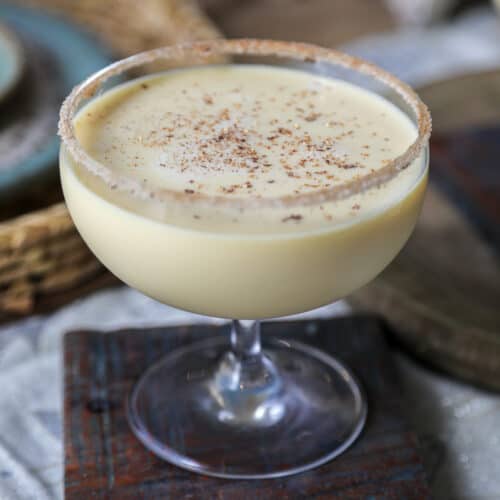
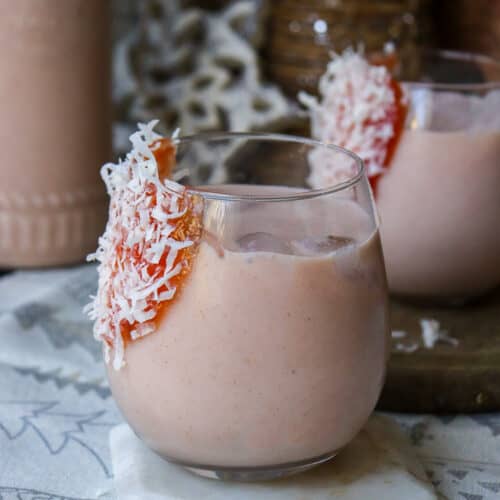
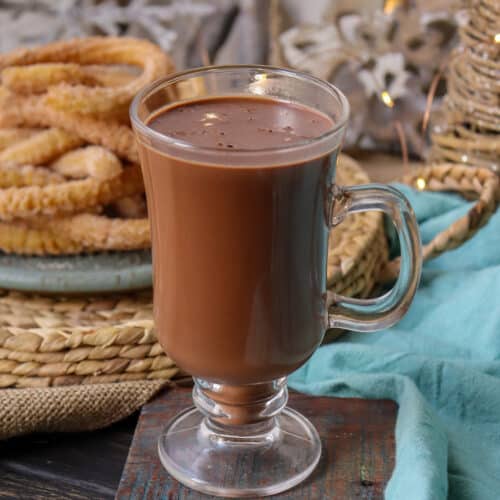
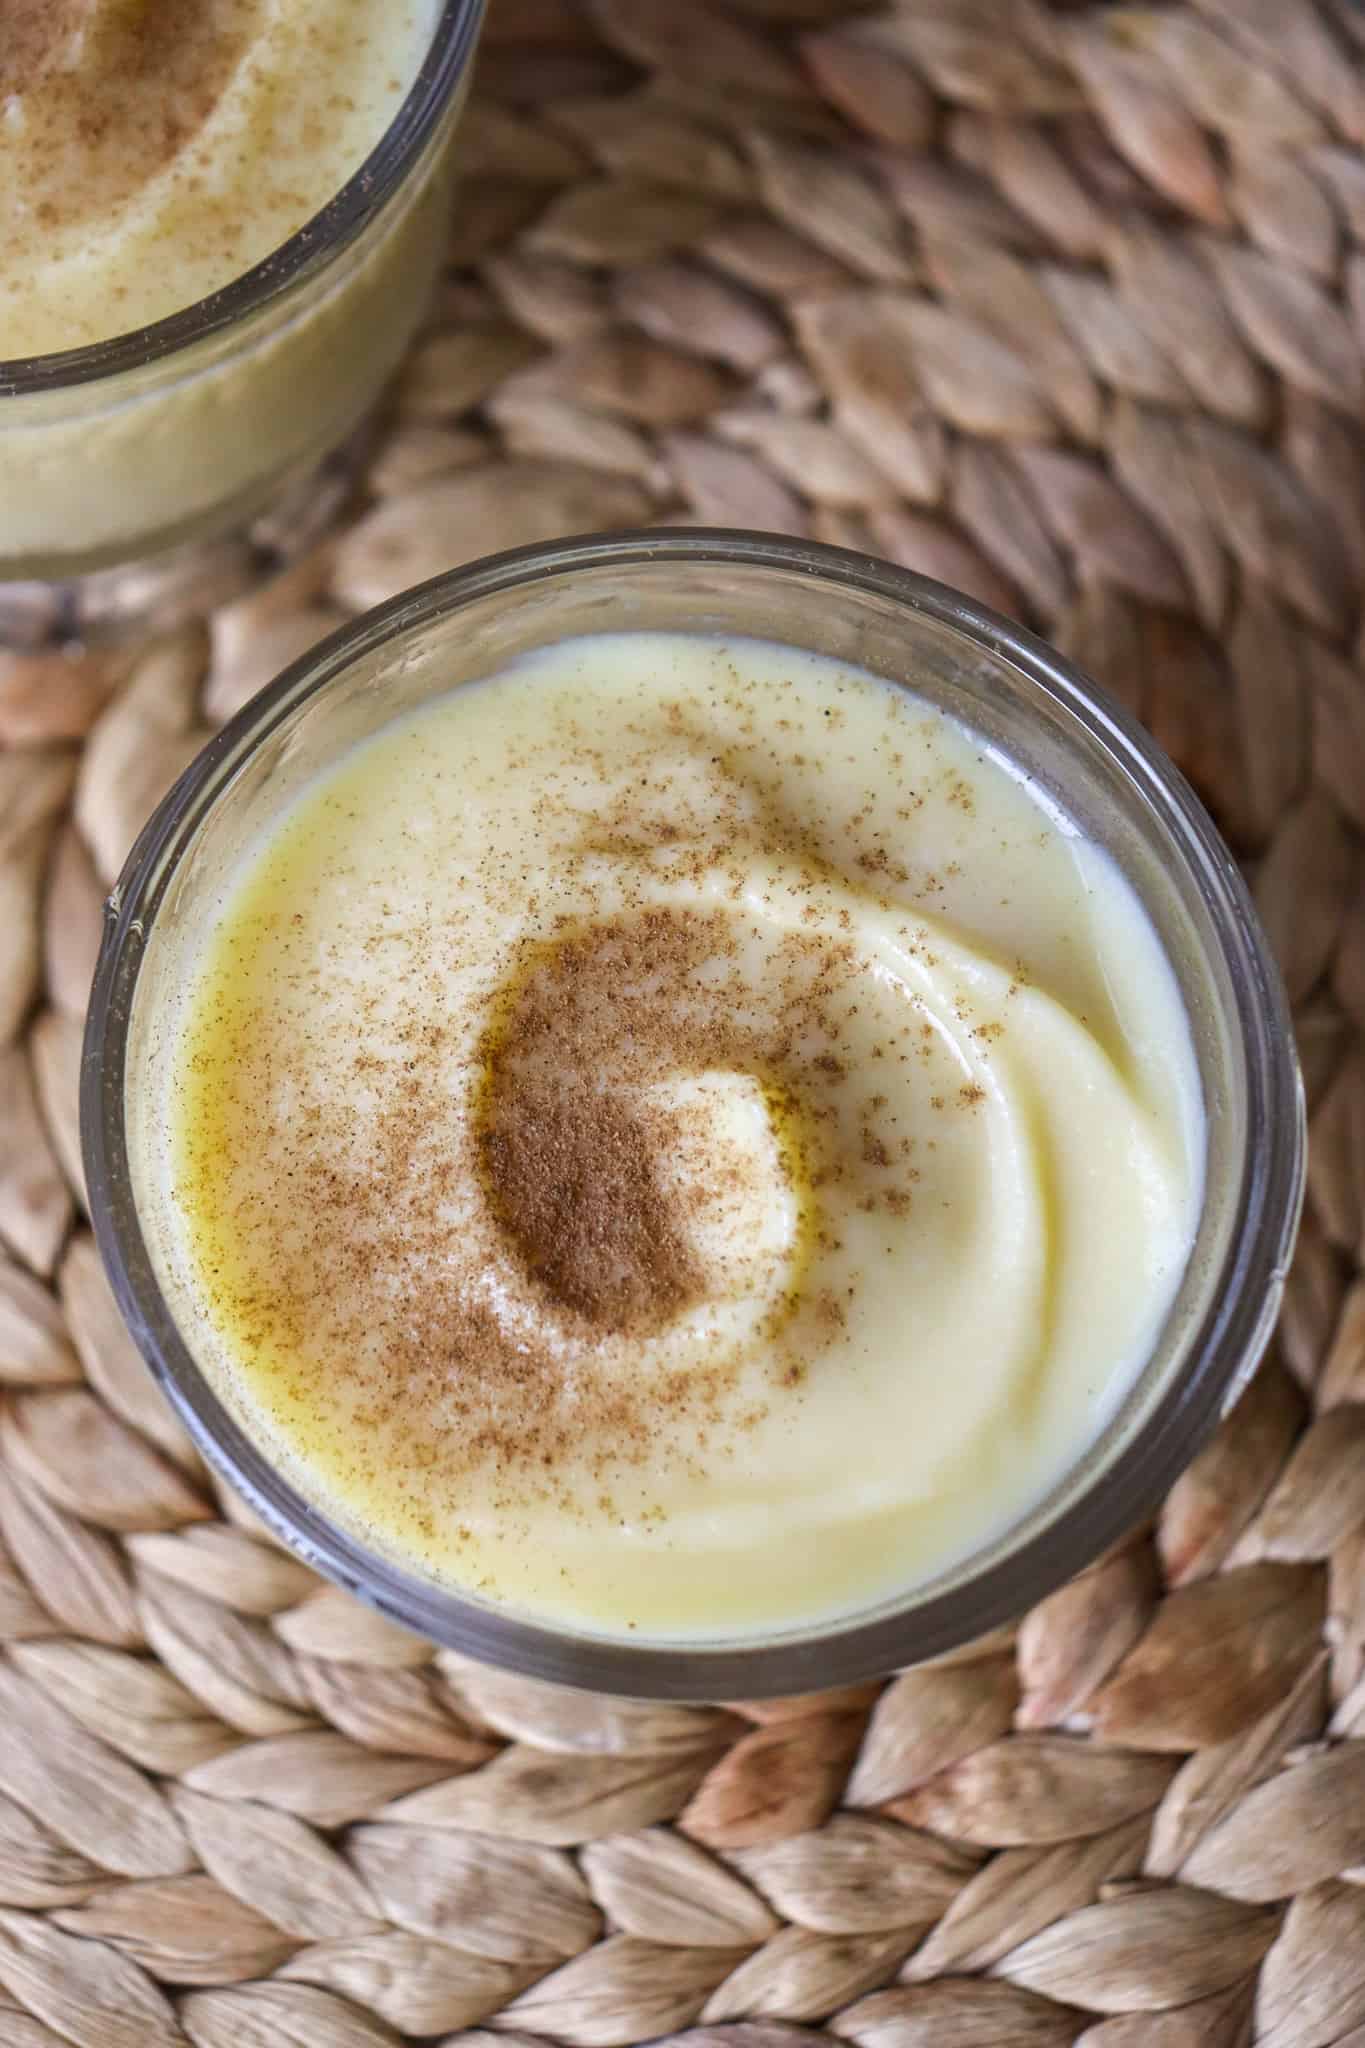
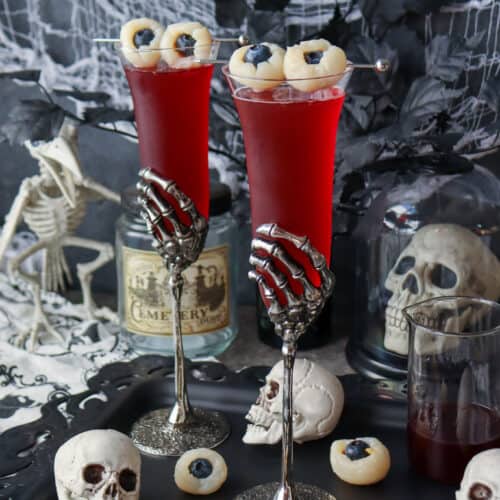
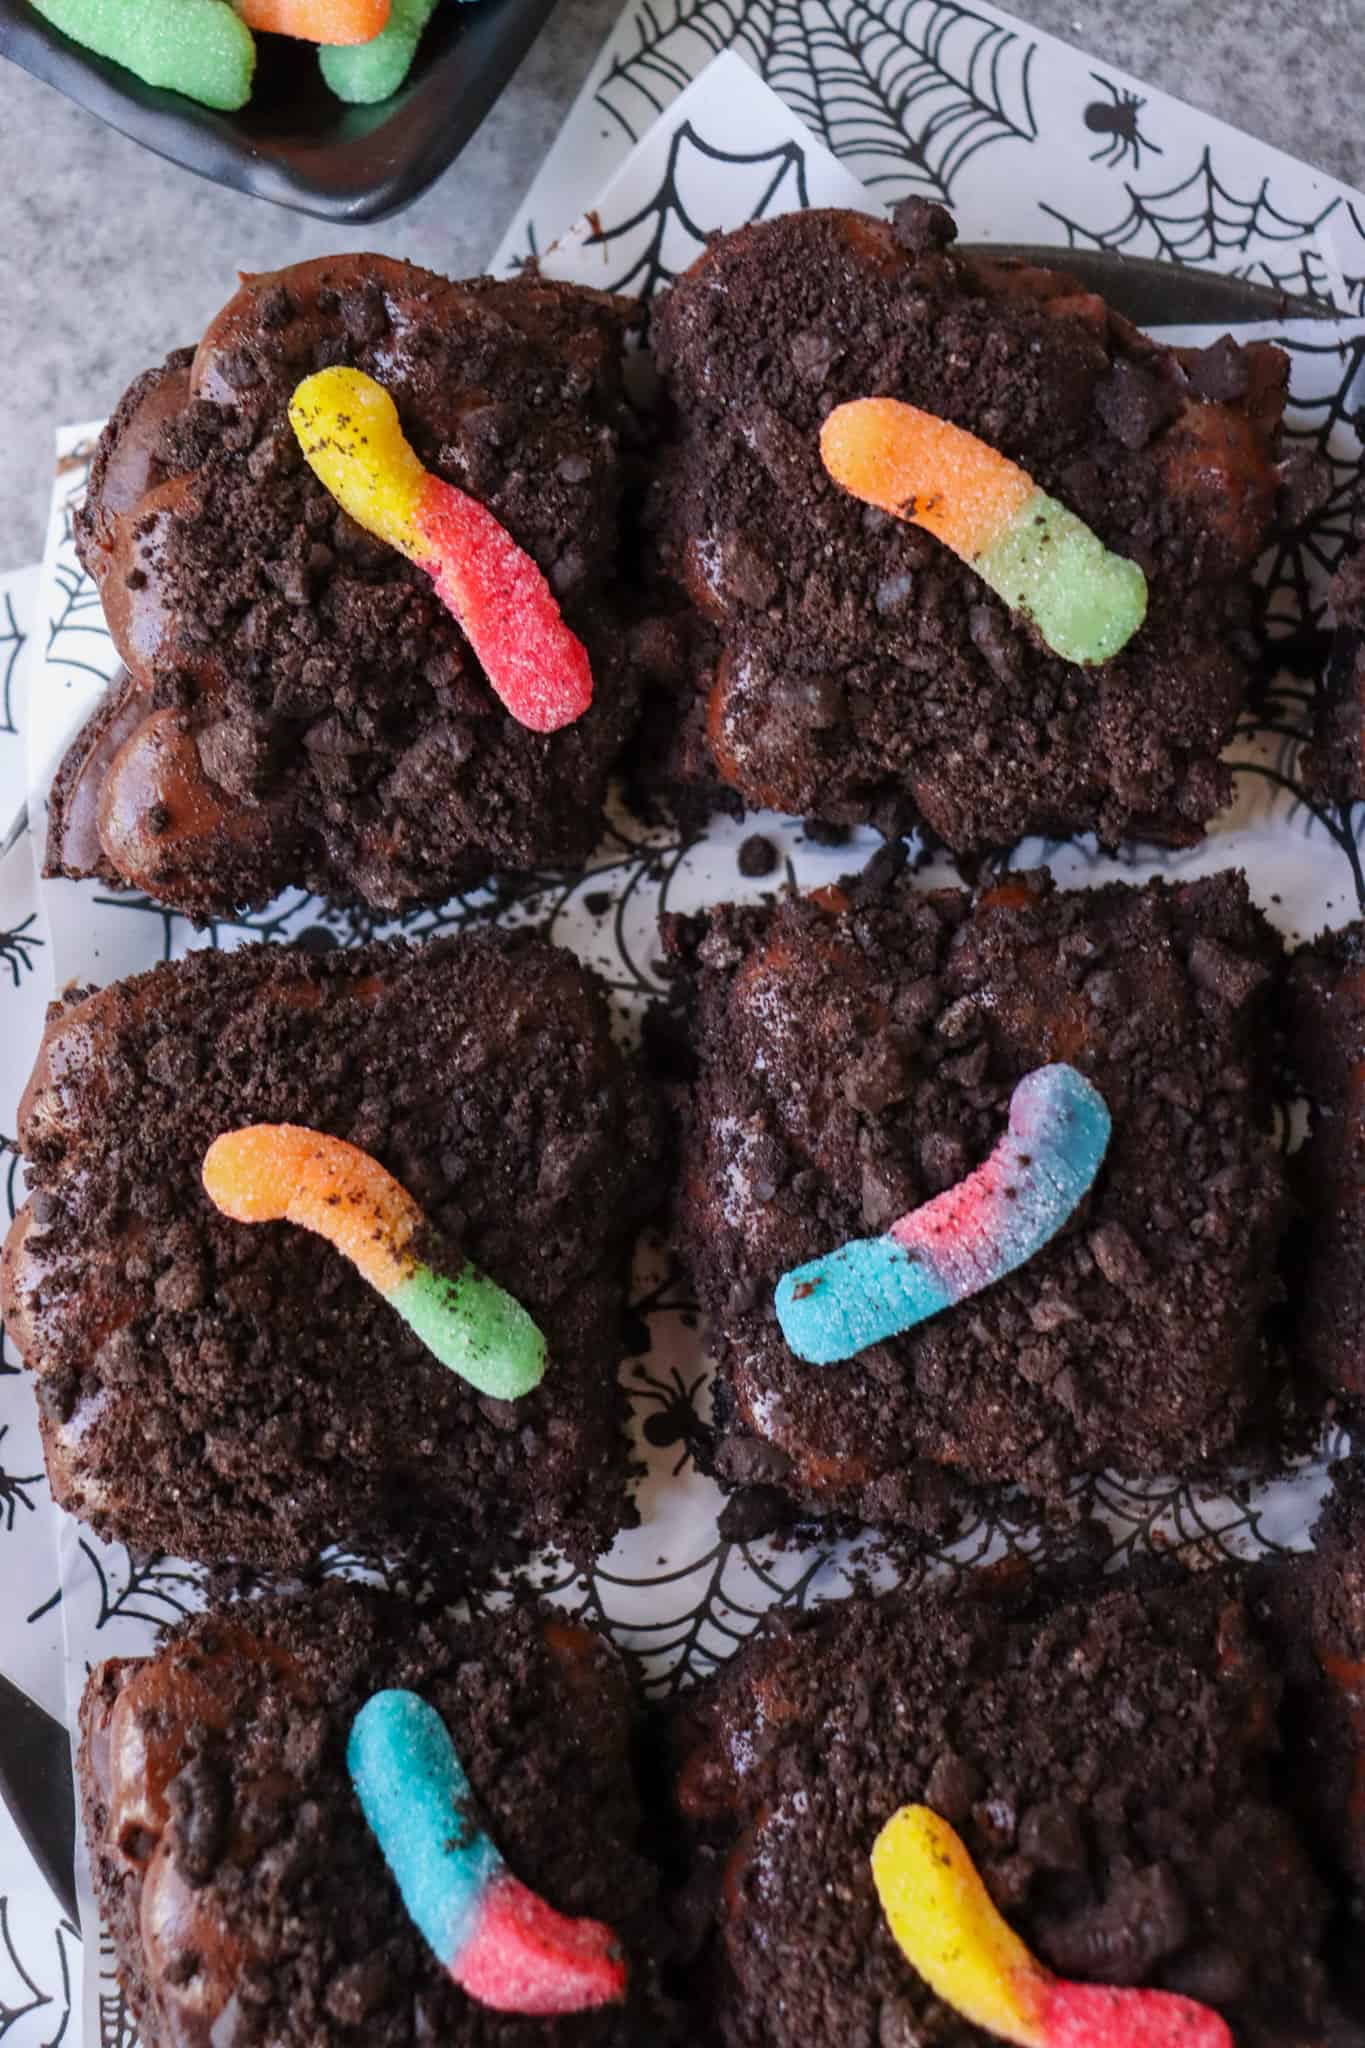
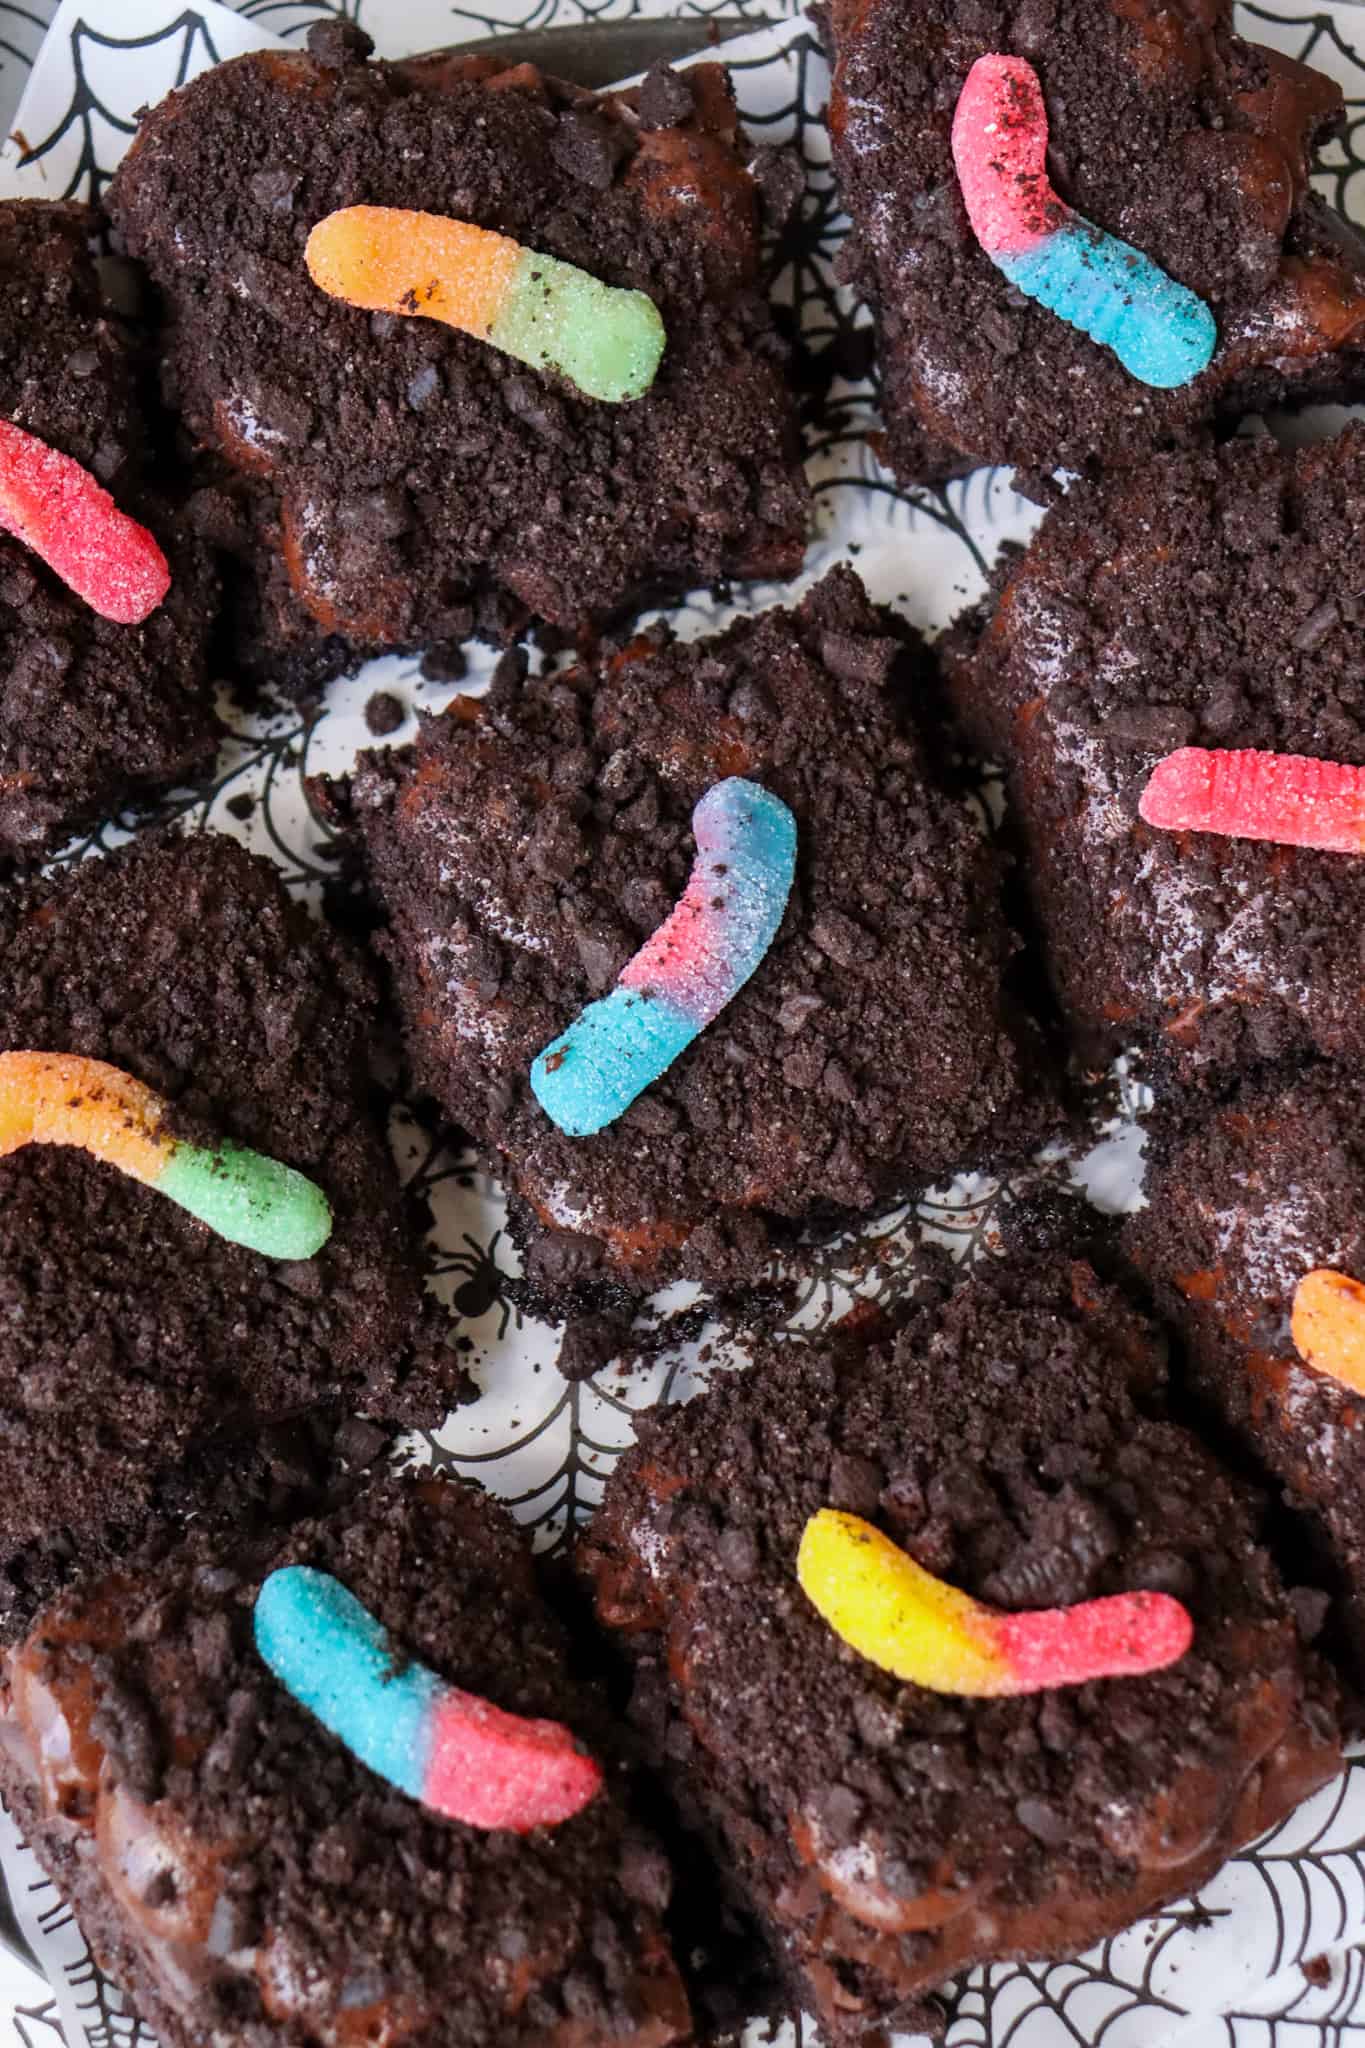
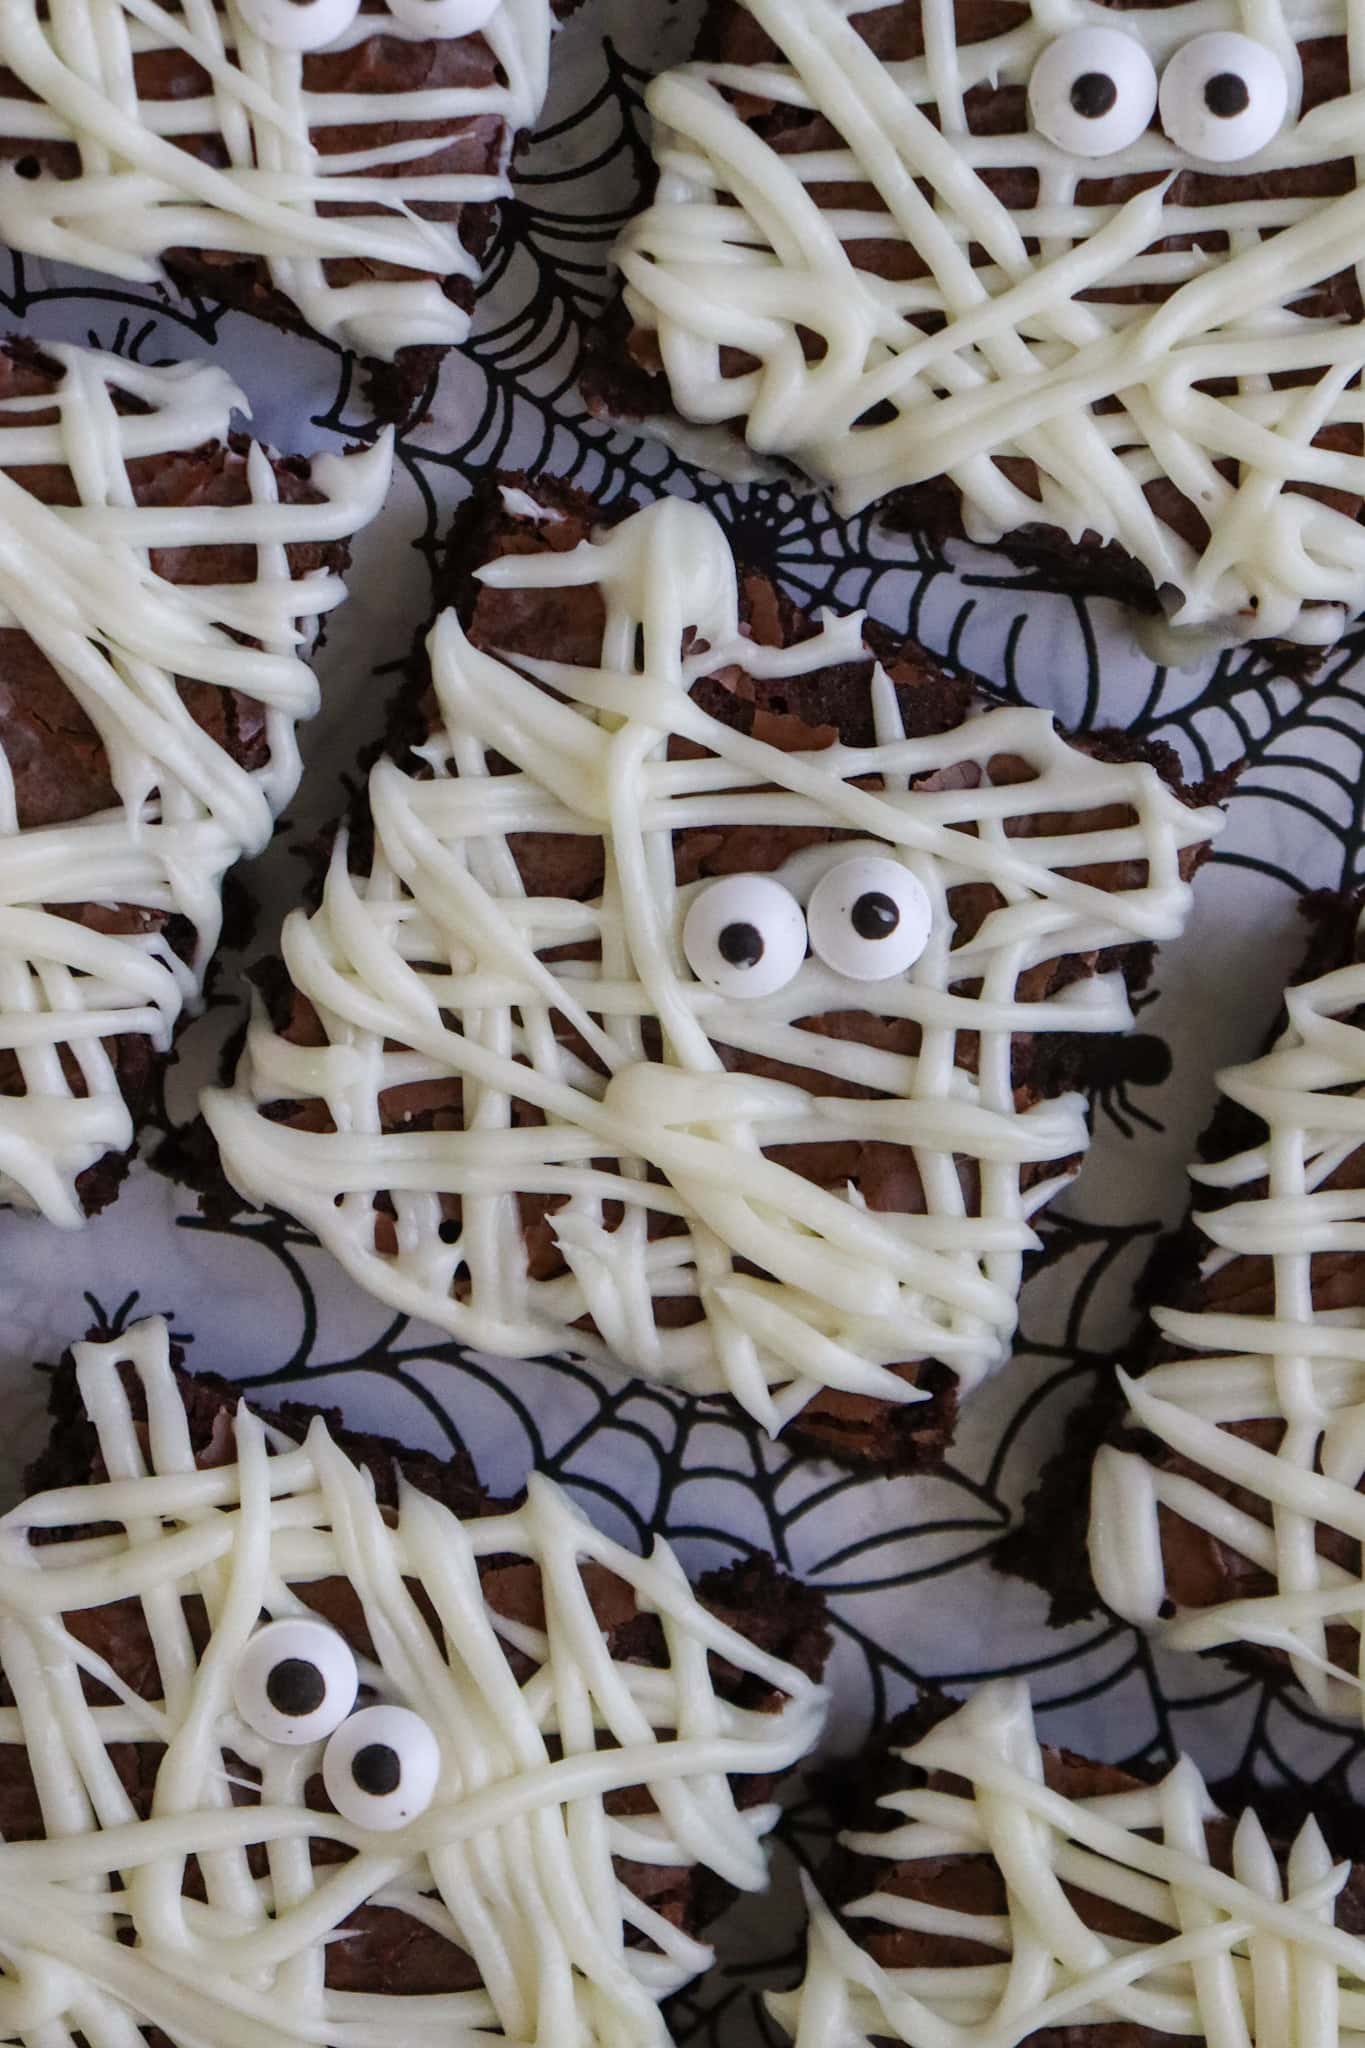
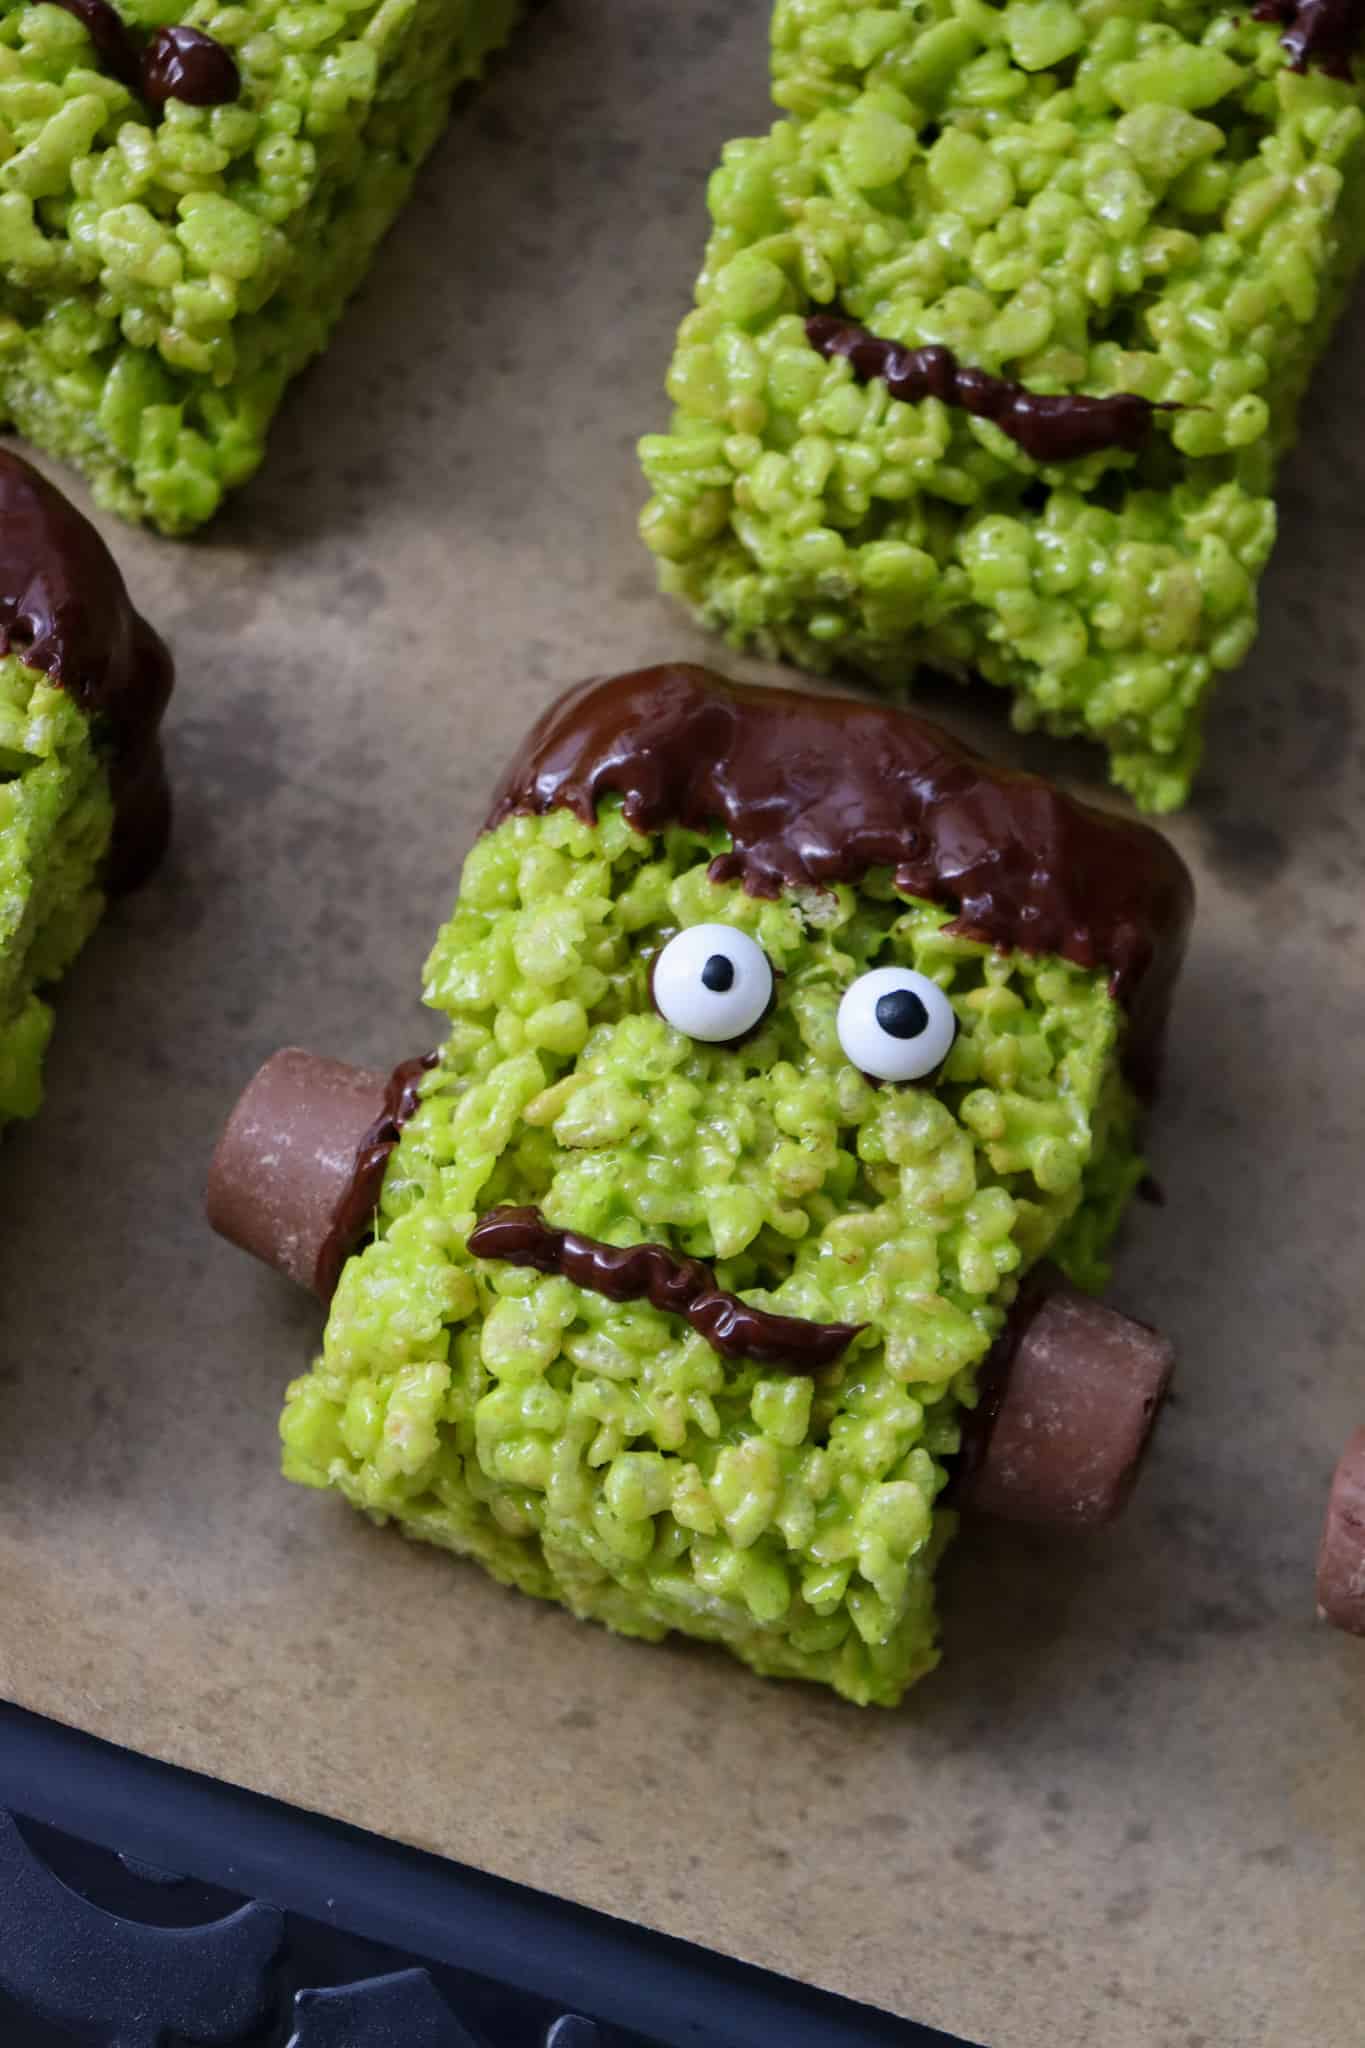
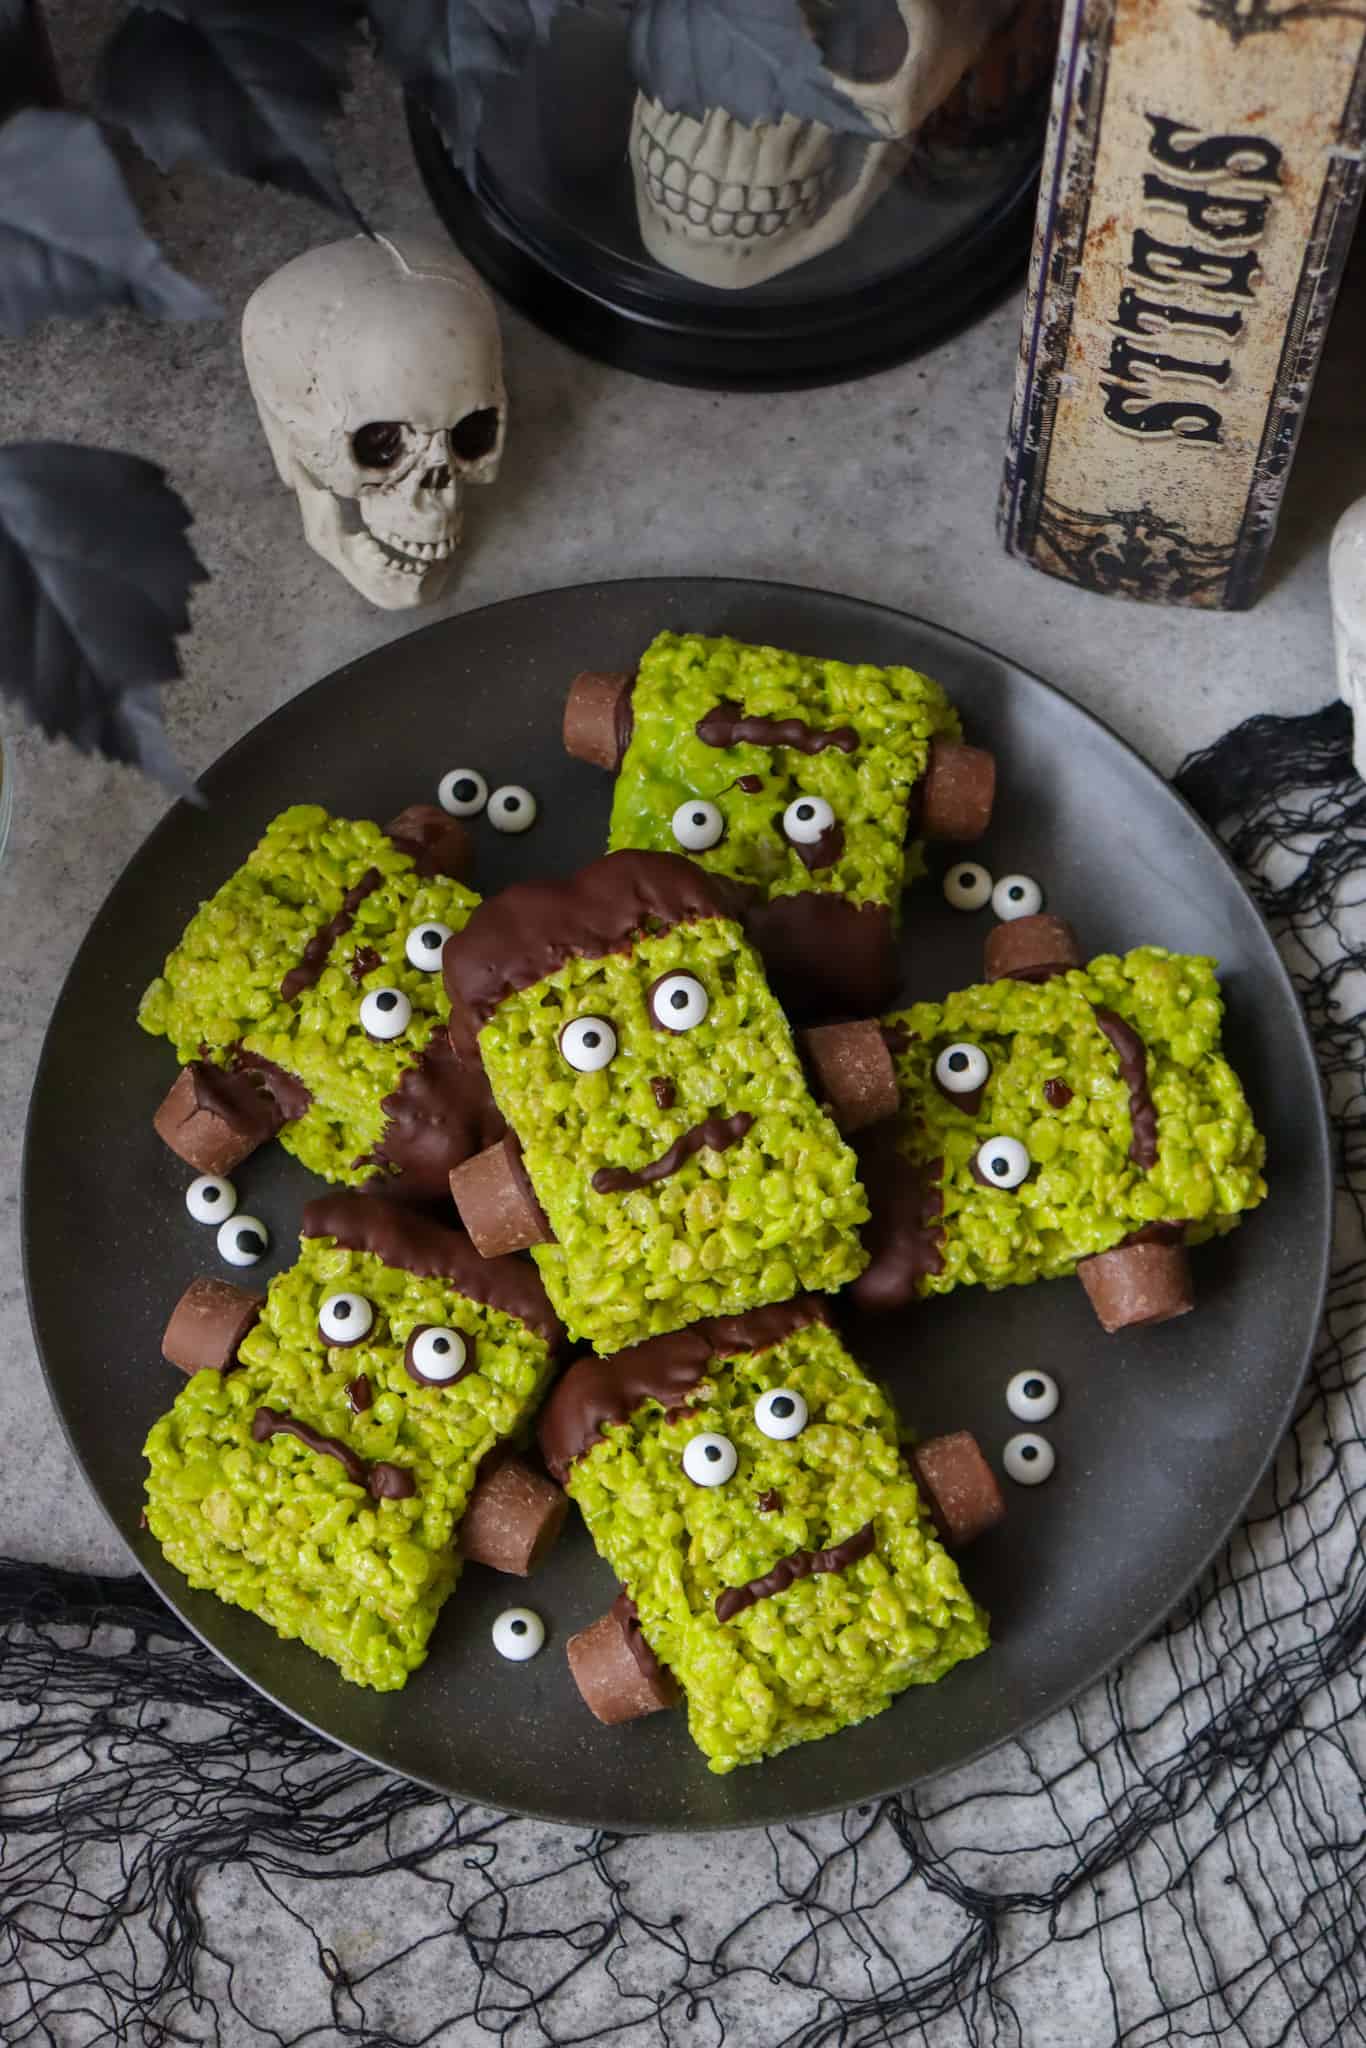
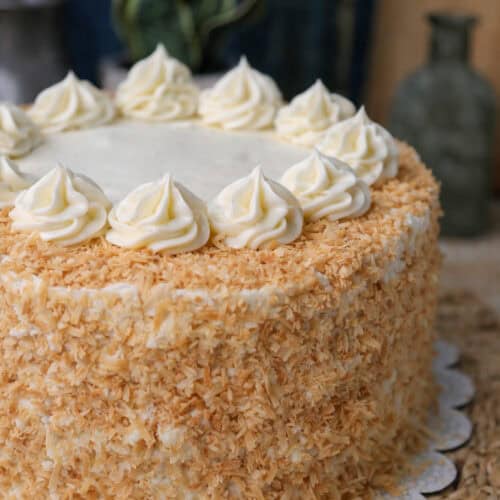
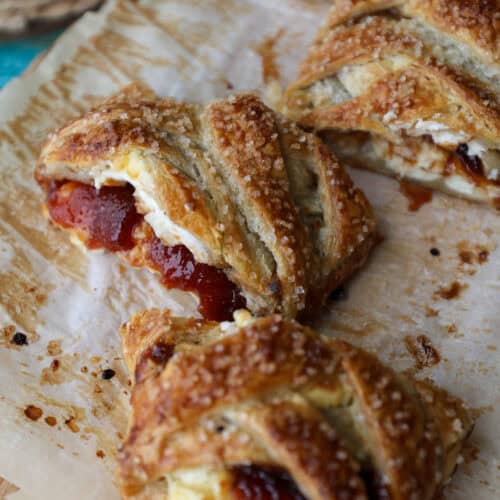
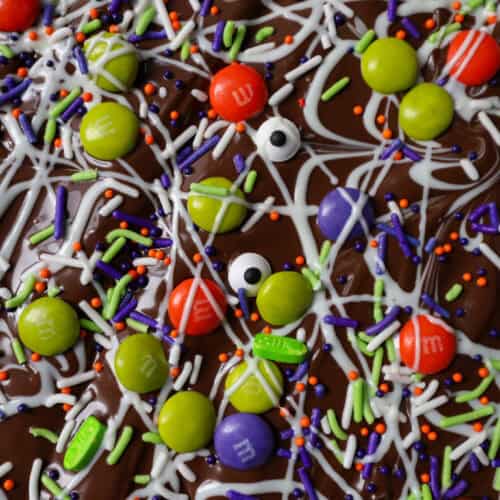
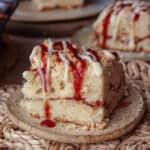
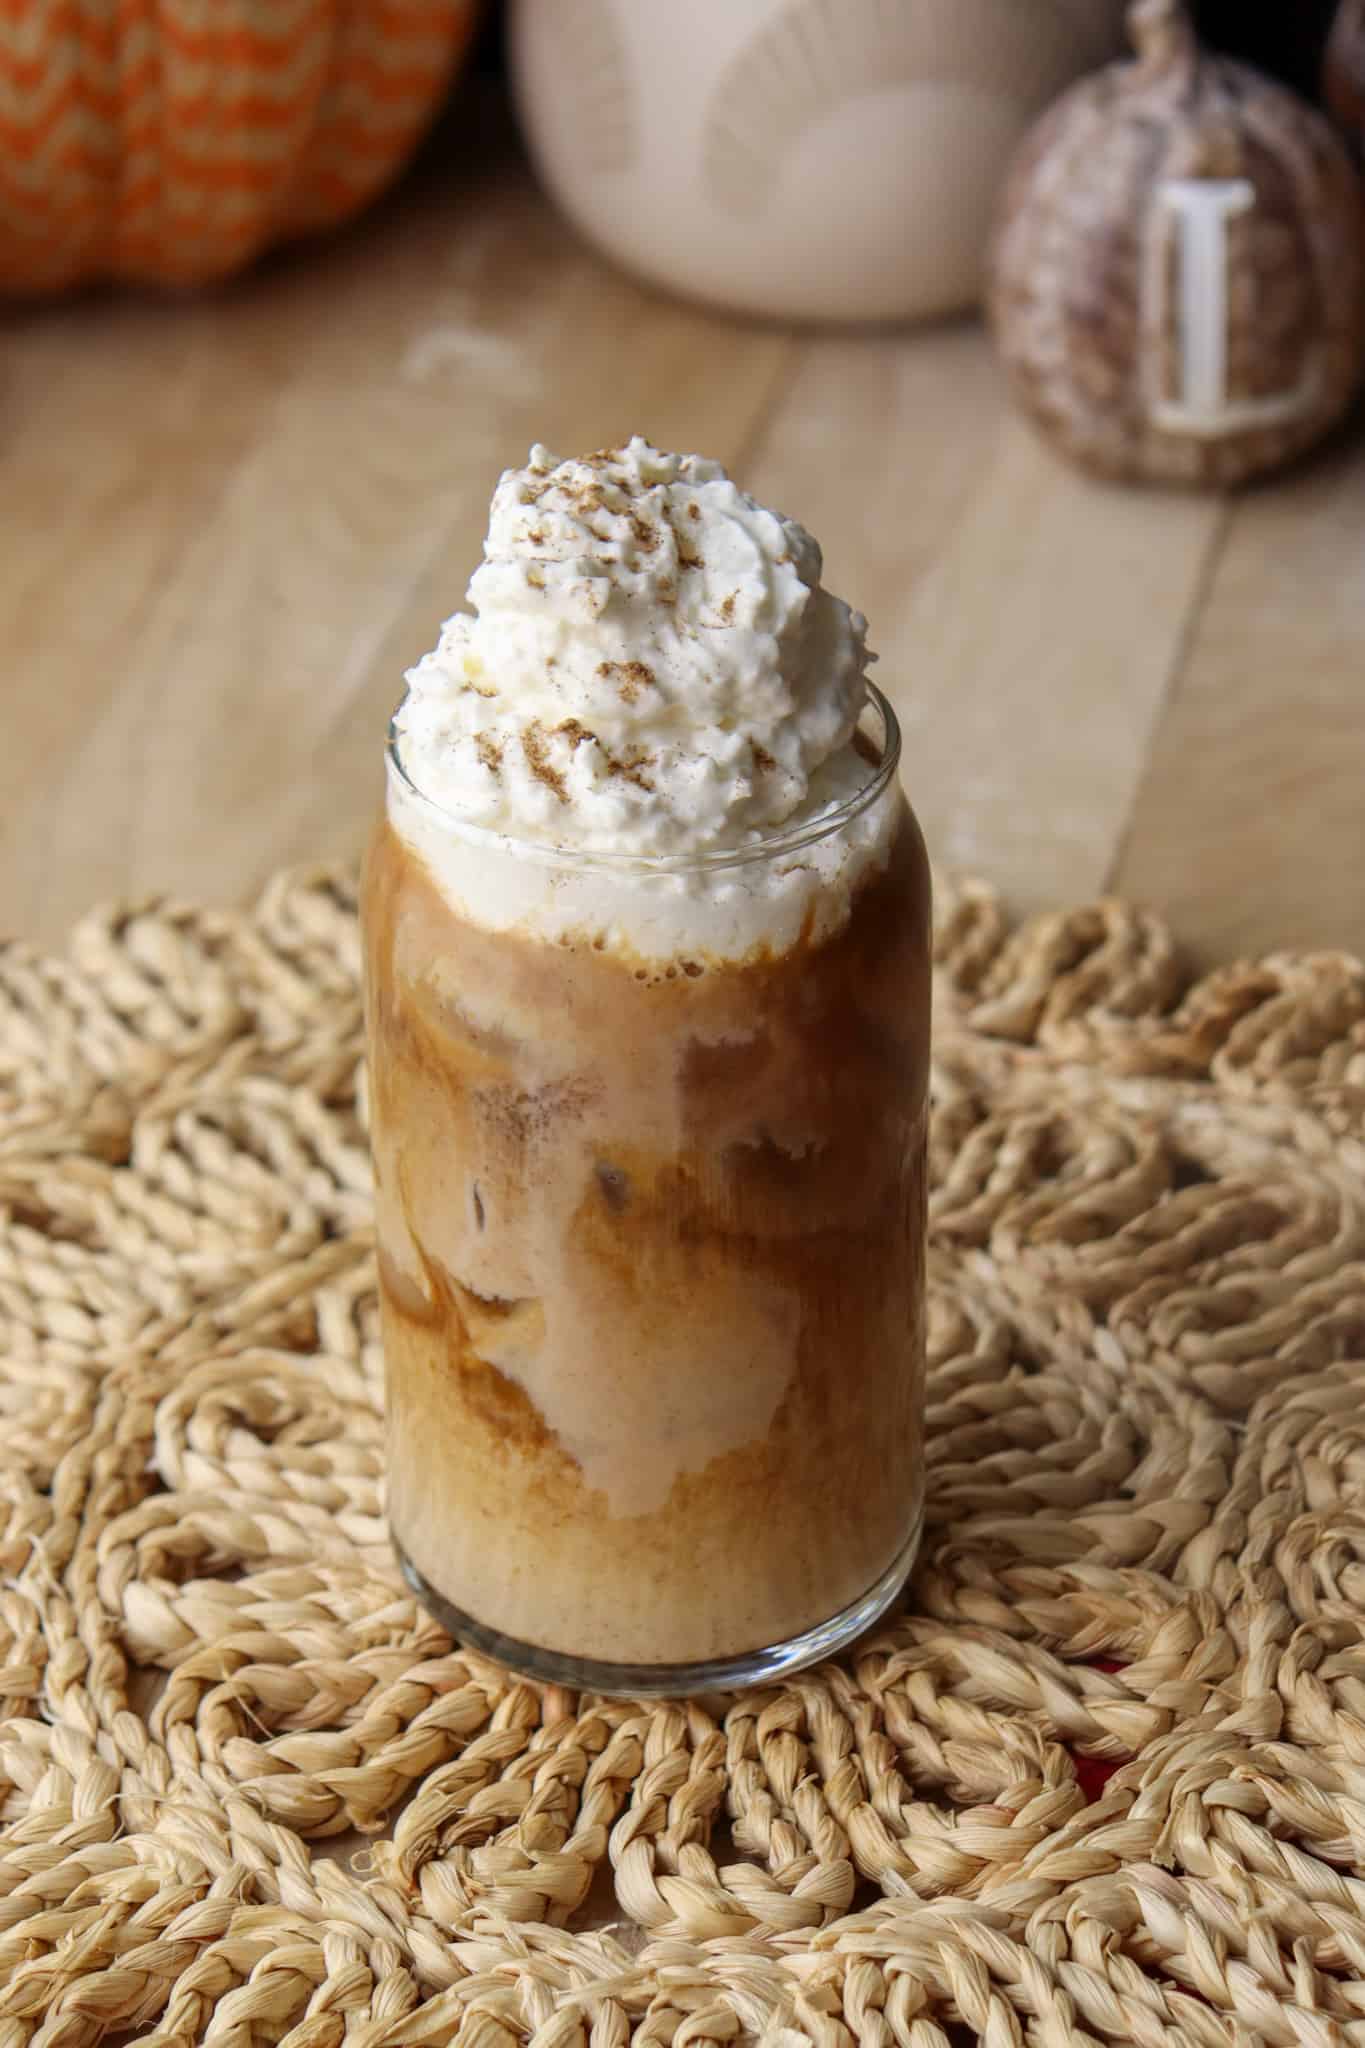
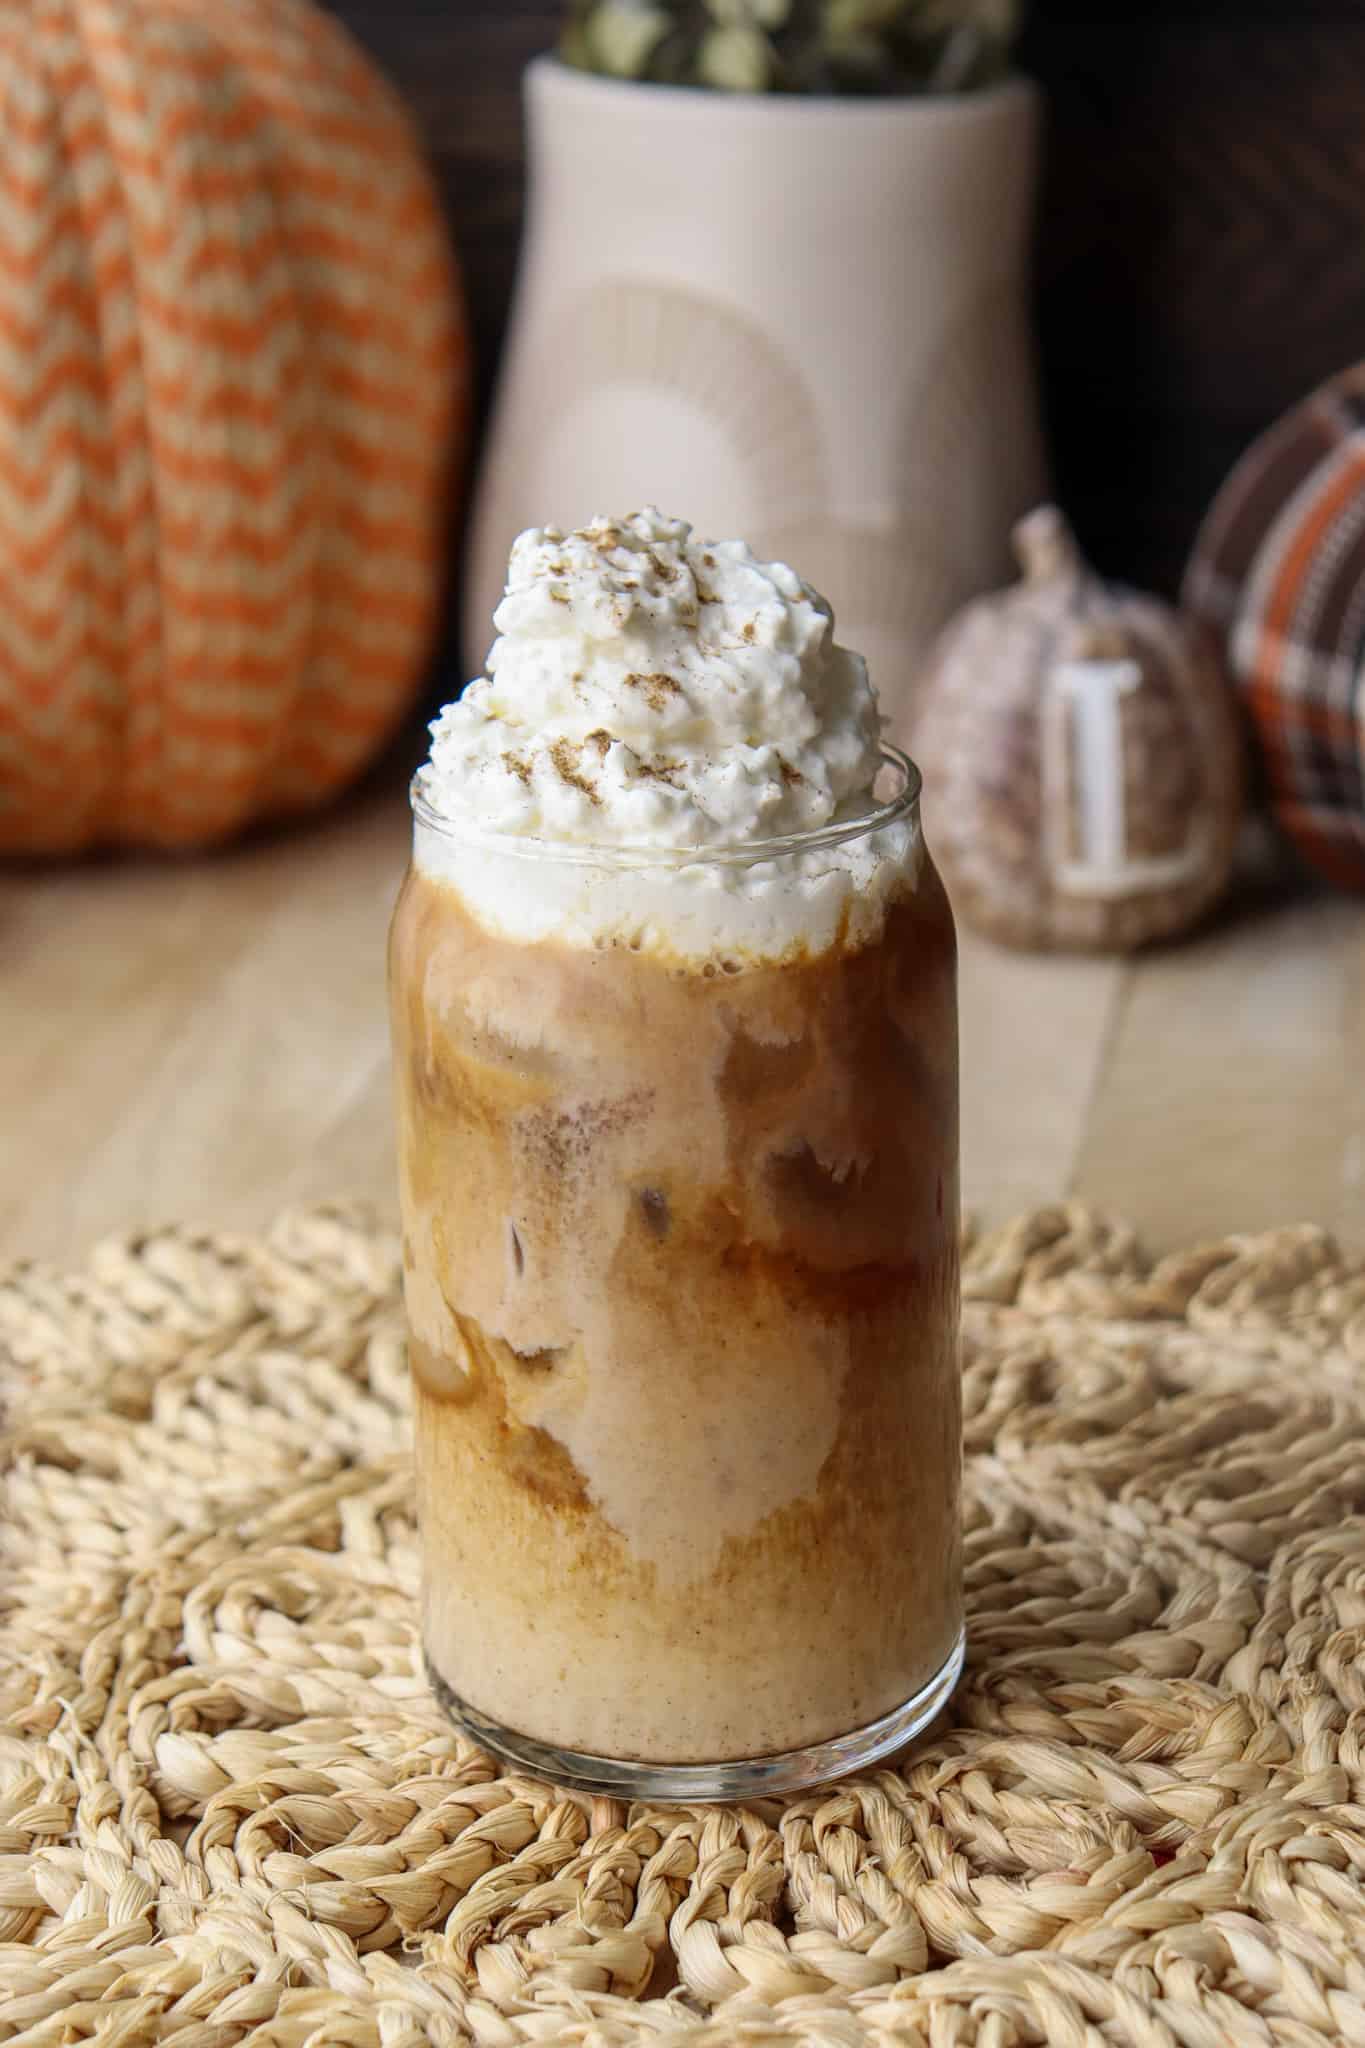
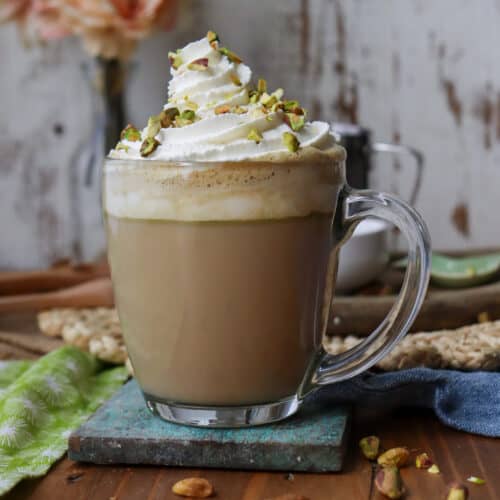
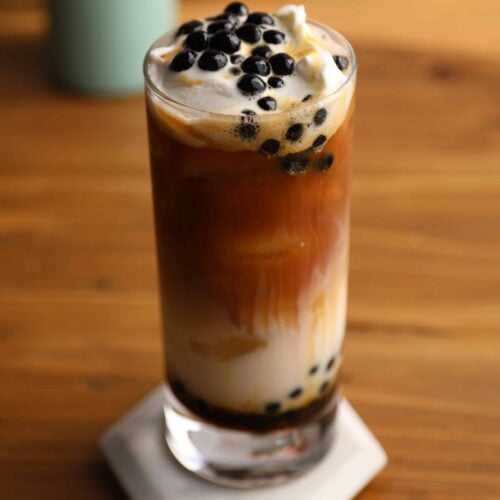
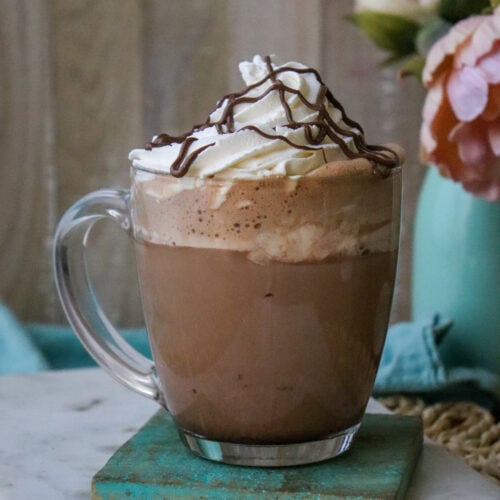
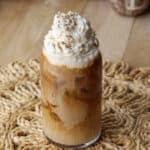
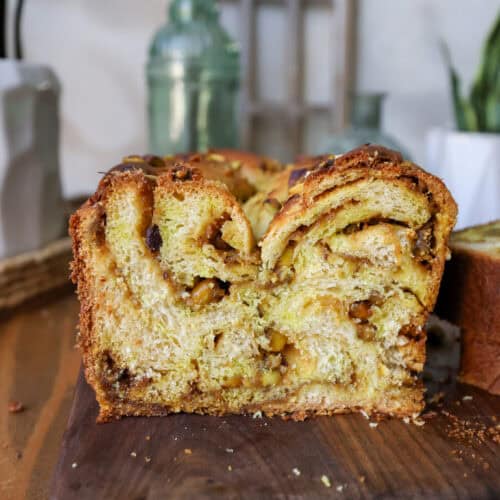
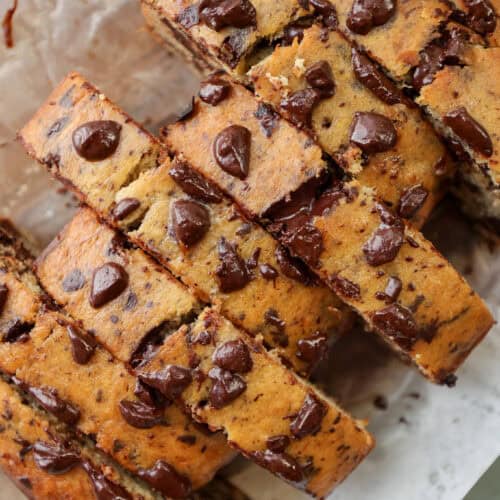
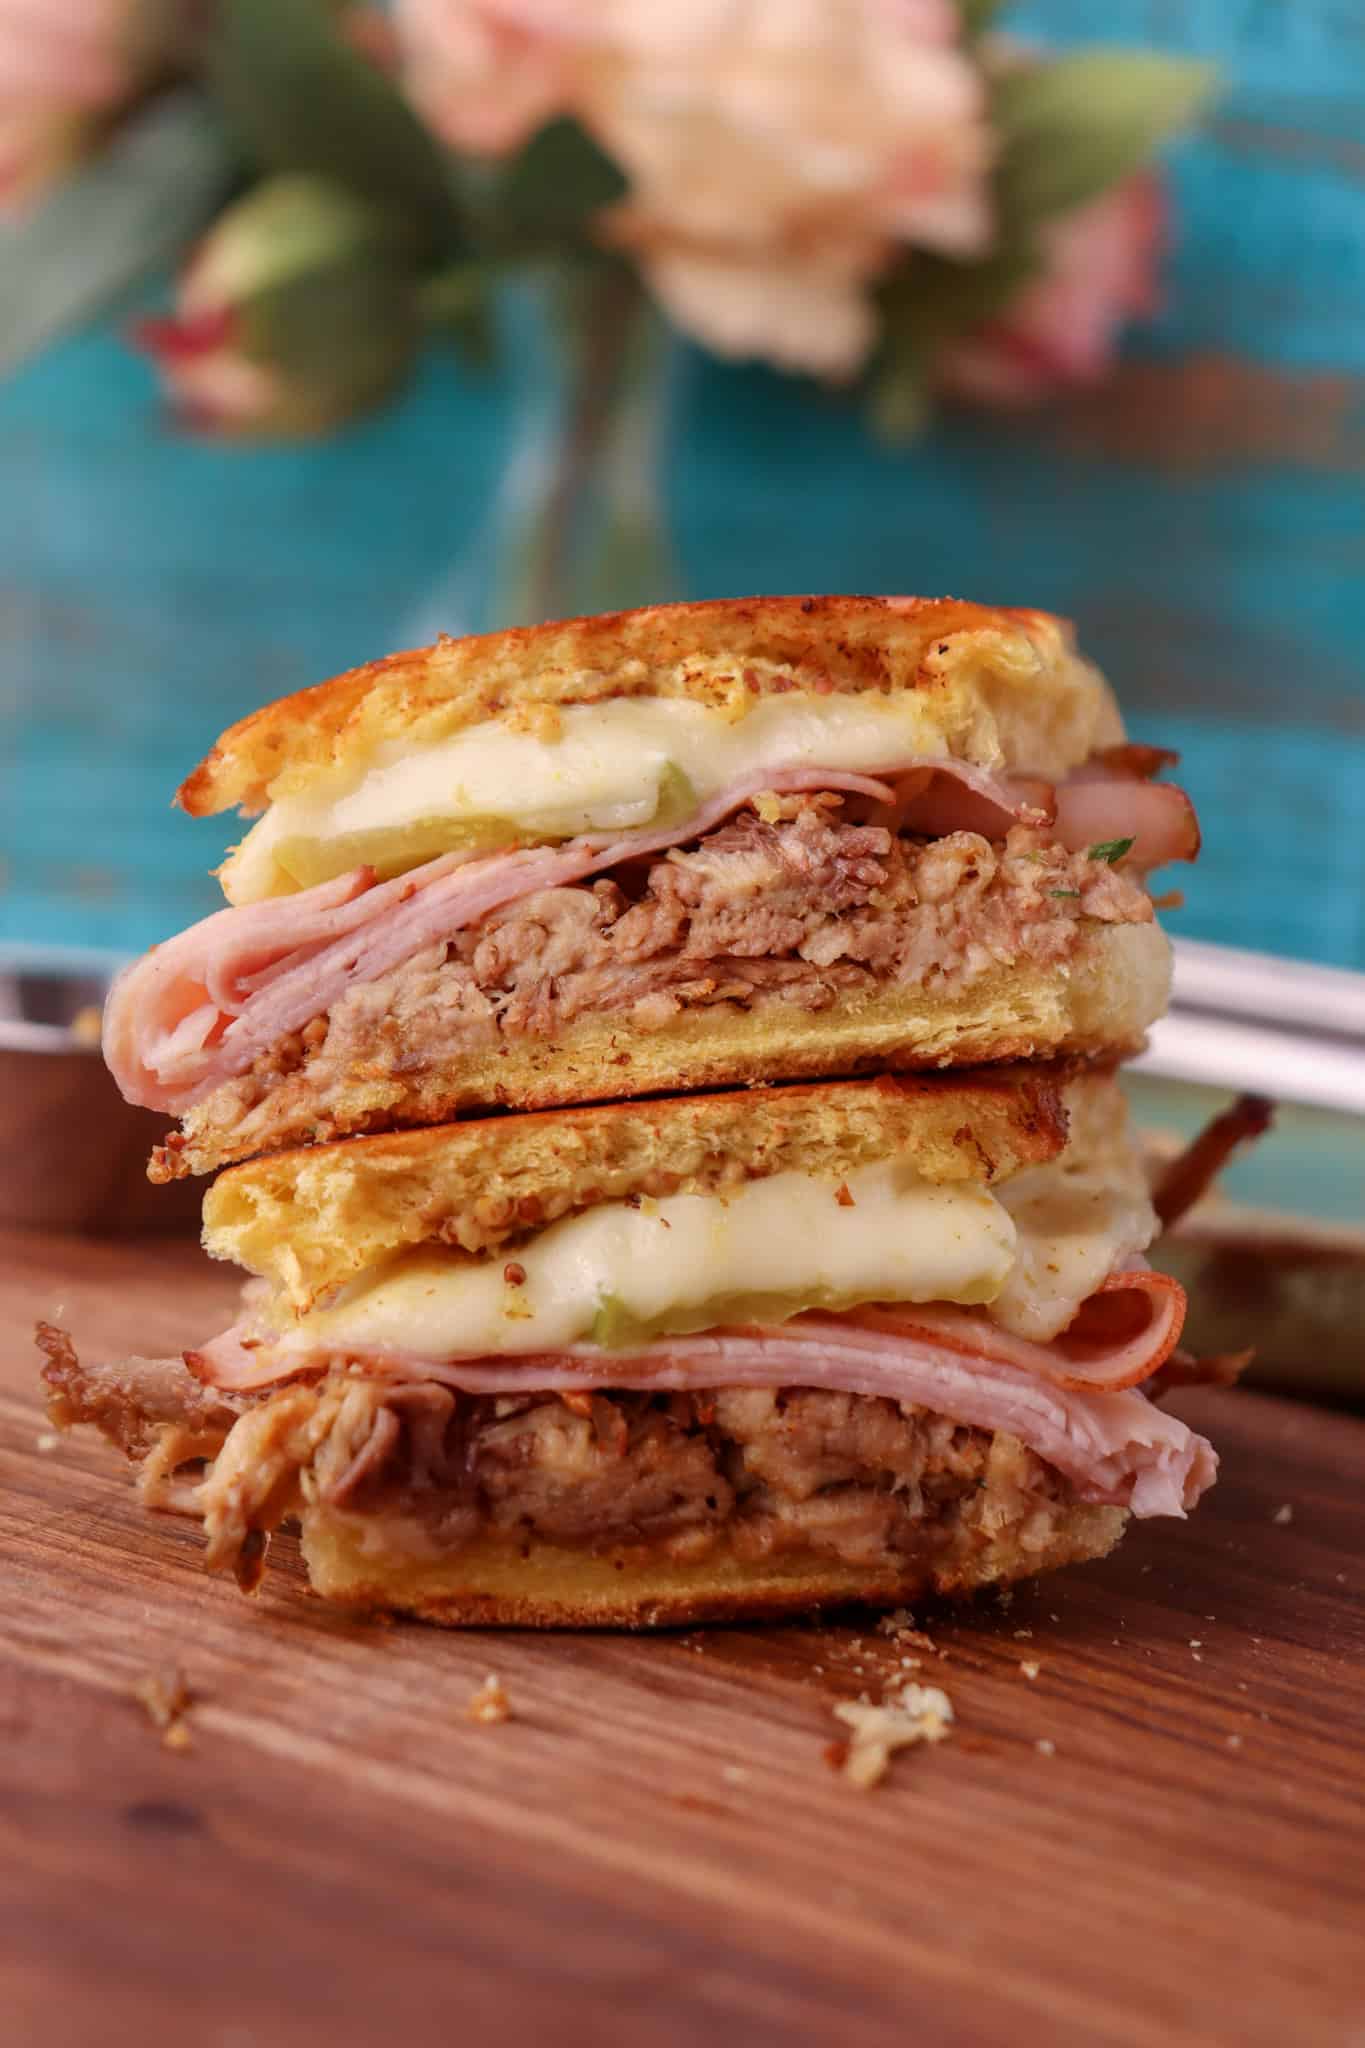
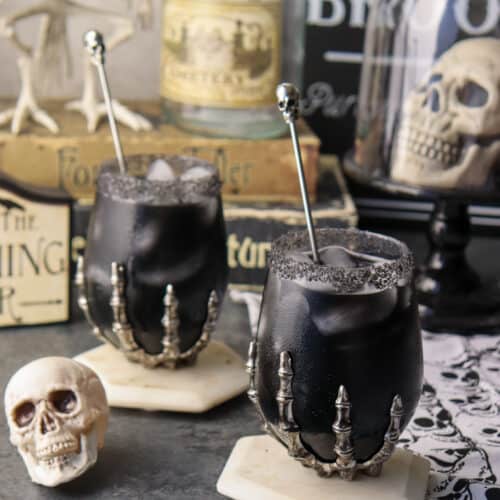
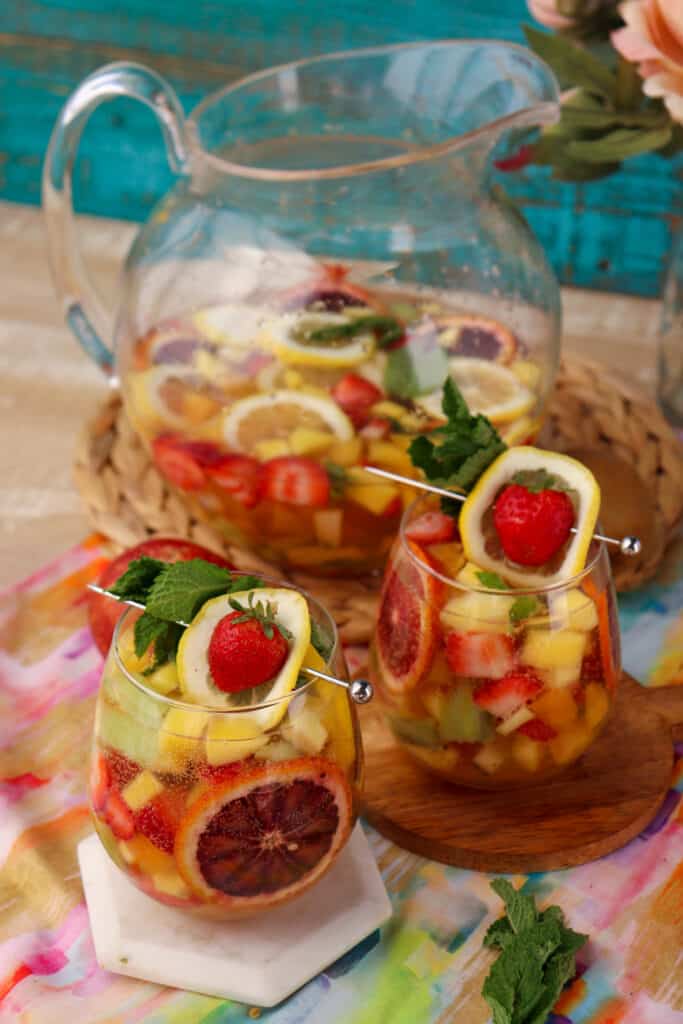
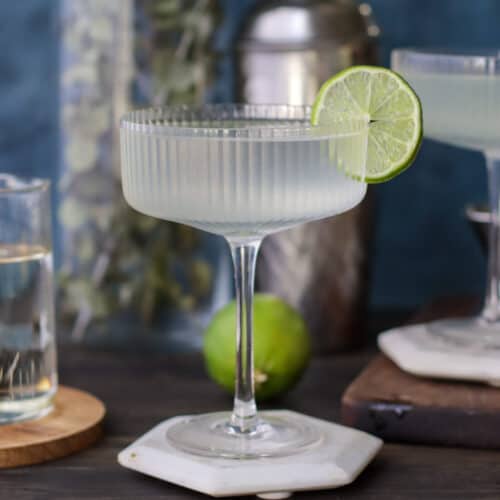
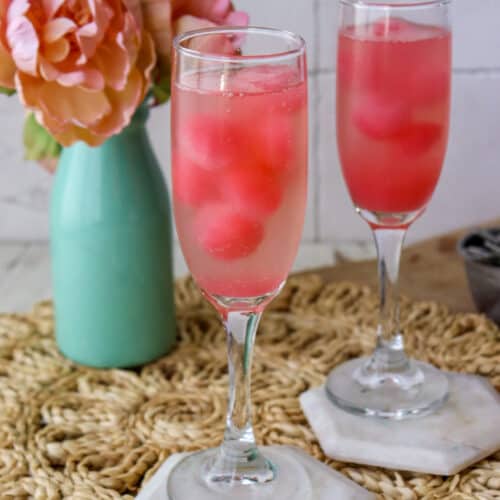
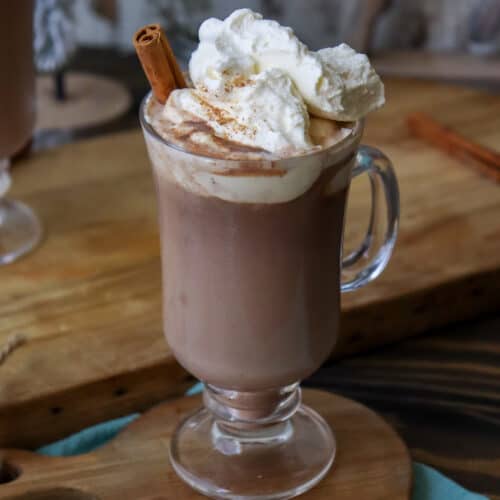
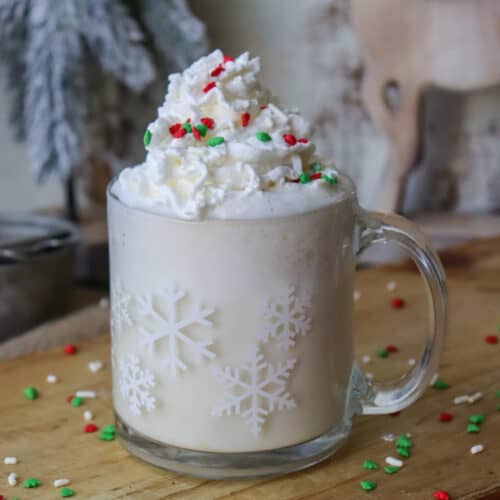
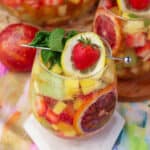
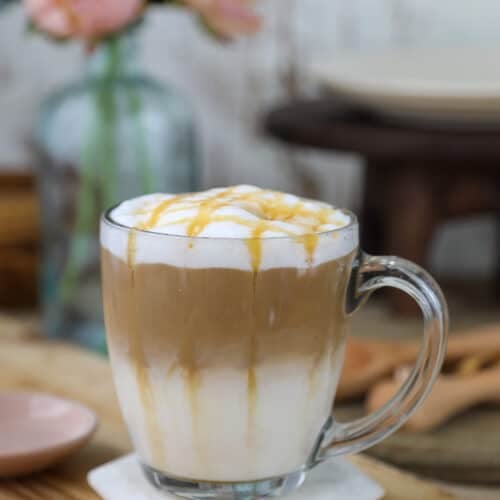
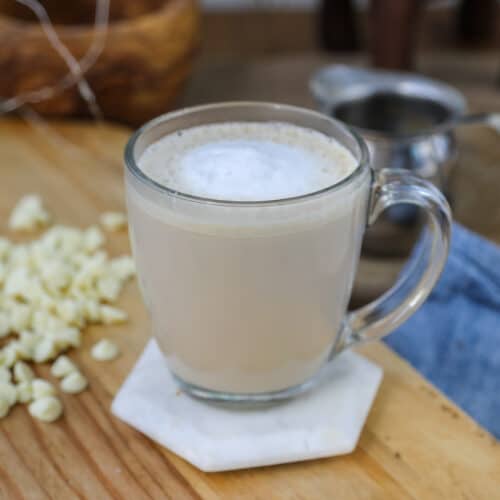
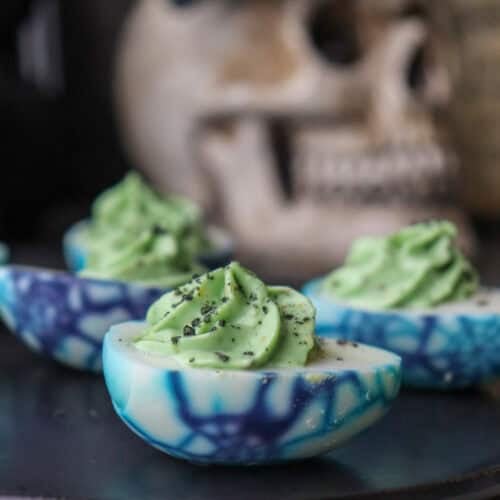
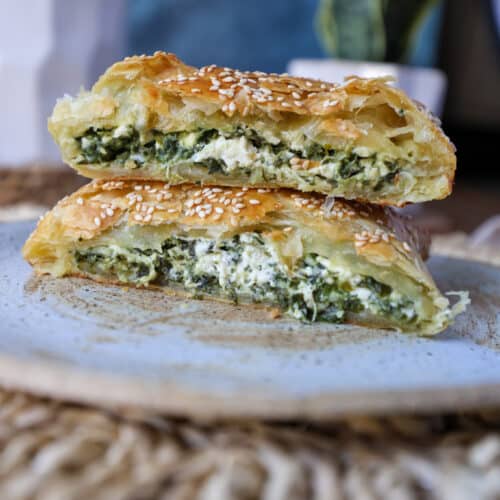
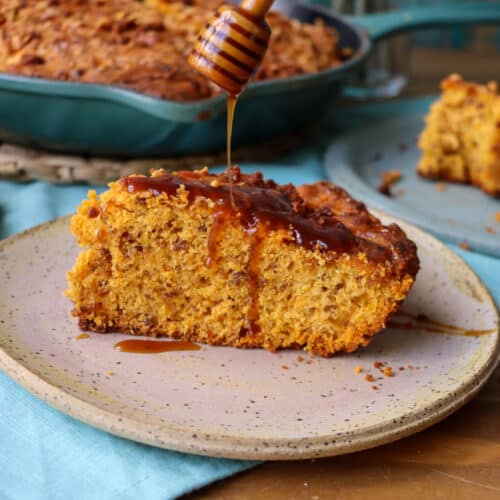
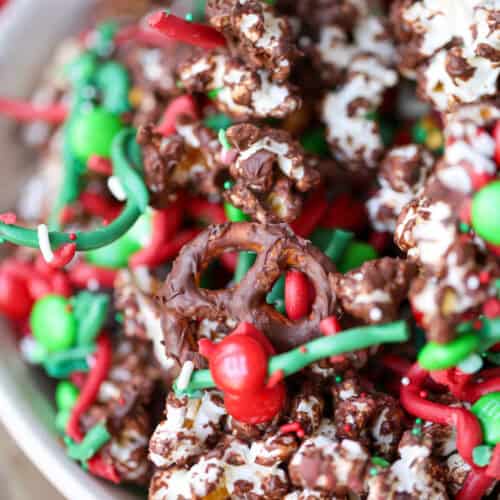
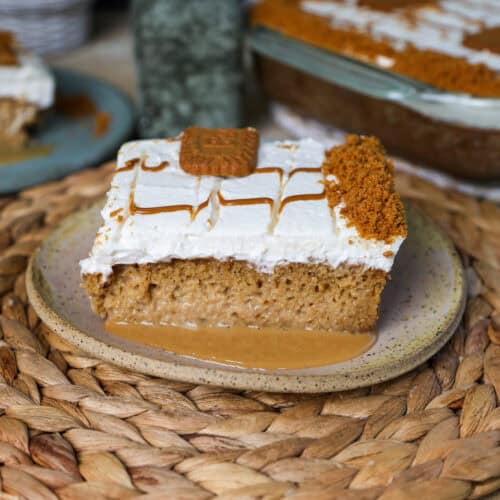
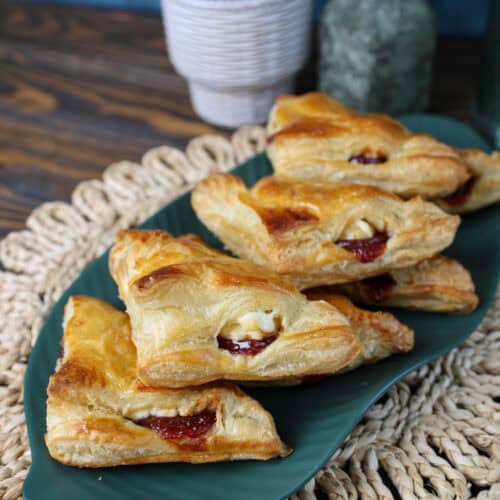
Check out these other desserts

Grinch Milkshake
Ingredients
- ¼ cup vanilla frosting
- ¼ cup Grinch sprinkles
- 2 big scoops vanilla ice cream about a cup
- ¾ cup milk of choice
- 6-8 drops green food coloring
- ½ cup whipped cream
- 1 Green candy canes
- 1 Holiday cookie
Instructions
- Start my covering the rim of the milkshake glass with vanilla frosting using a rubber spatula or wooden spoon. Sprinkle the grinch sprinkles over the vanilla frosting on the rim of the glass. Place the prepared glass in the freezer while you make your milkshake.
- In a blender add your ice cream, green food coloring and milk. Blend until creamy. If it's not as green as you'd like, add more food coloring until it reaches your desired color.
- Pour the shake into your prepared glass. DO not fill to the brim of the glass, leave about half an inch of room from the top of the glass.
- On the top of the milkshake add in your whipped cream. Top the whipped cream with additional sprinkles, add the green candy cake and additional toppings.