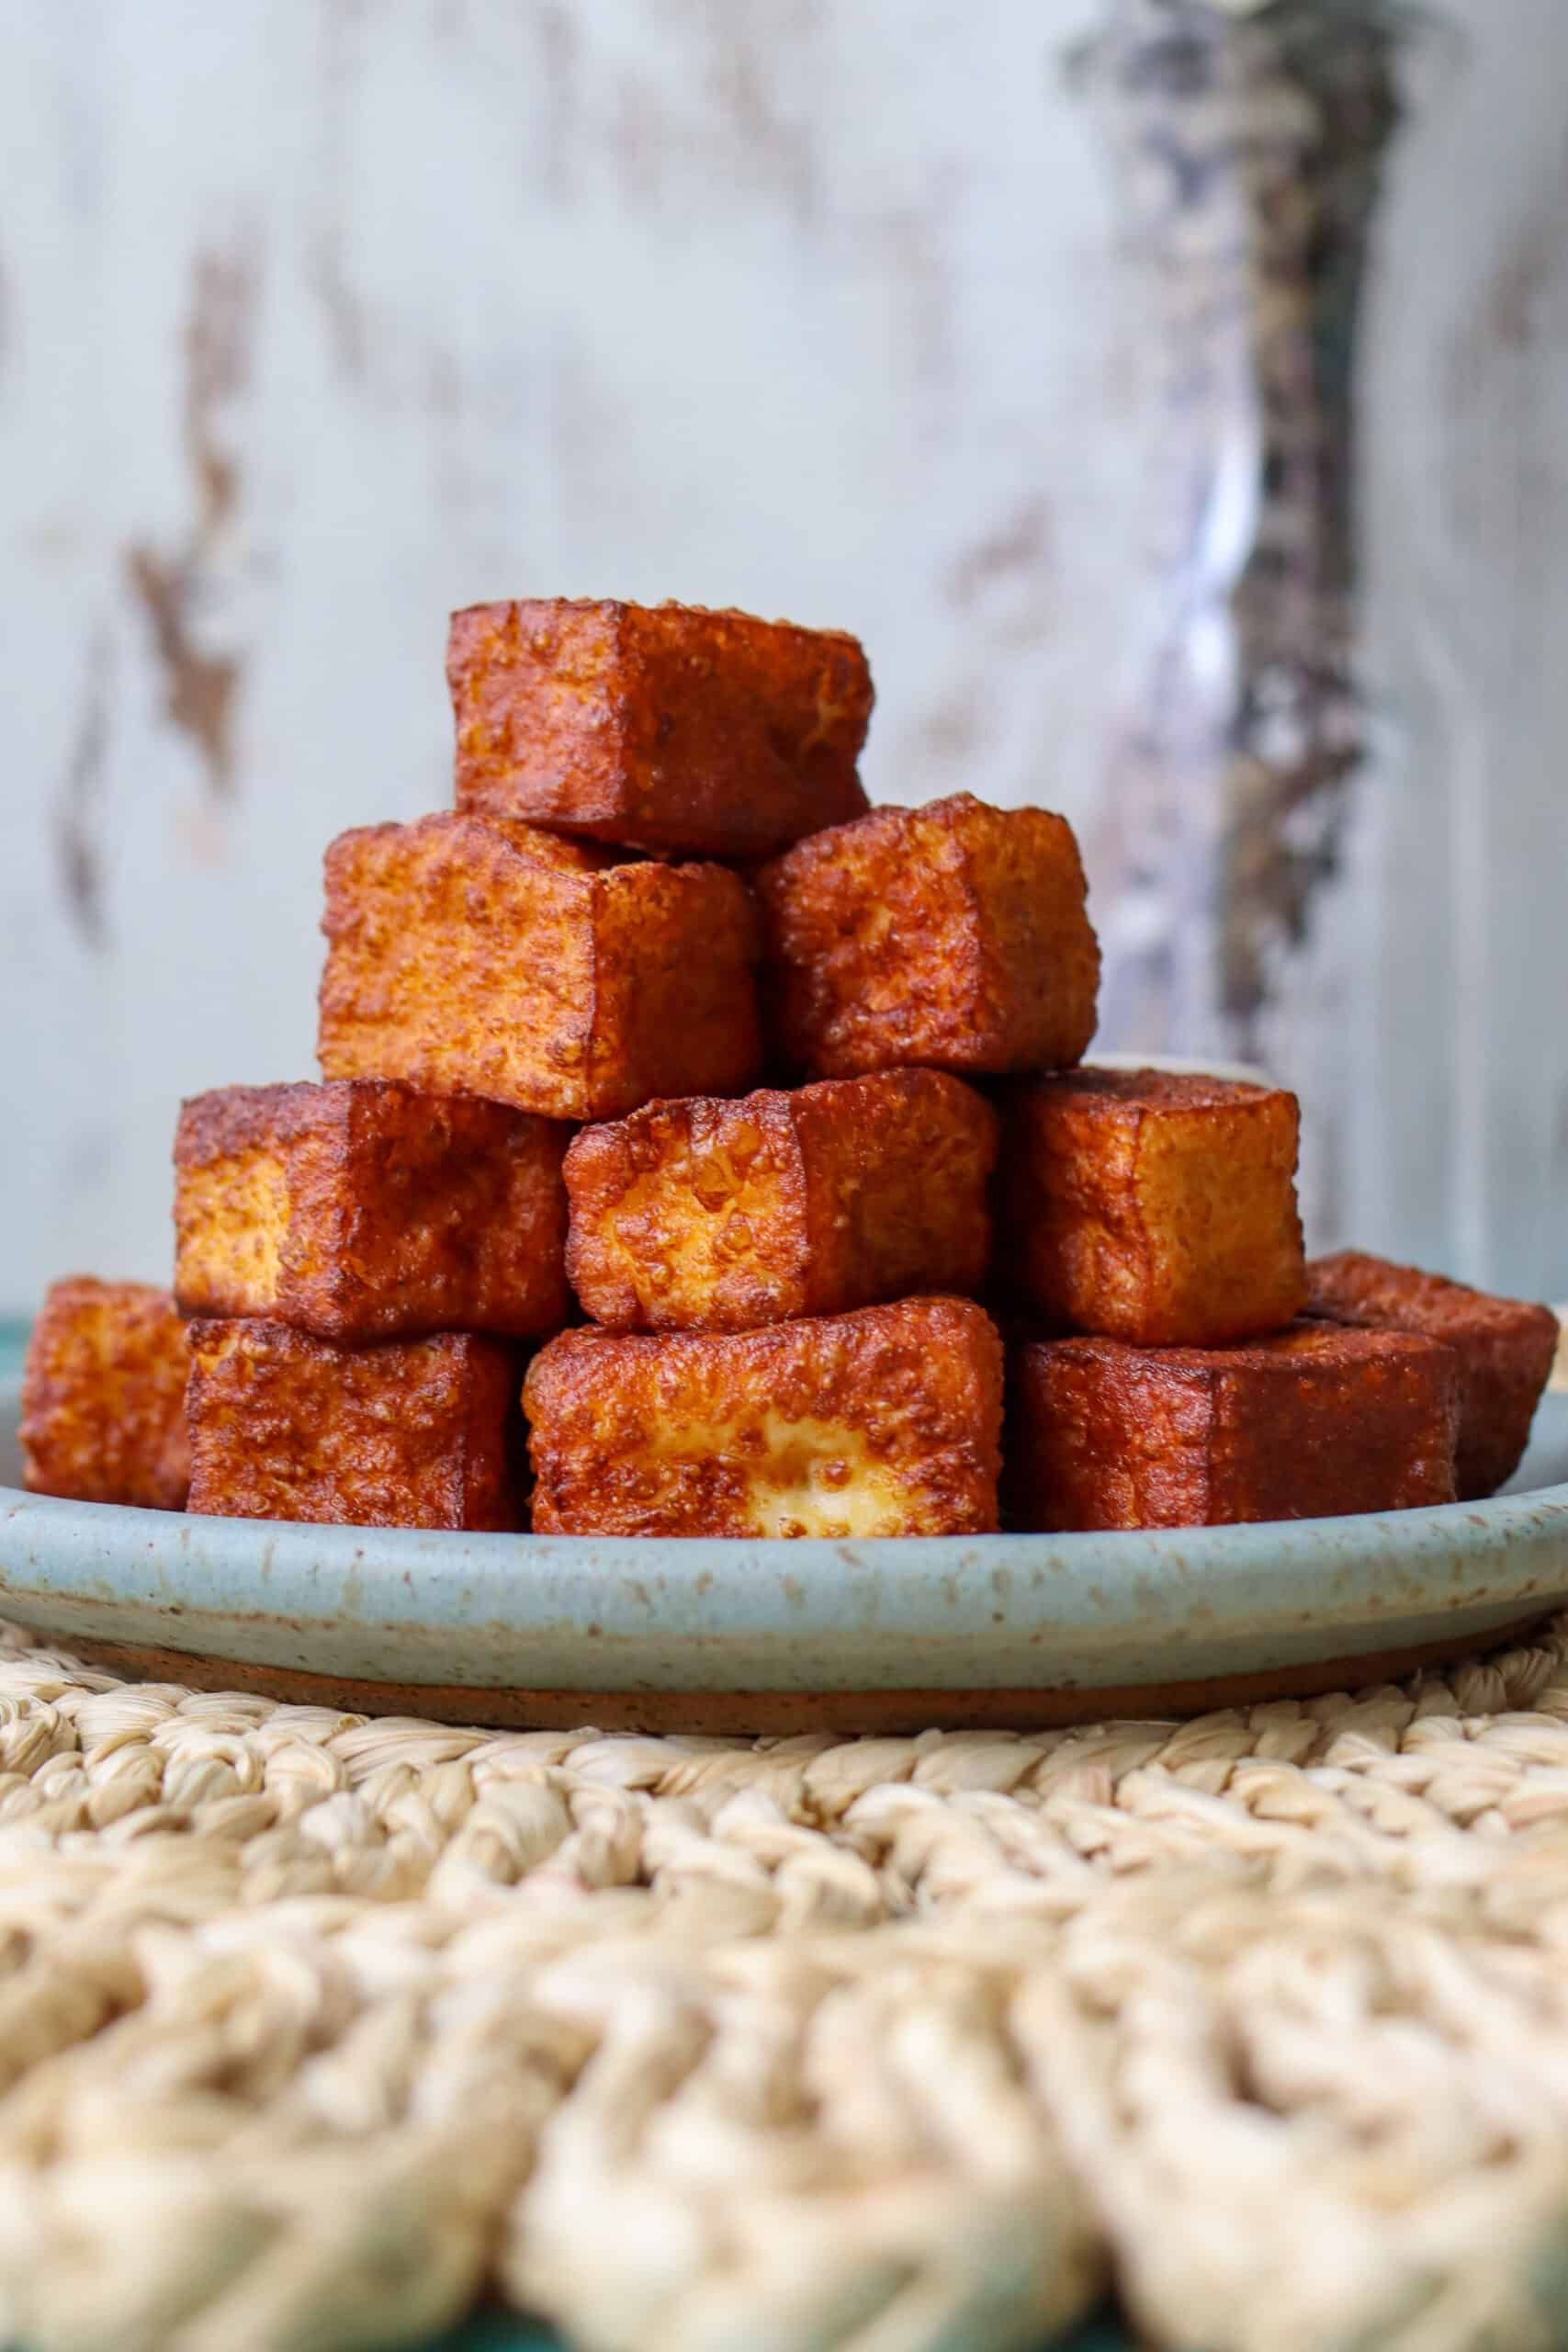
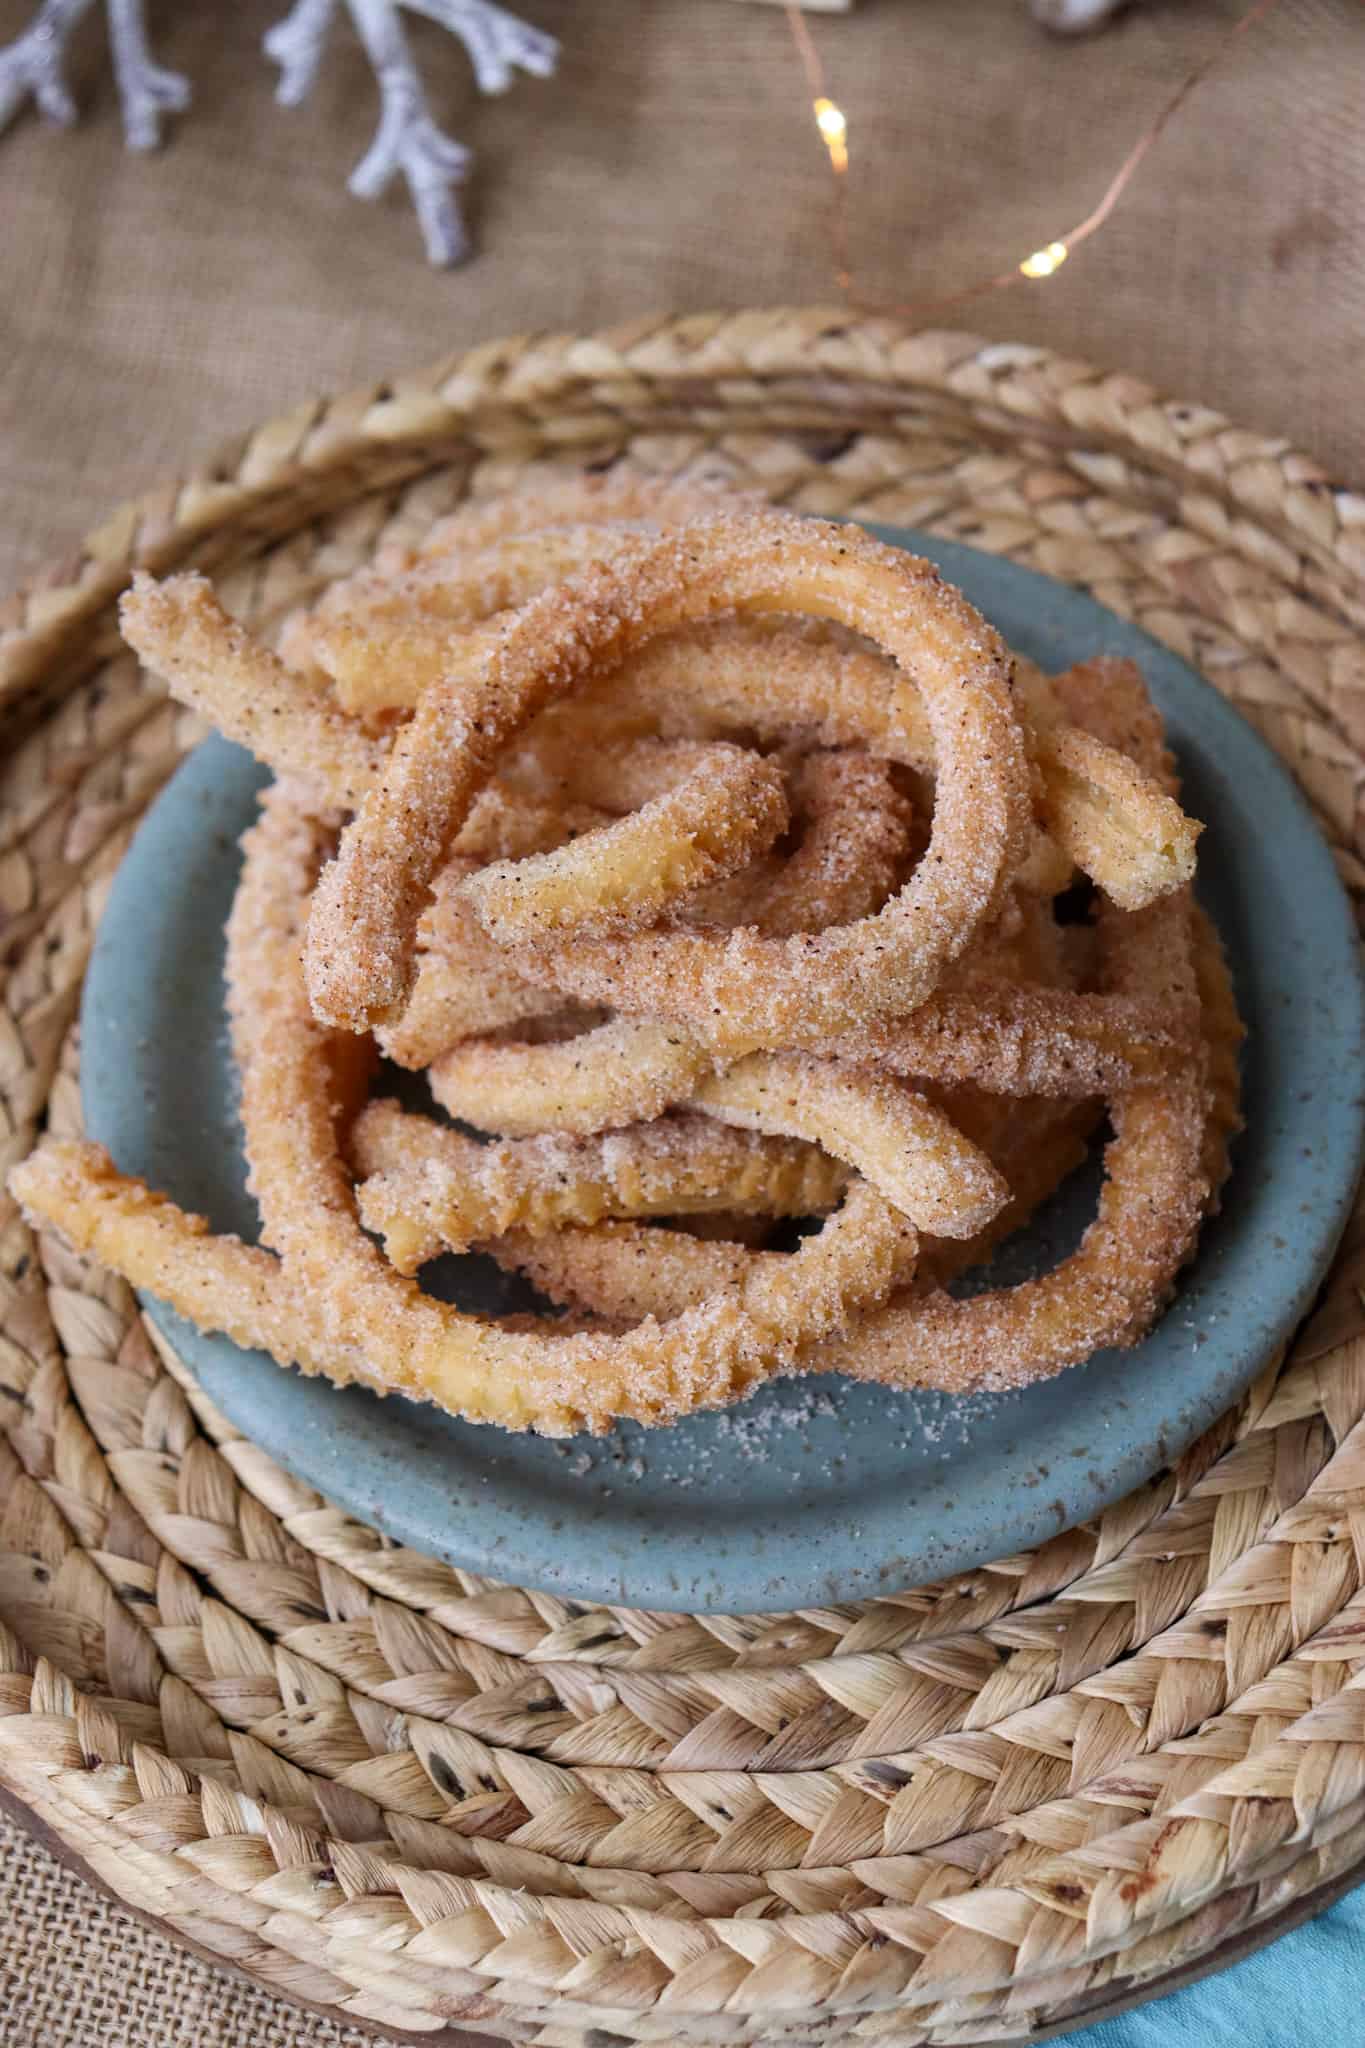
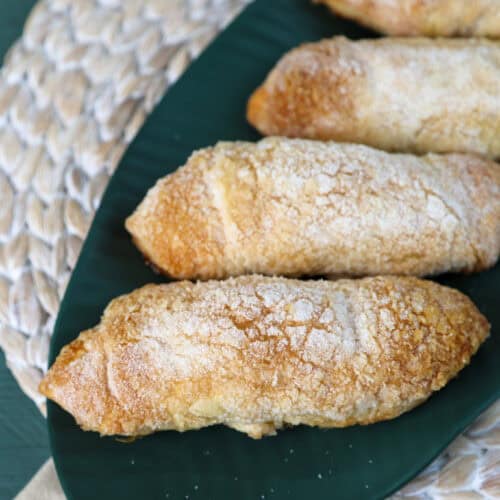
Traditional churros are the perfect dessert, but are an absolute must during the cold winter months. These churros always remind me of christmas with my dad. My dad was a chef in Cuba and during the holidays, he would always make churros.
Why you'll love this traditional Mexican churros recipe
- These churros are ready in less than 15 minutes
- Perfect dessert or sweet snack for adults and kids
- Dough can be made and prepped ahead of time
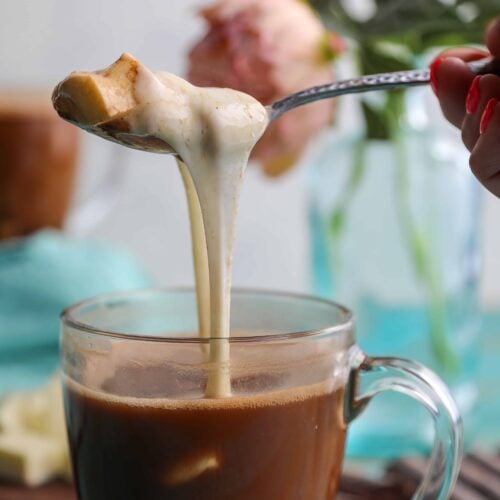
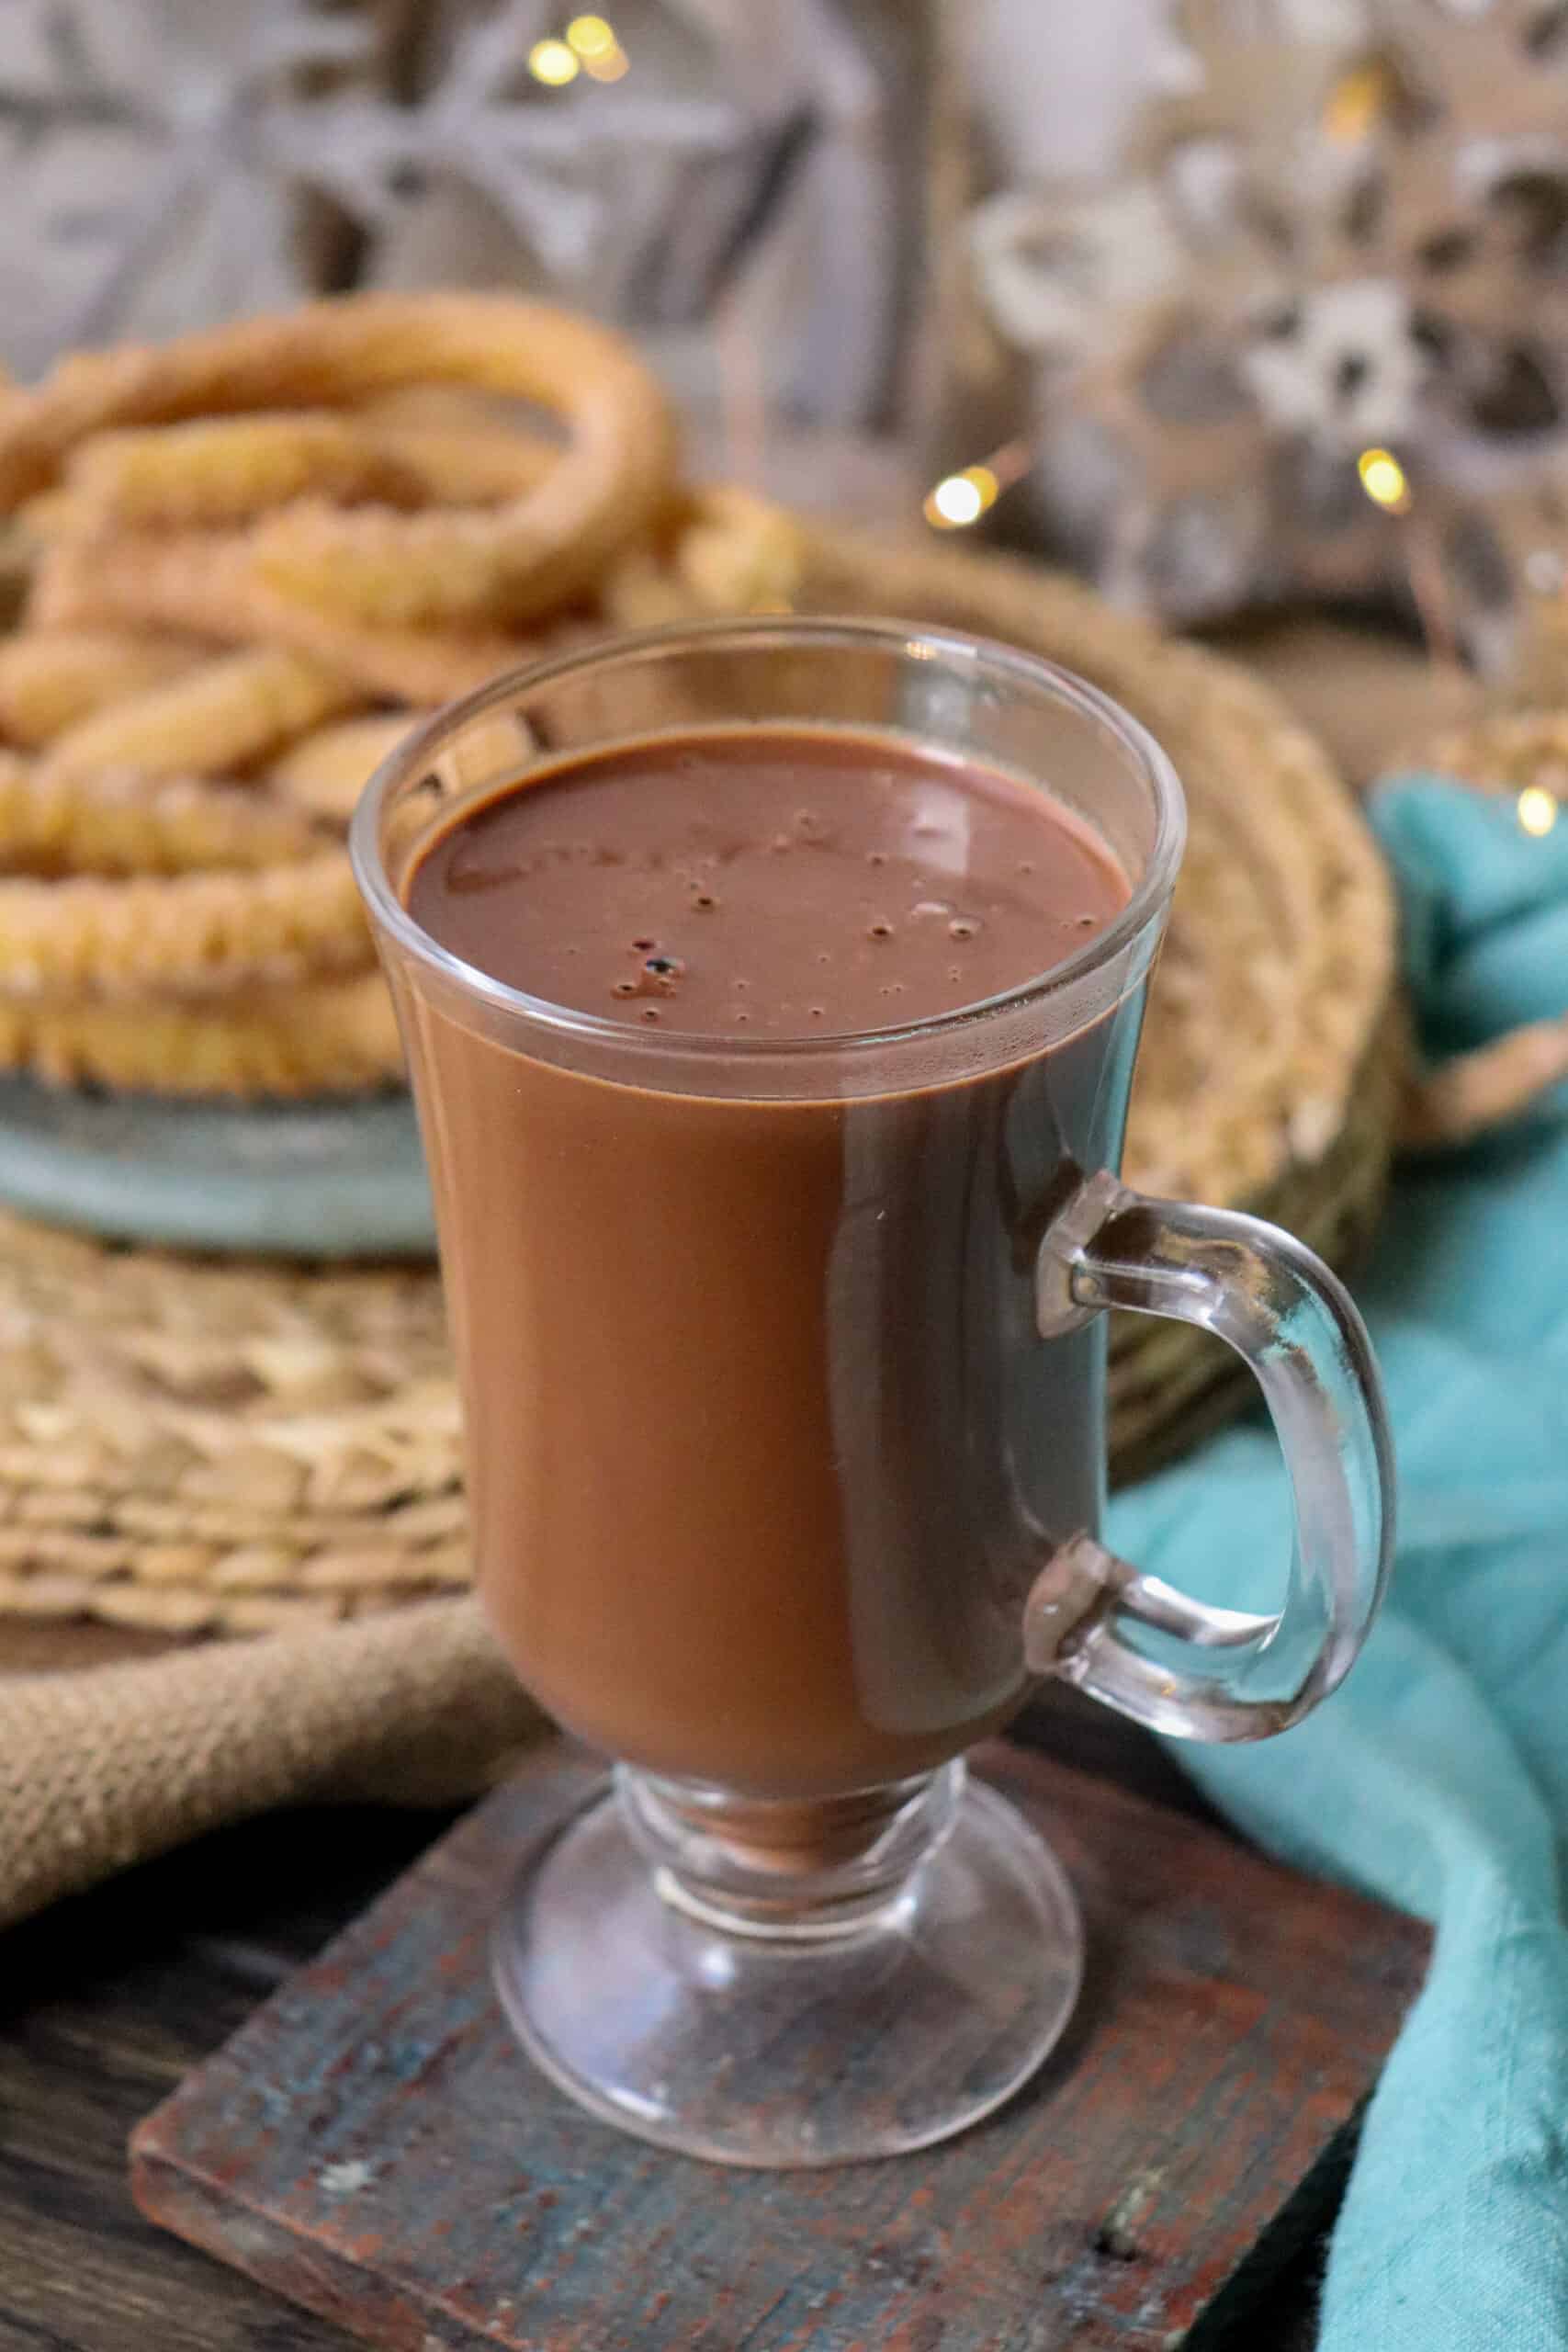
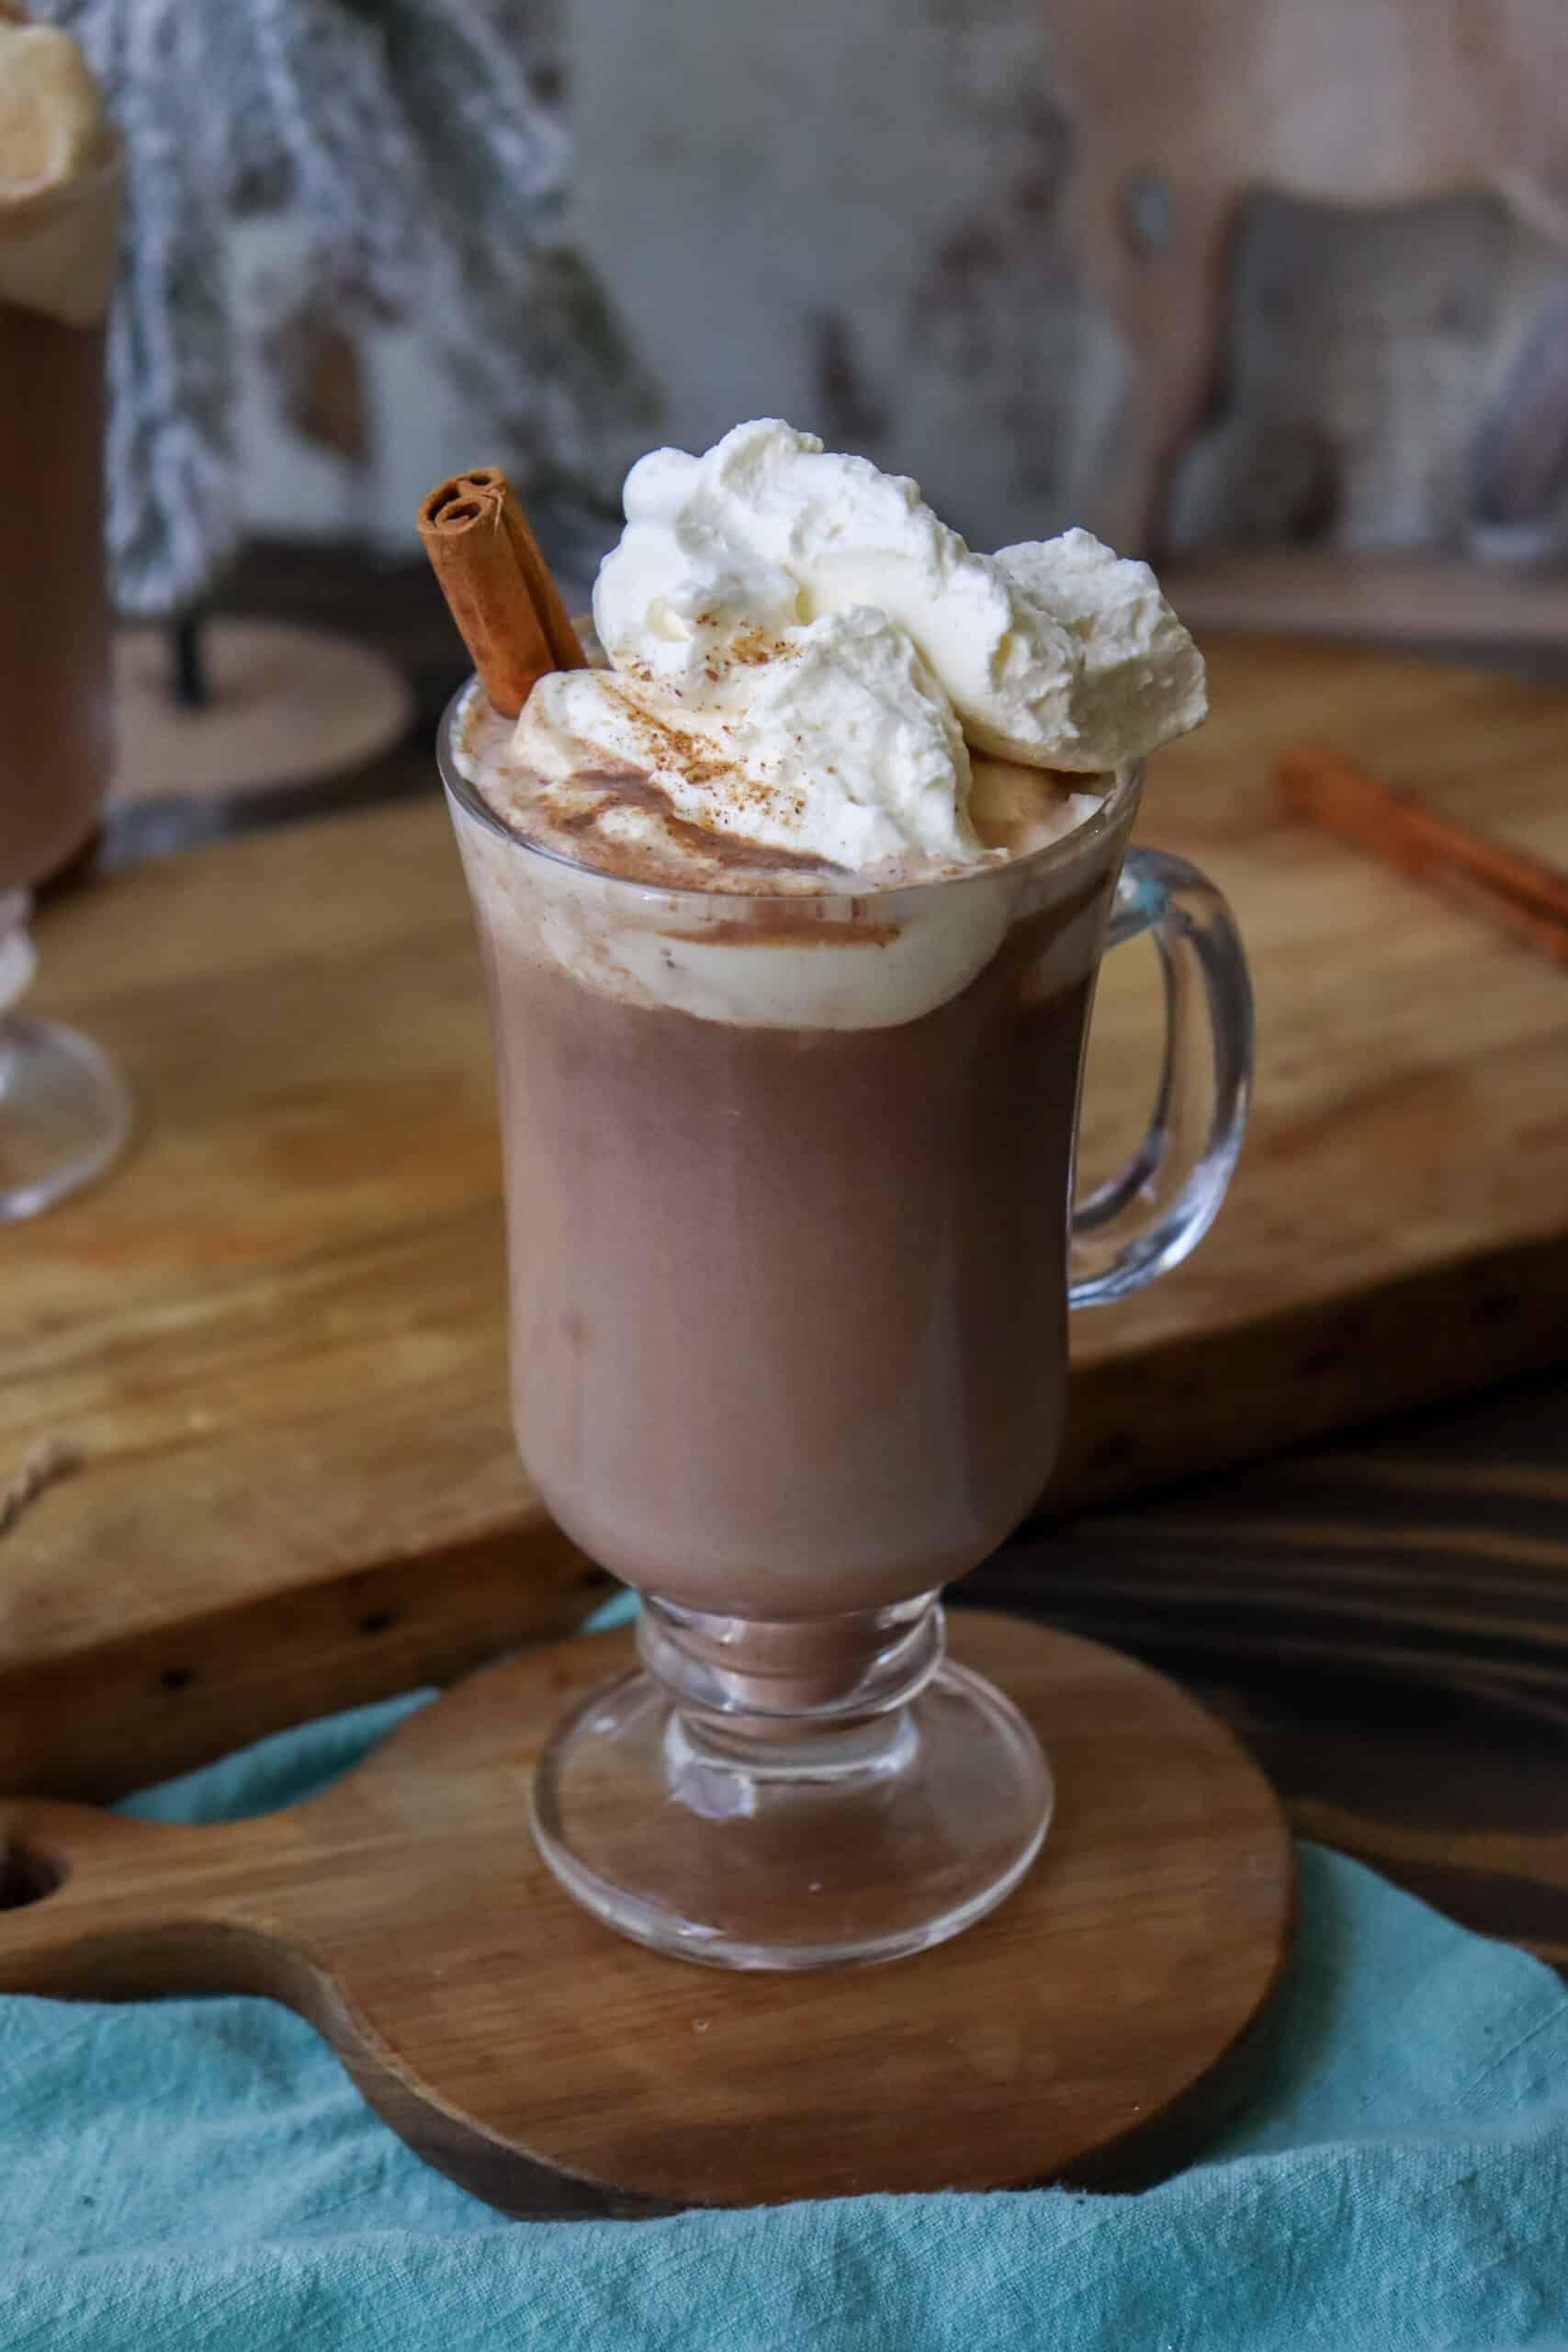
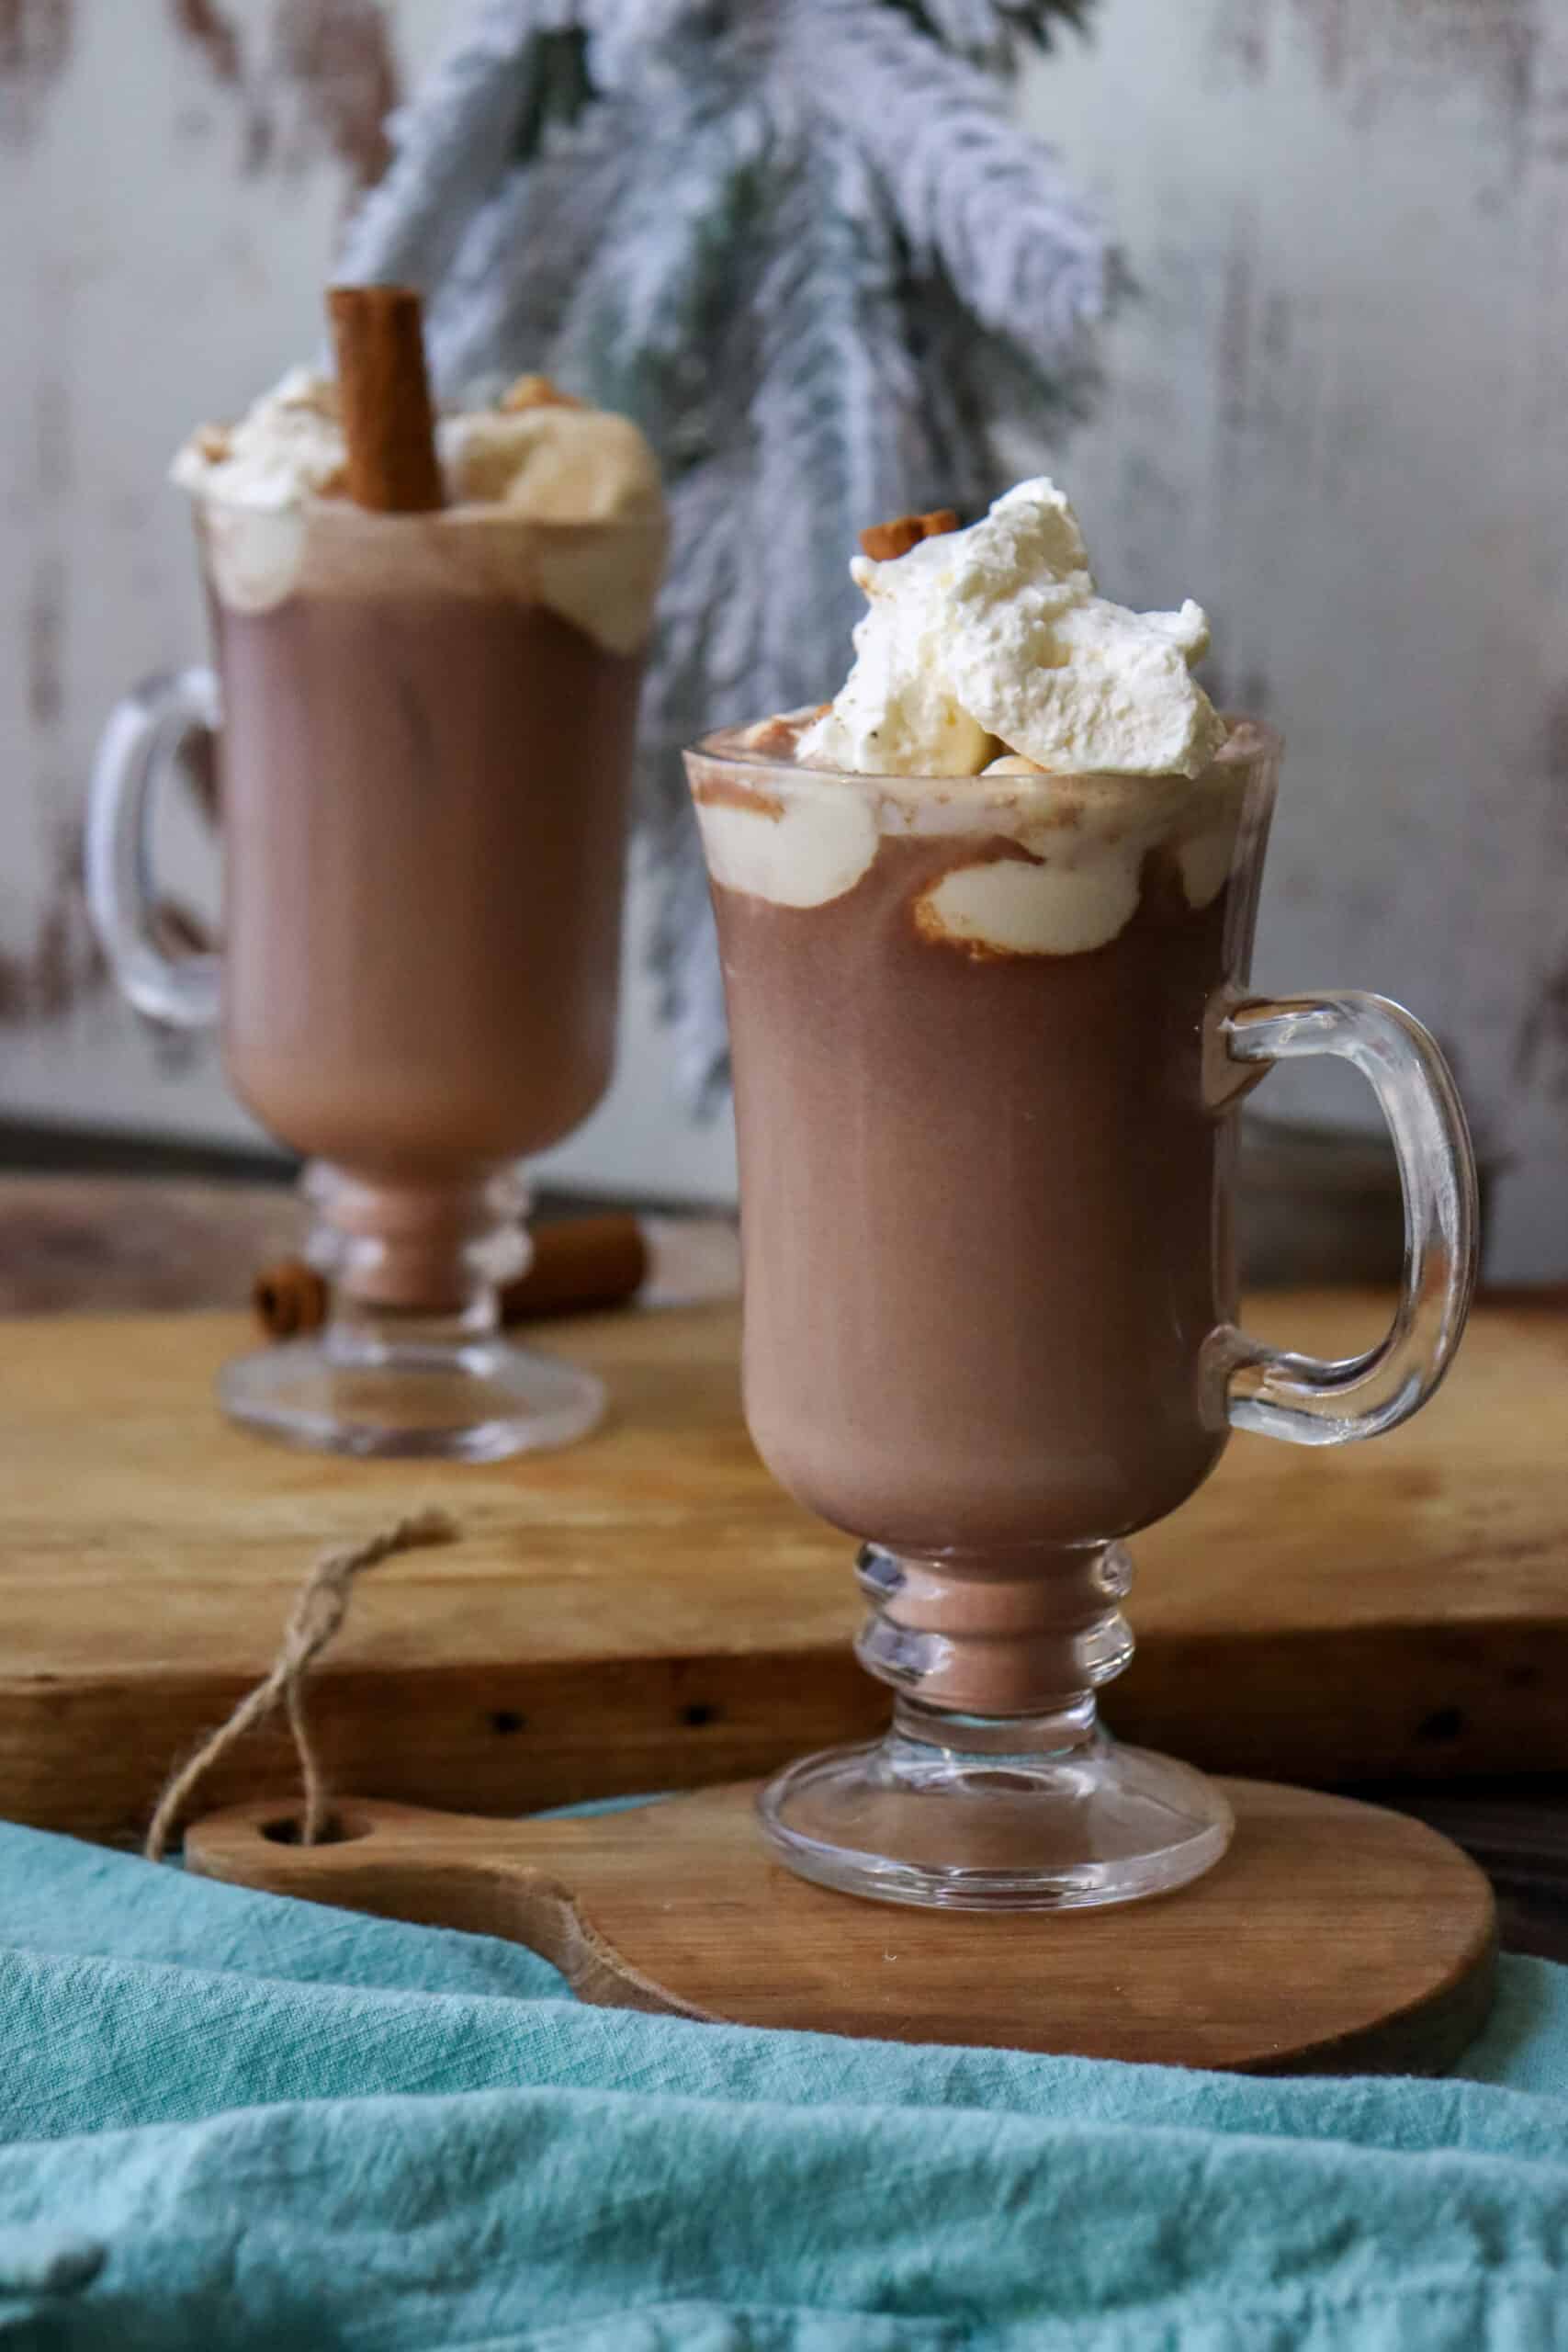
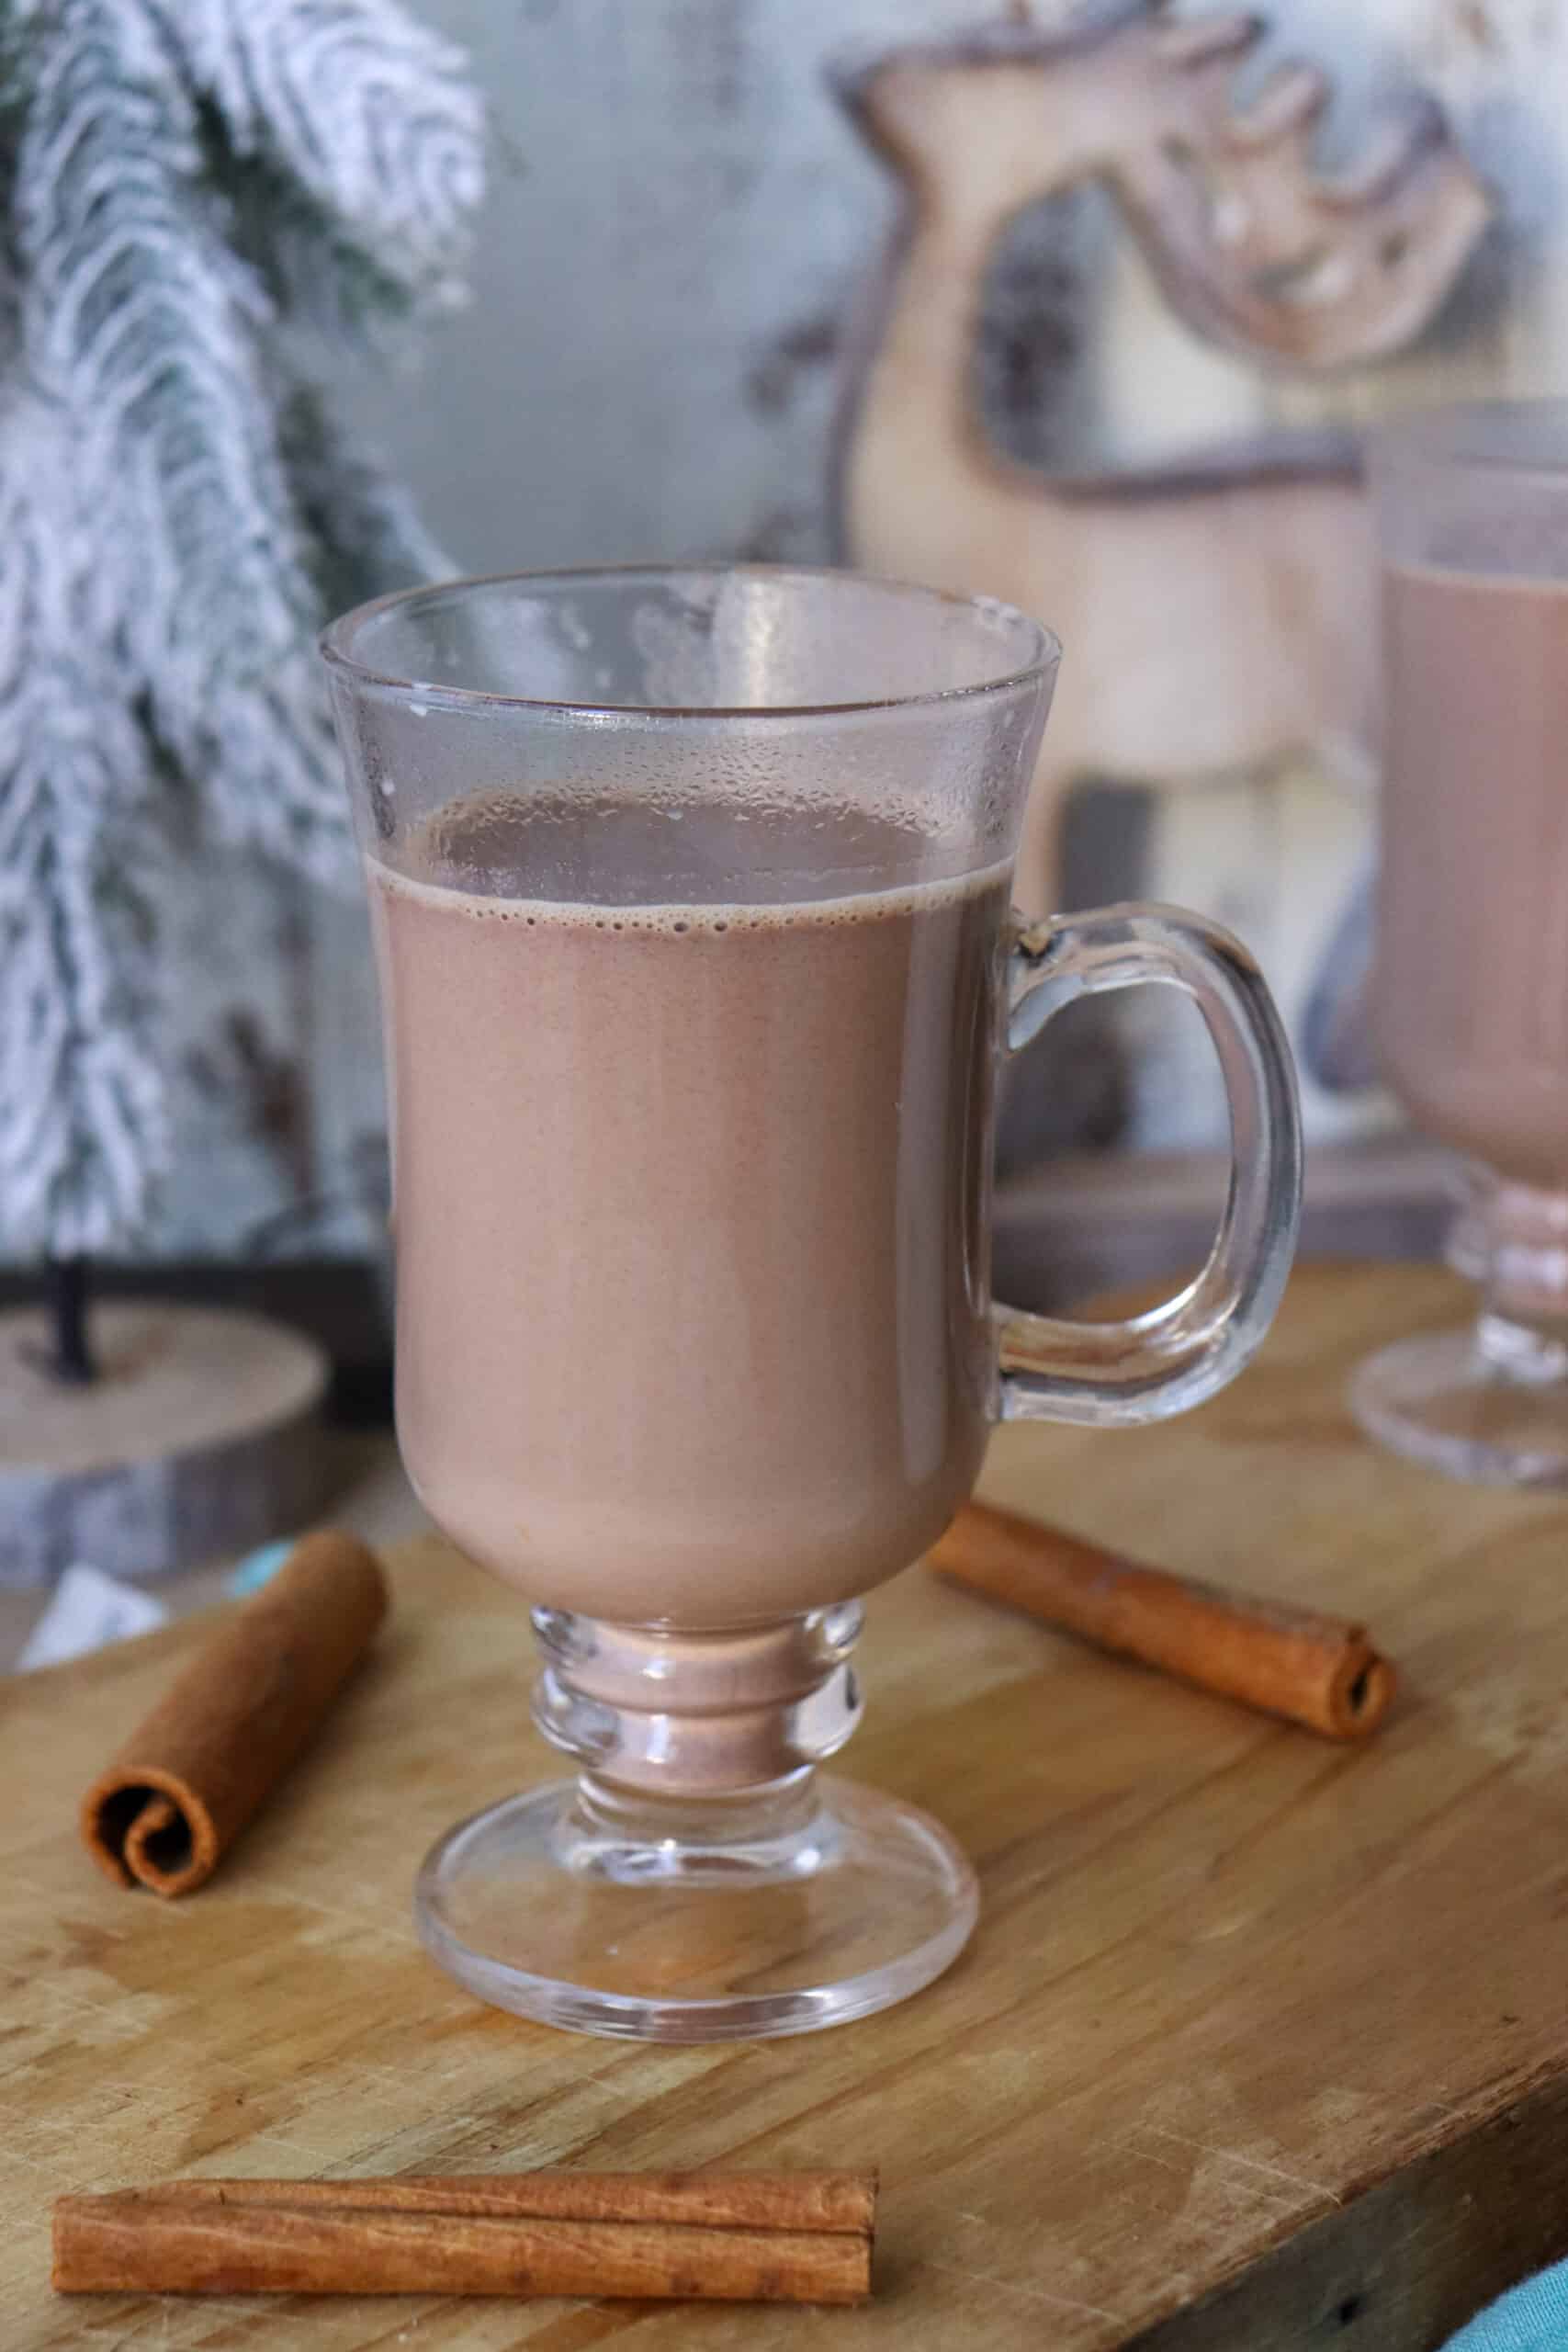
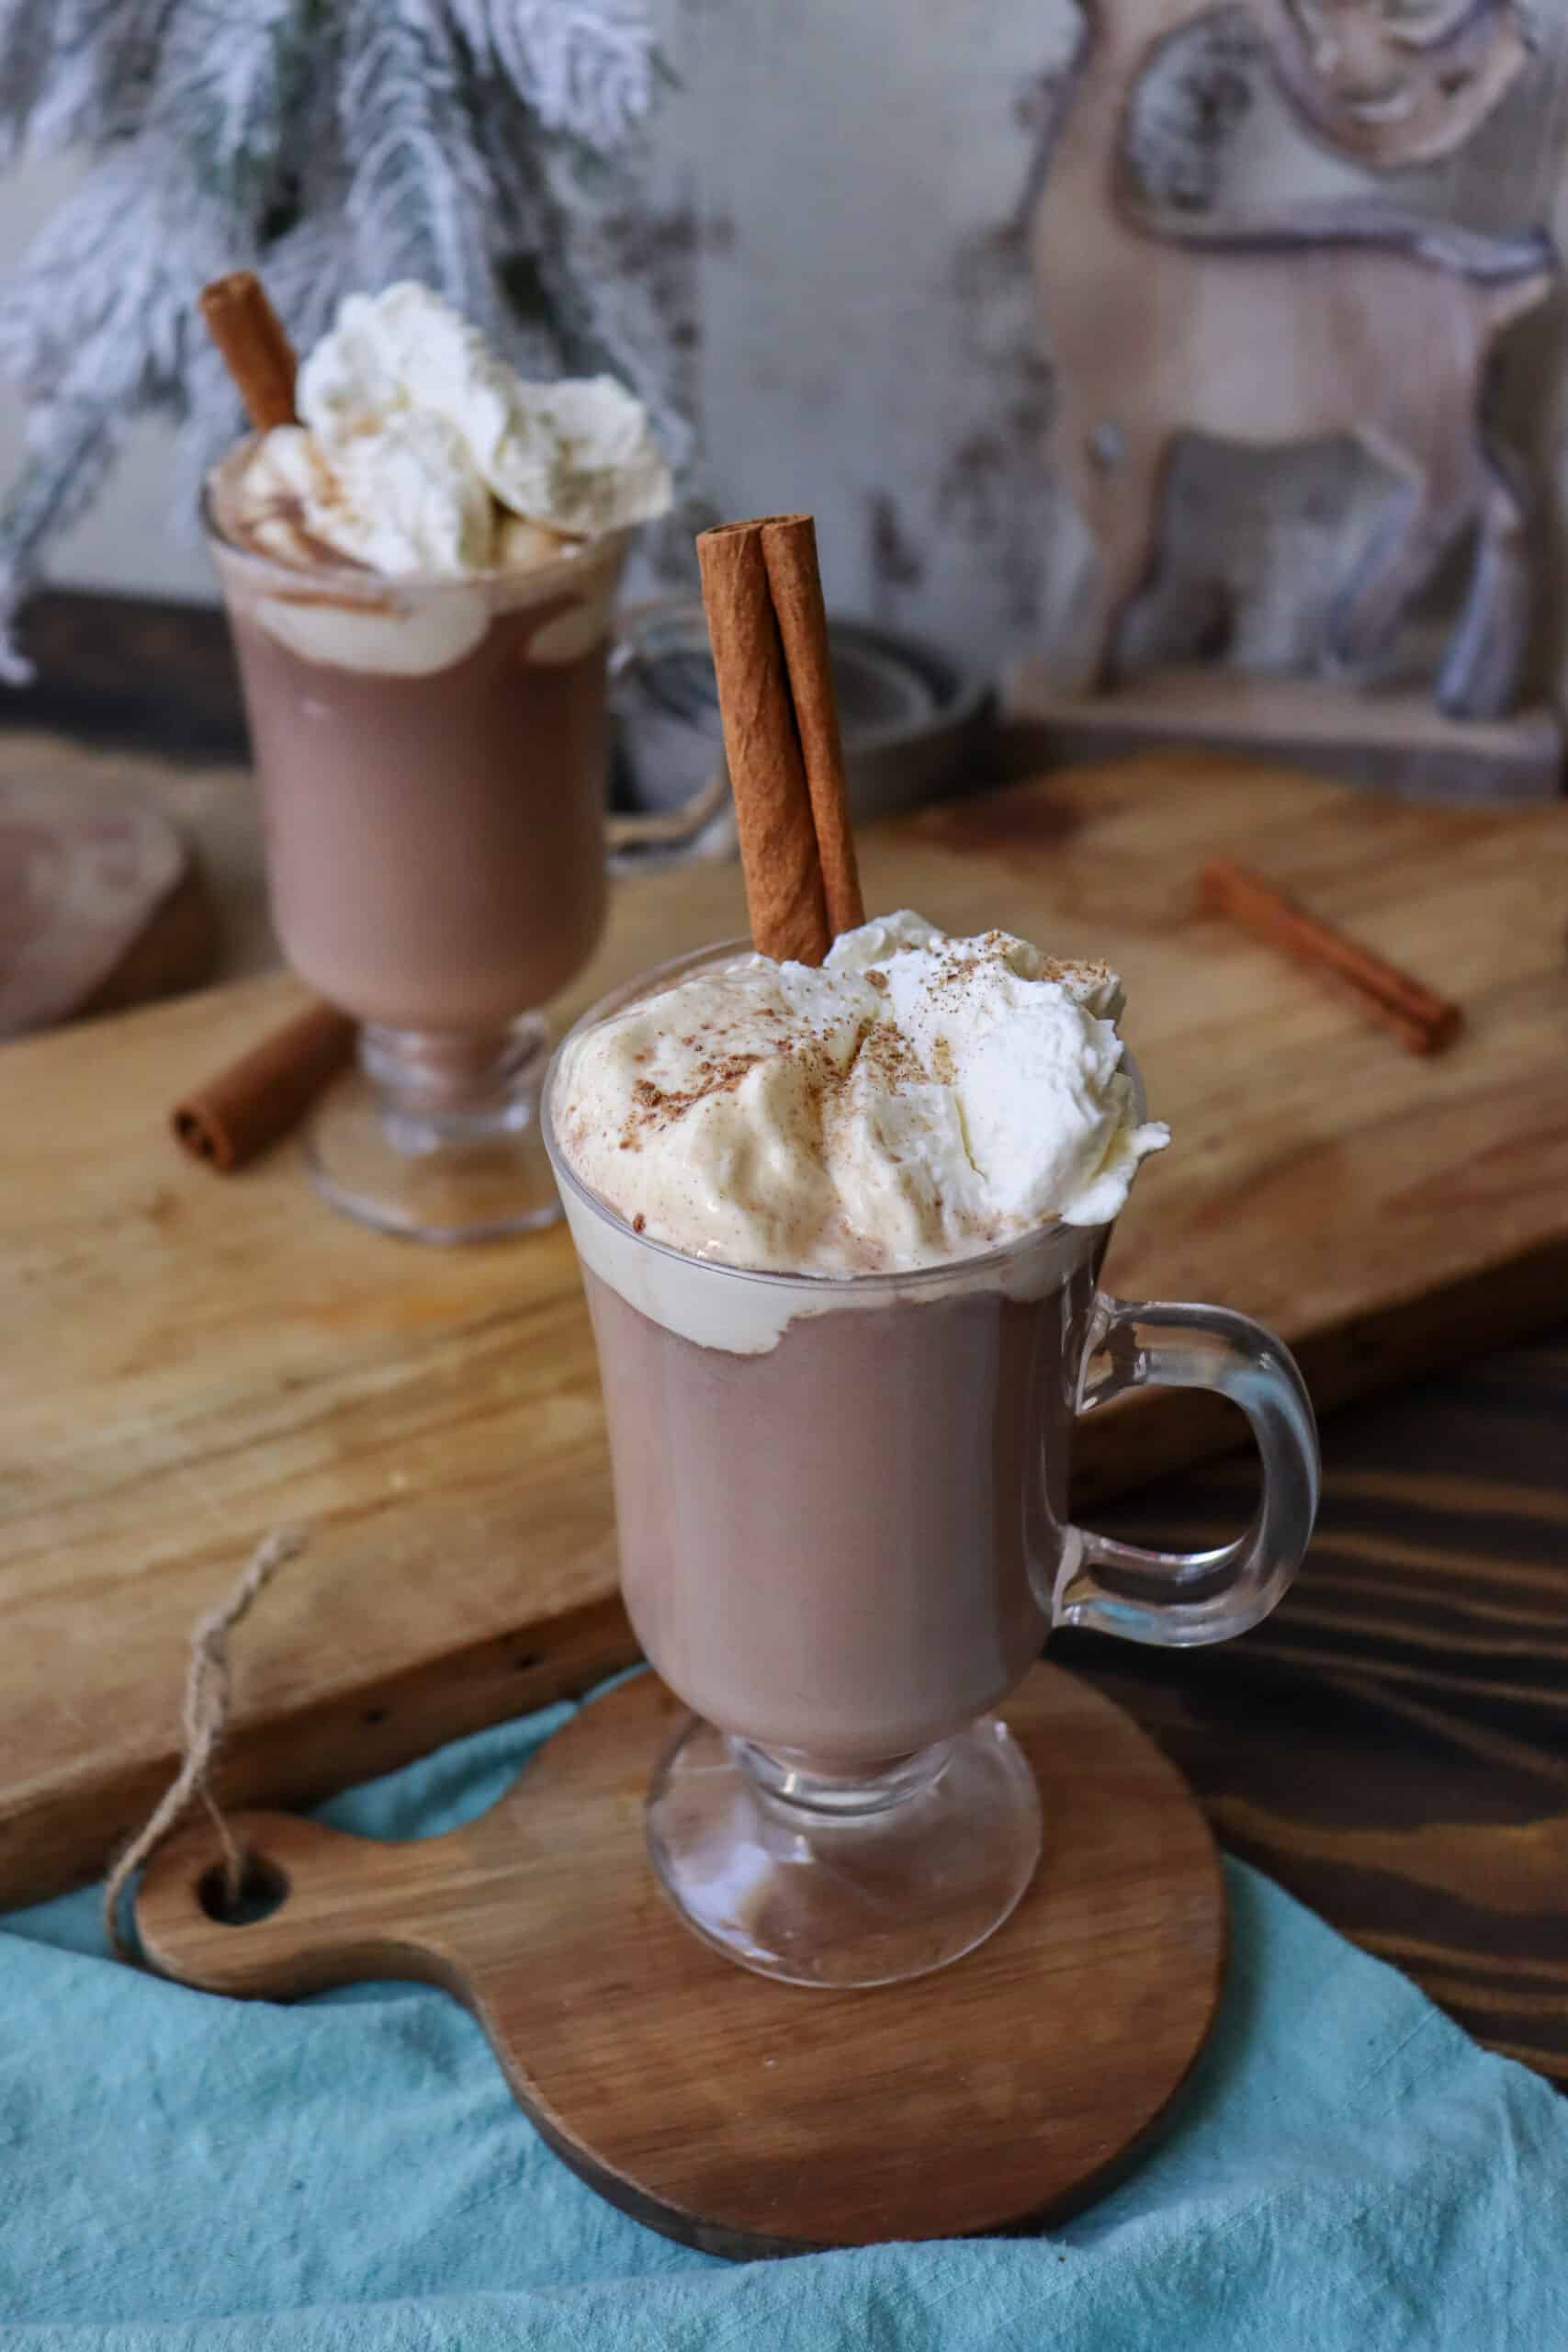
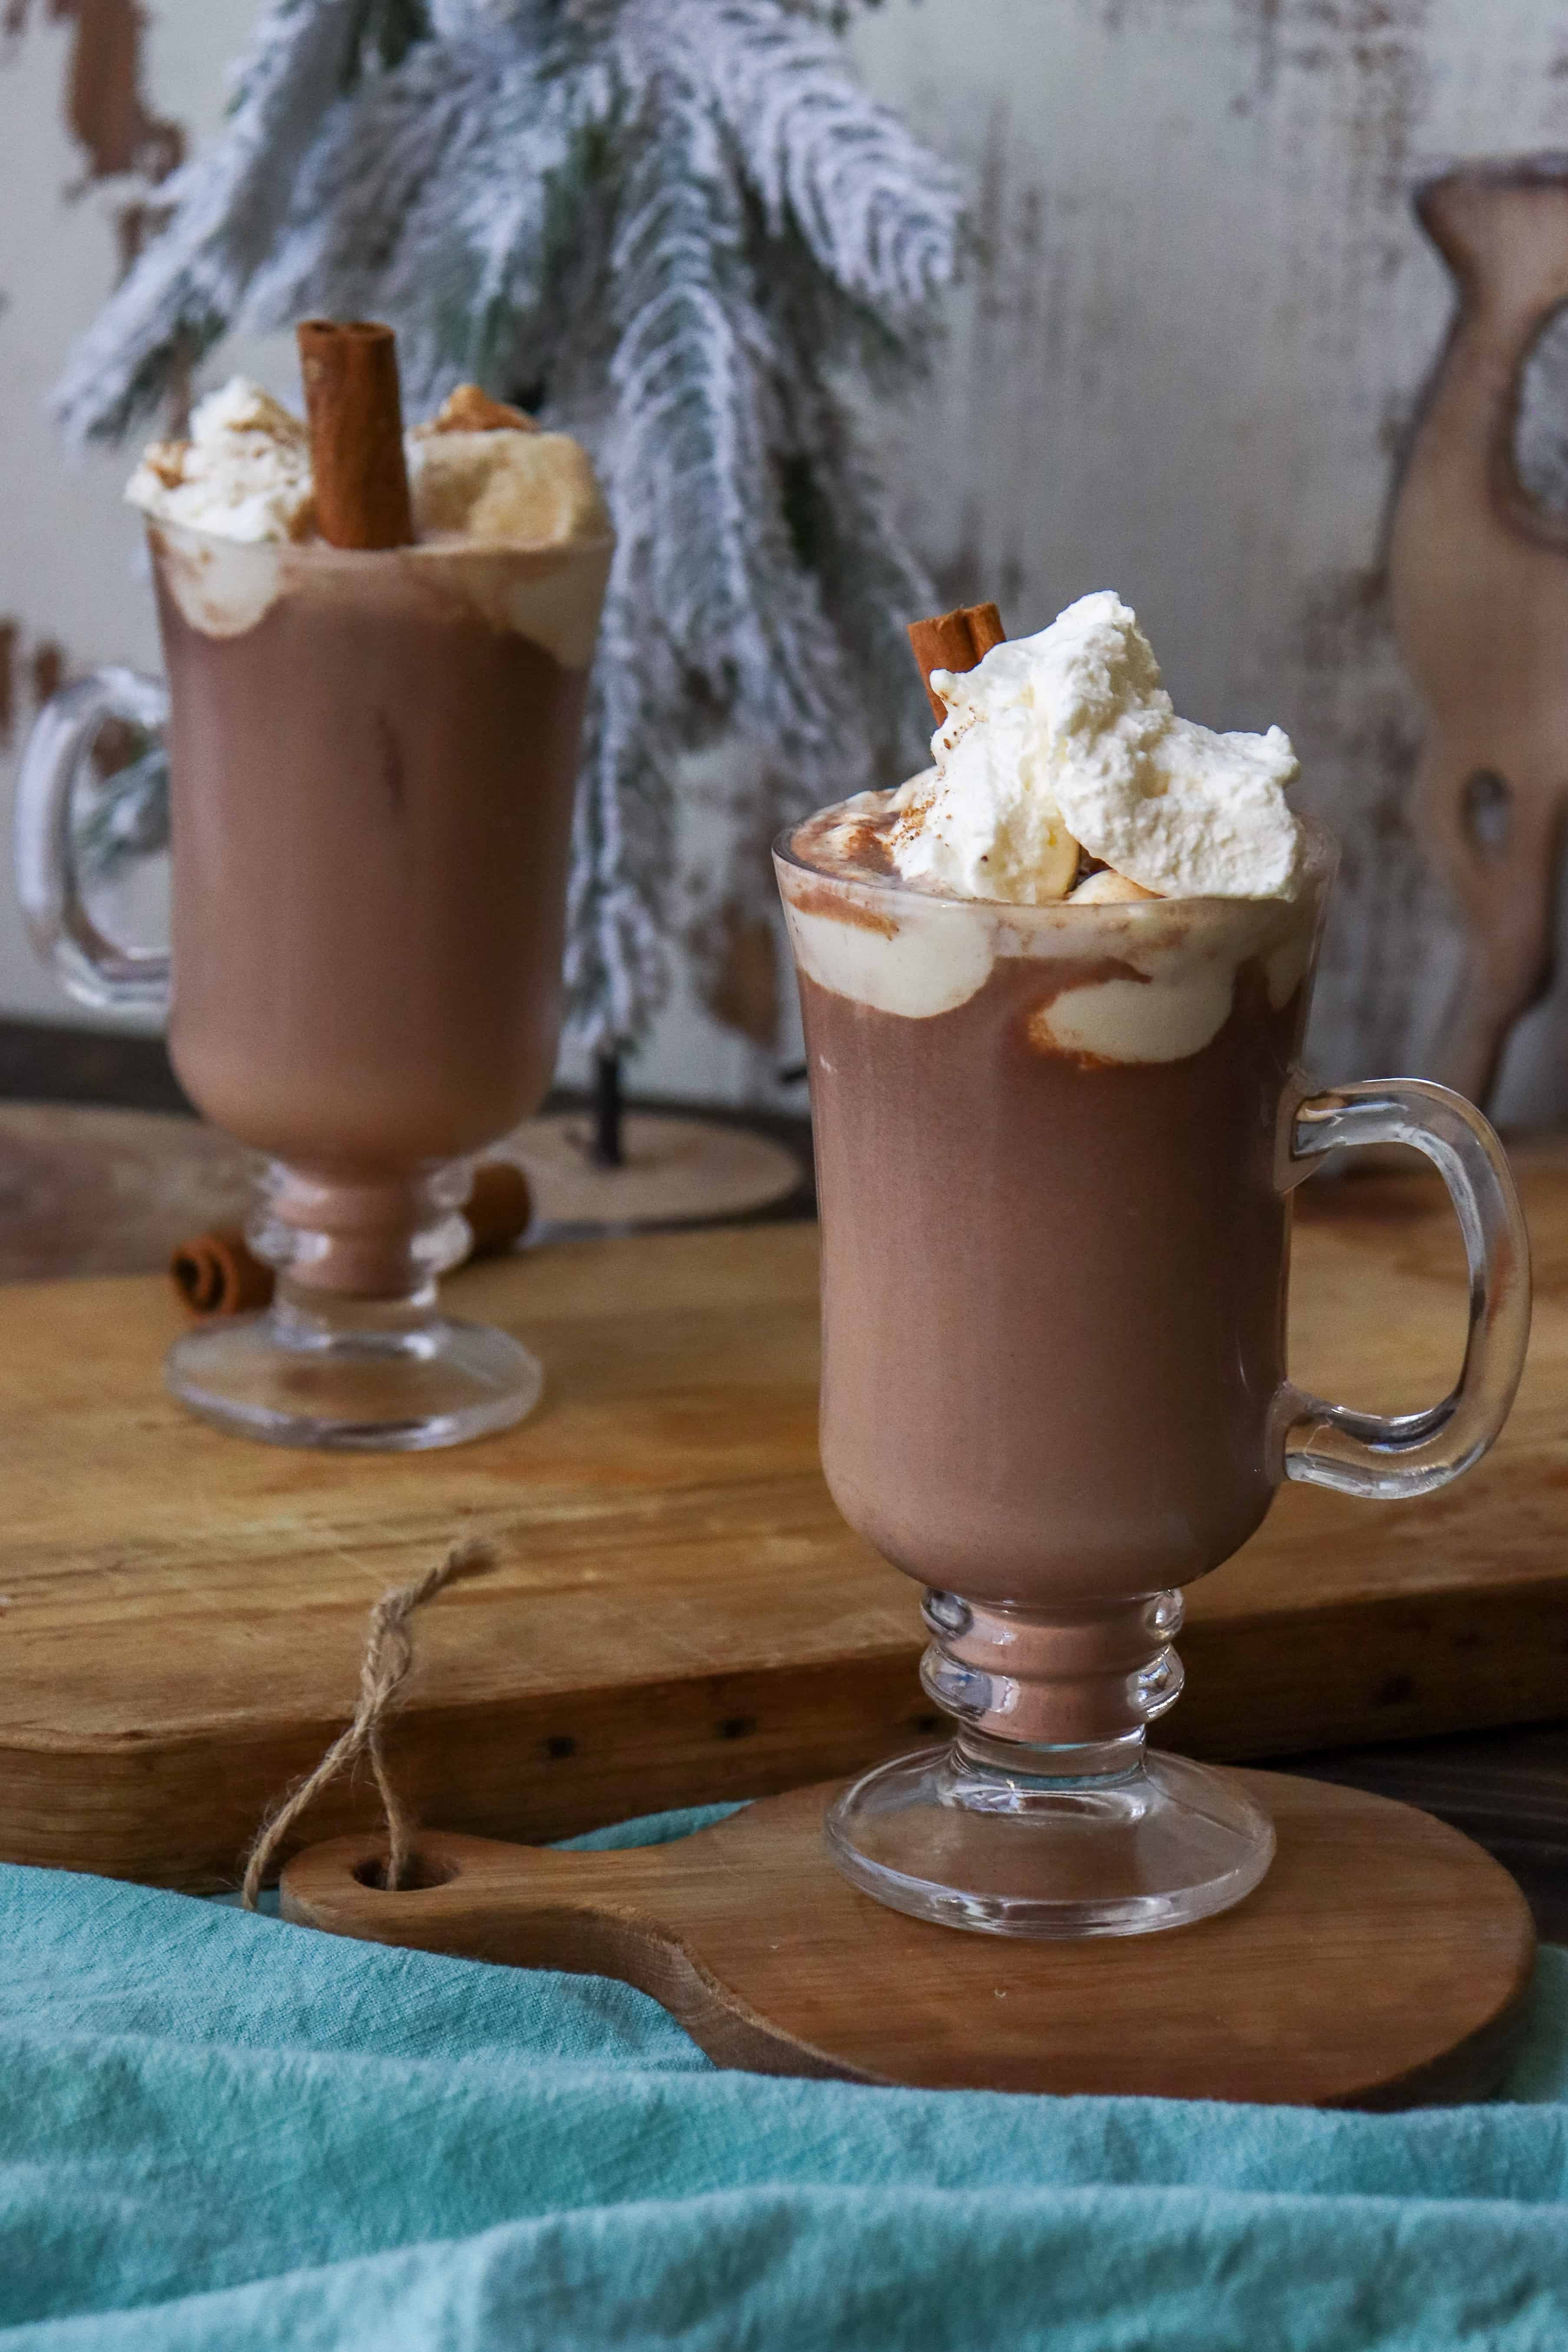
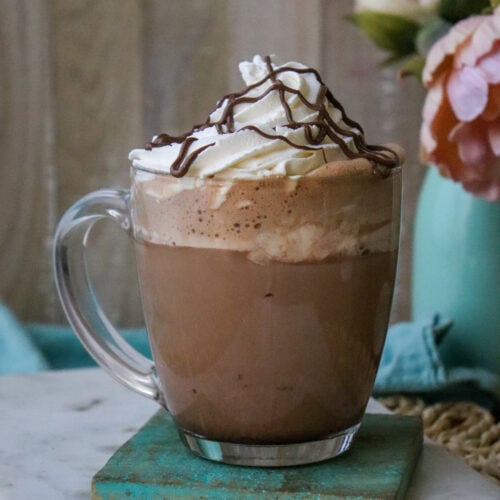
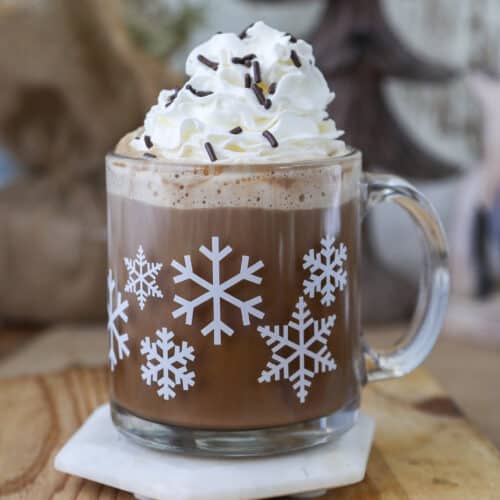
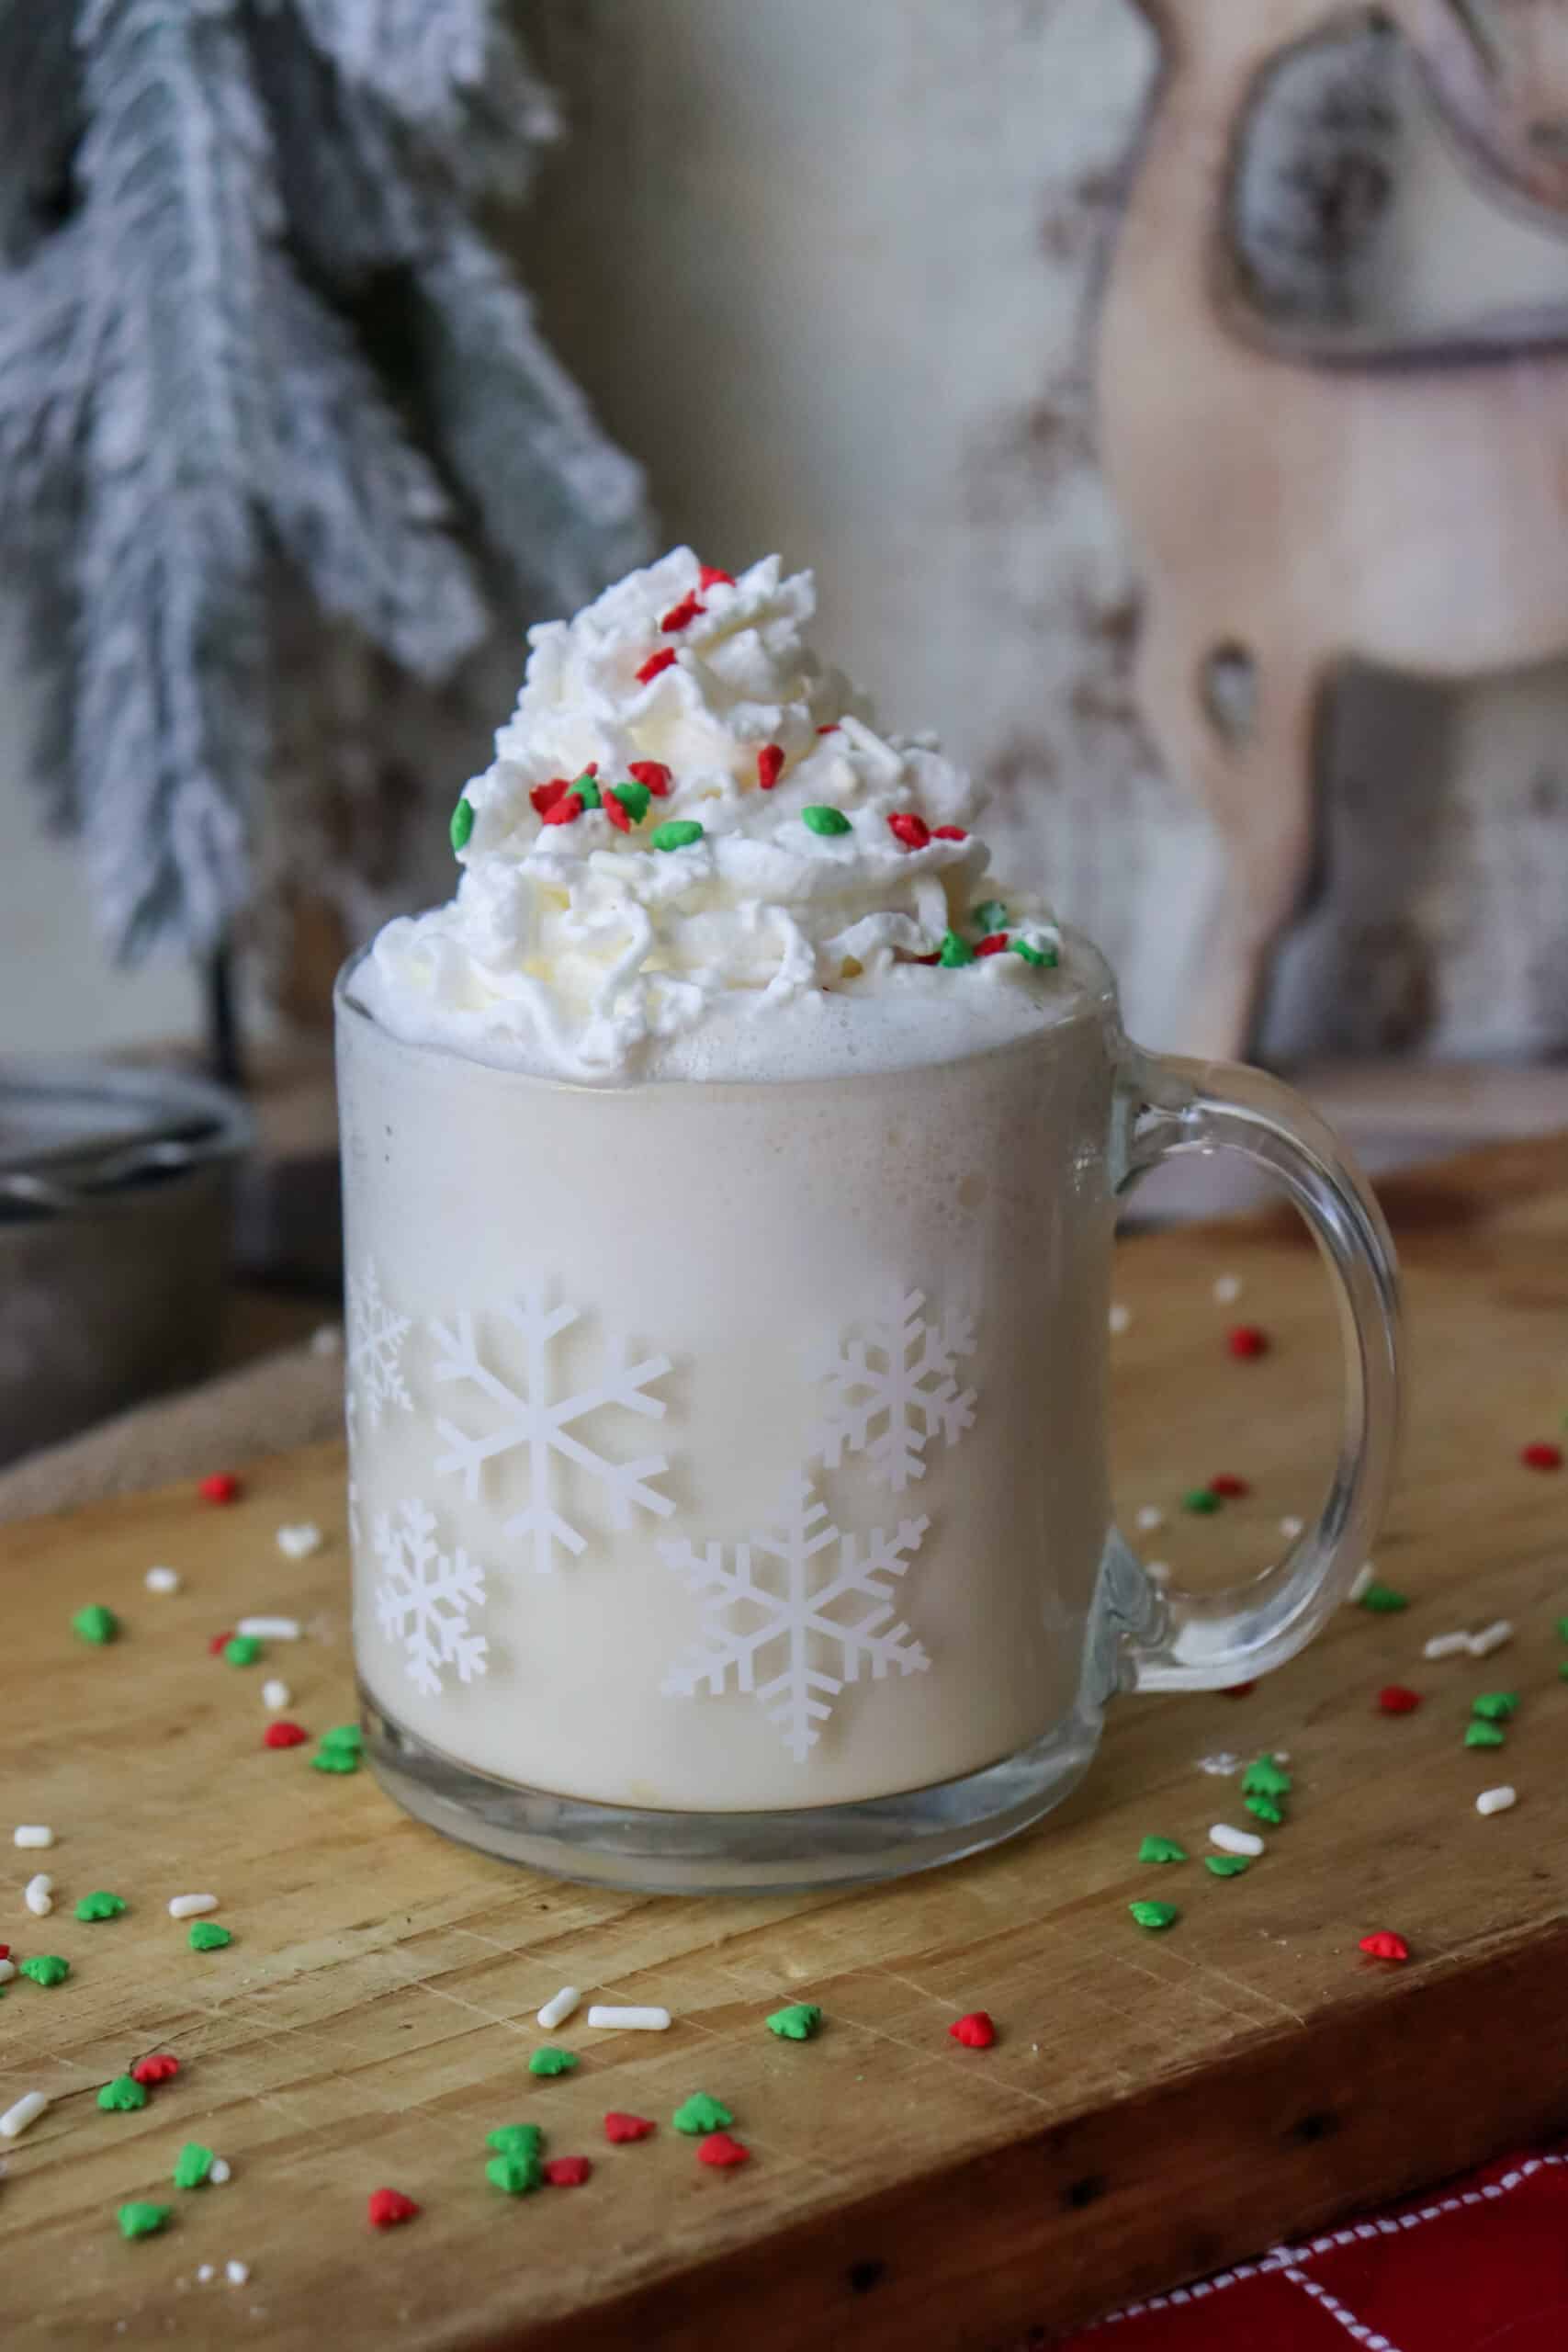
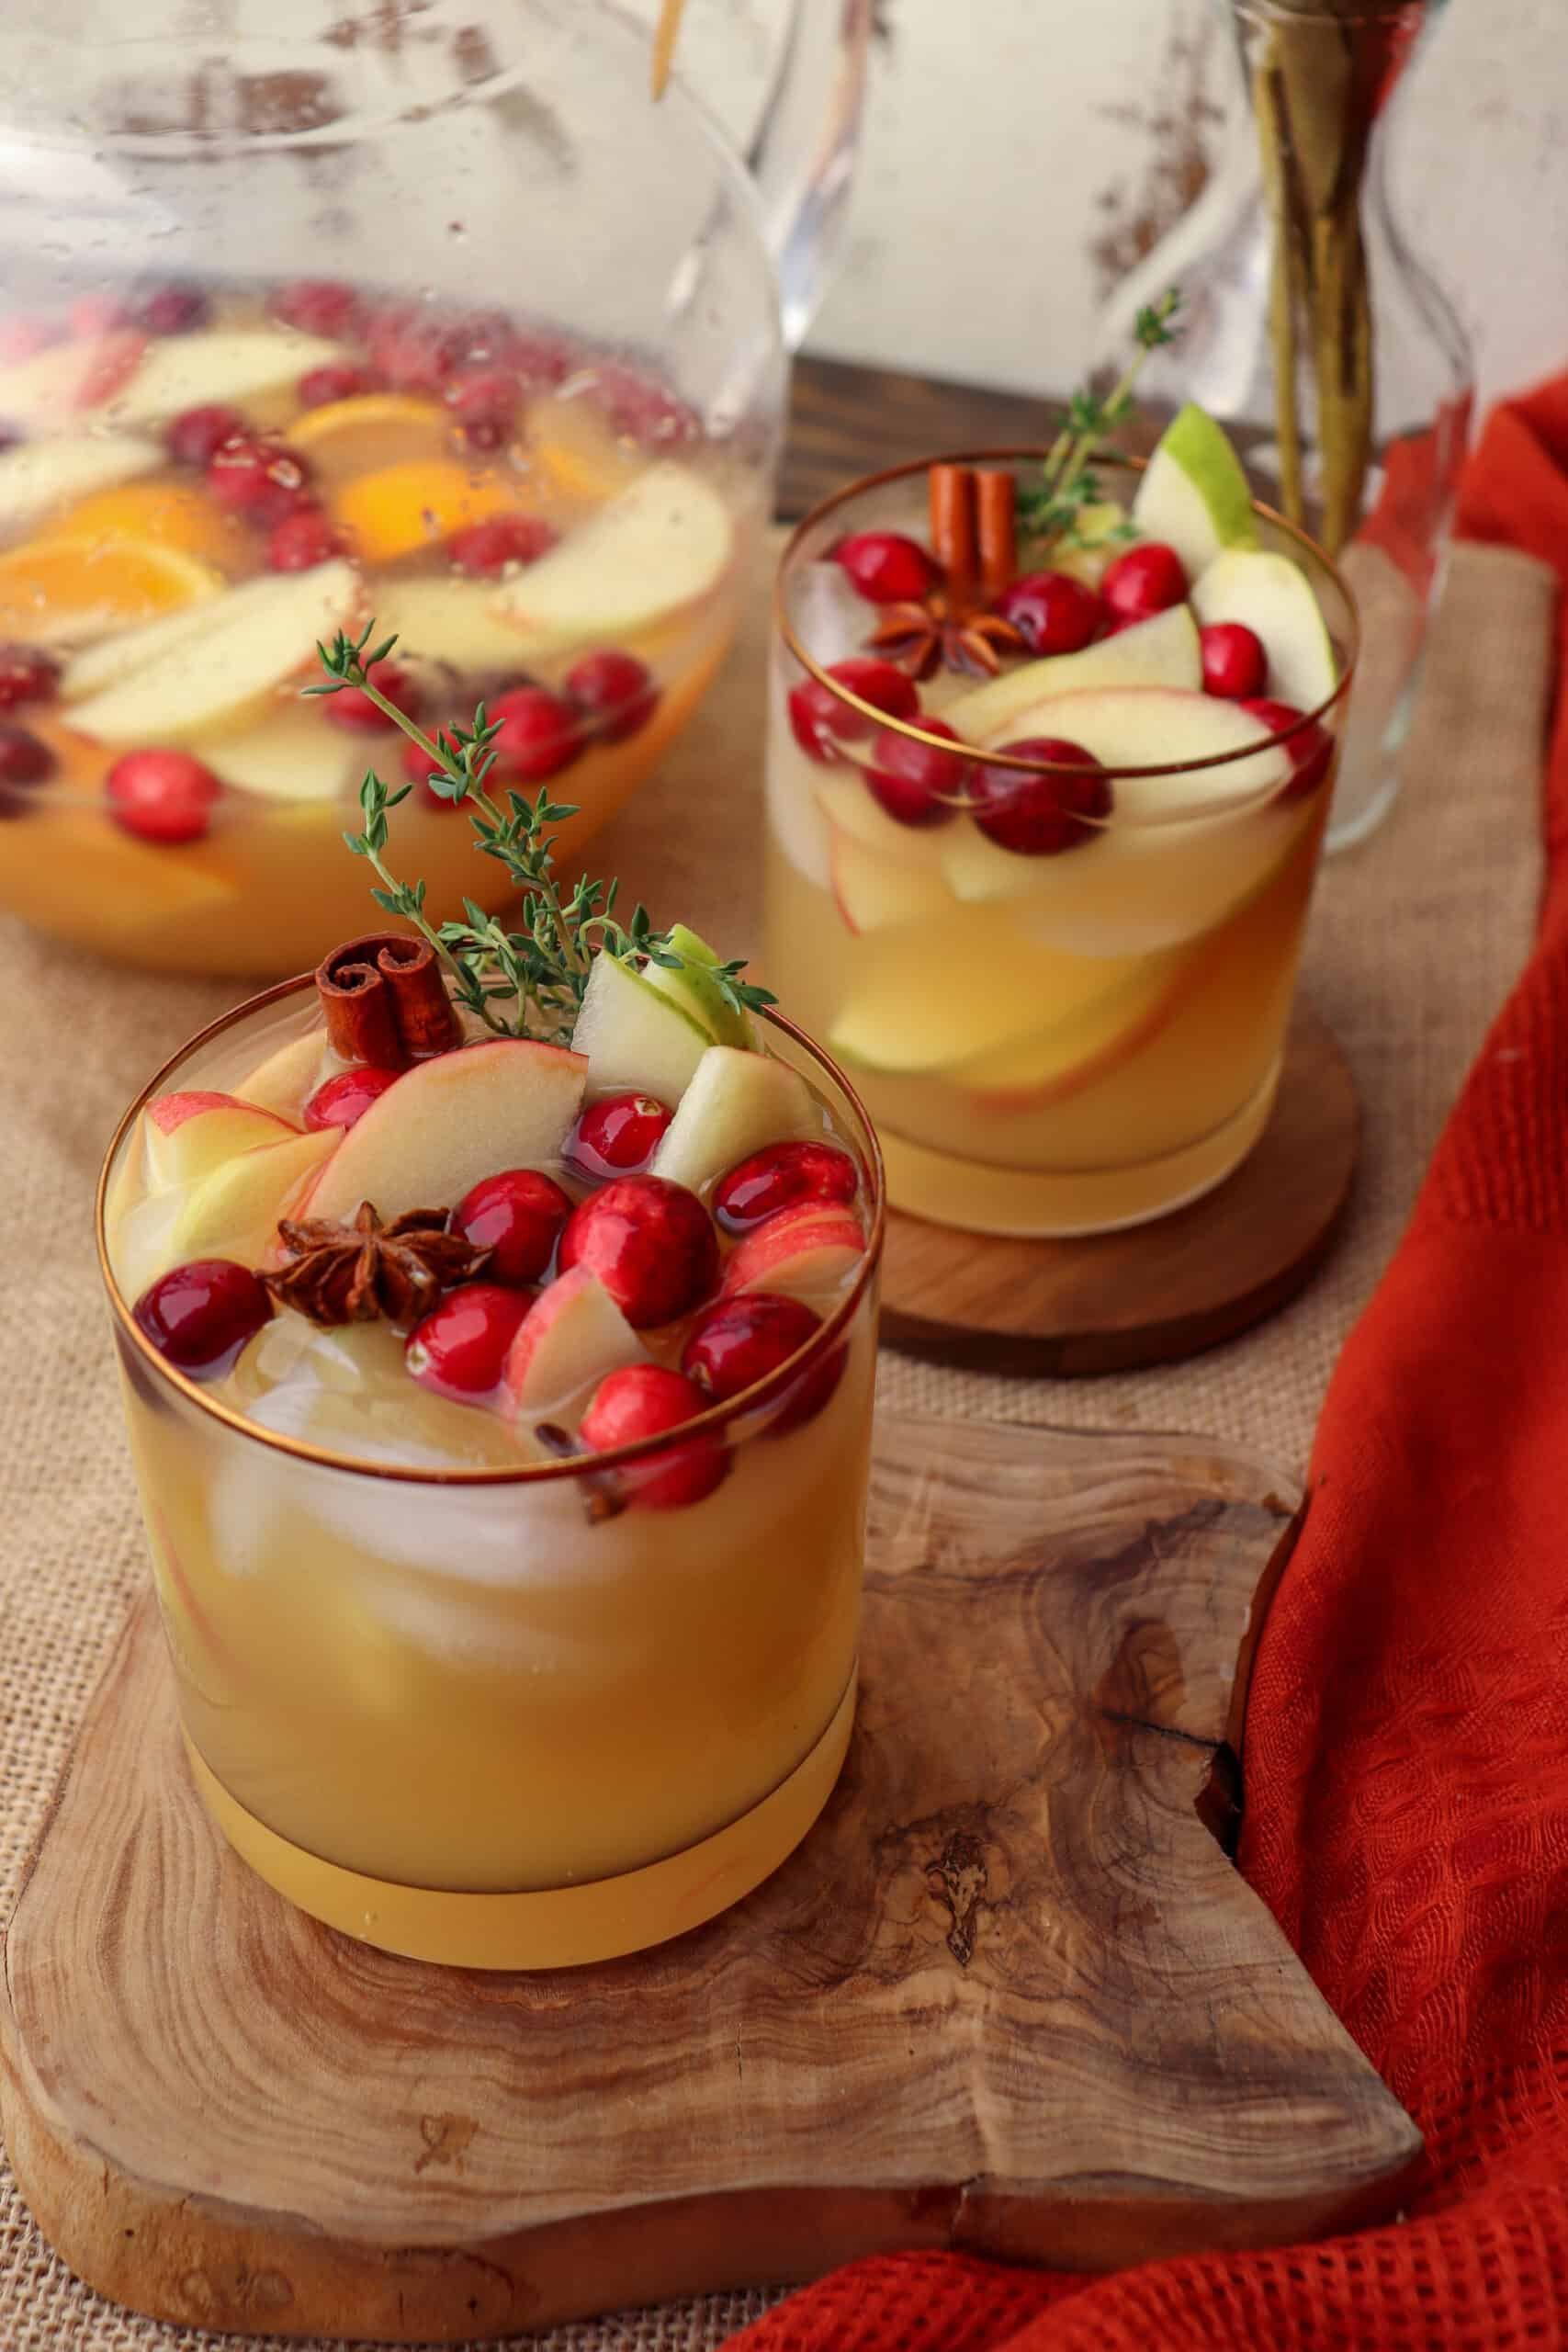
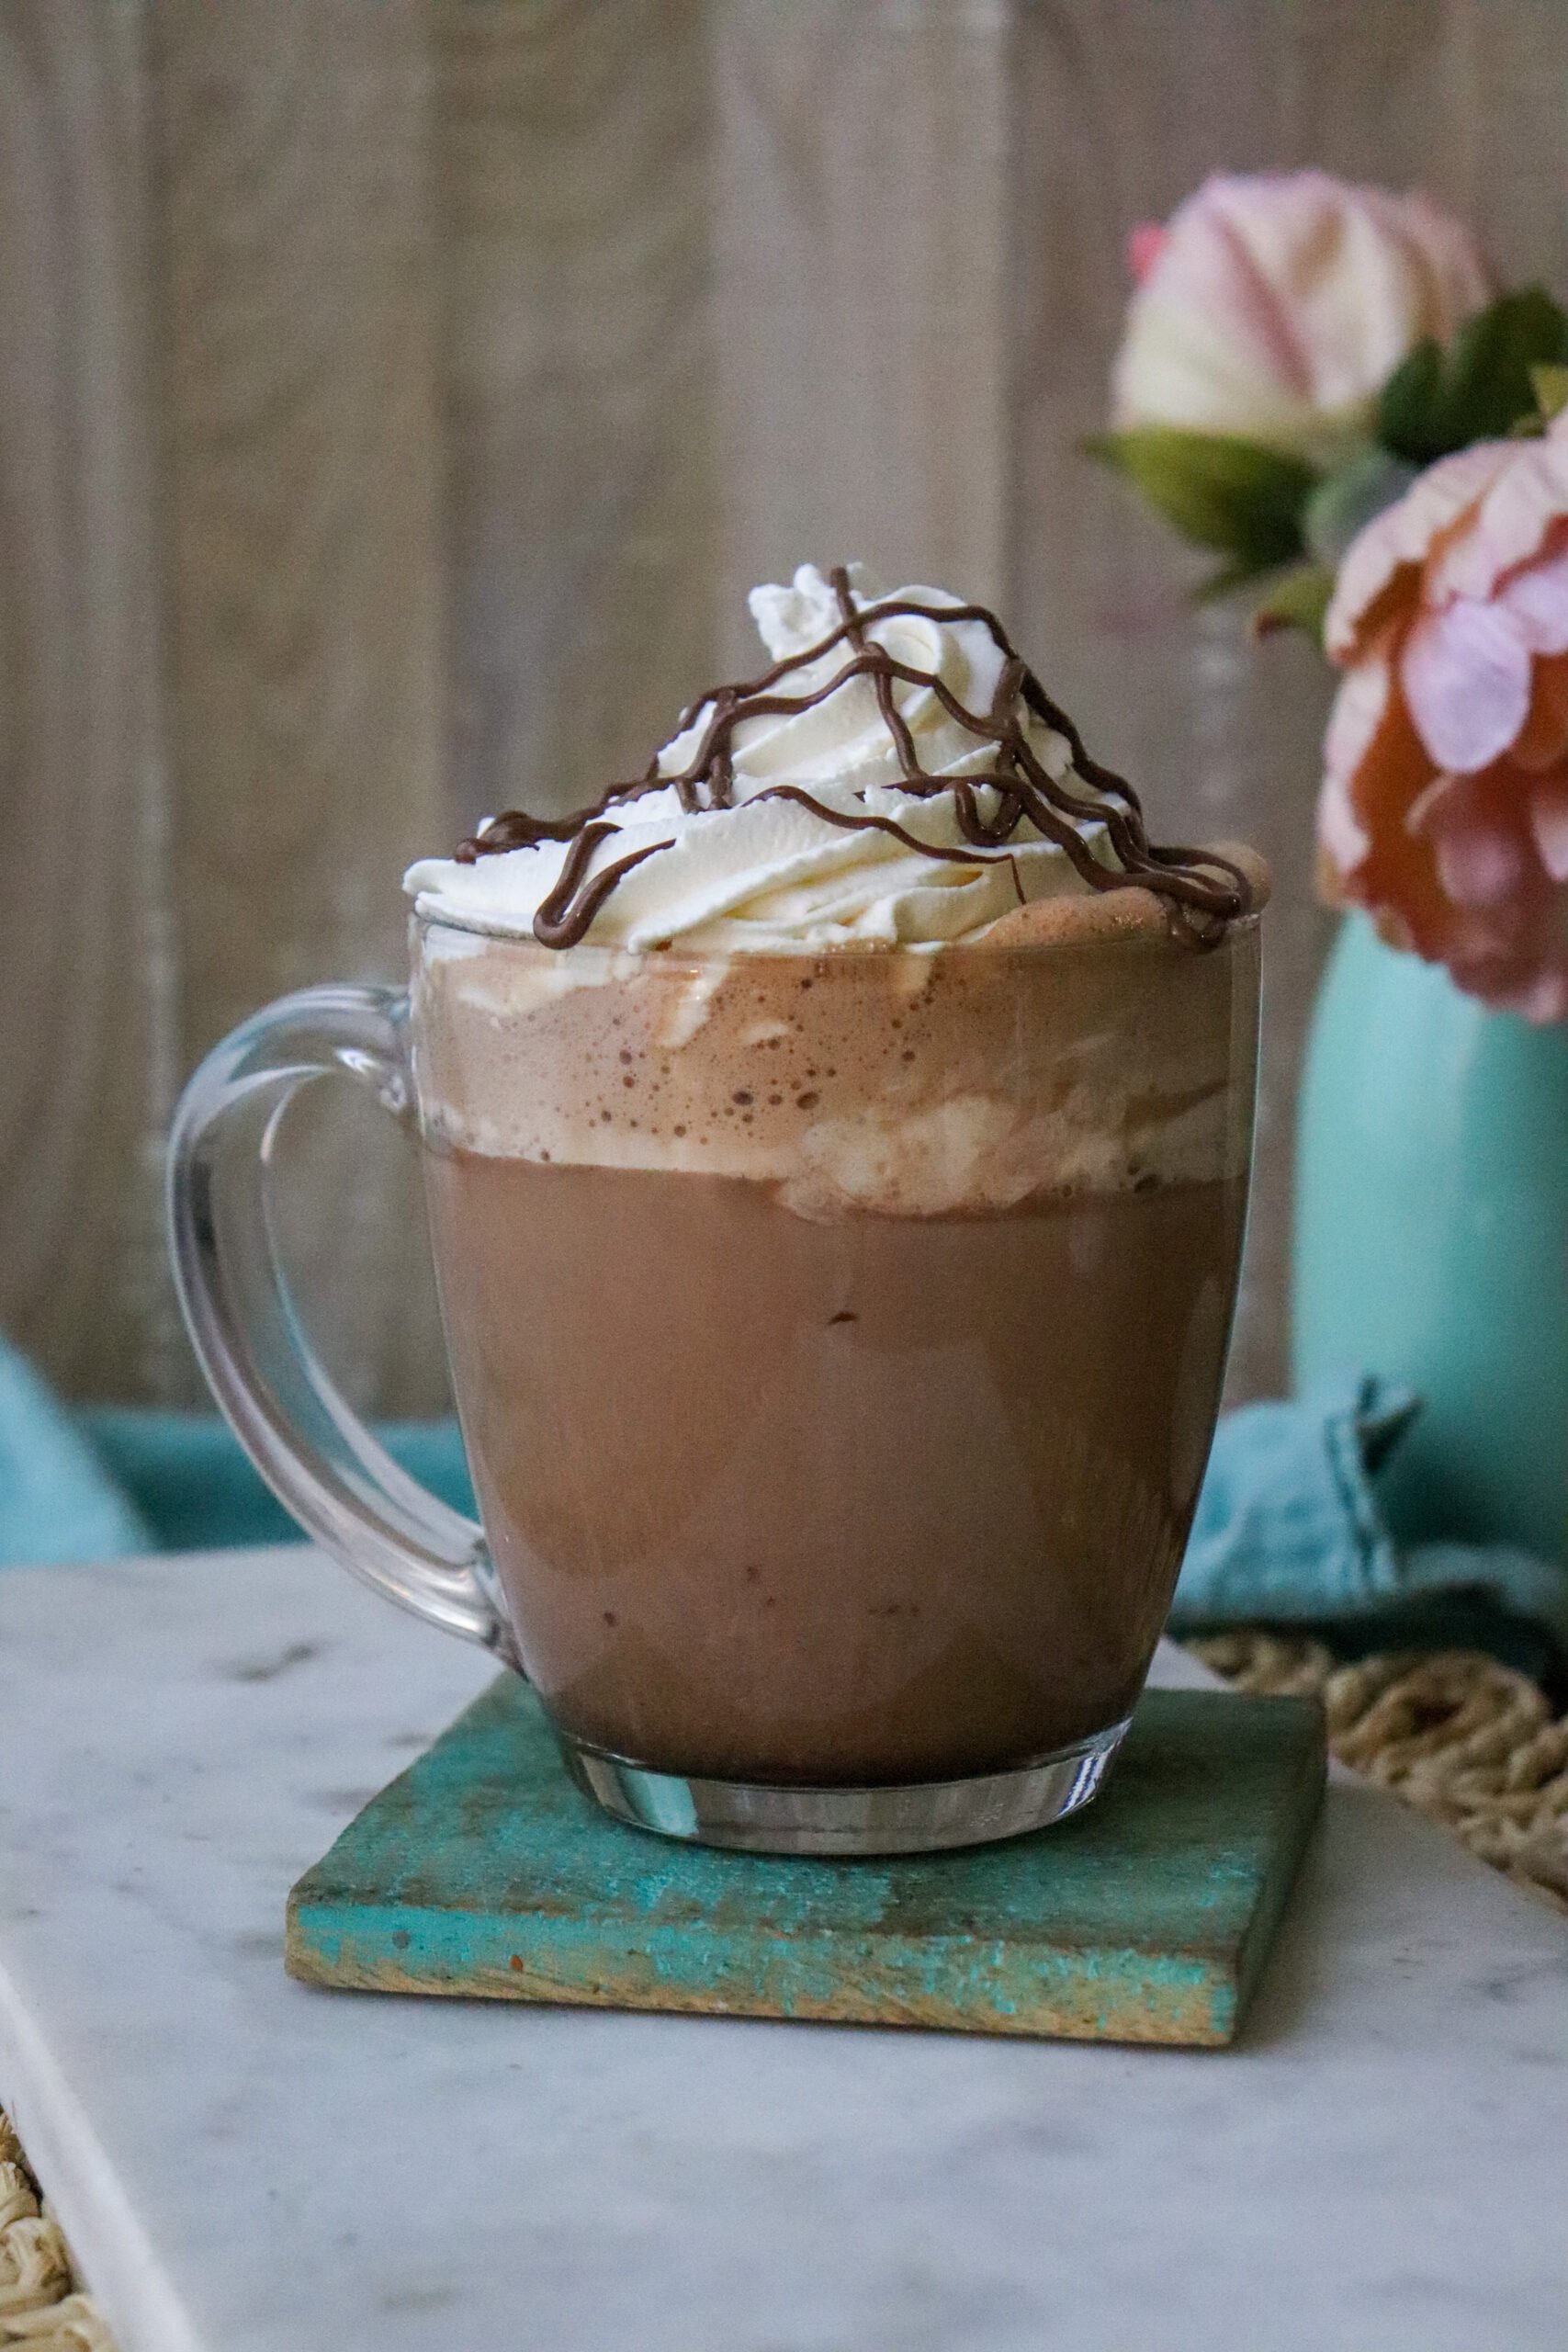
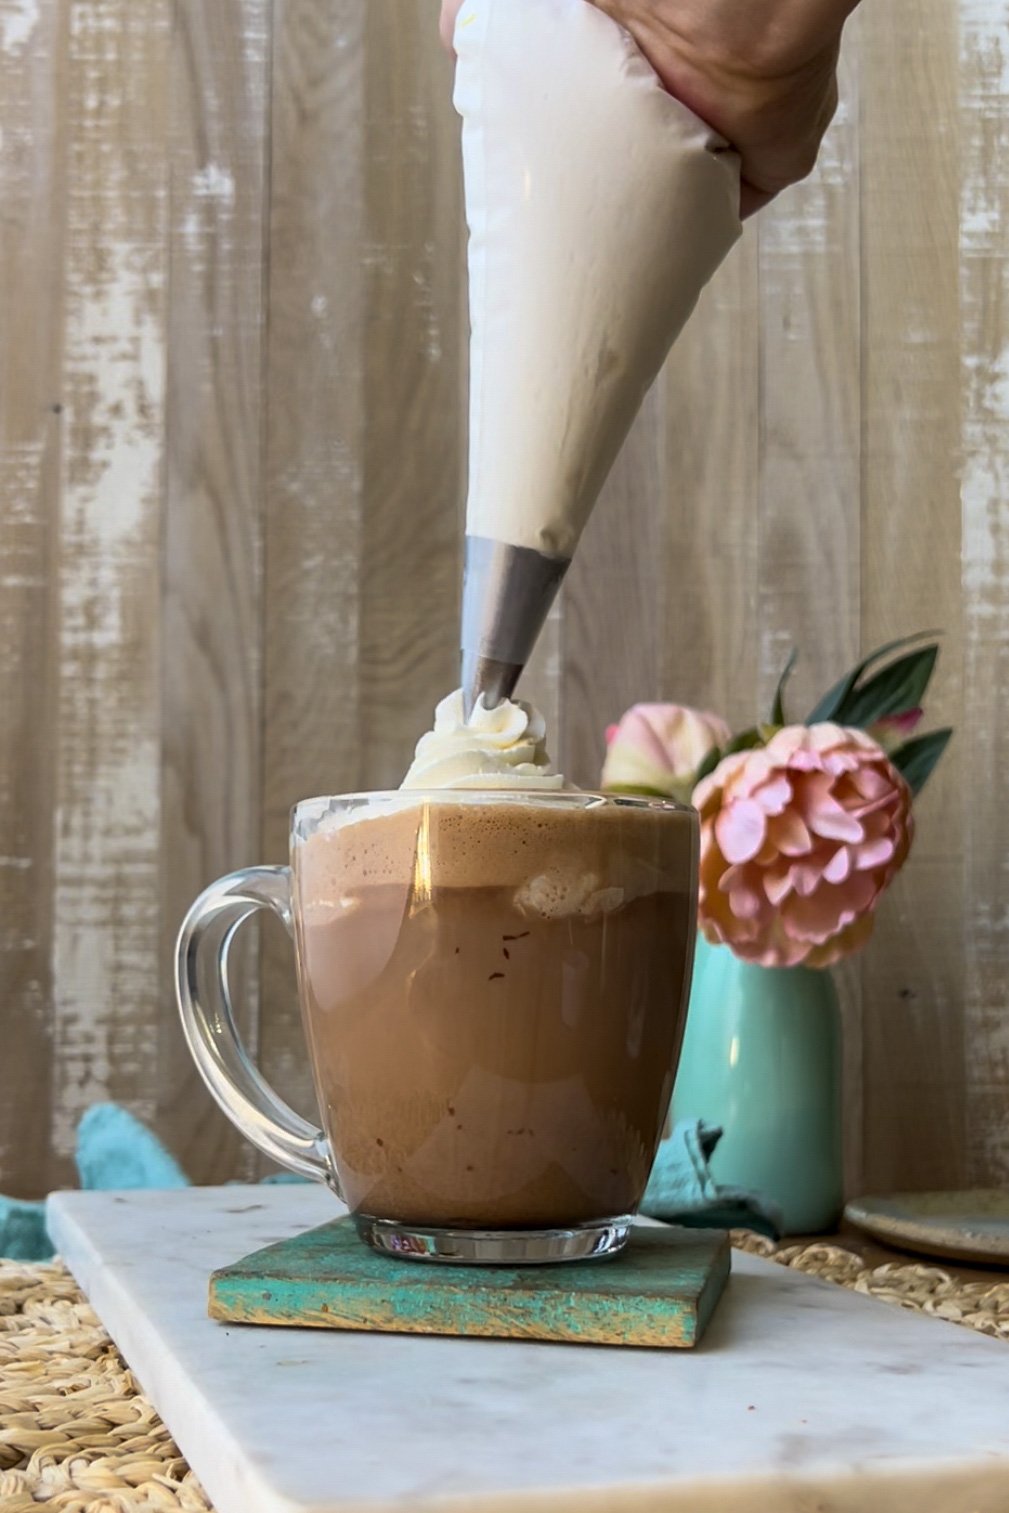
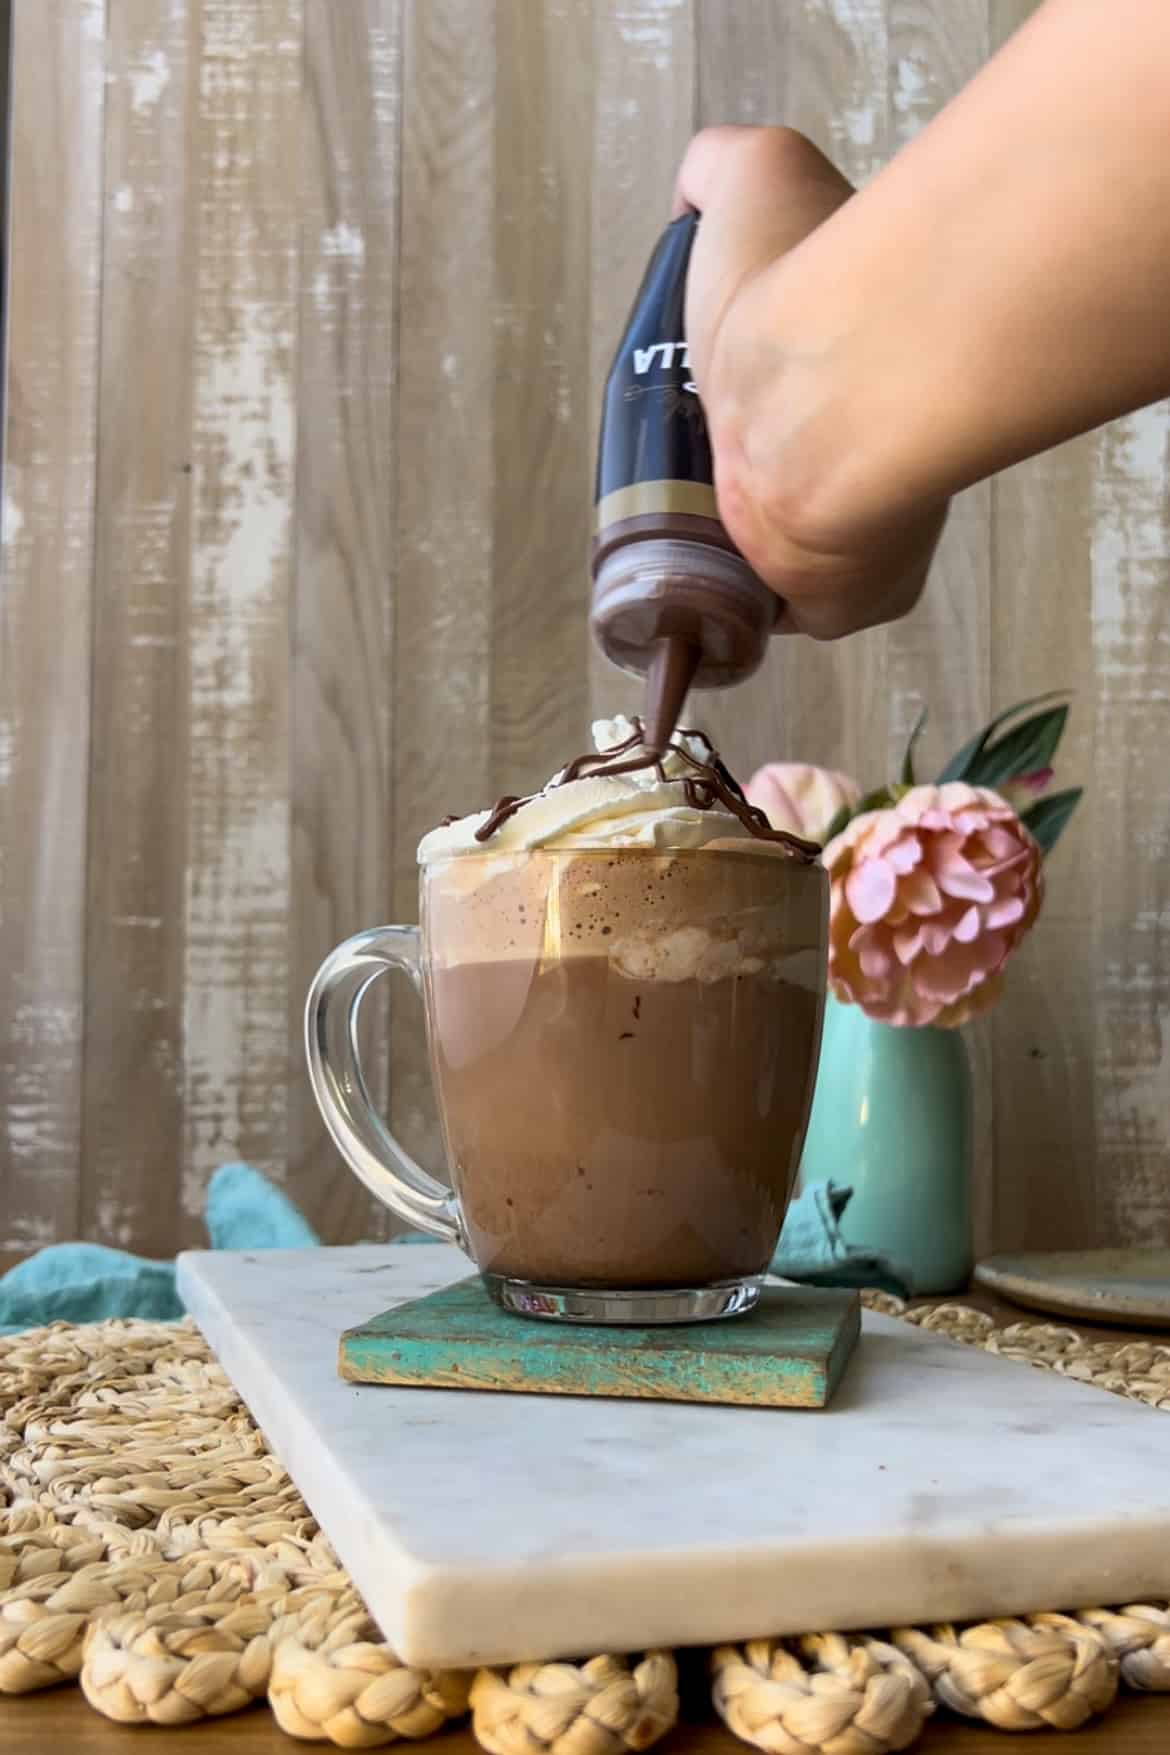
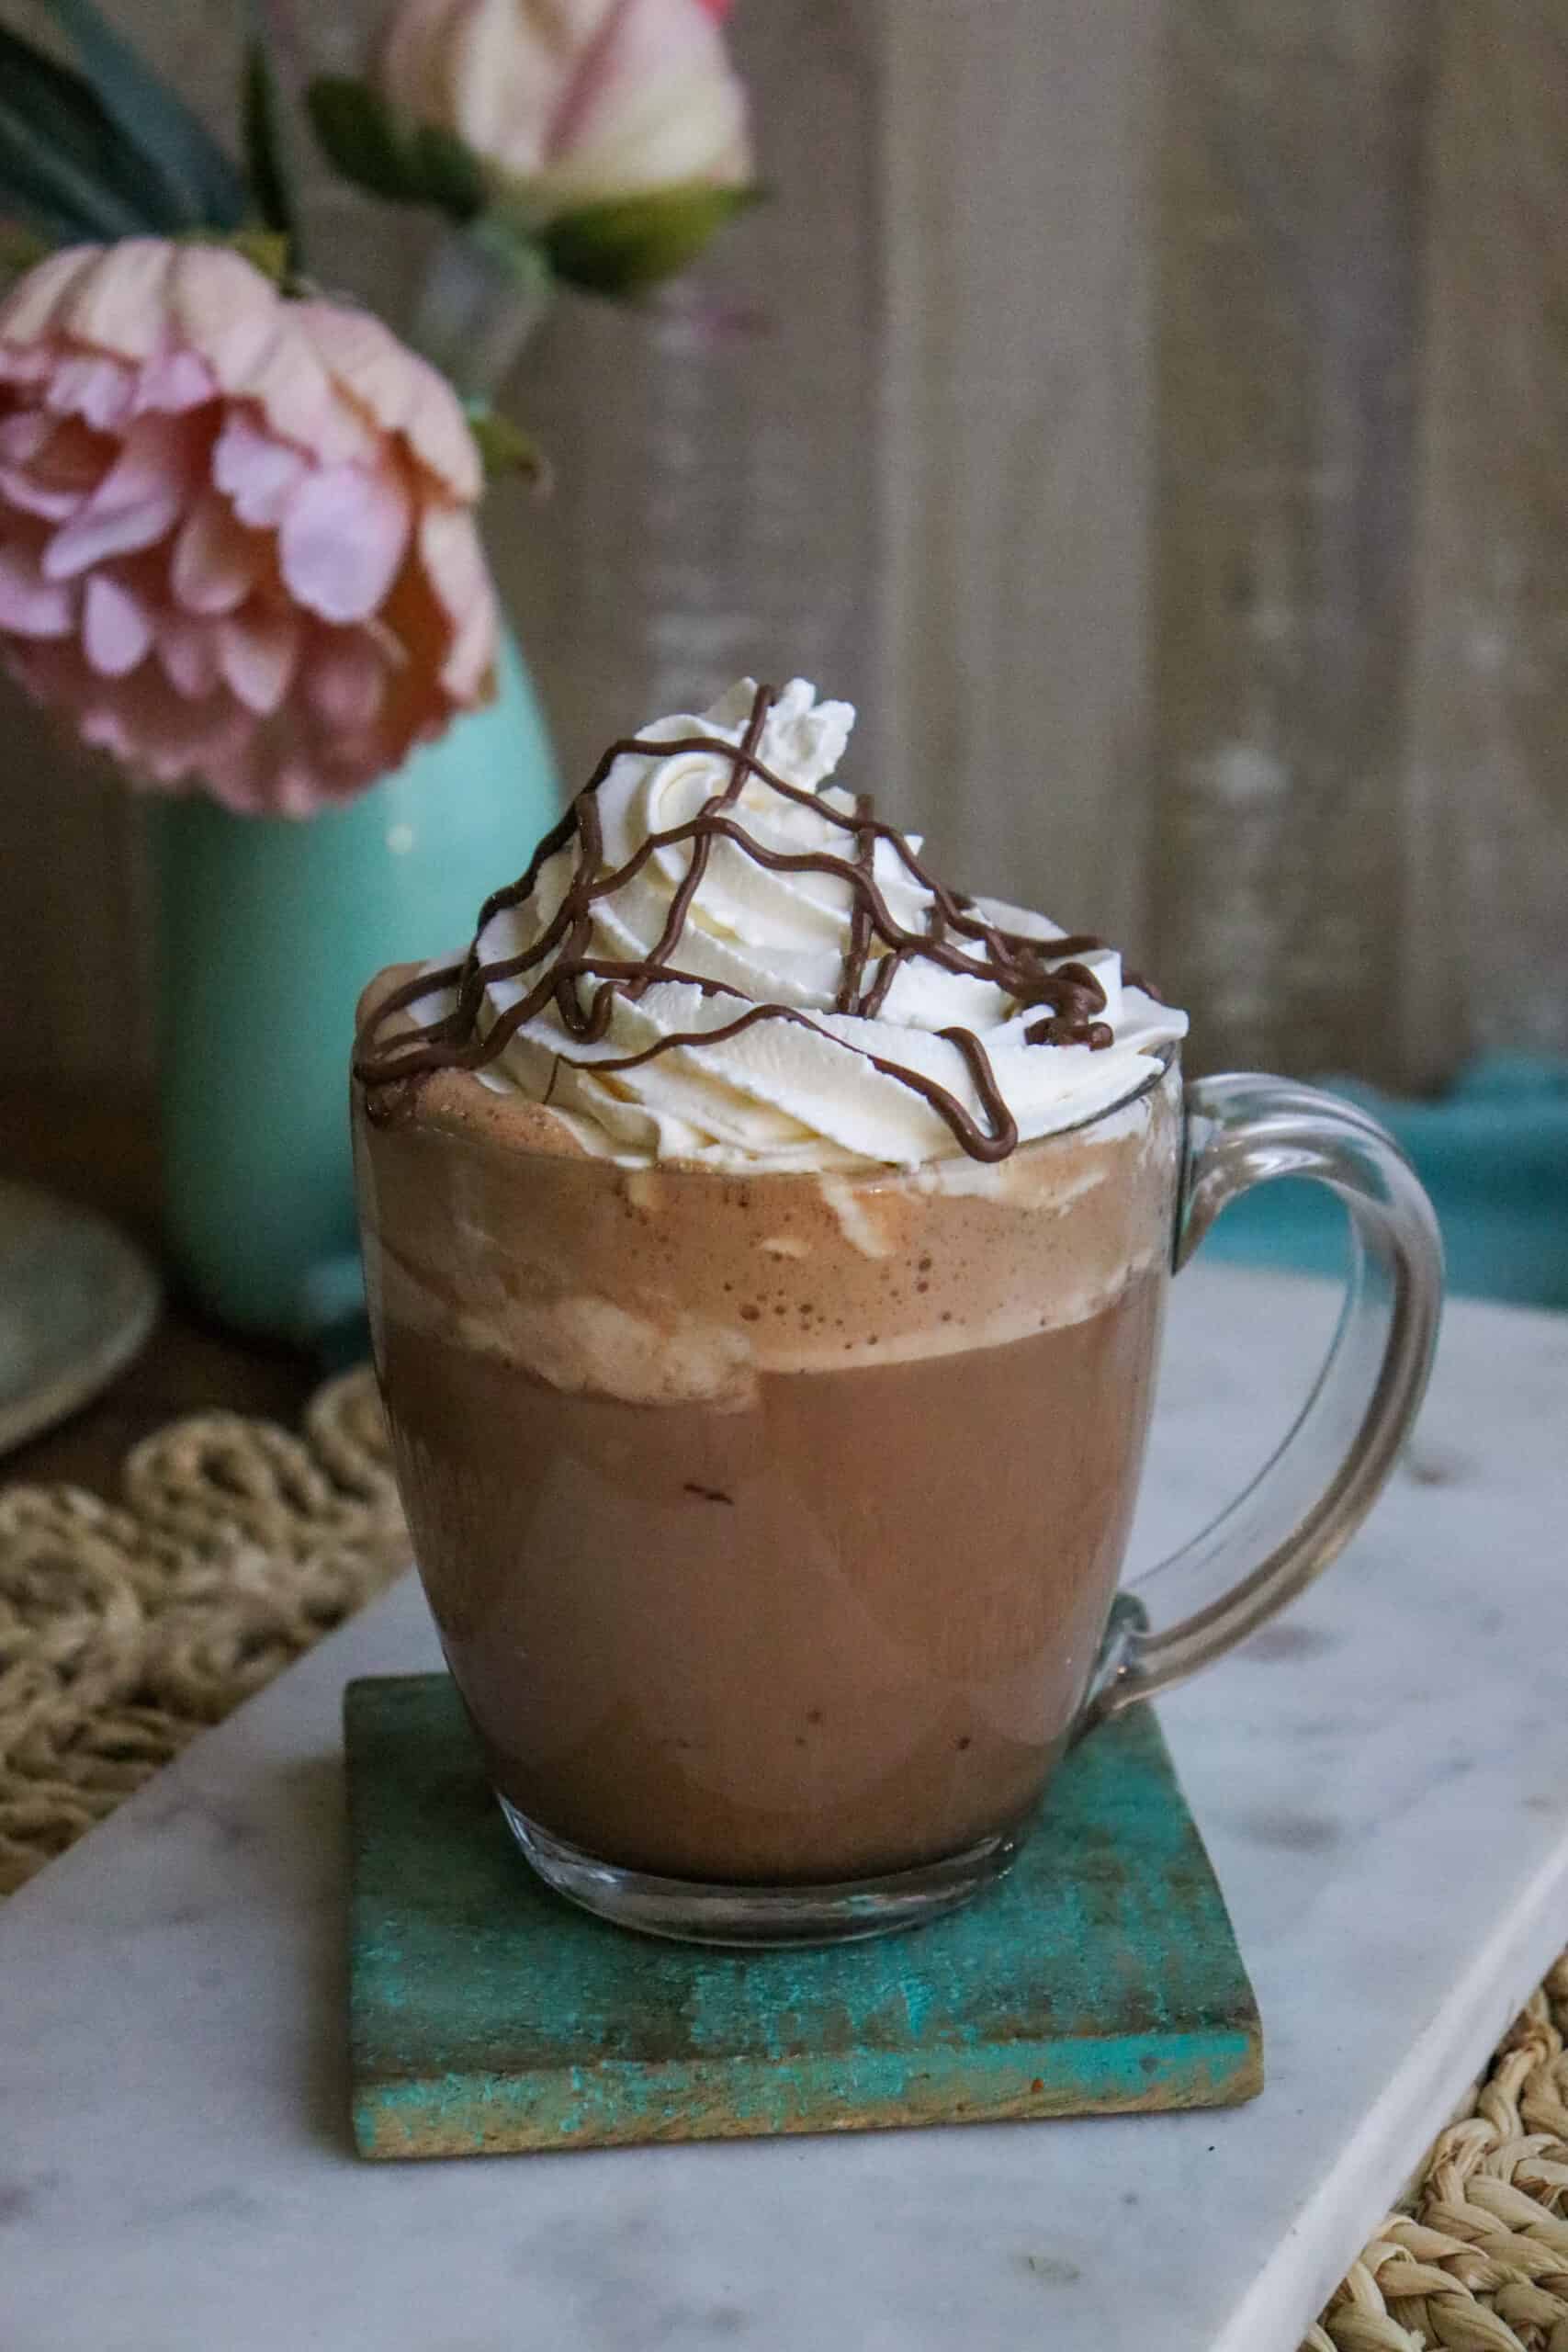
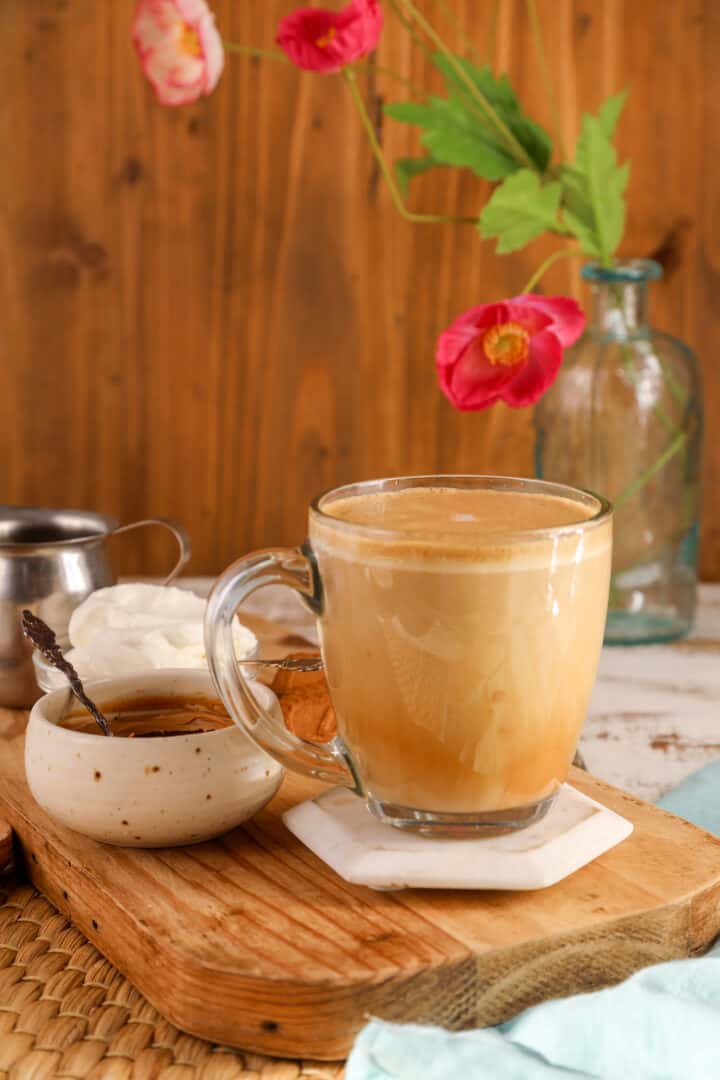
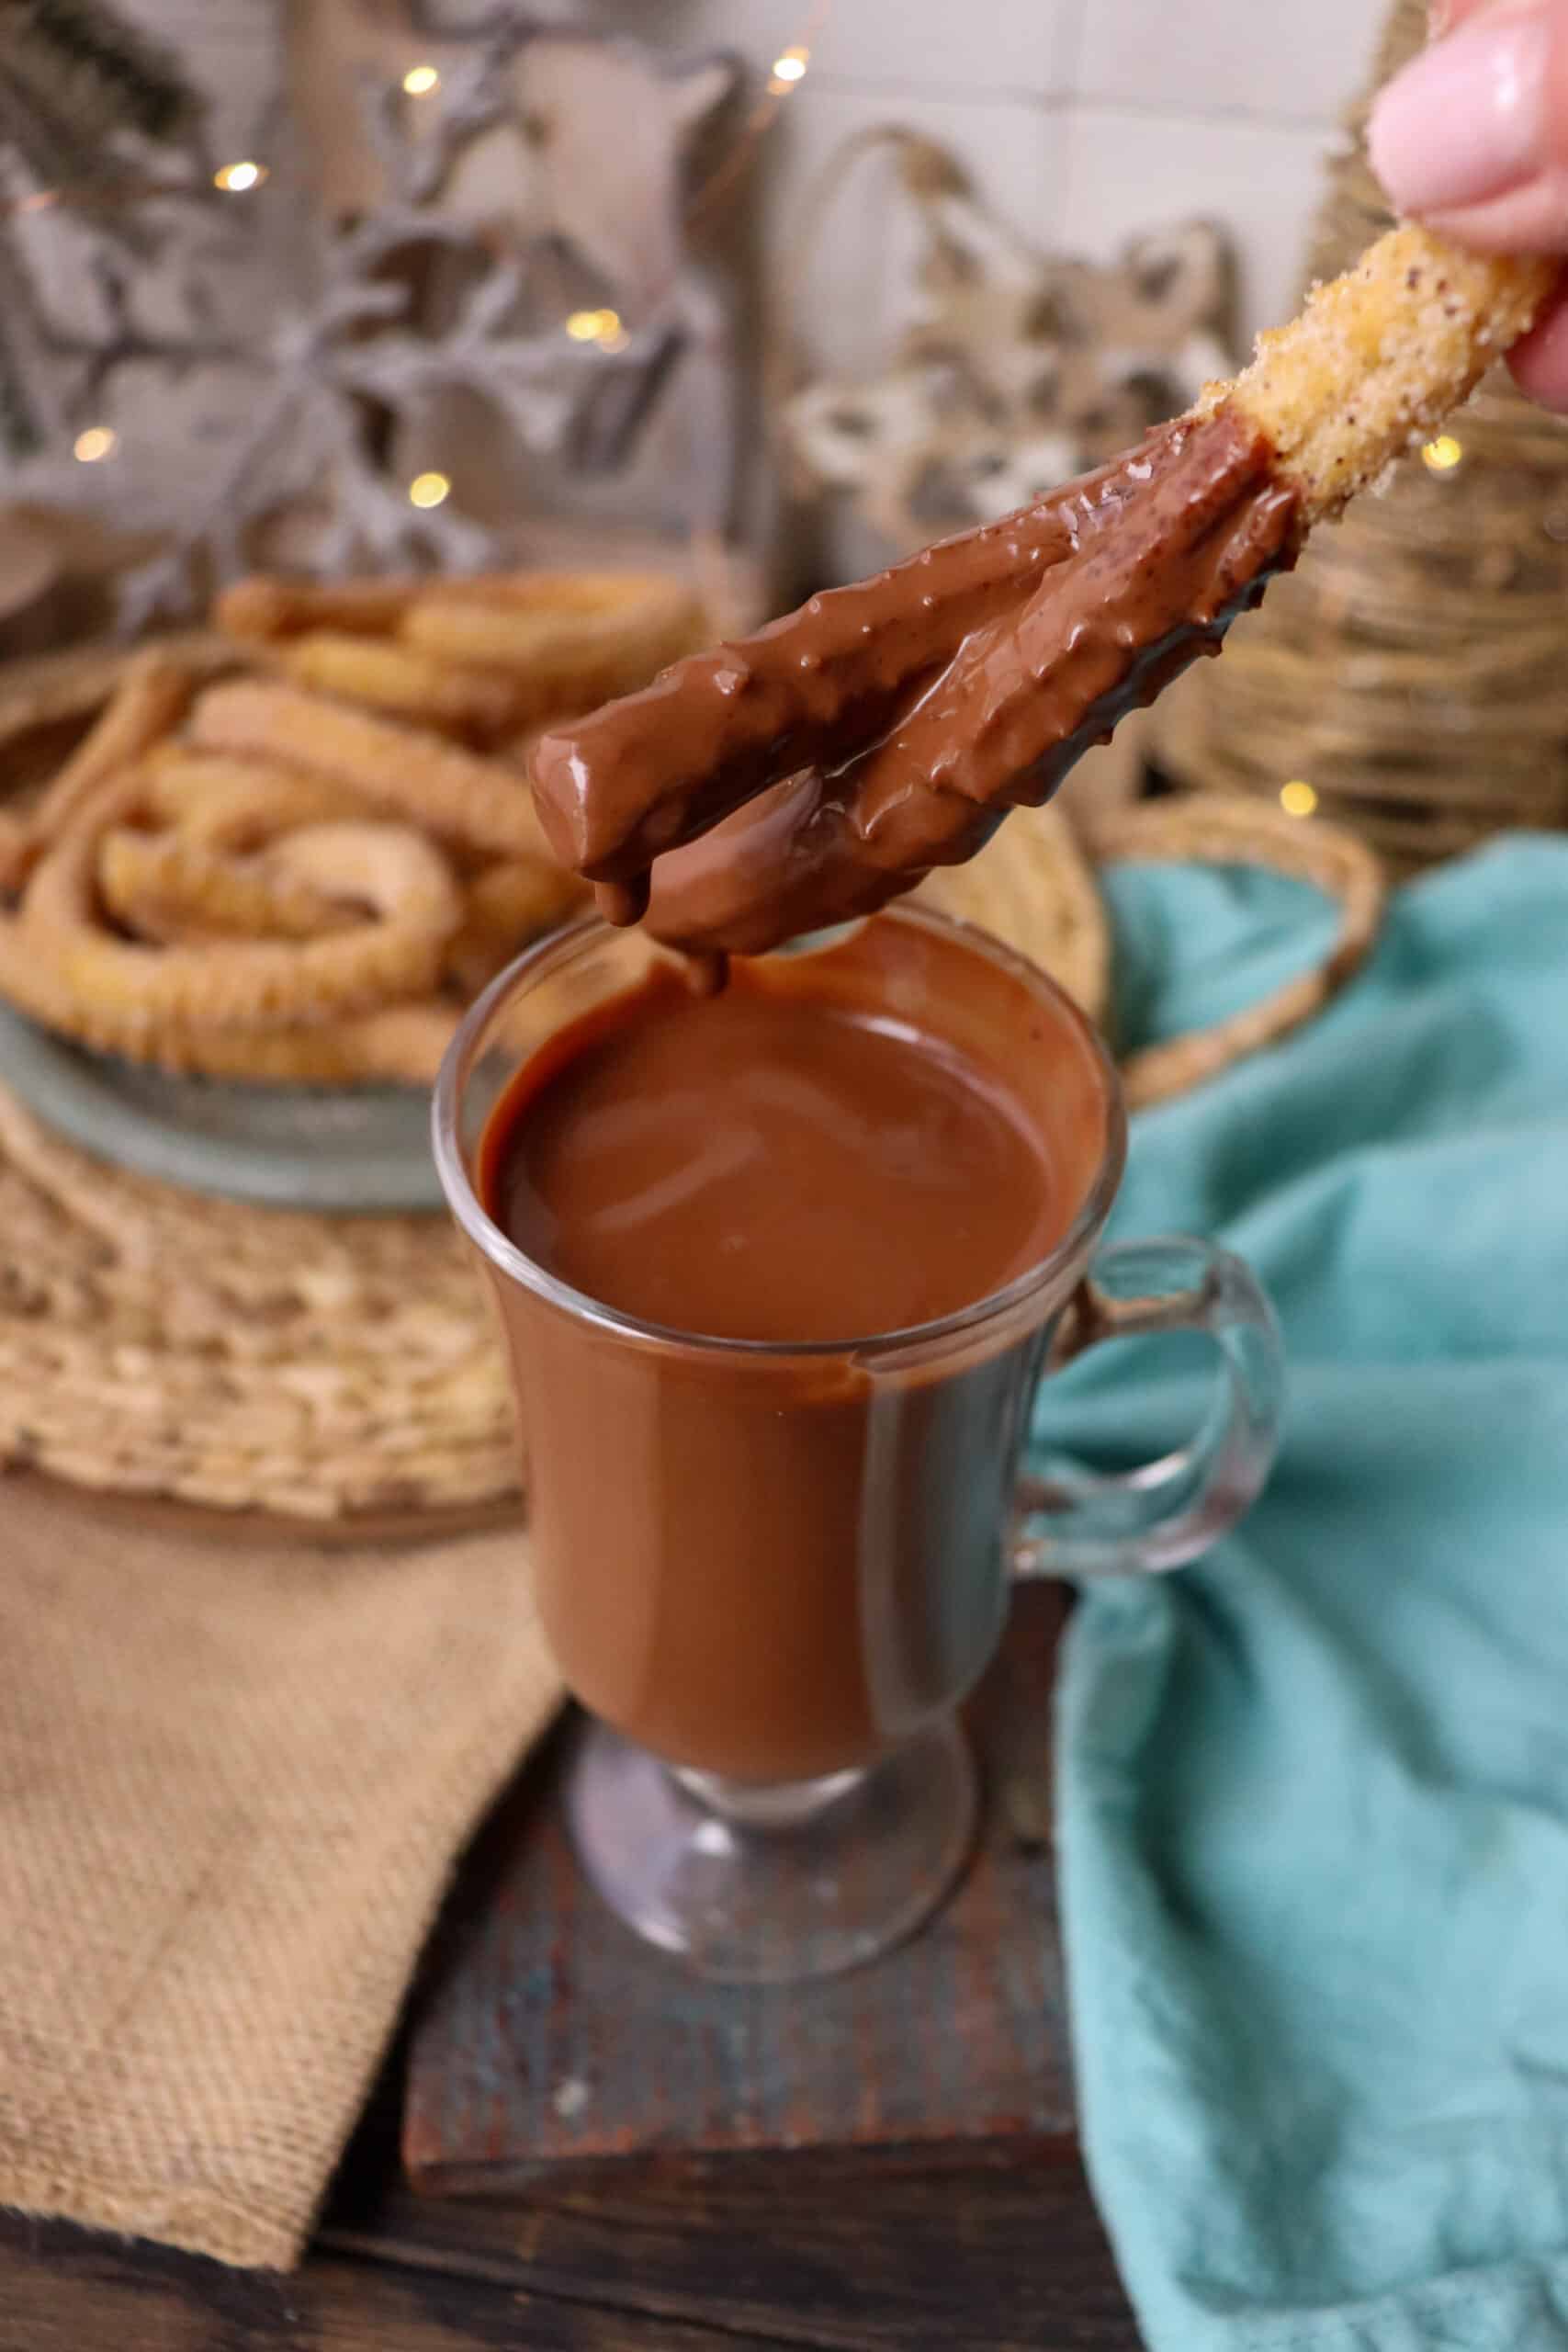
- Goes perfectly with warm hot chocolate on a chilly day.
What is the difference between Spanish Churros and Mexican Churros
Mexican churros and Spanish churros are made from the same type of fried dough. The only difference between the two is what the churros are coated in once they've been cooked and what they're served with.
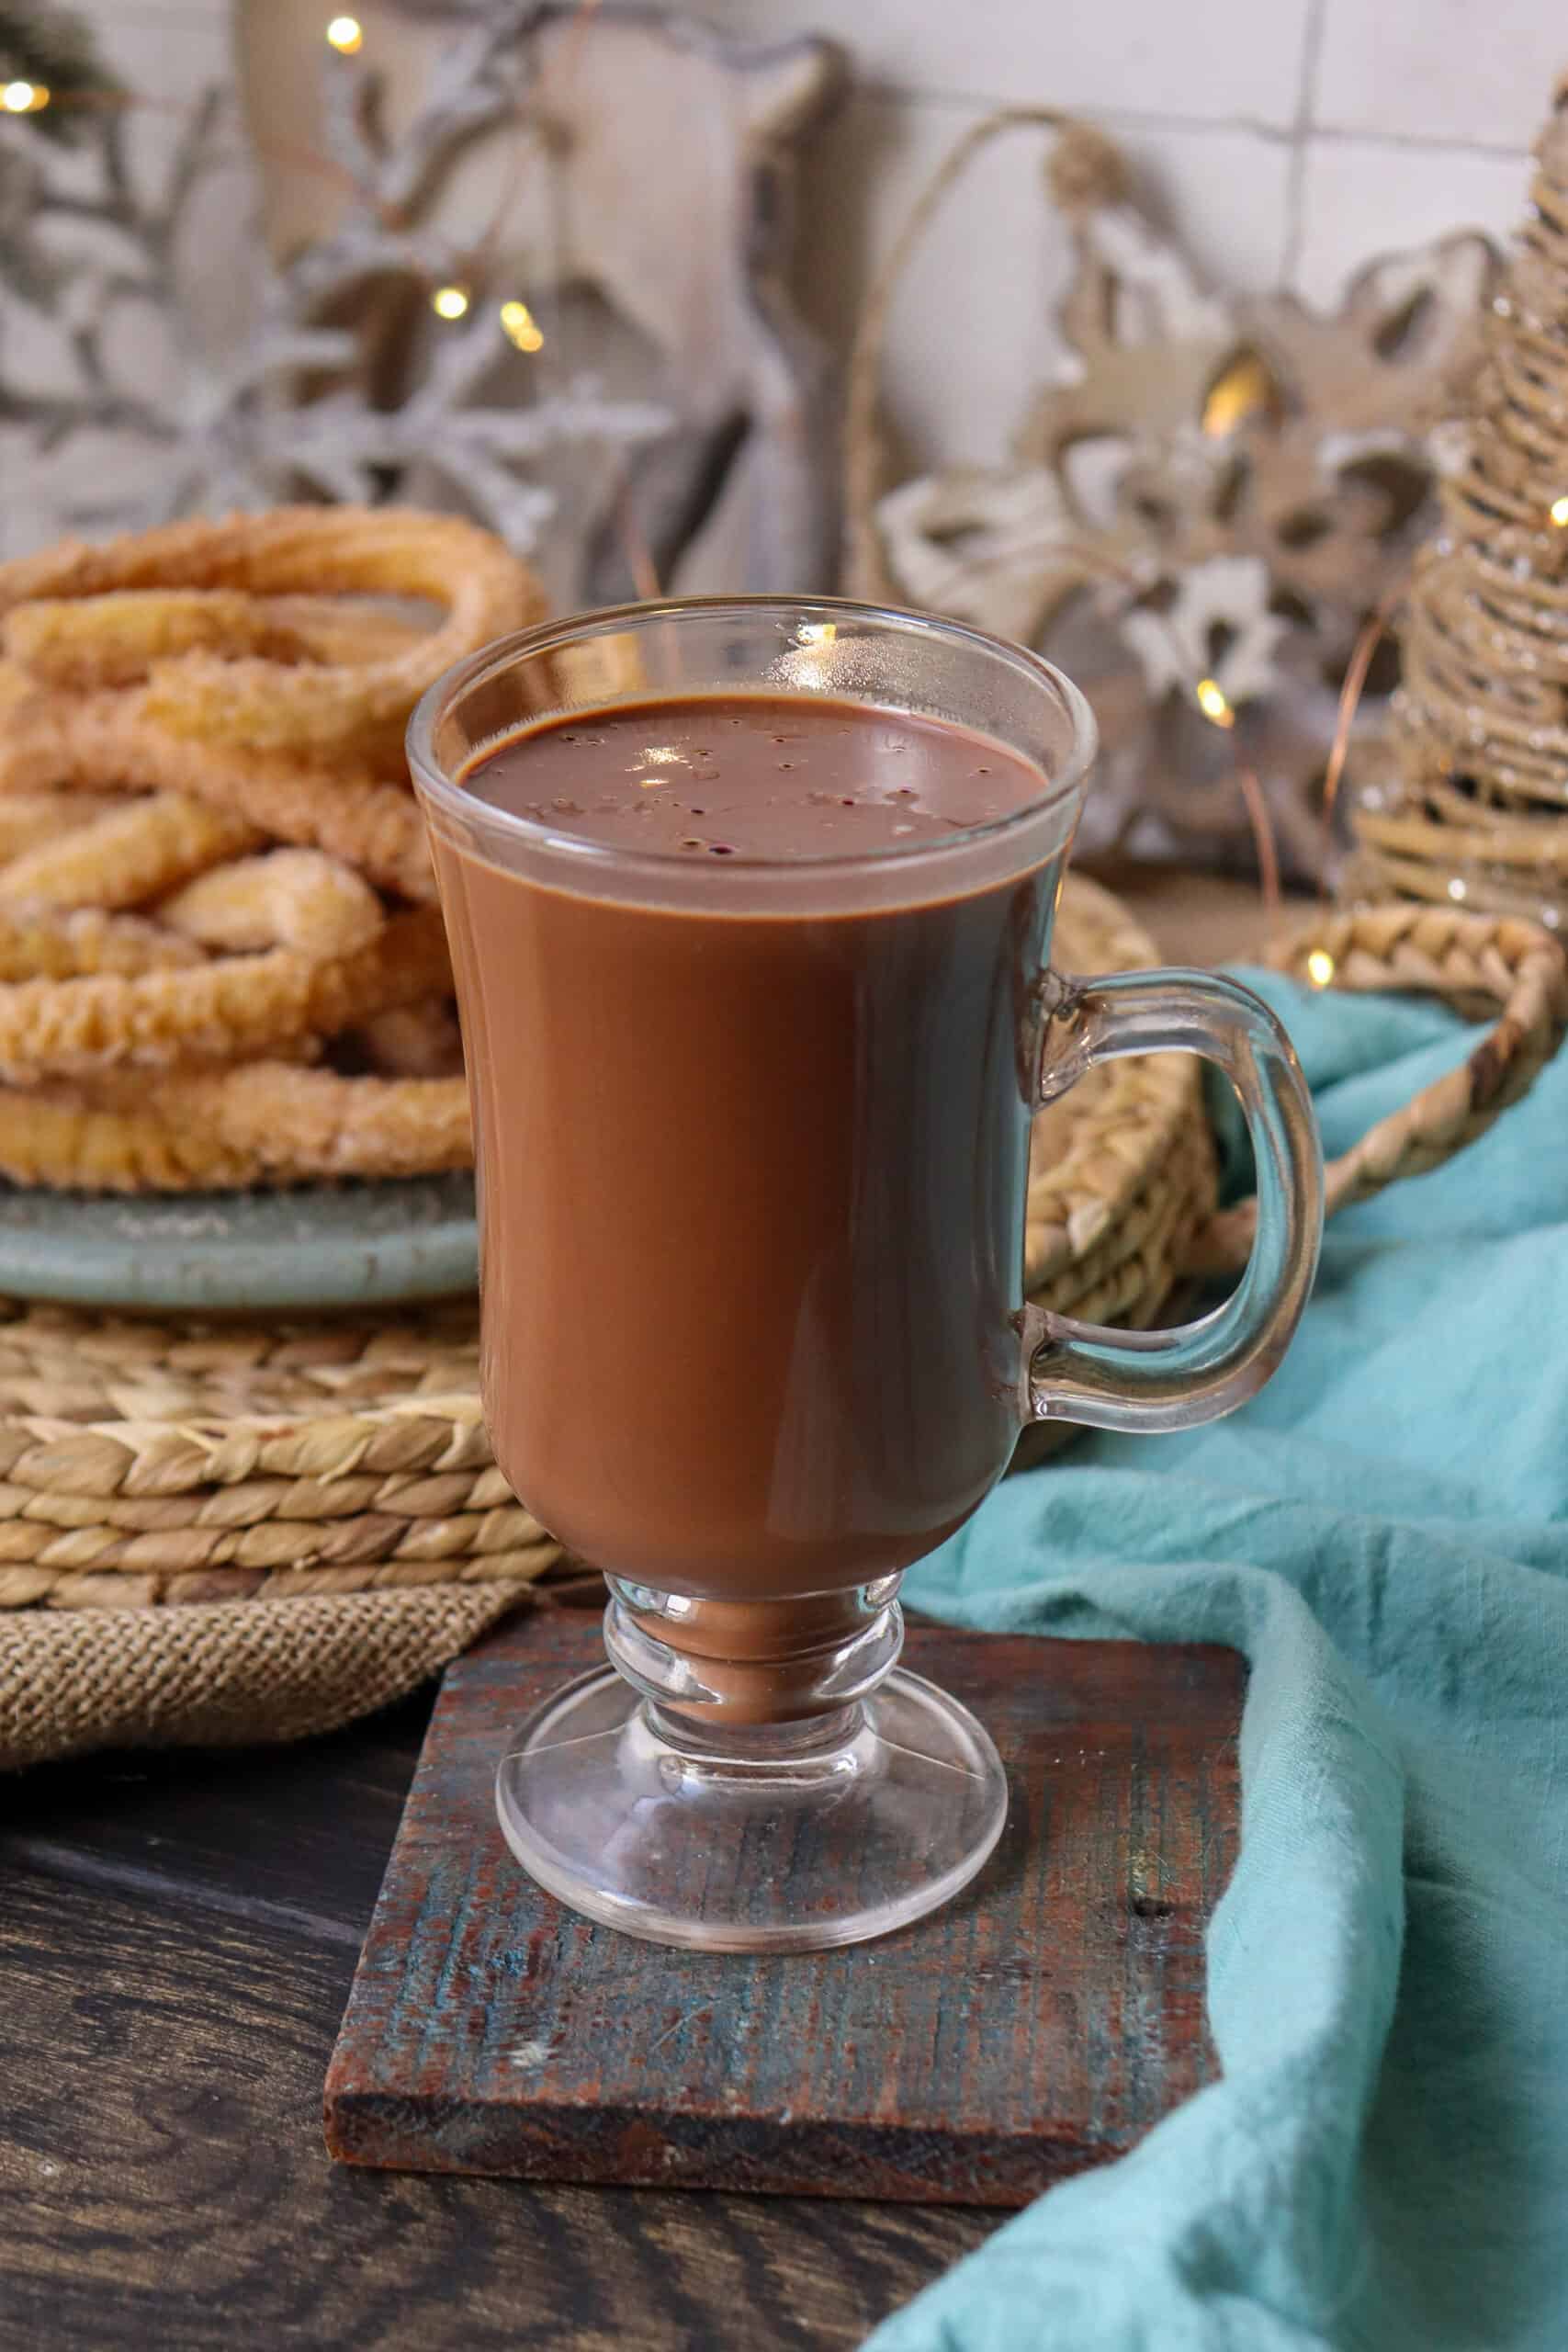
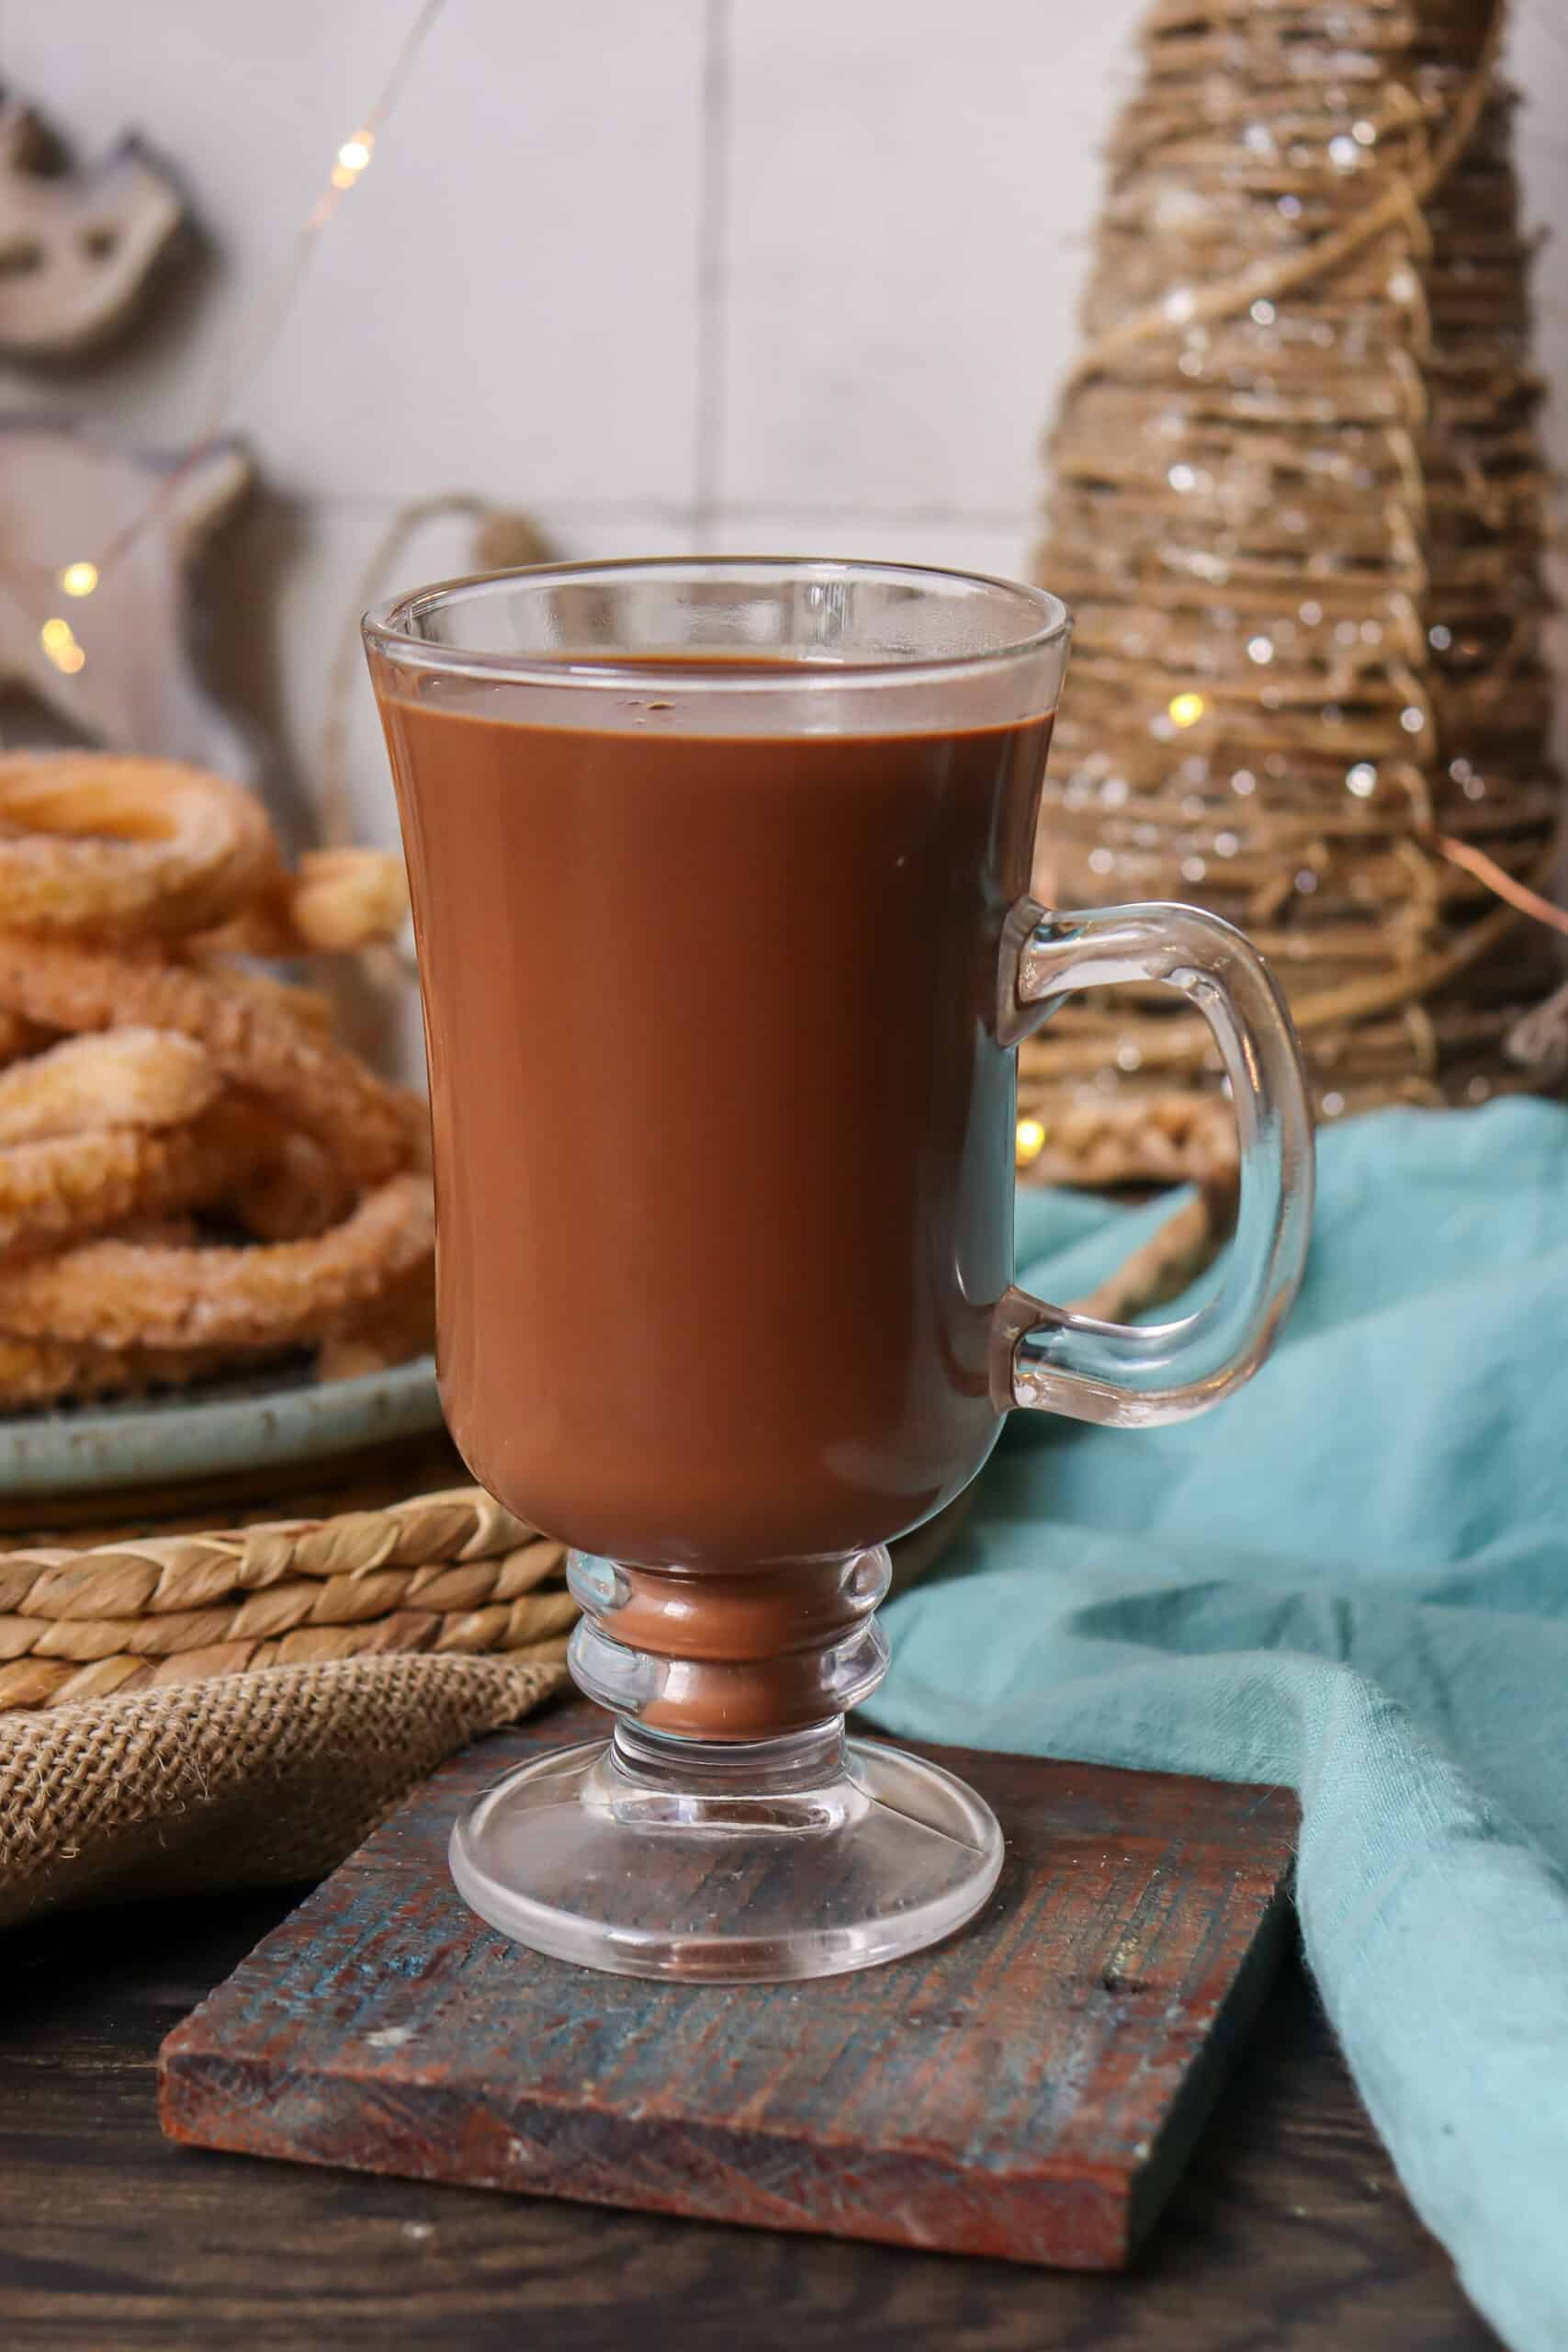
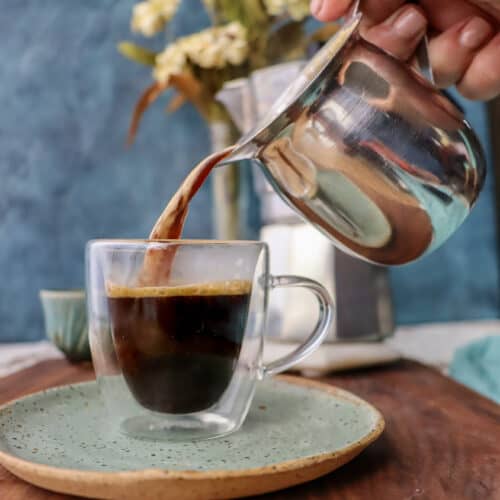
Spanish churros are typically dusted with sugar or nothing at all and are almost always served with thick Spanish hot chocolate.
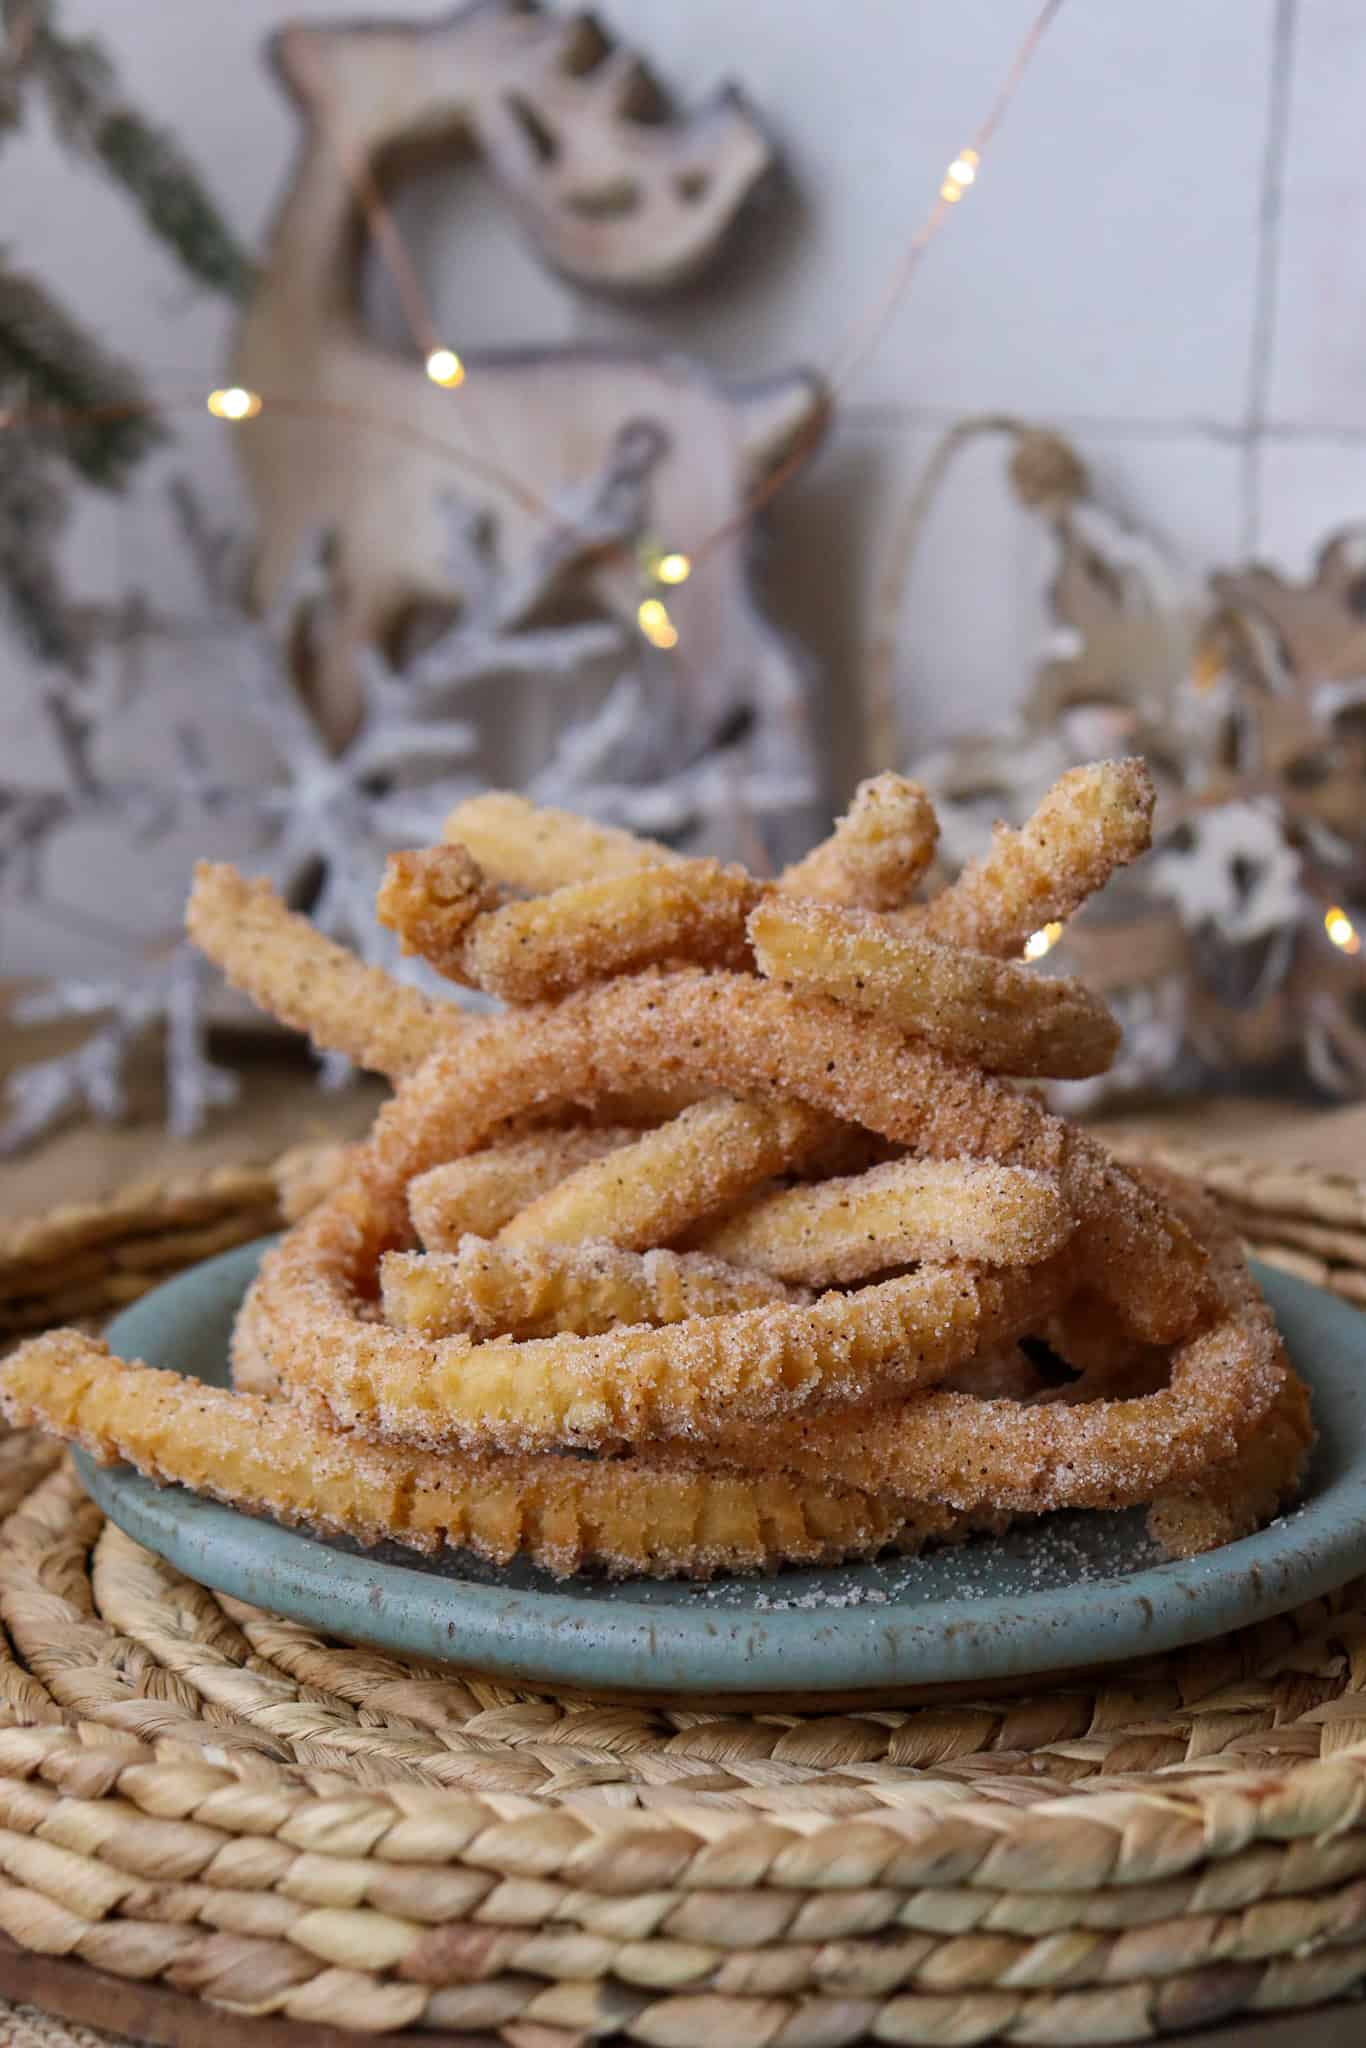
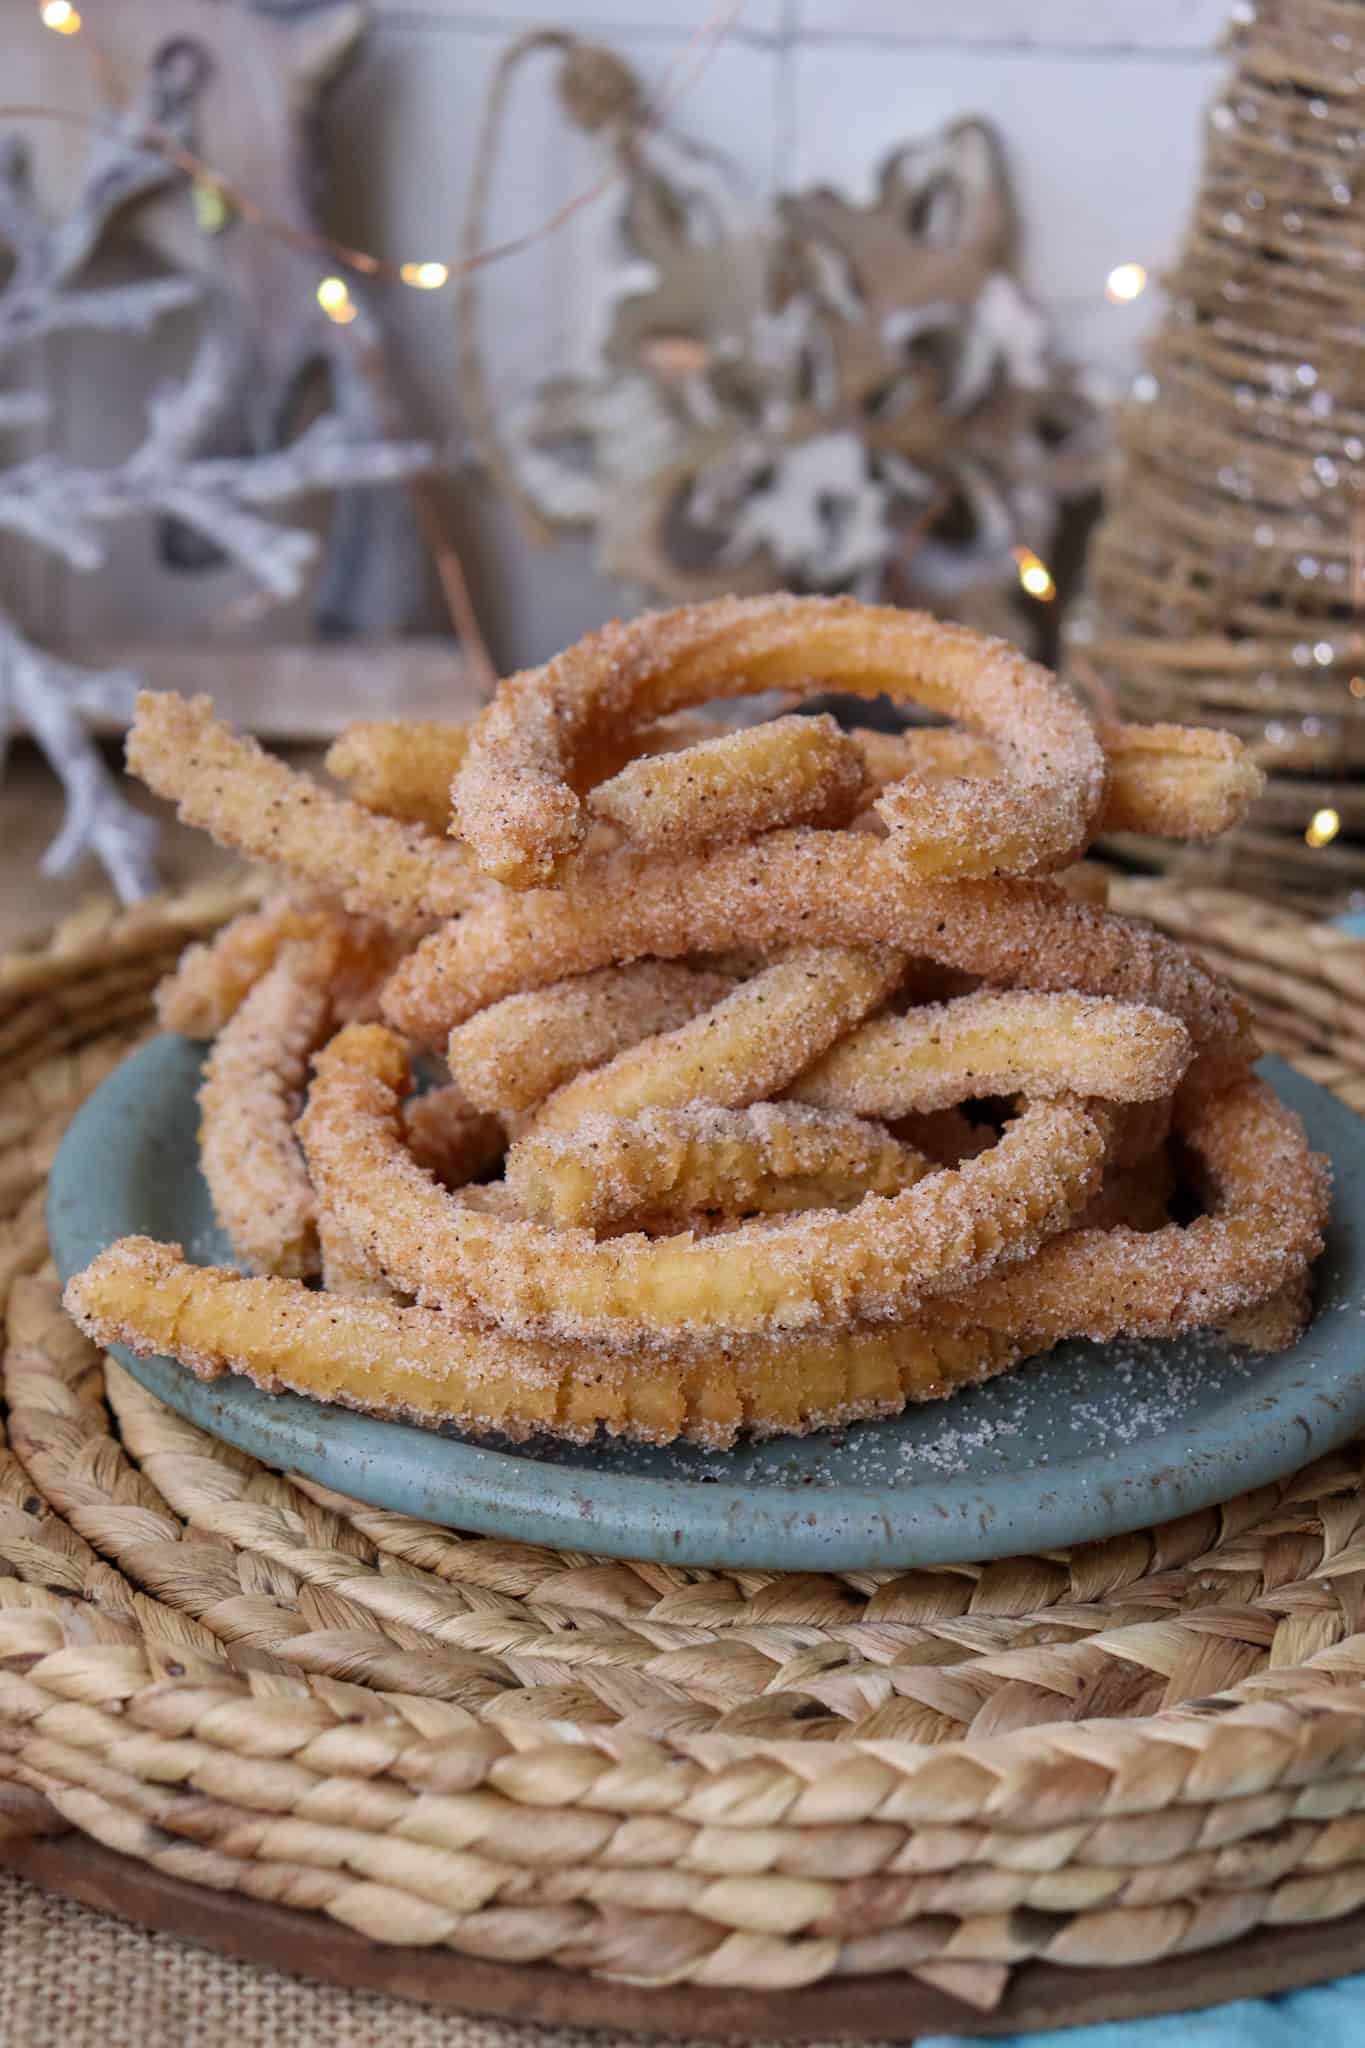
Mexican churros are coated in cinnamon sugar and are served alongside dulce de leche and/or chocolate sauce.
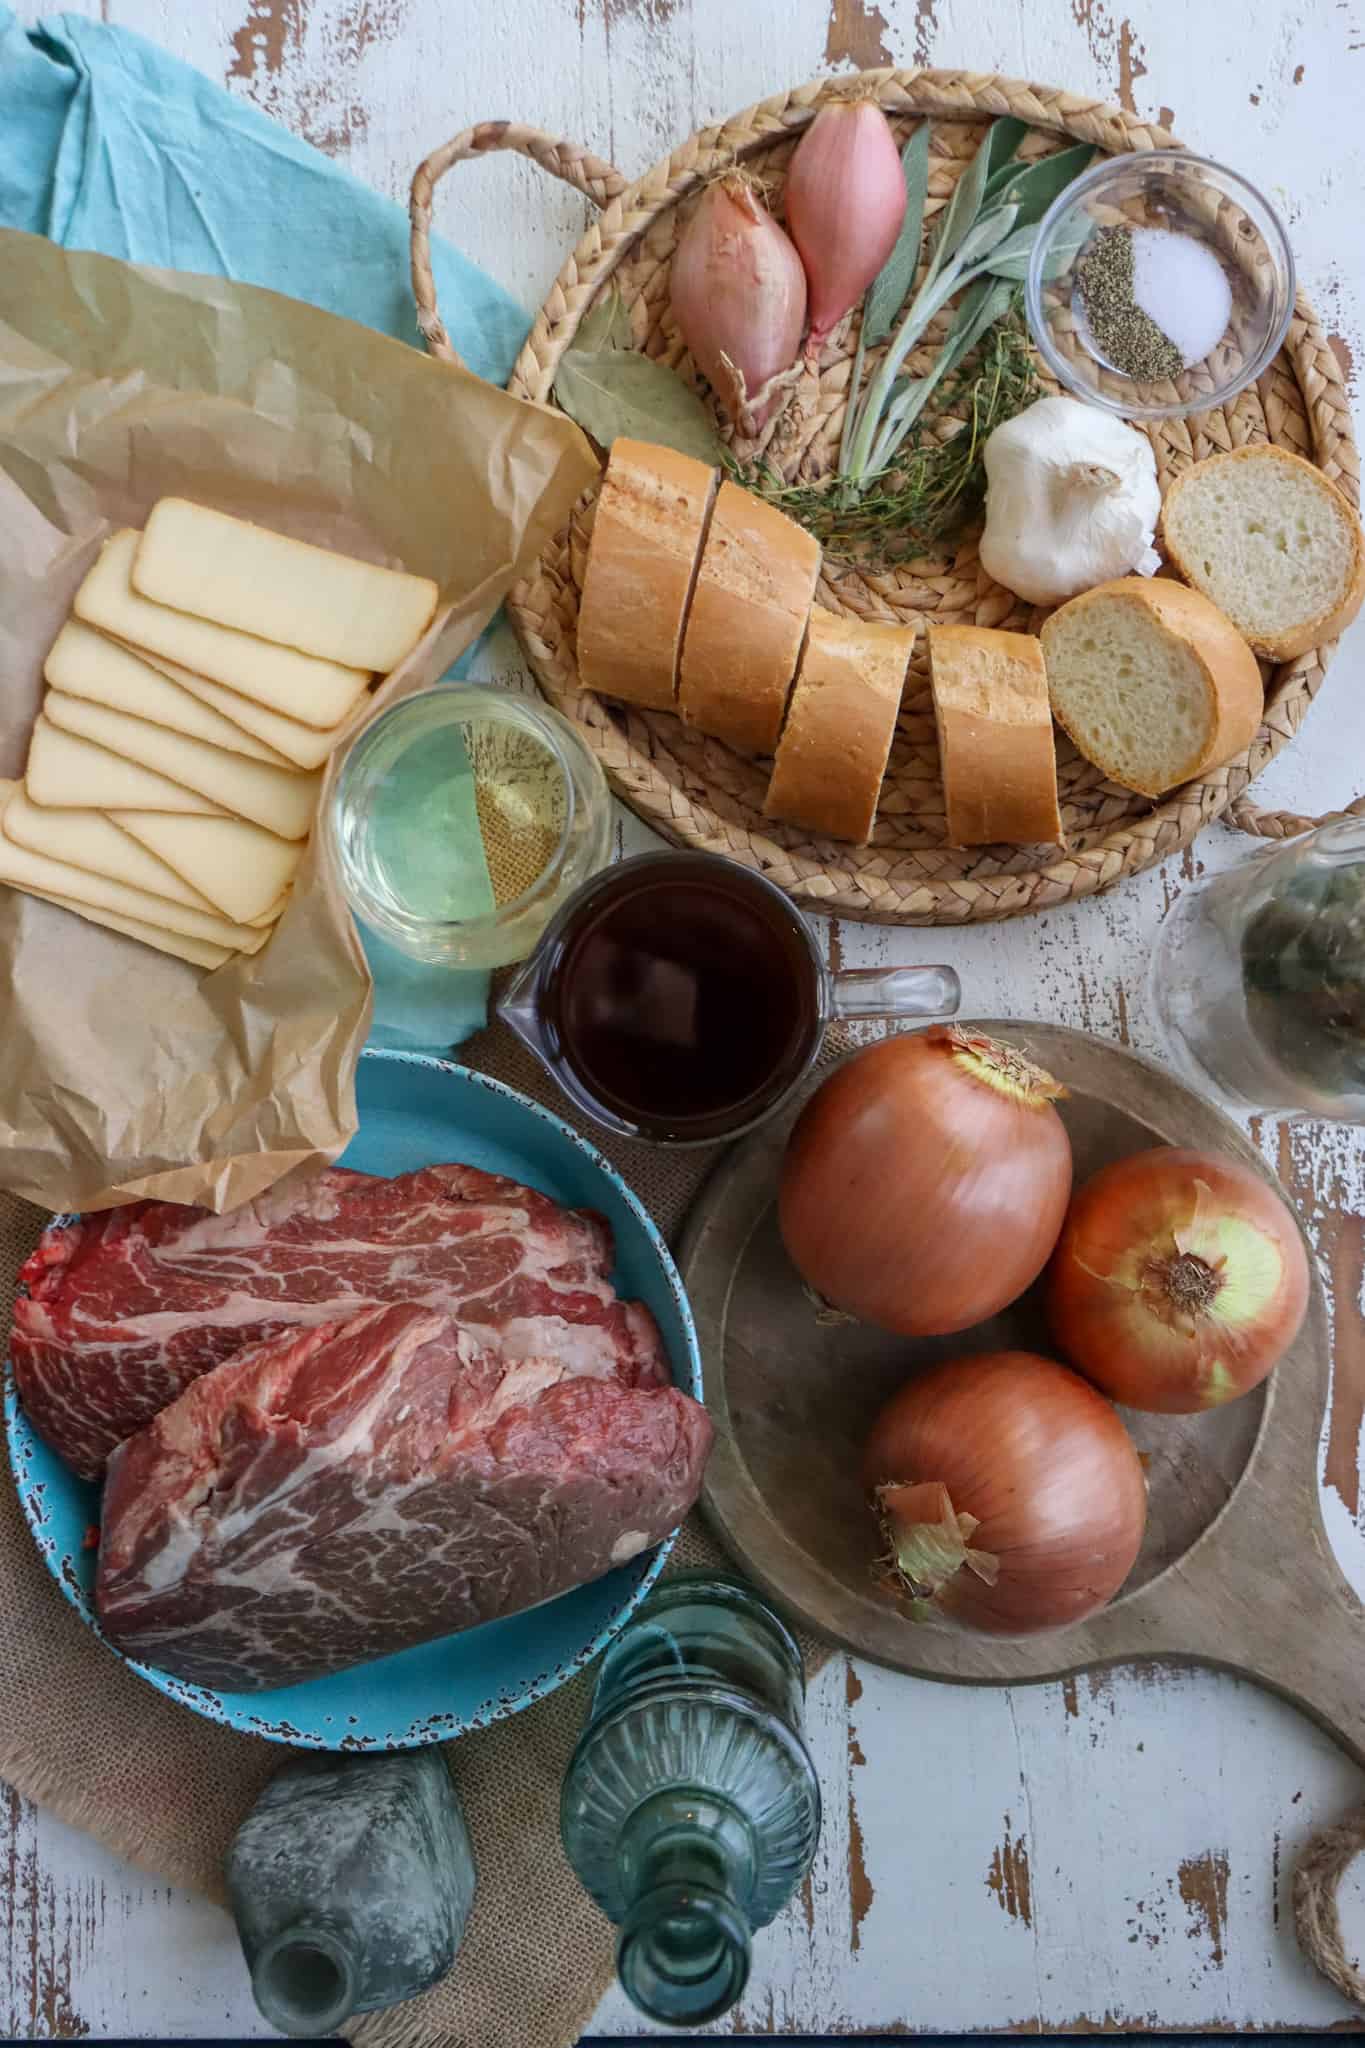
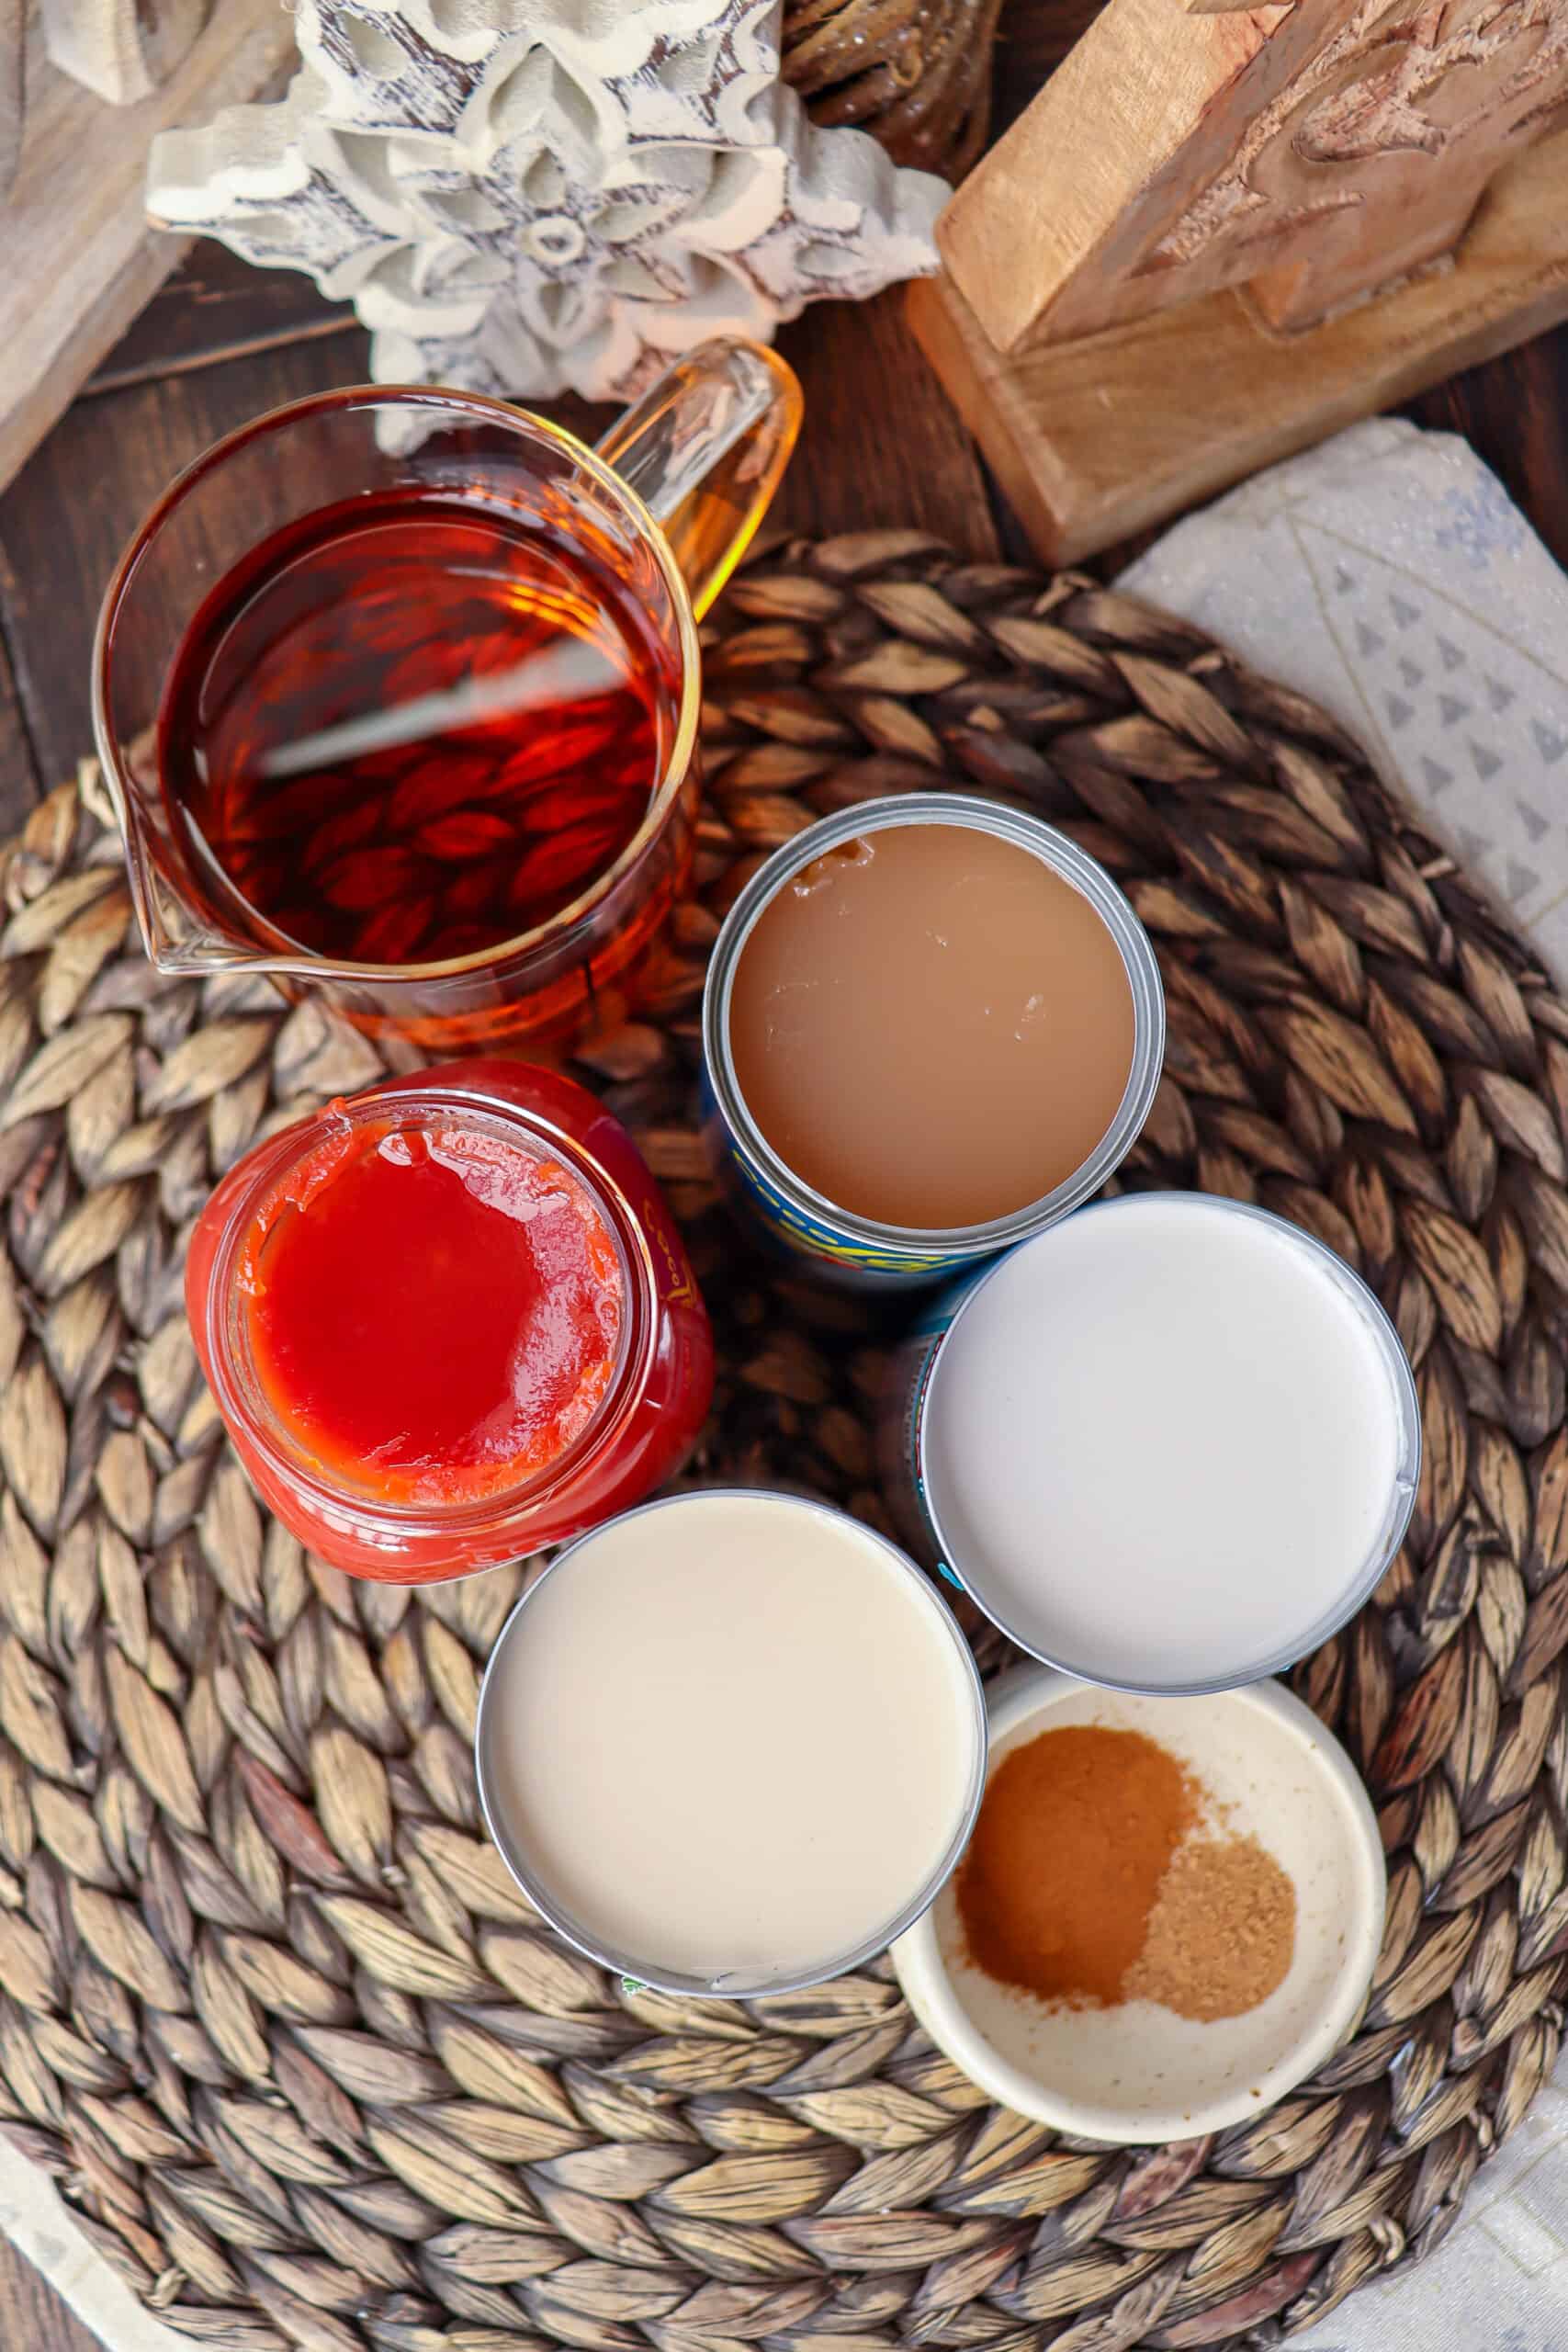
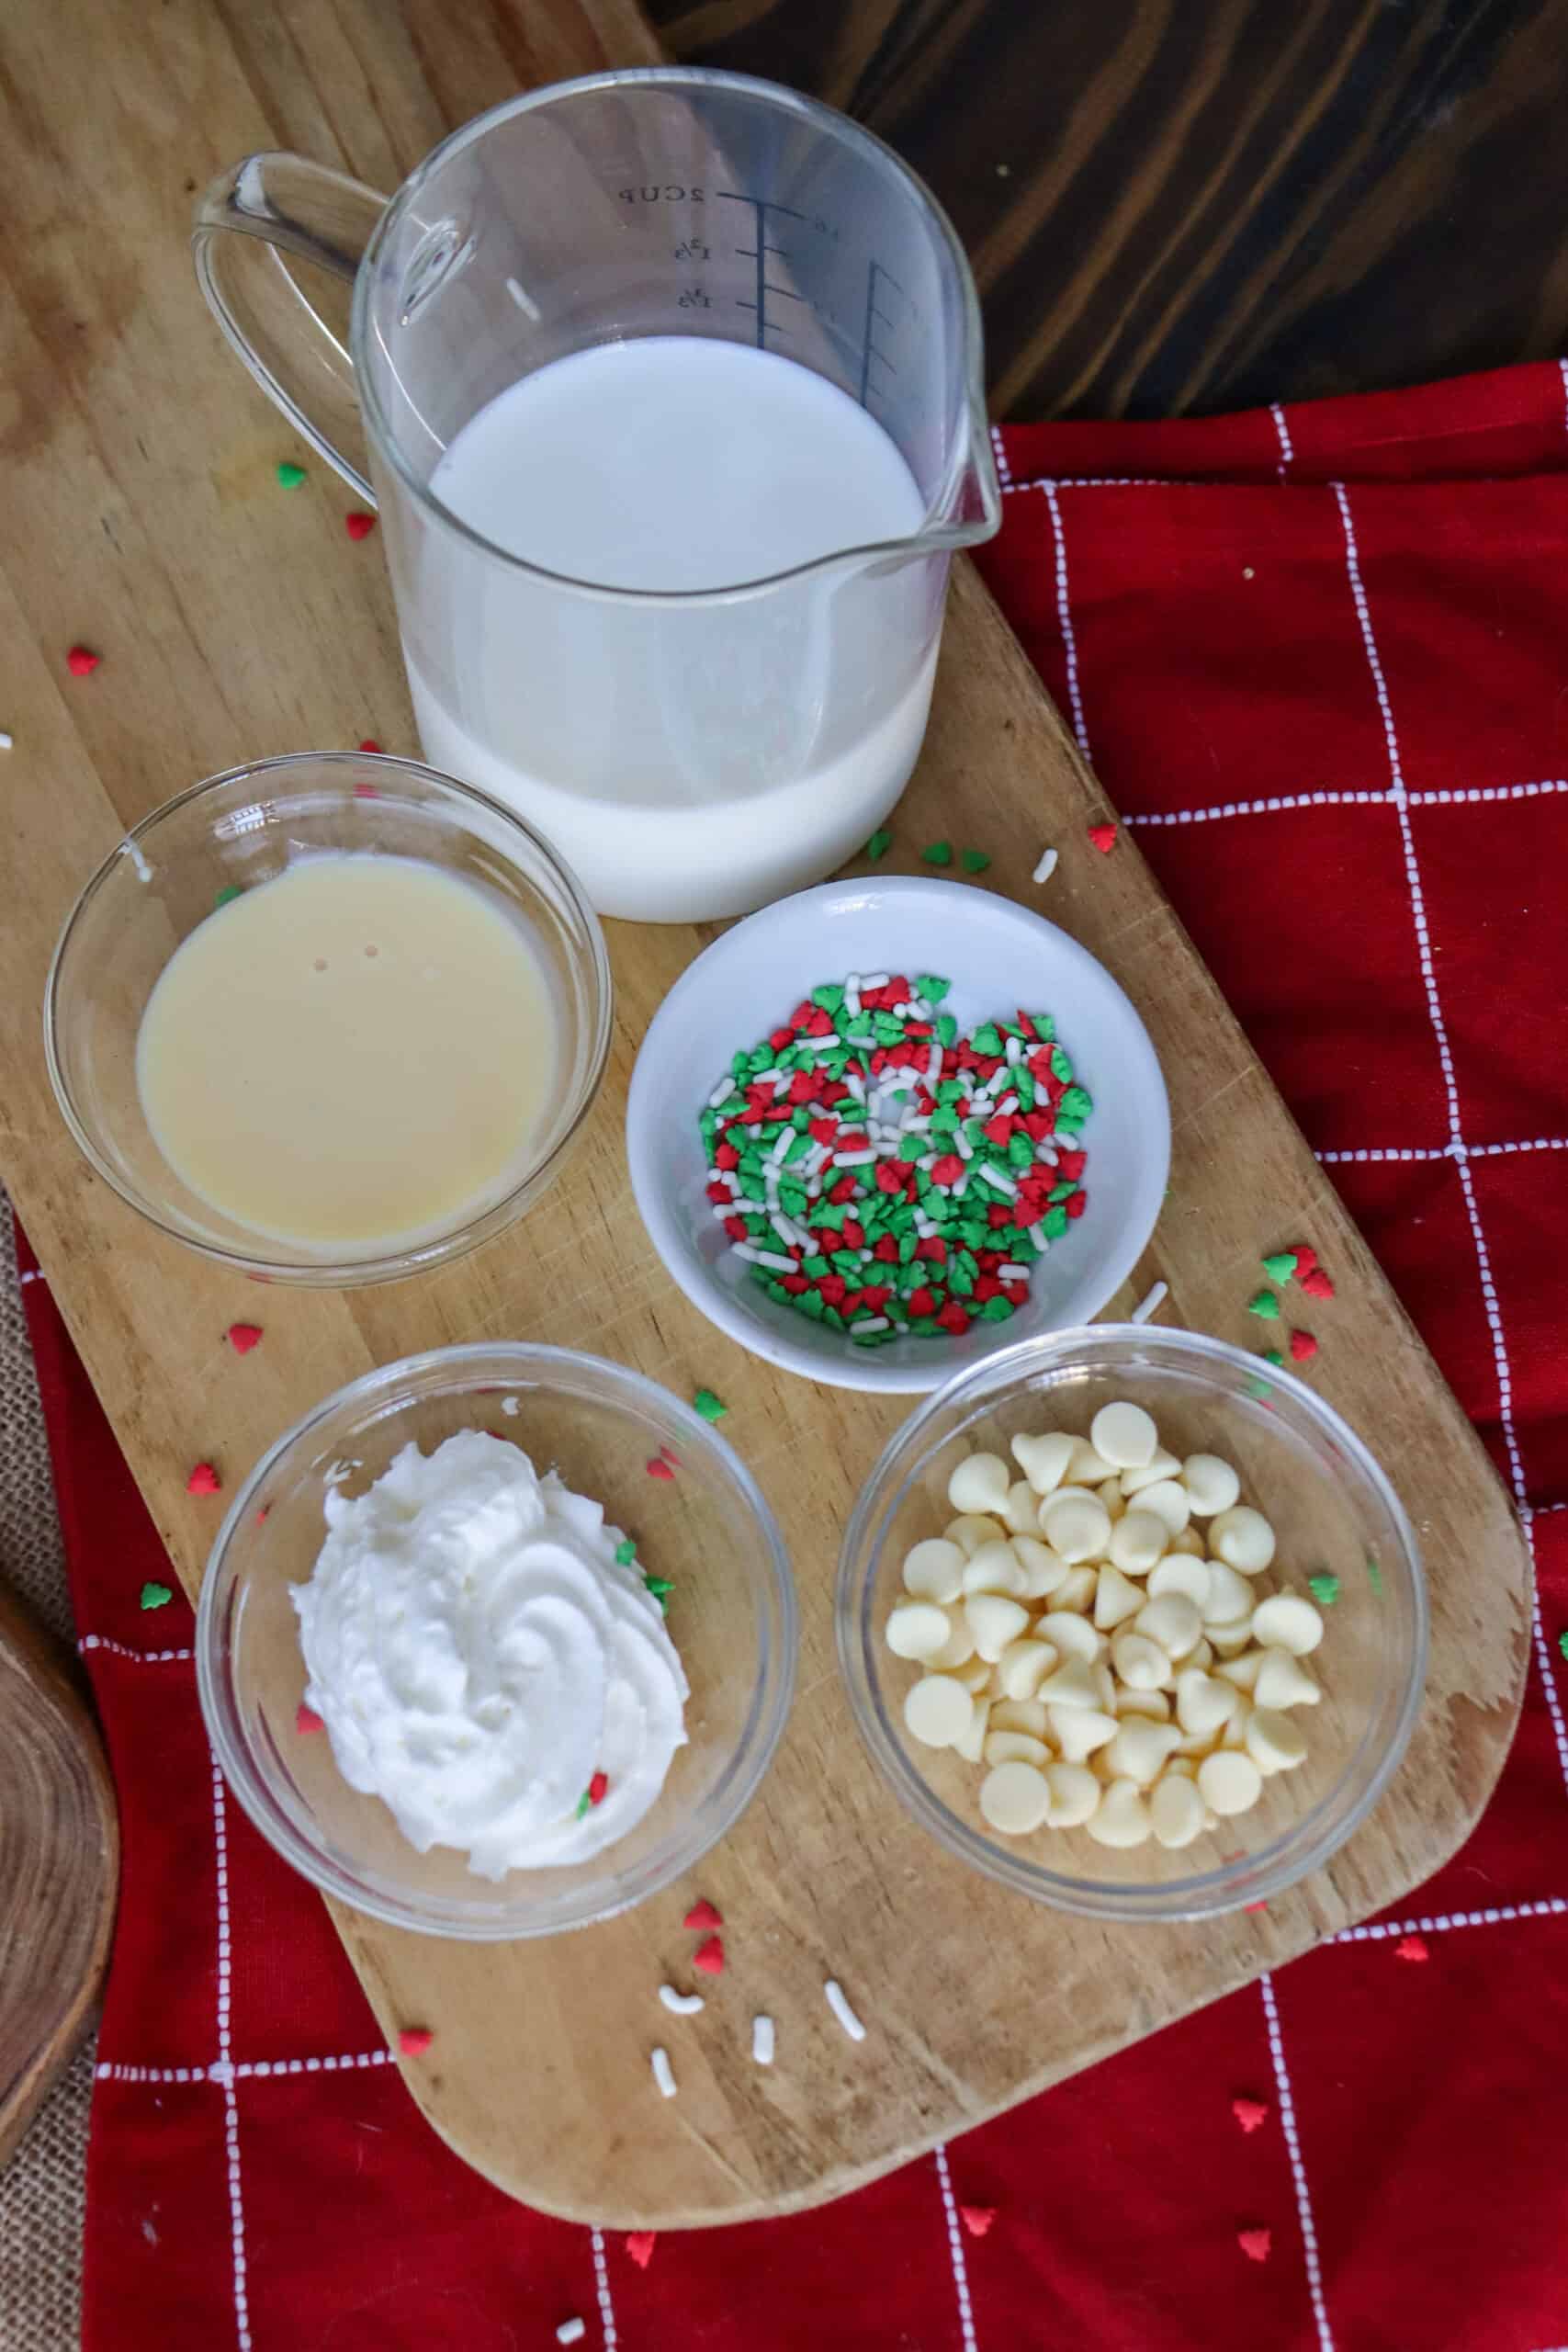
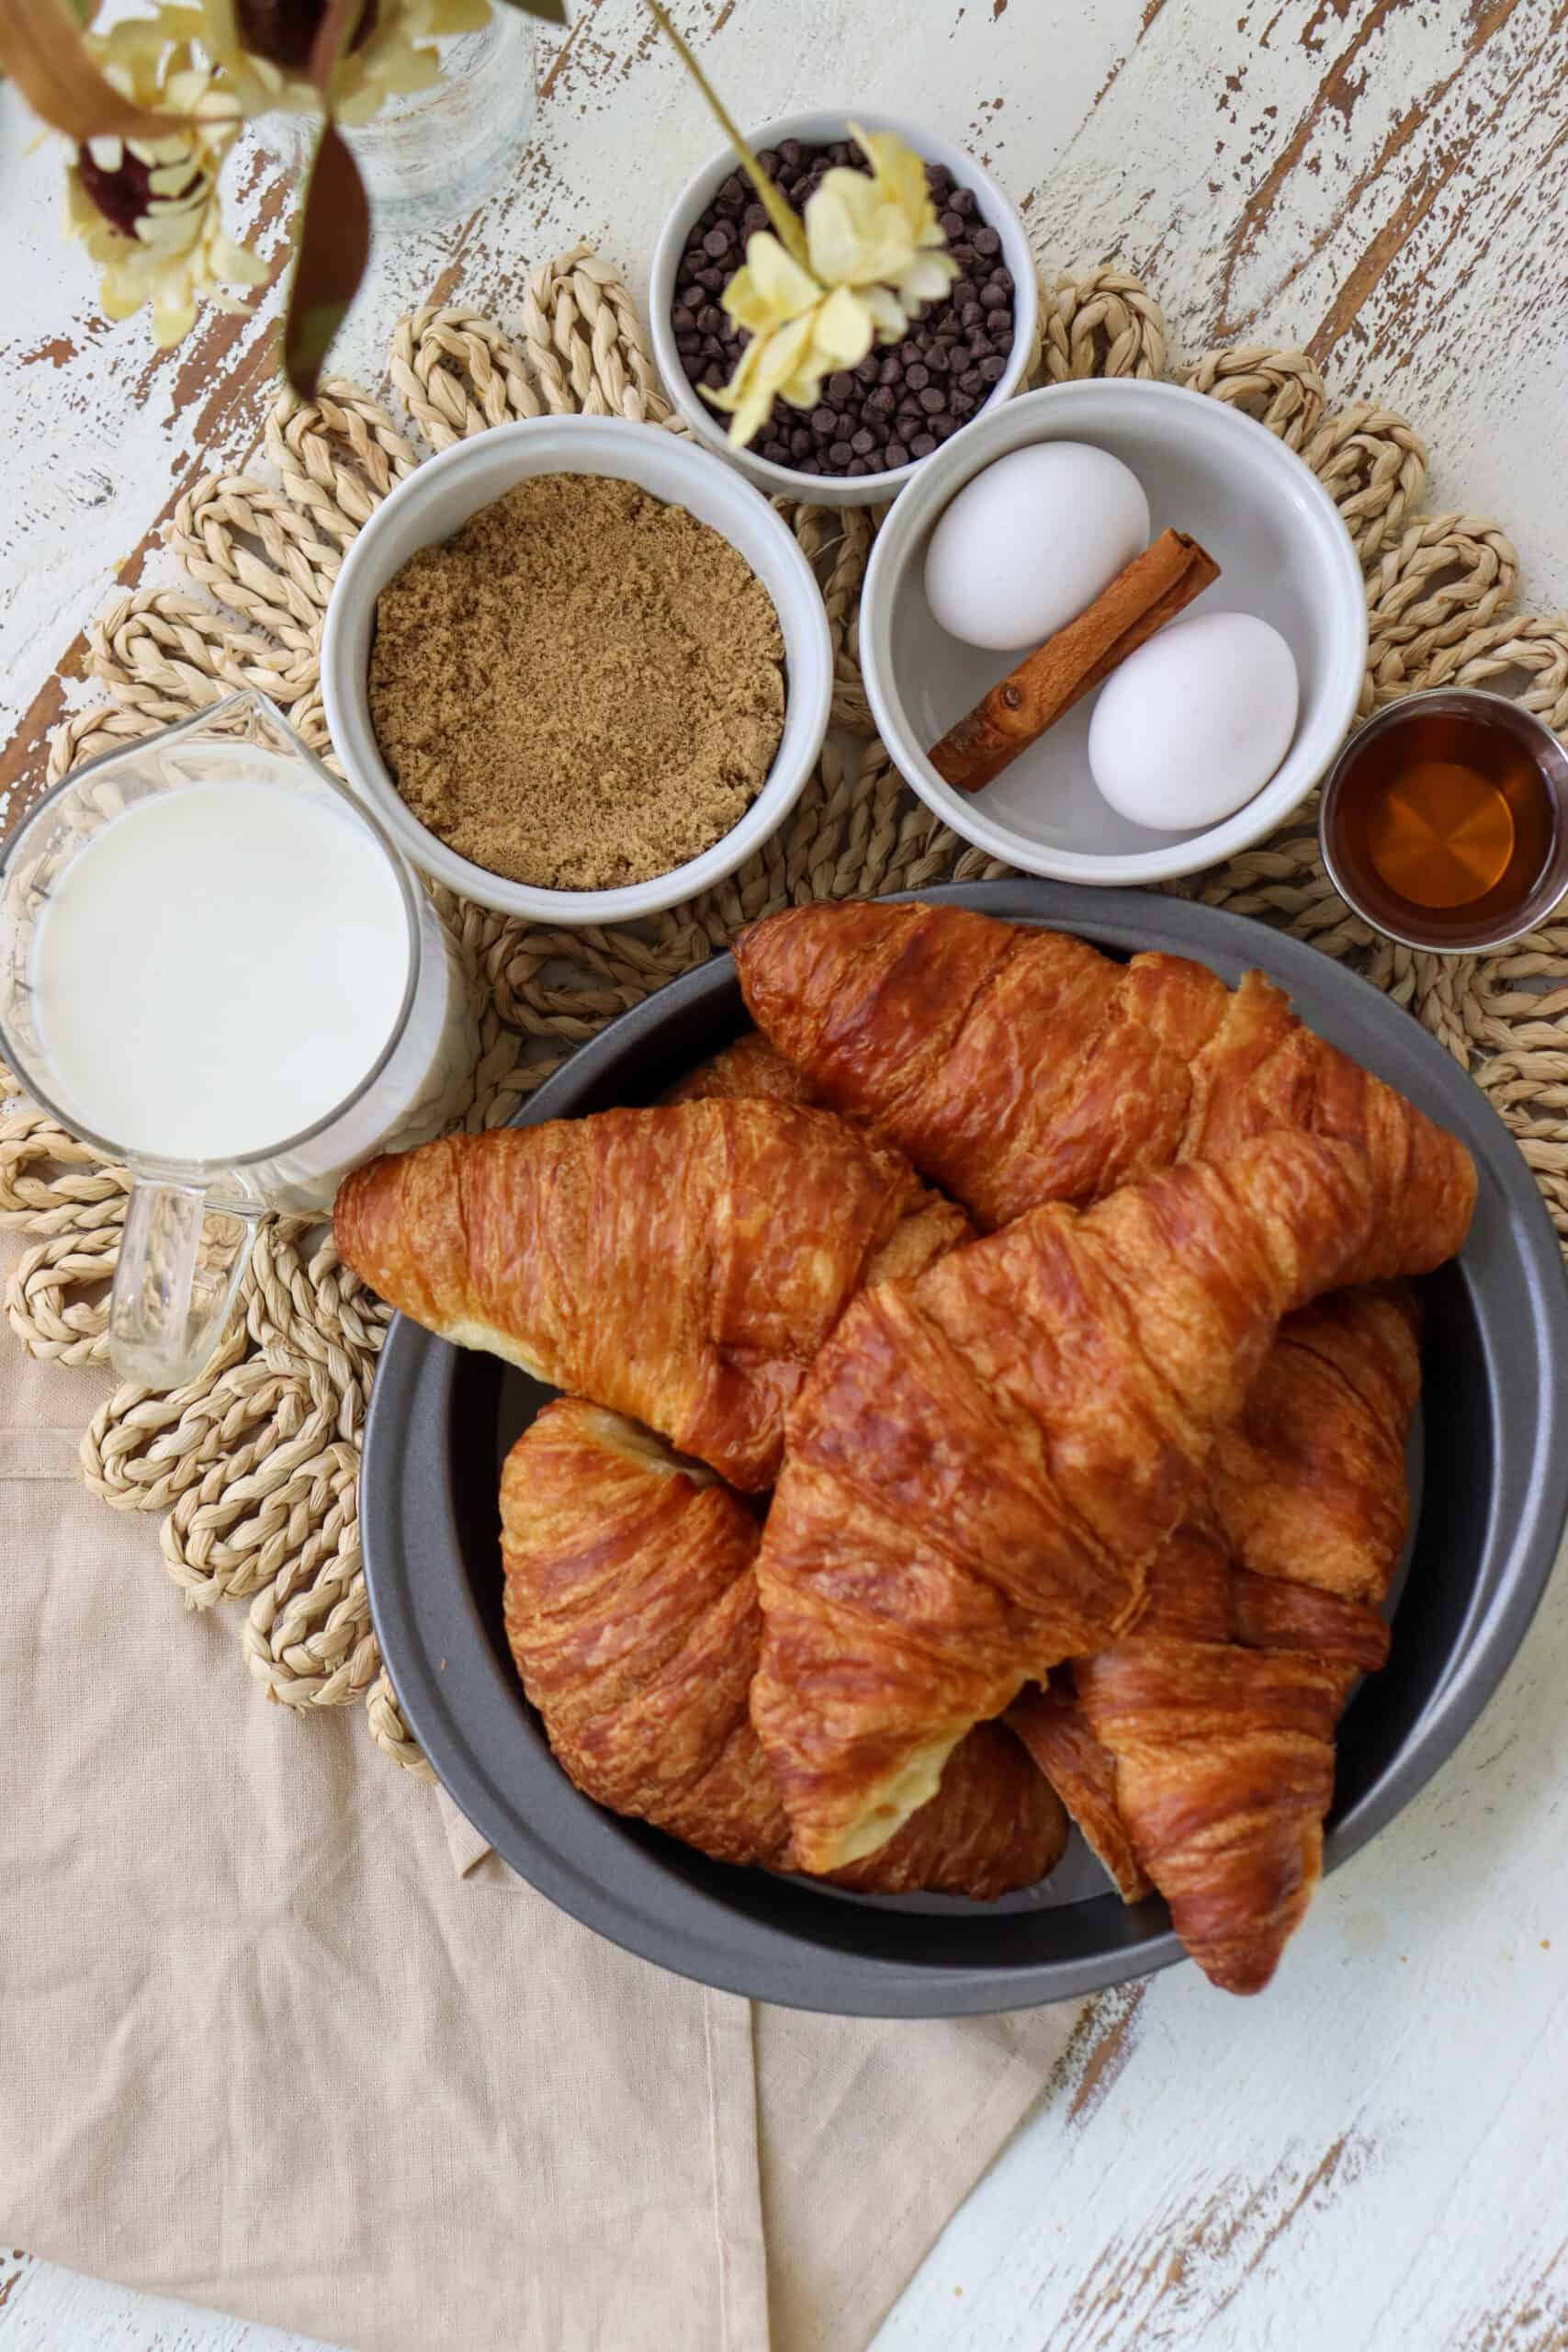
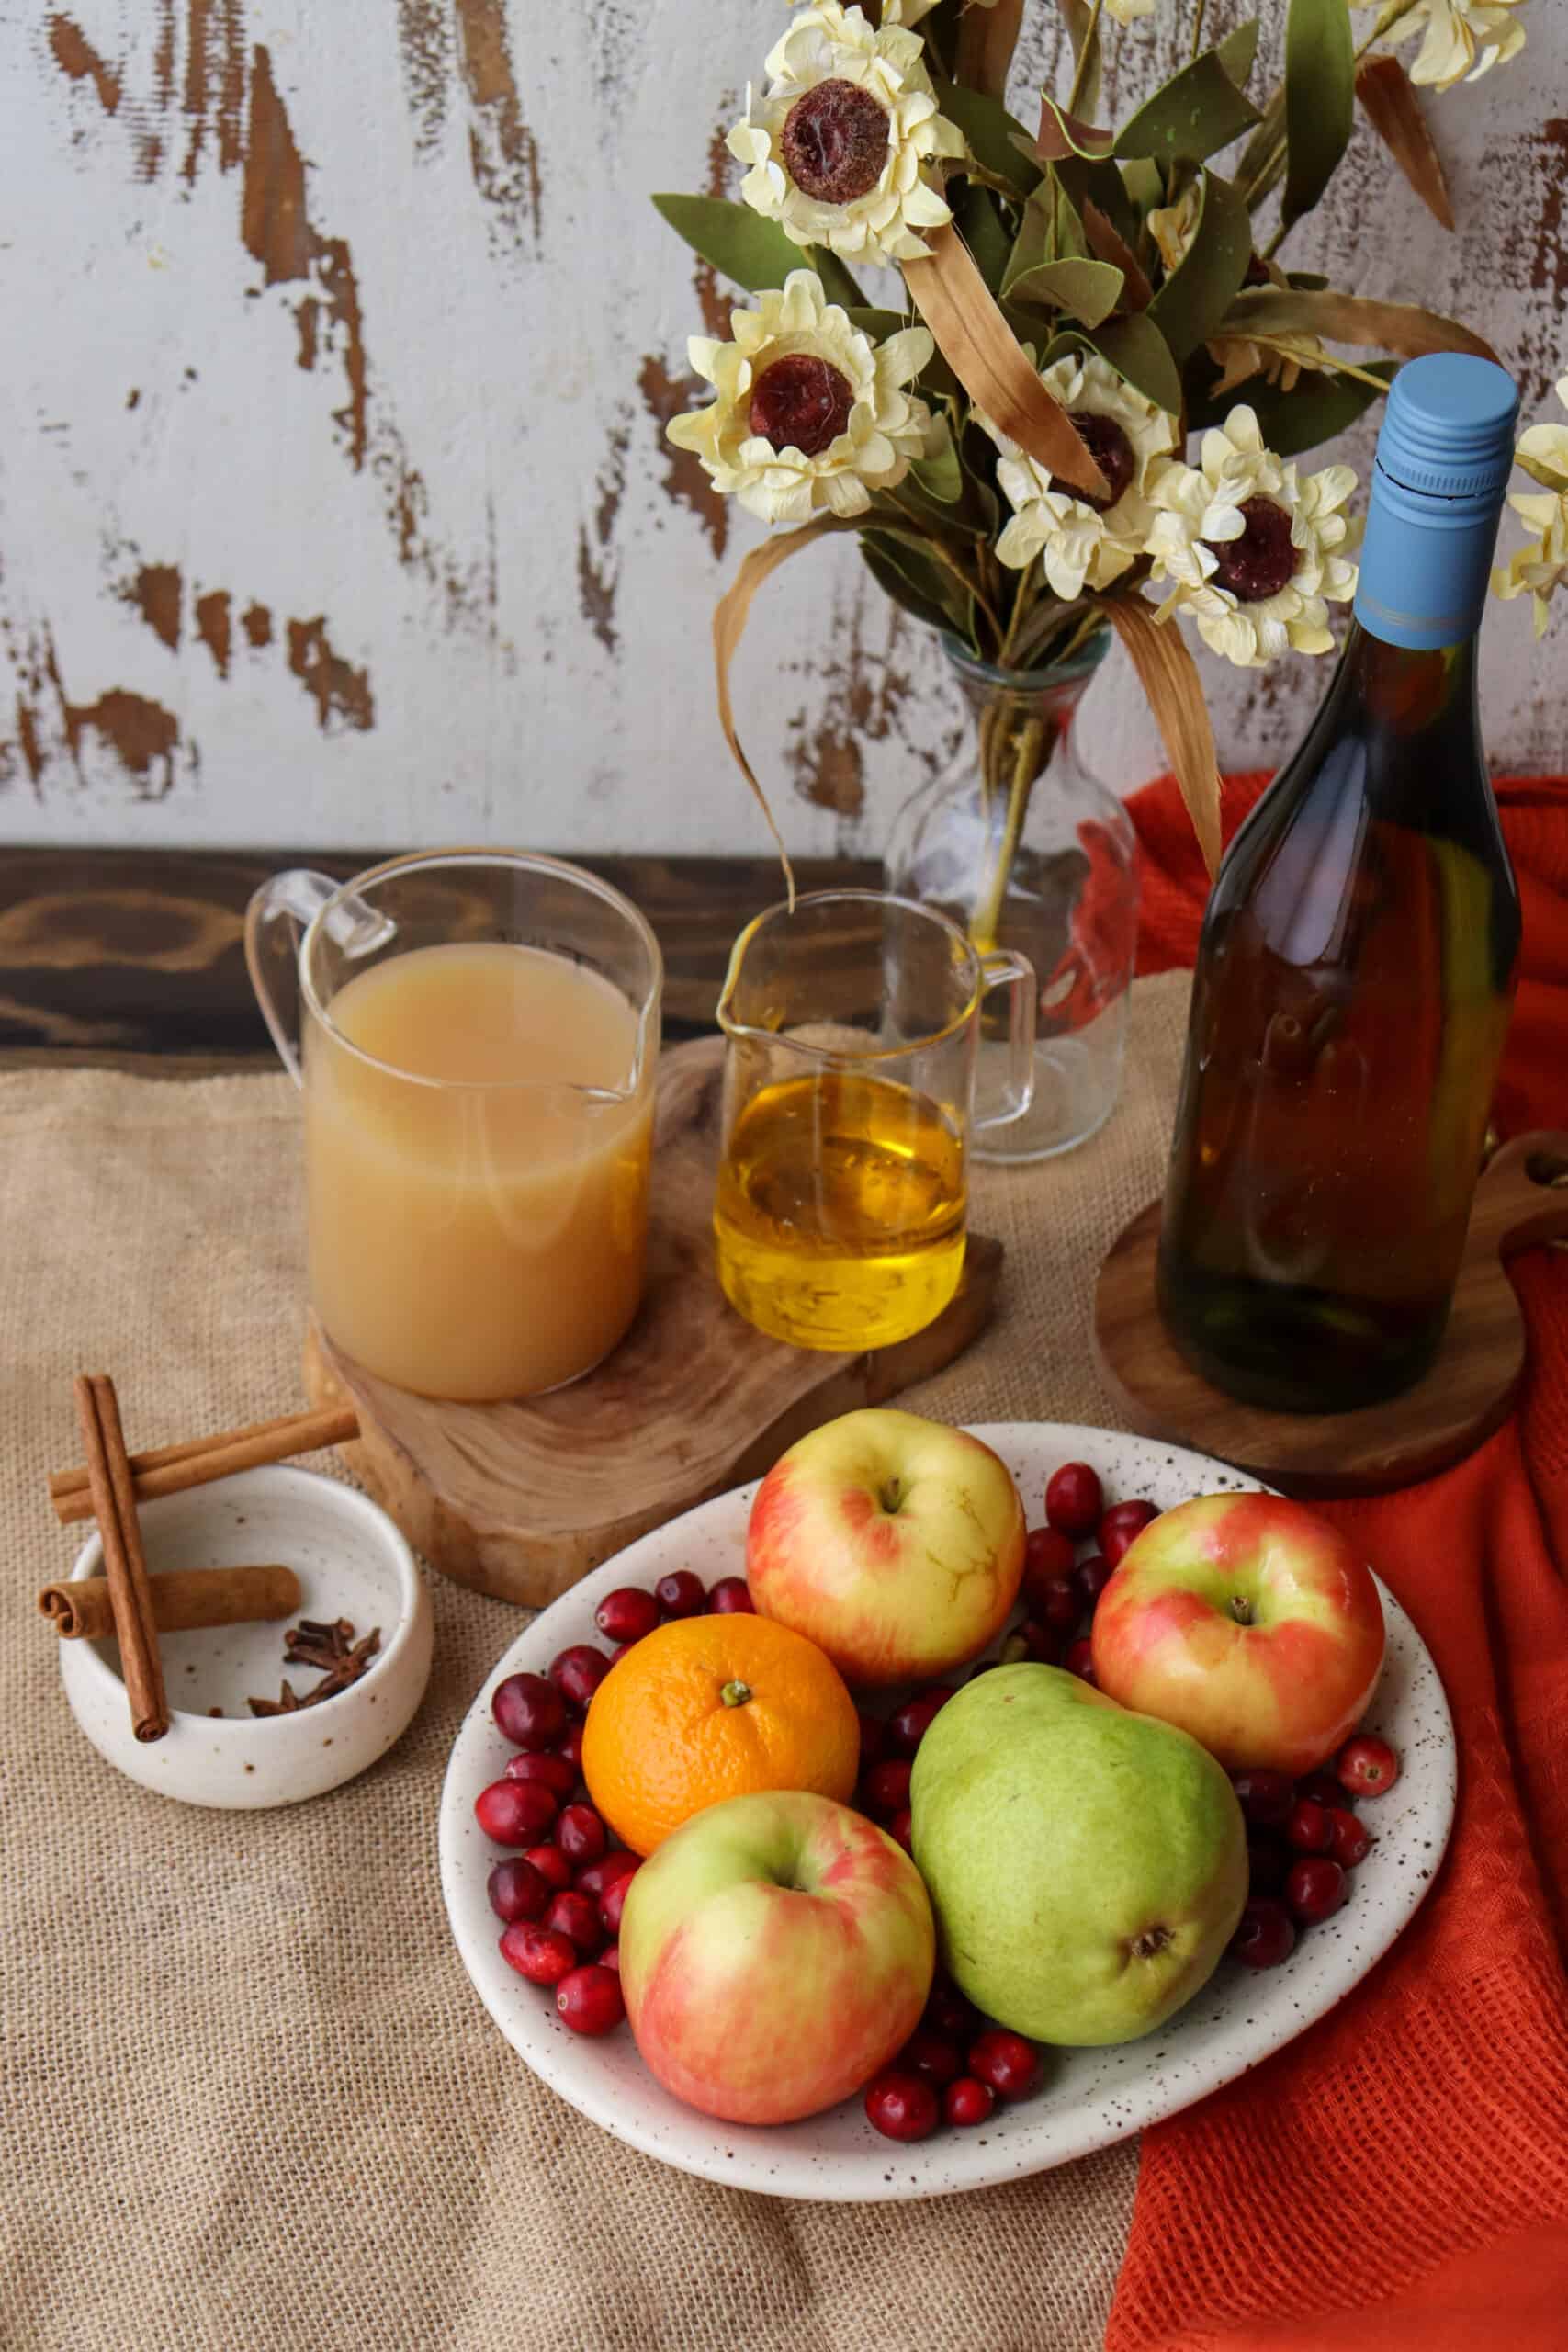
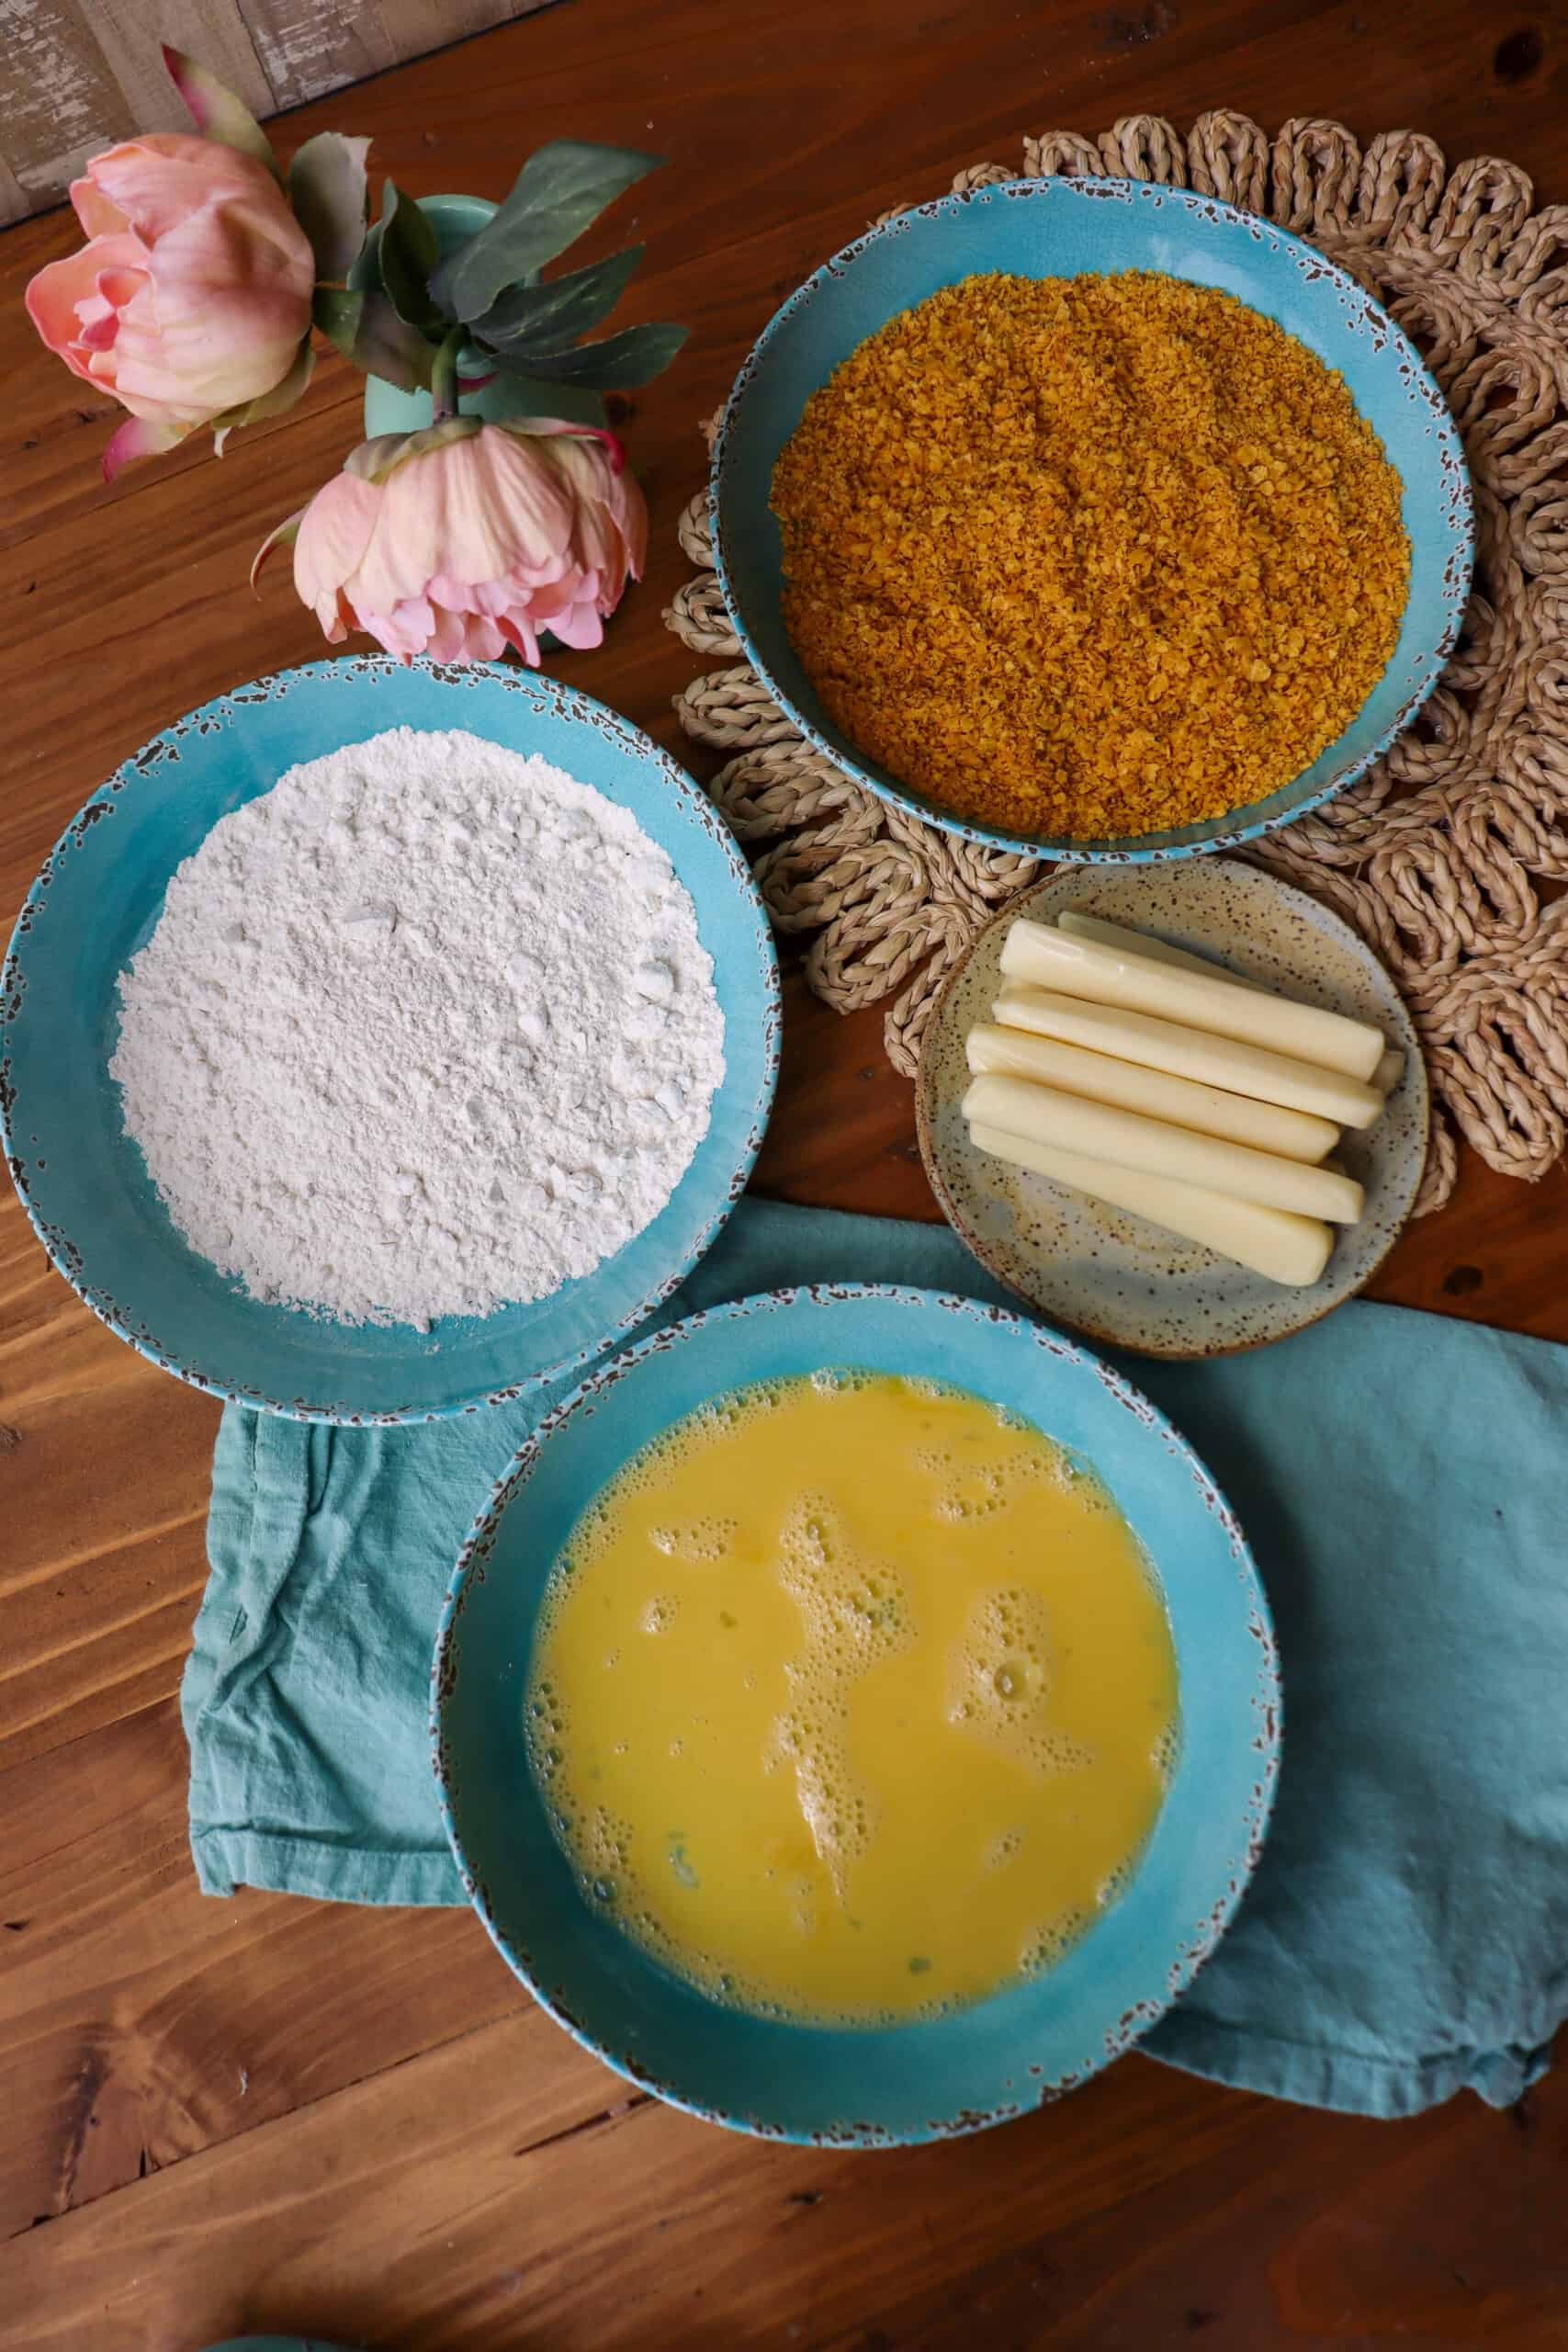
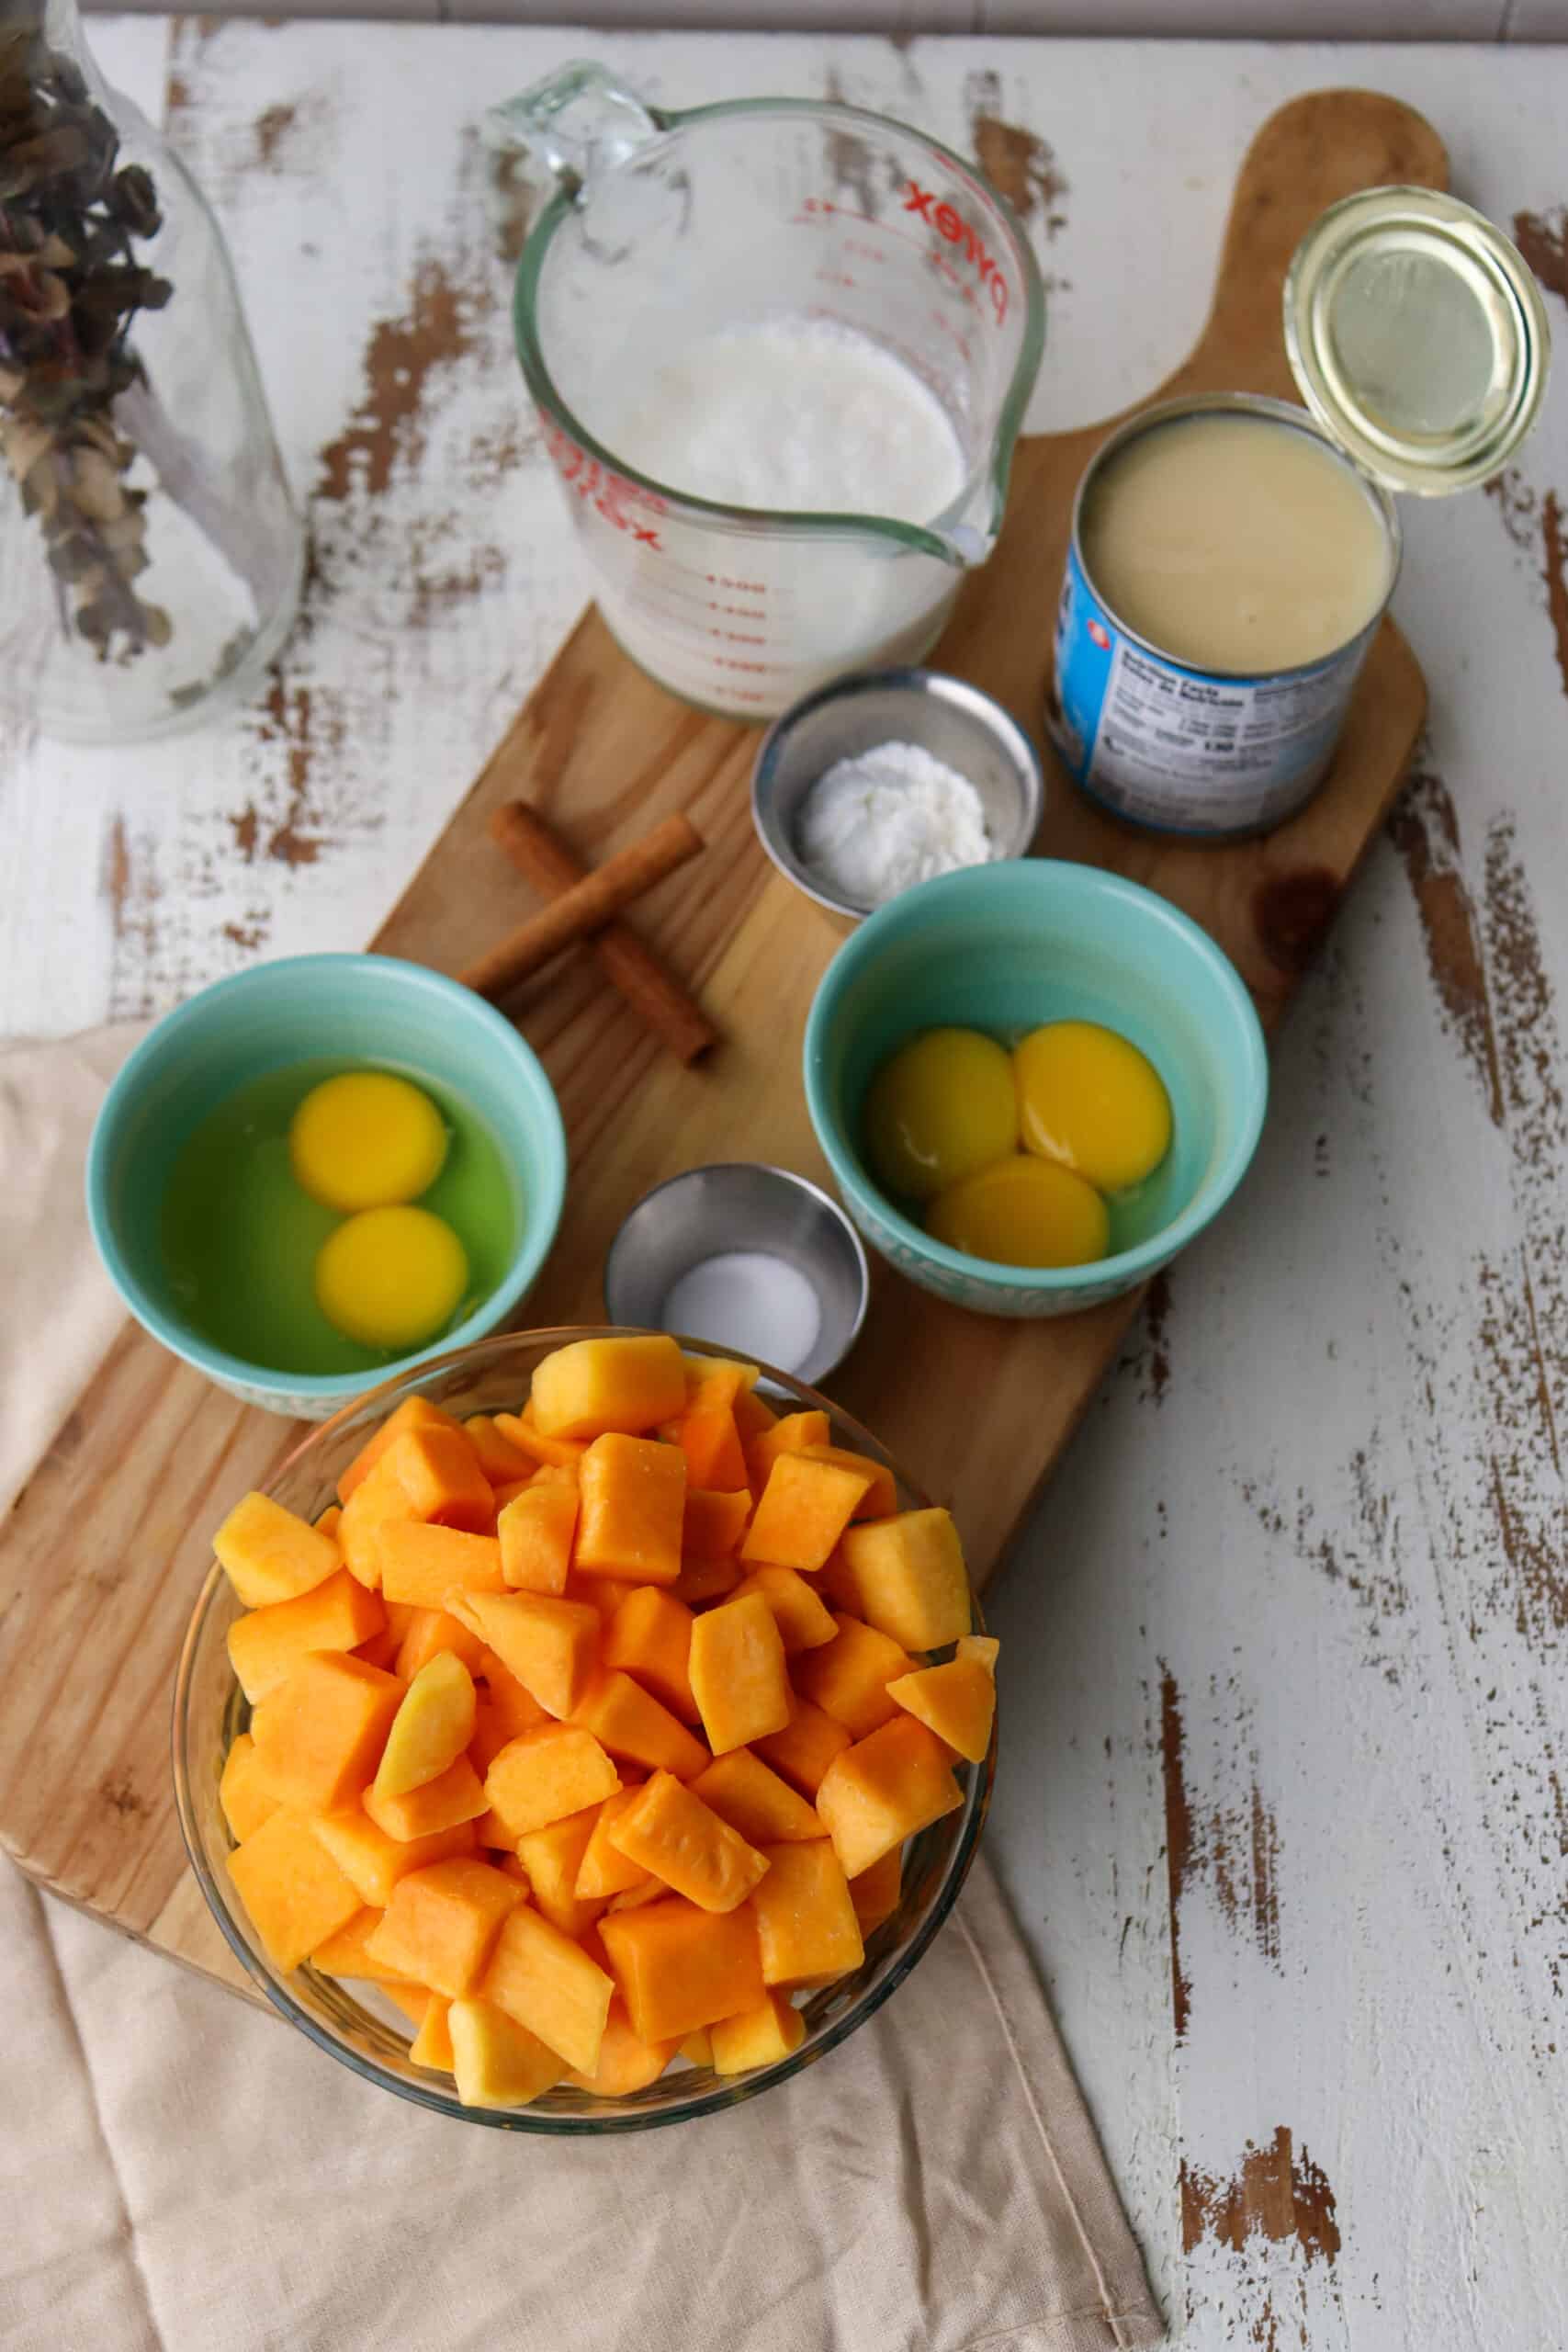
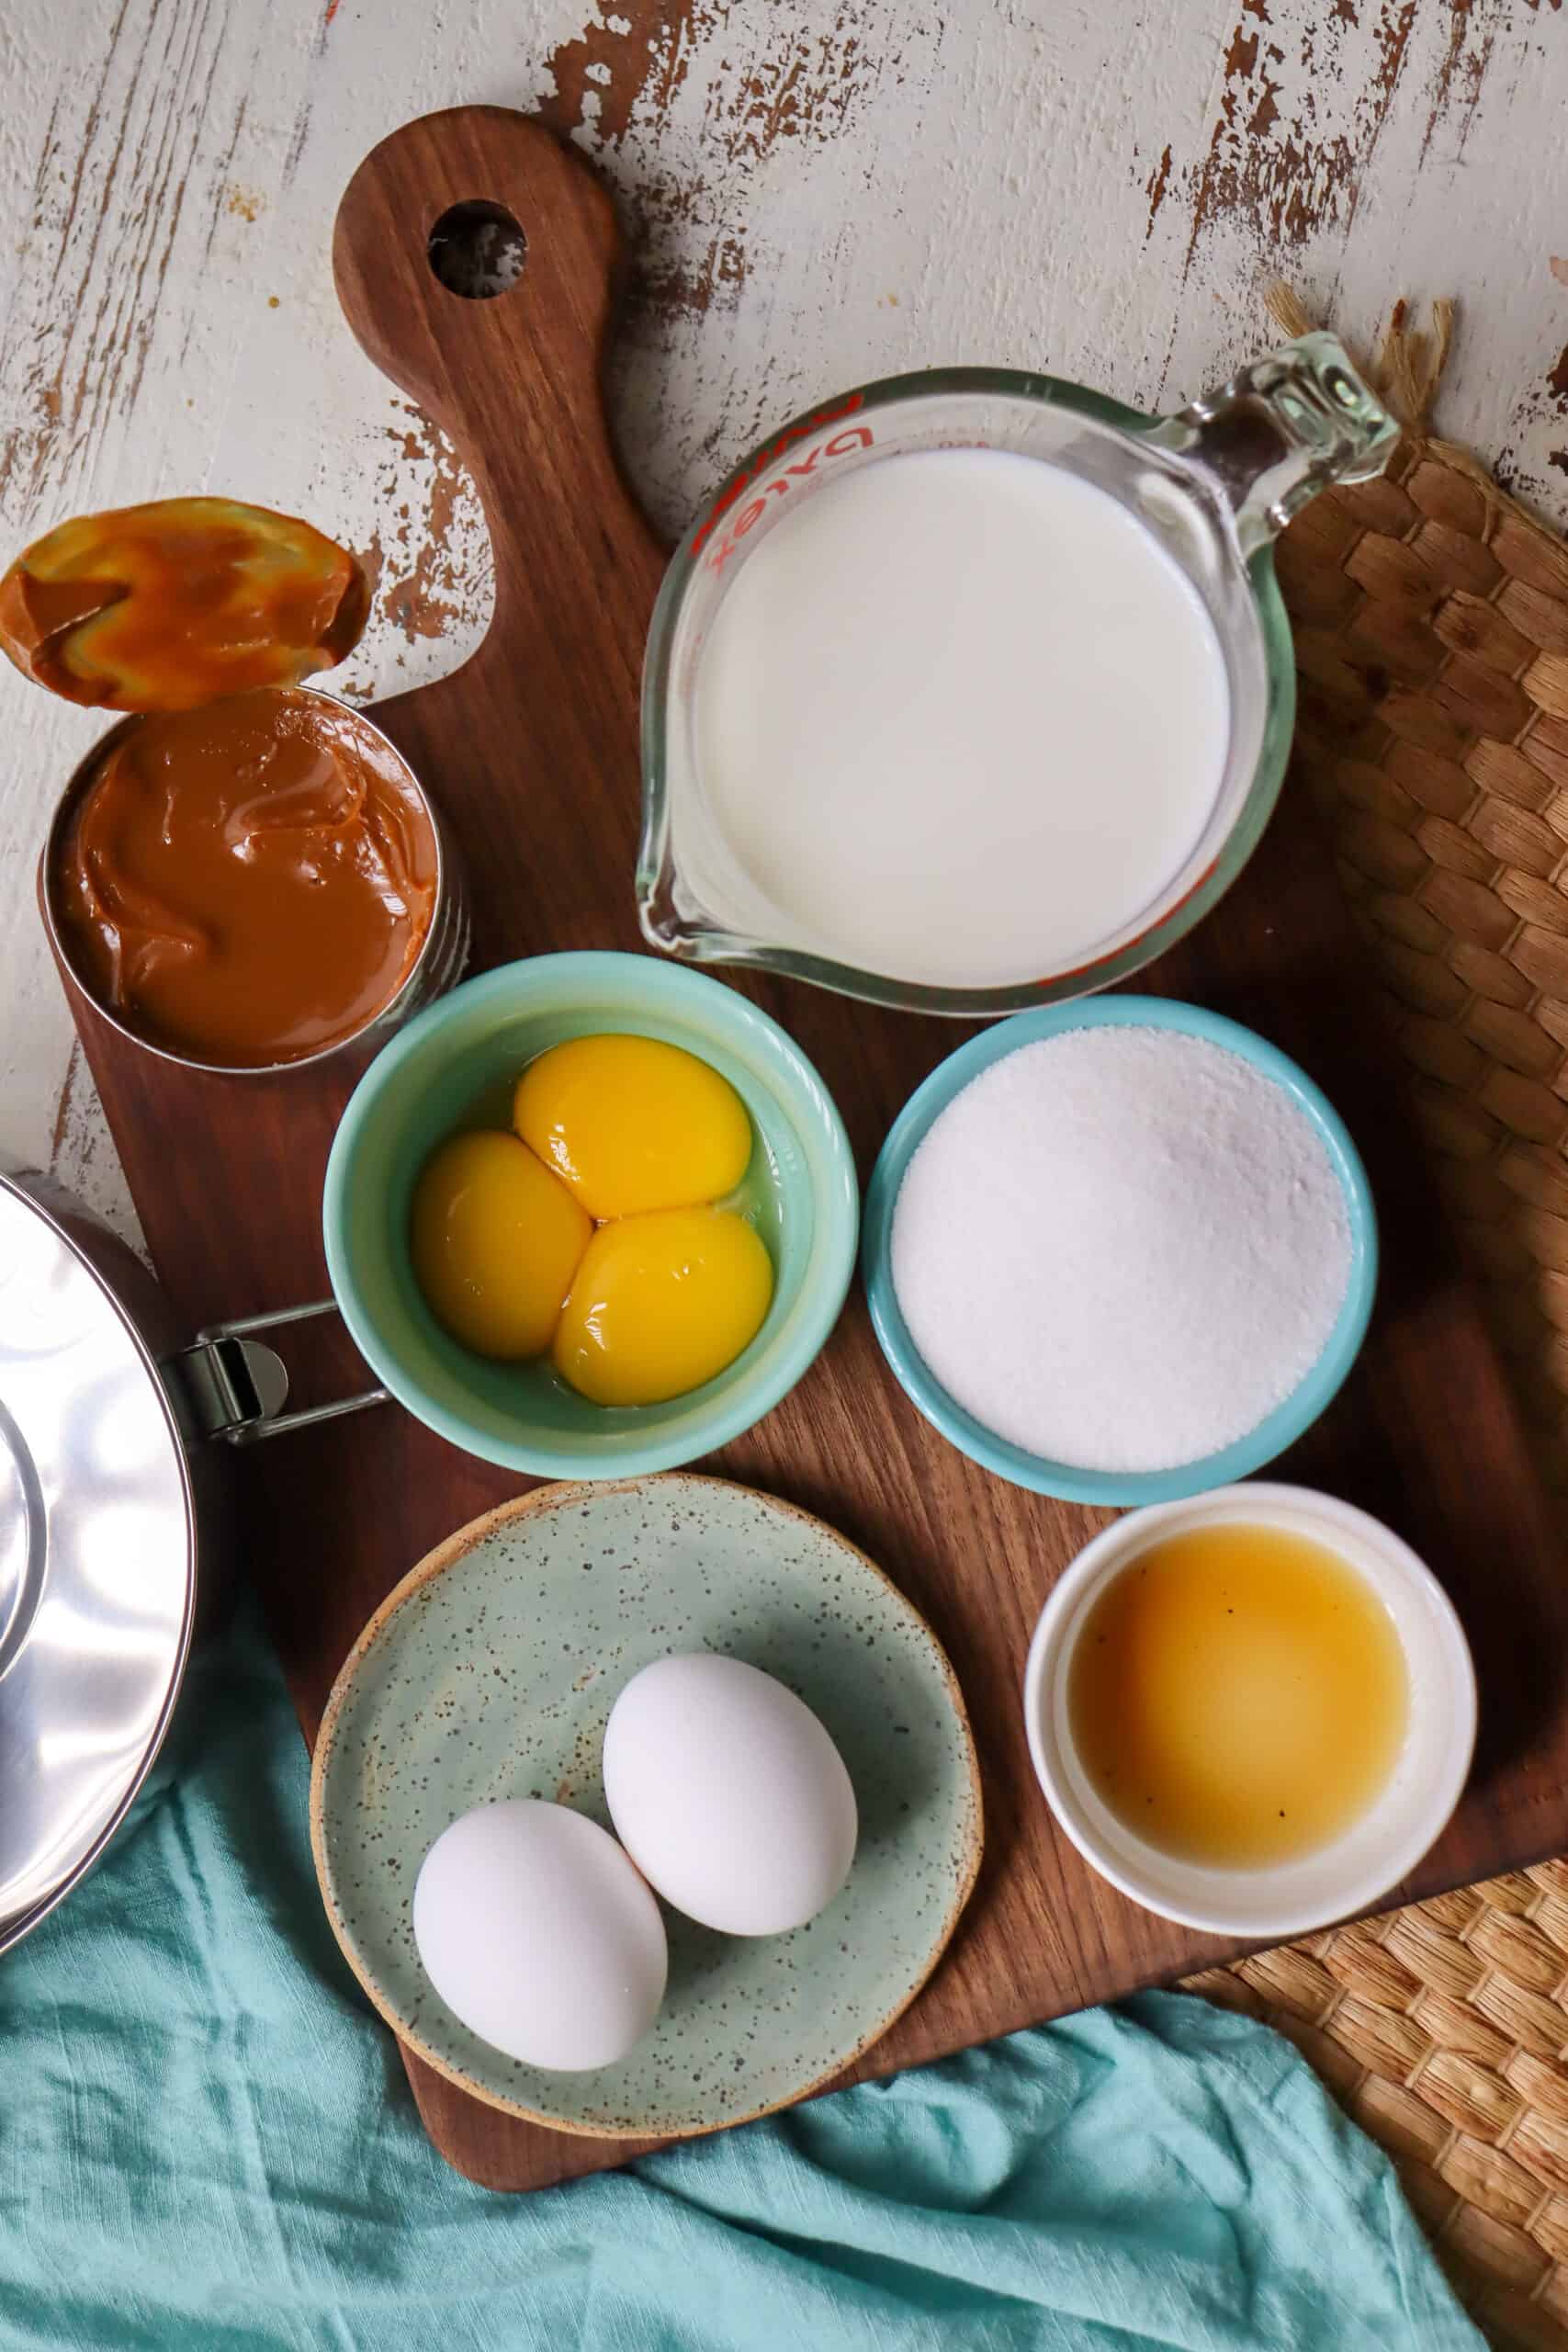
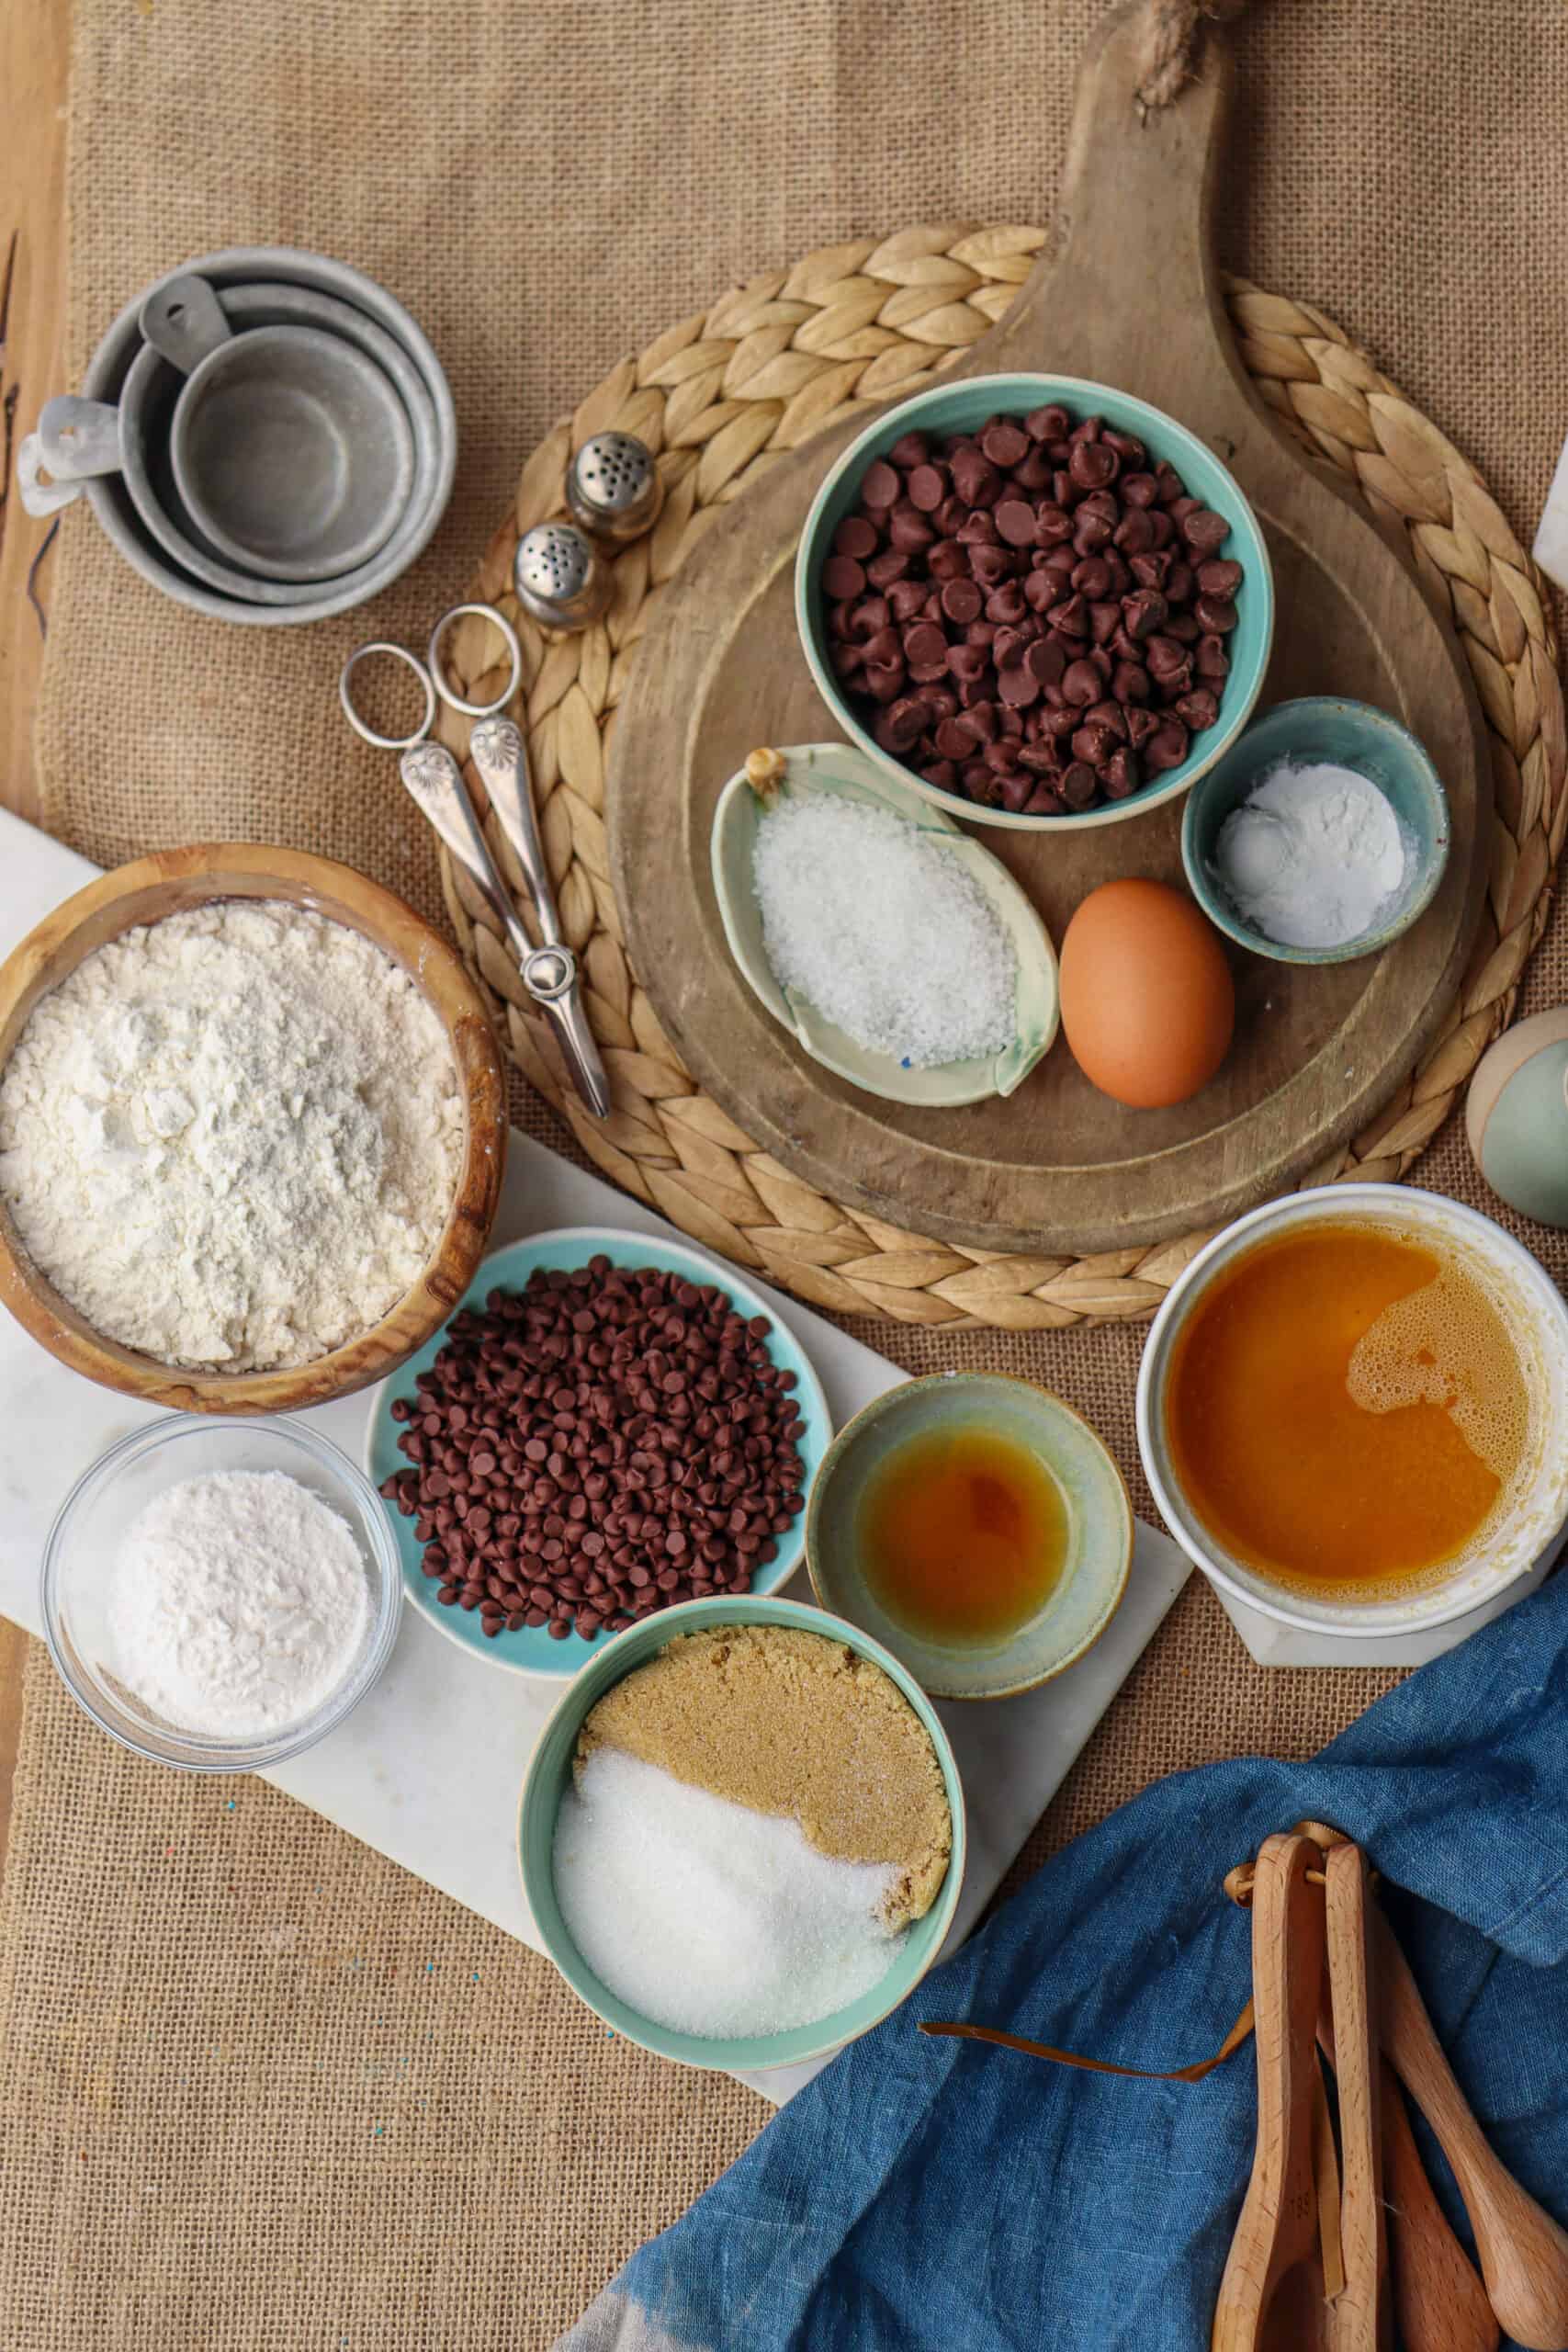
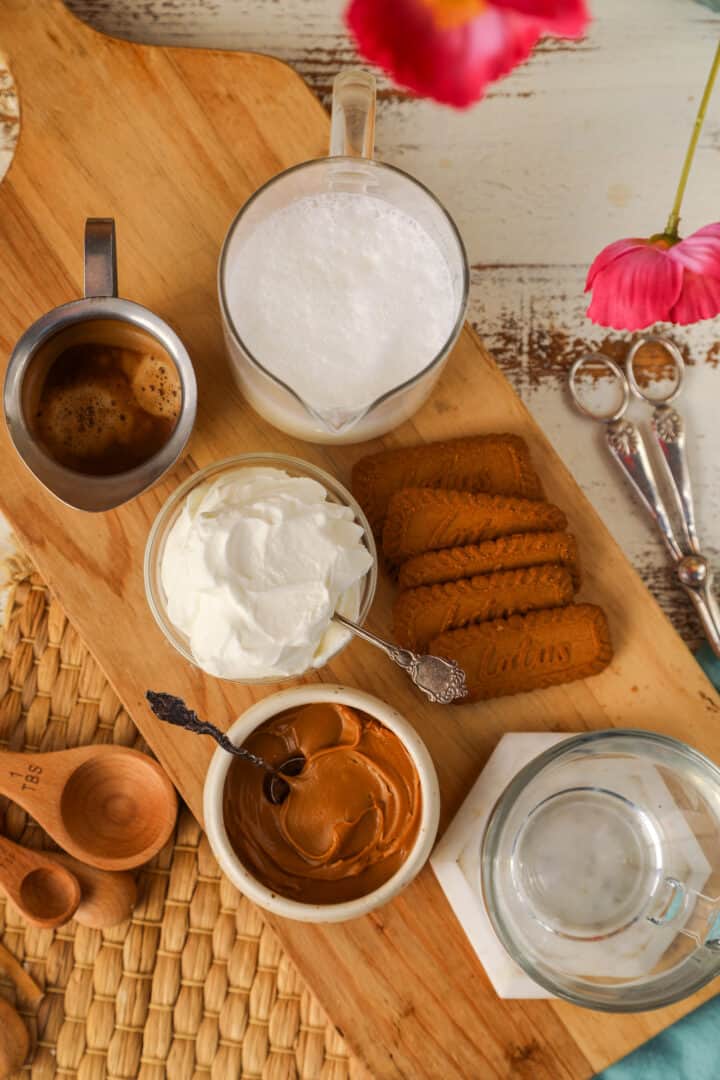
Ingredients needed for this classic churro recipe
- Water
- Salted butter
- Vanilla extract
- Salt
- All-purpose flour
- Eggs
- Sugar
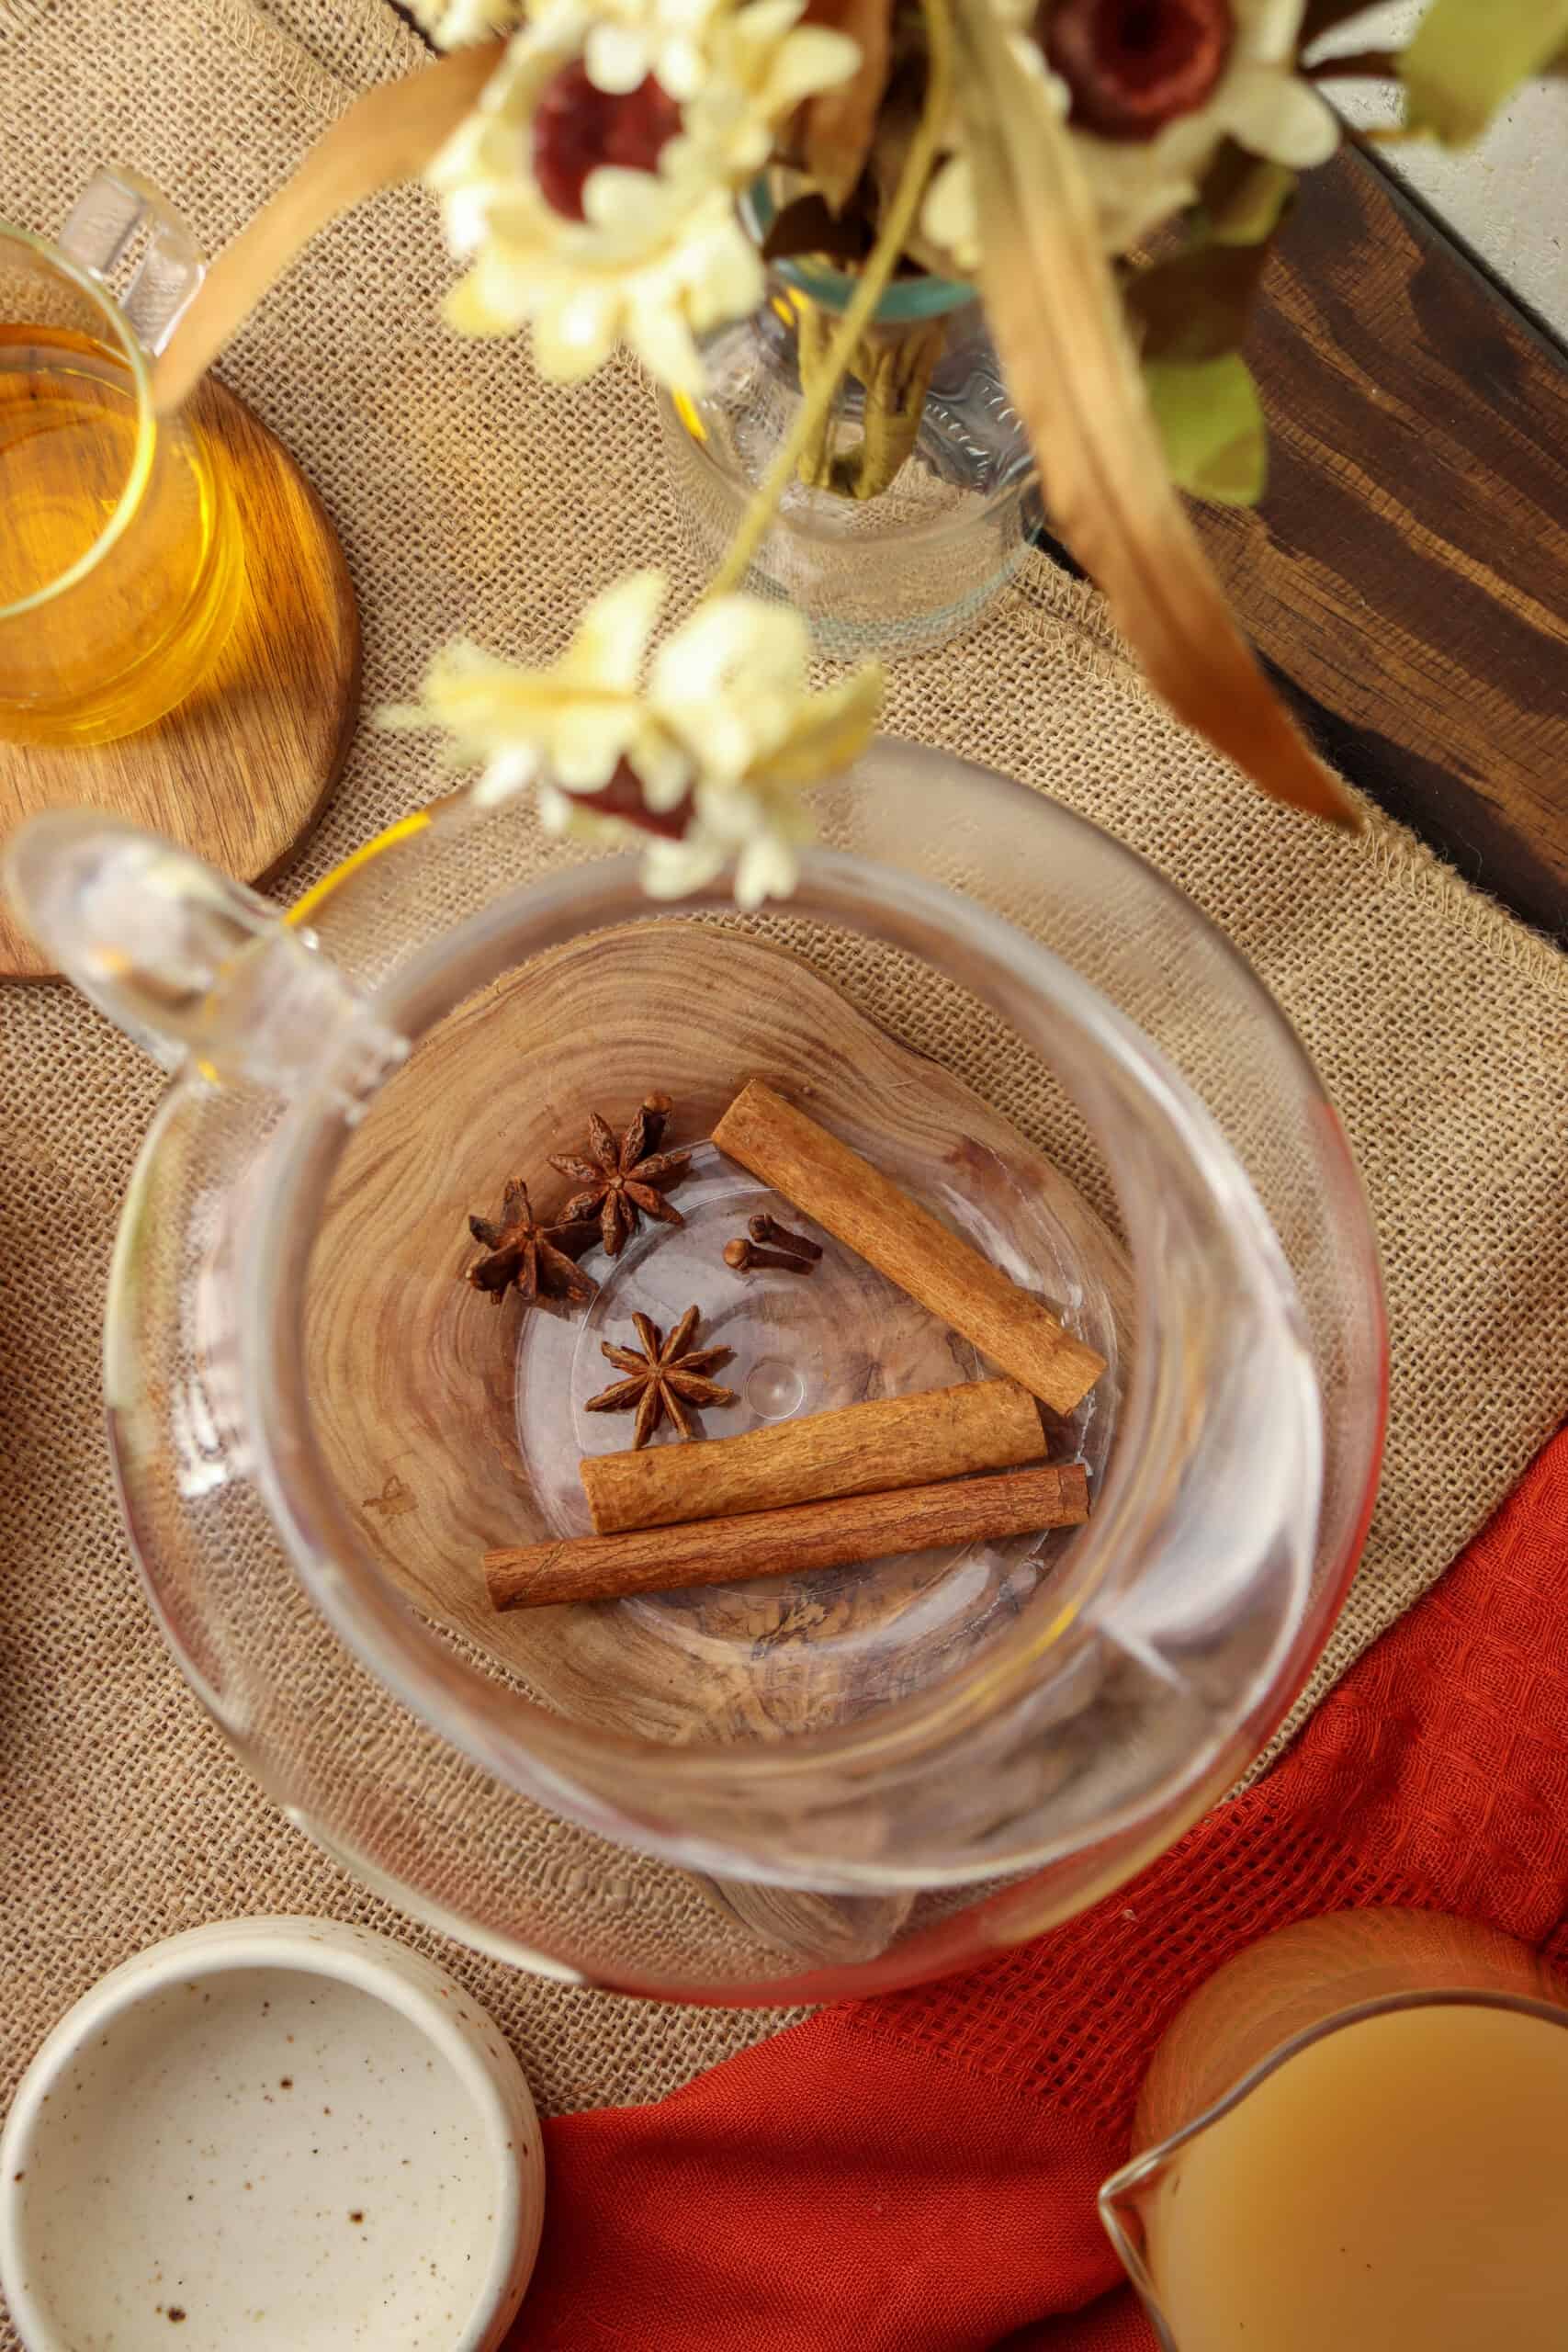
- Cinnamon
- Oil for frying
Instructions to make these original churros
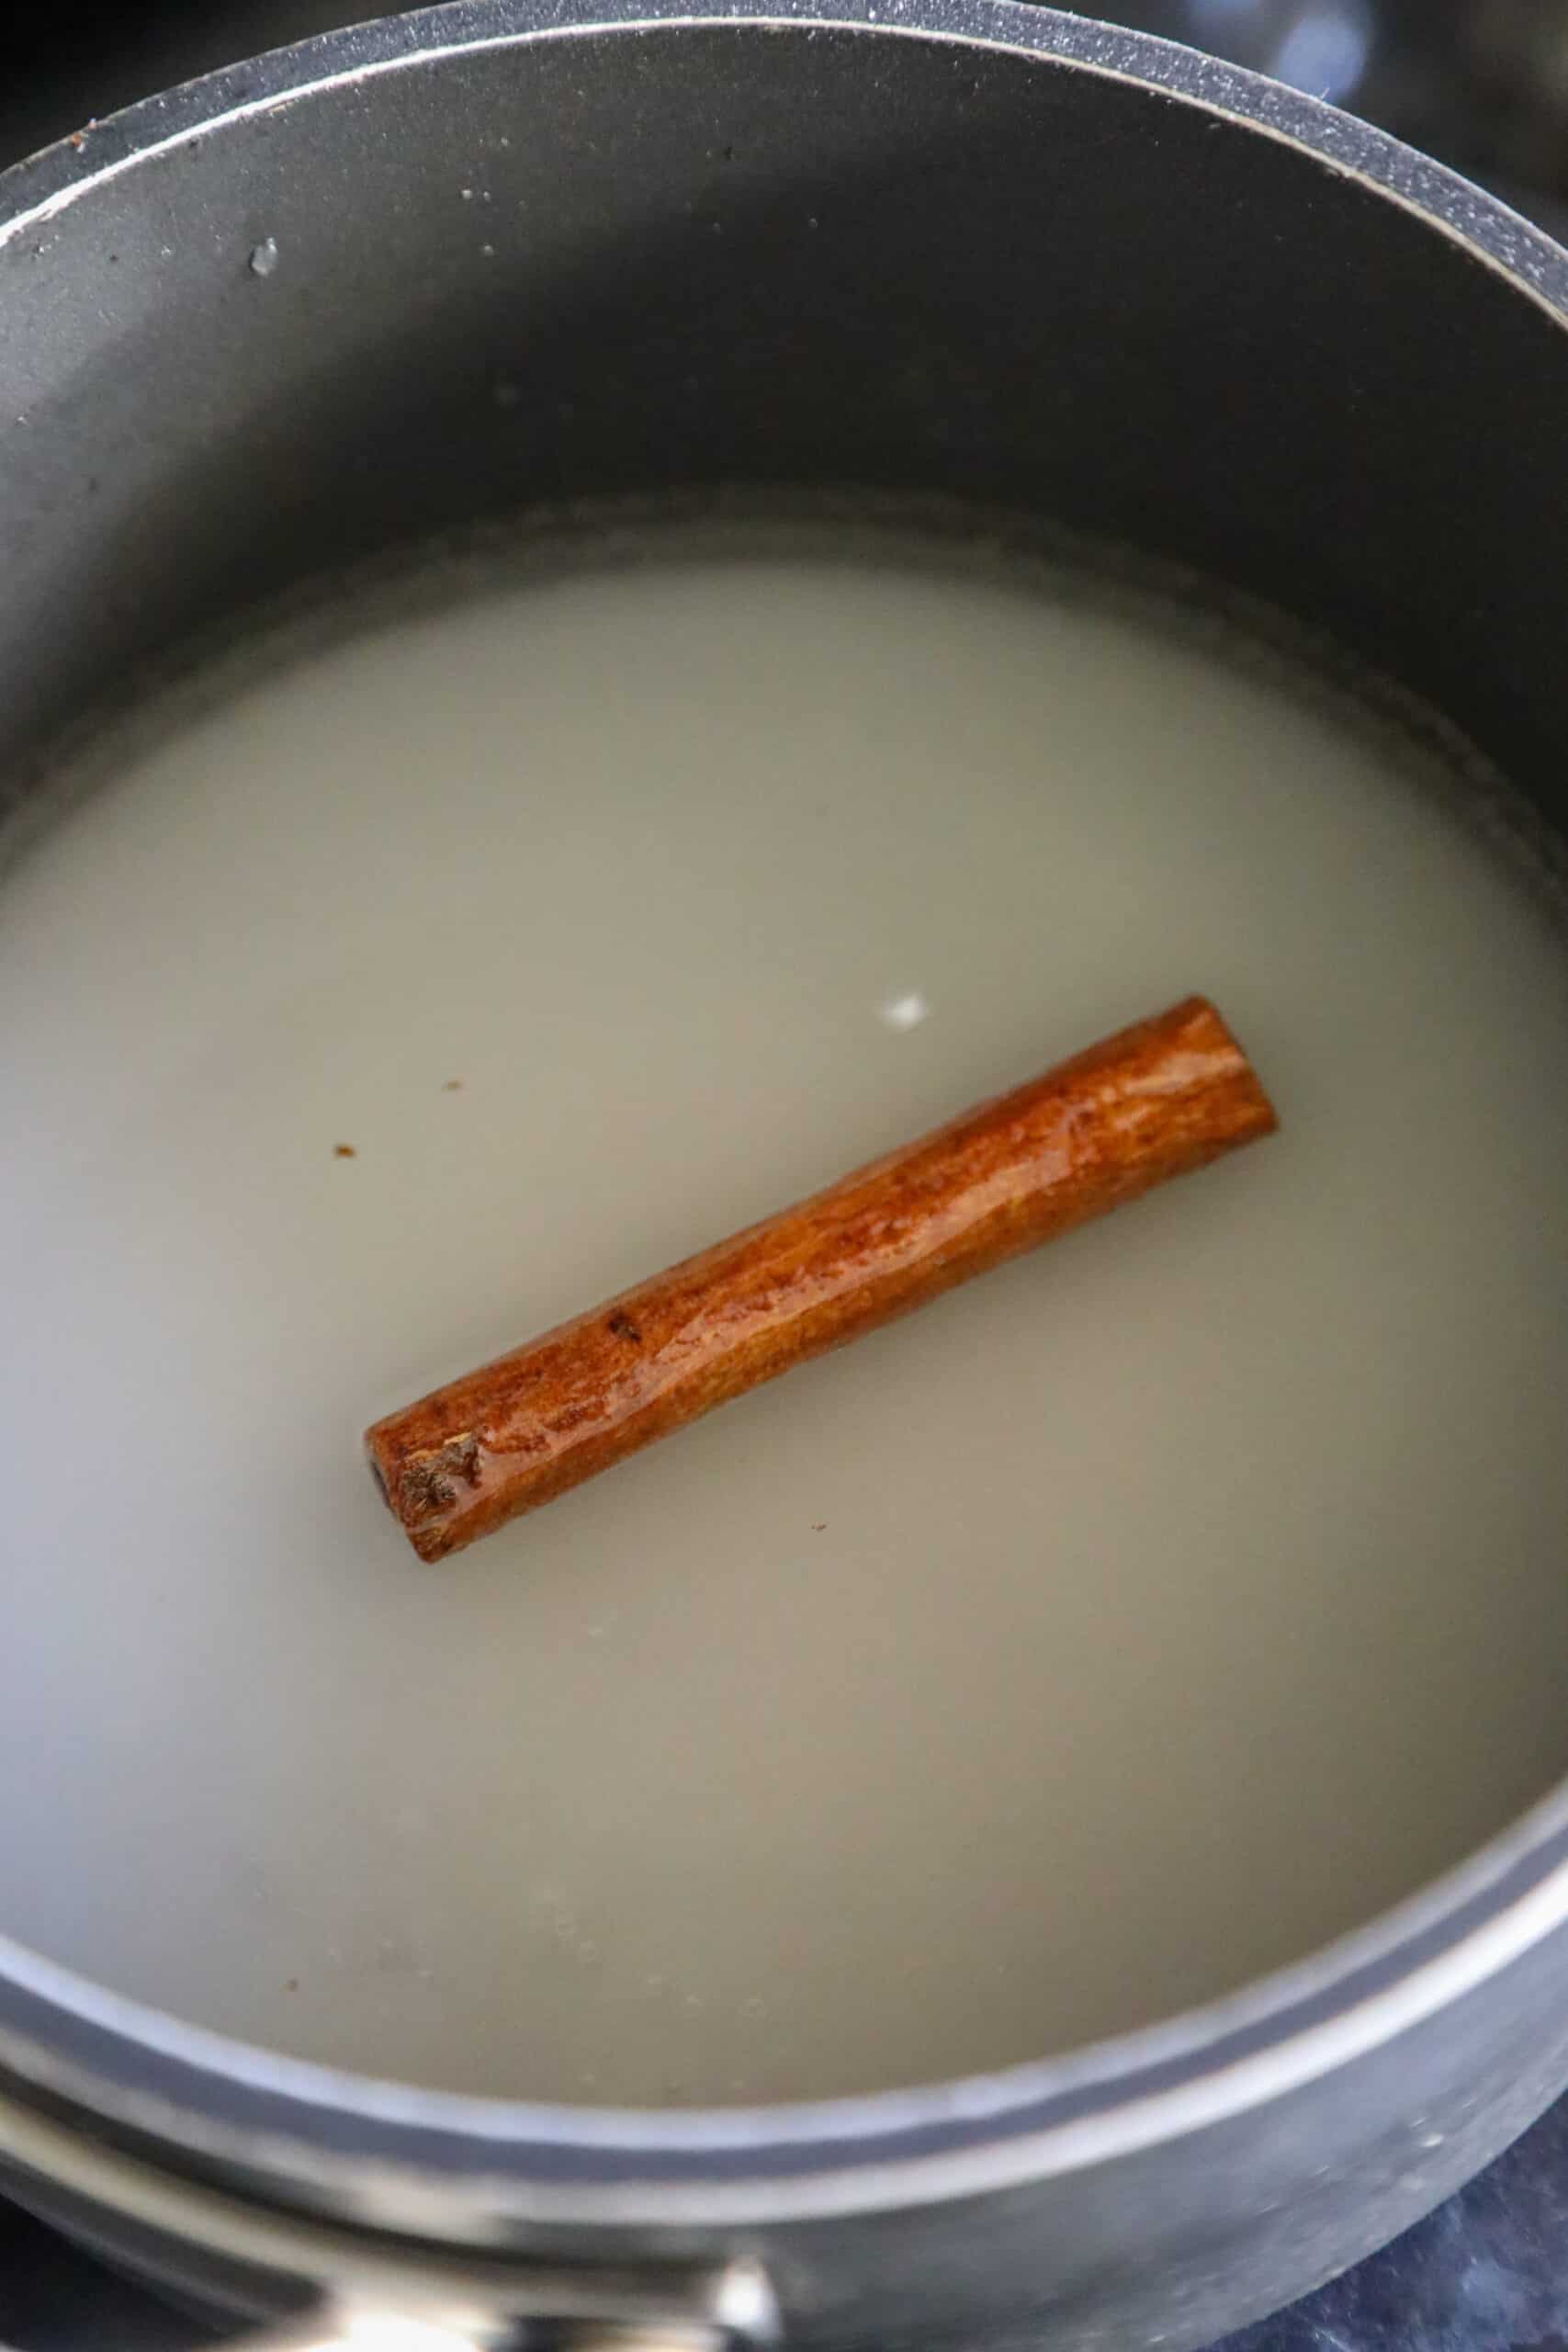
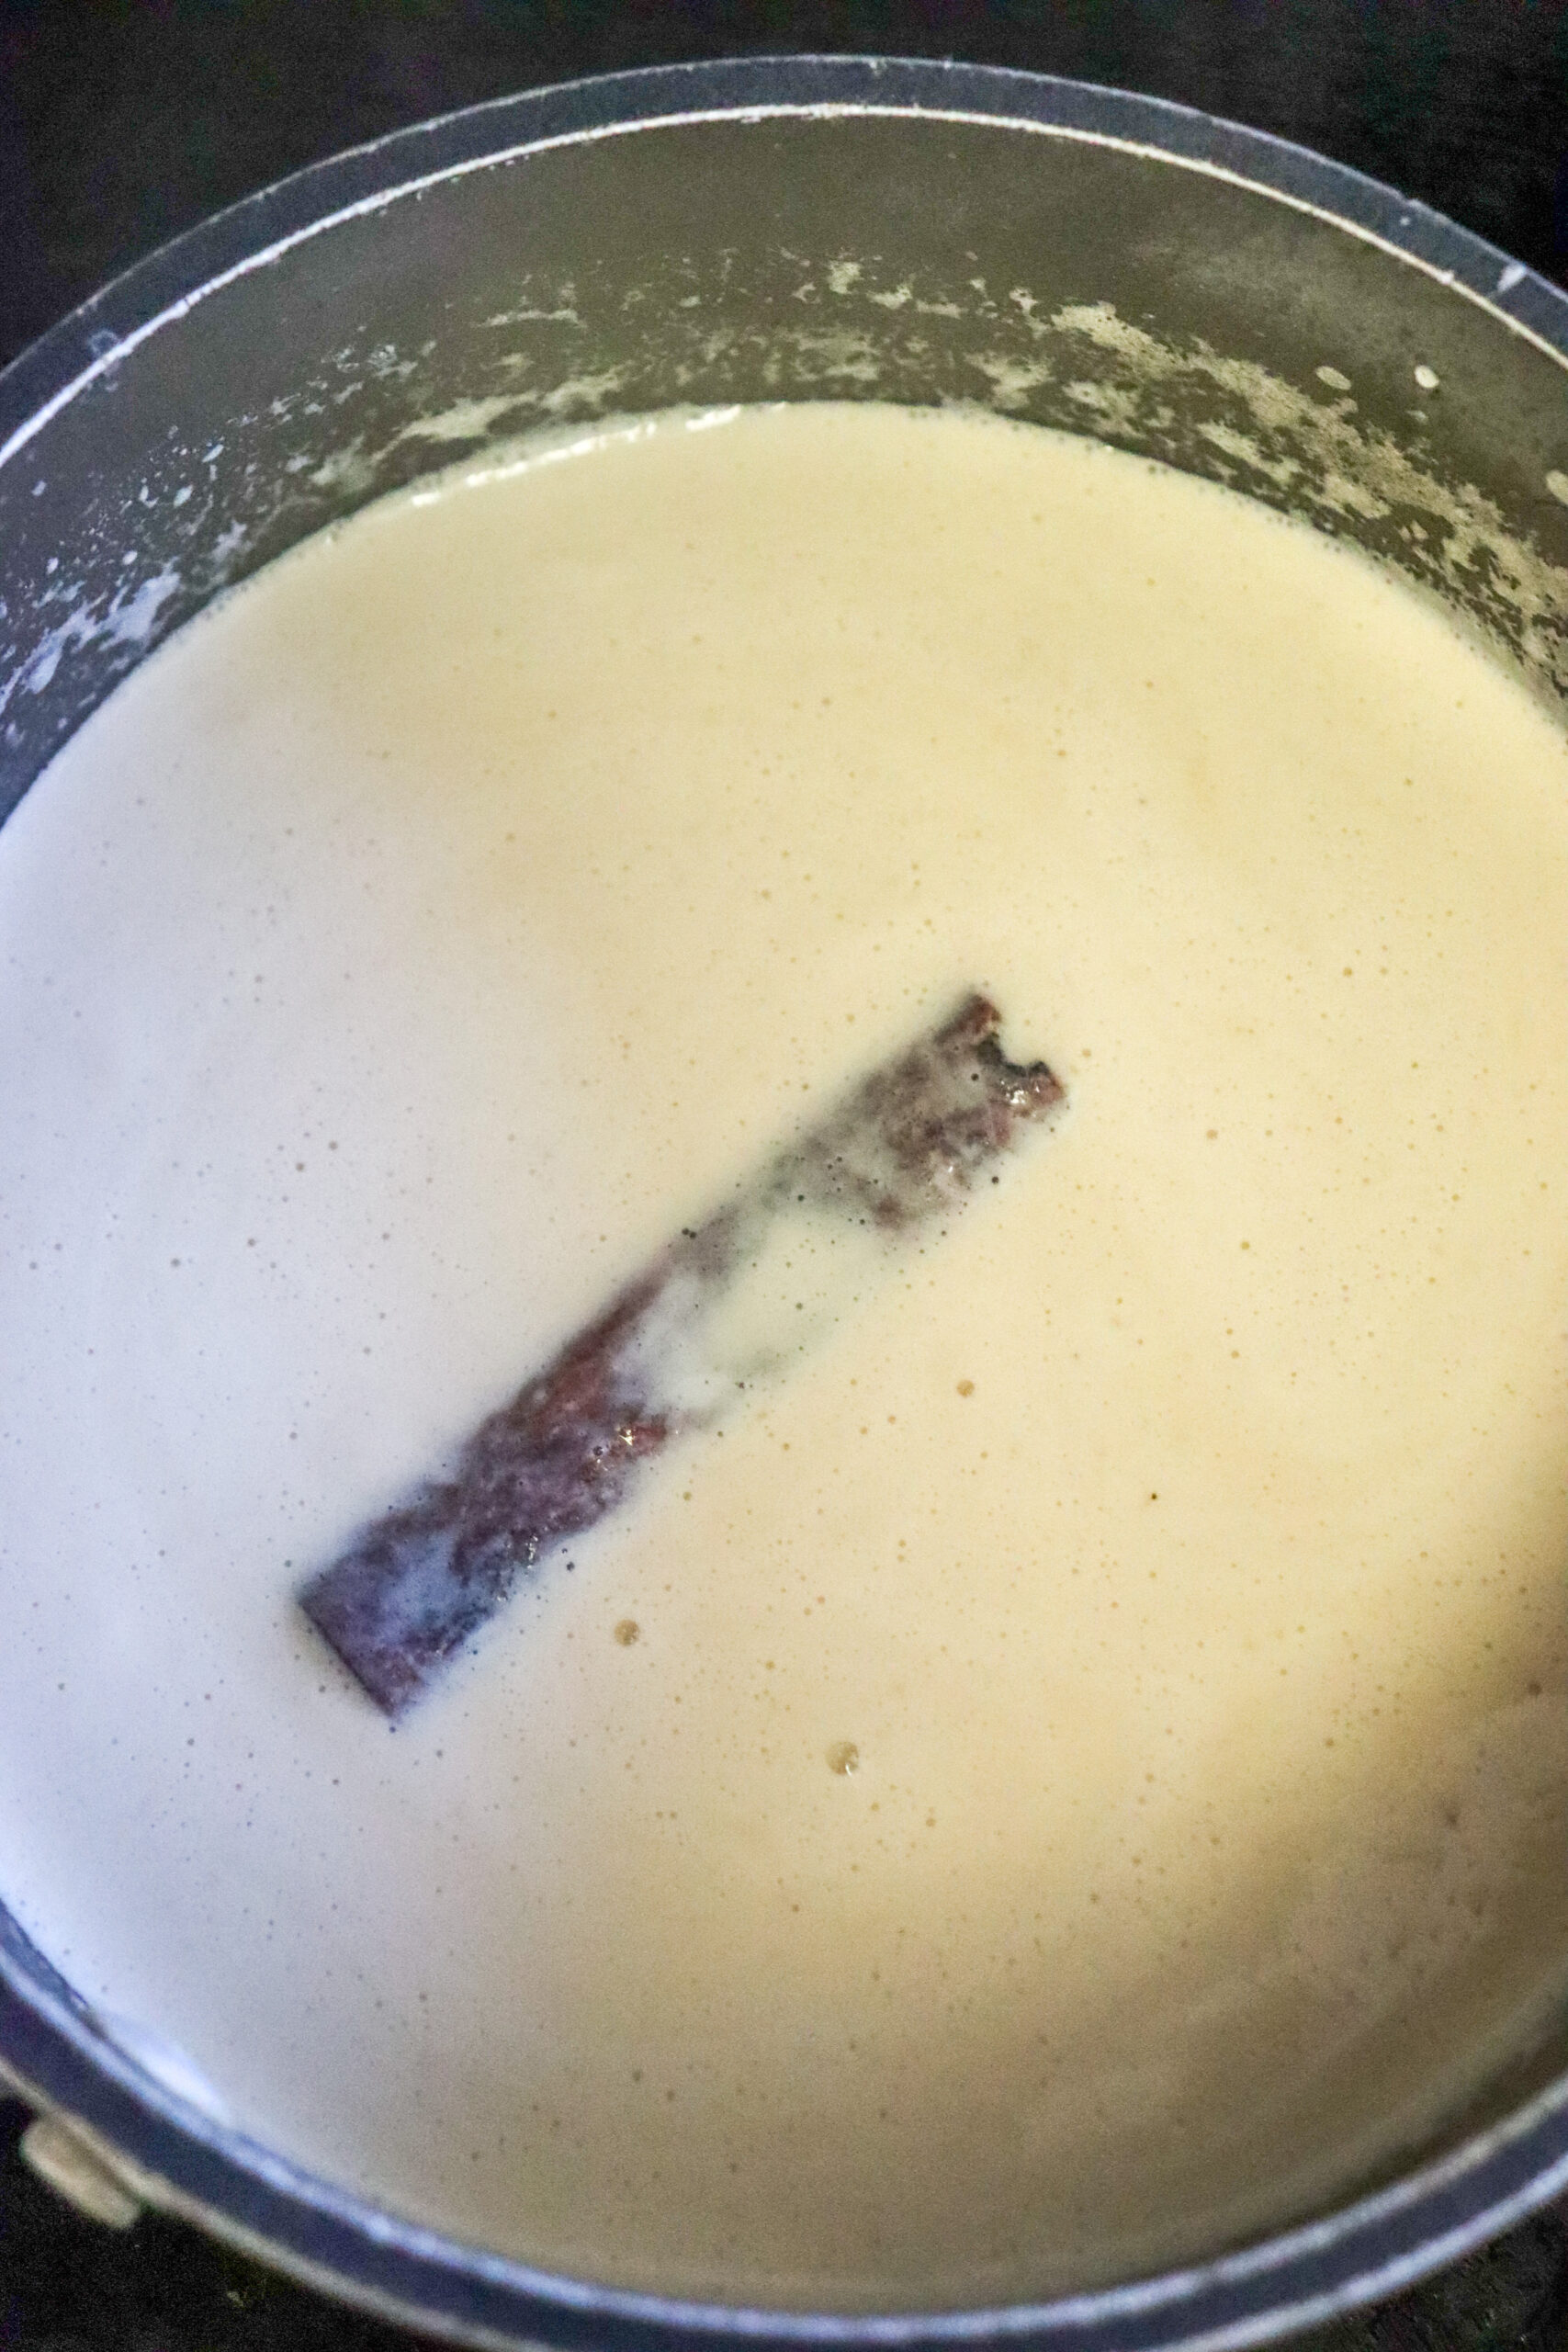
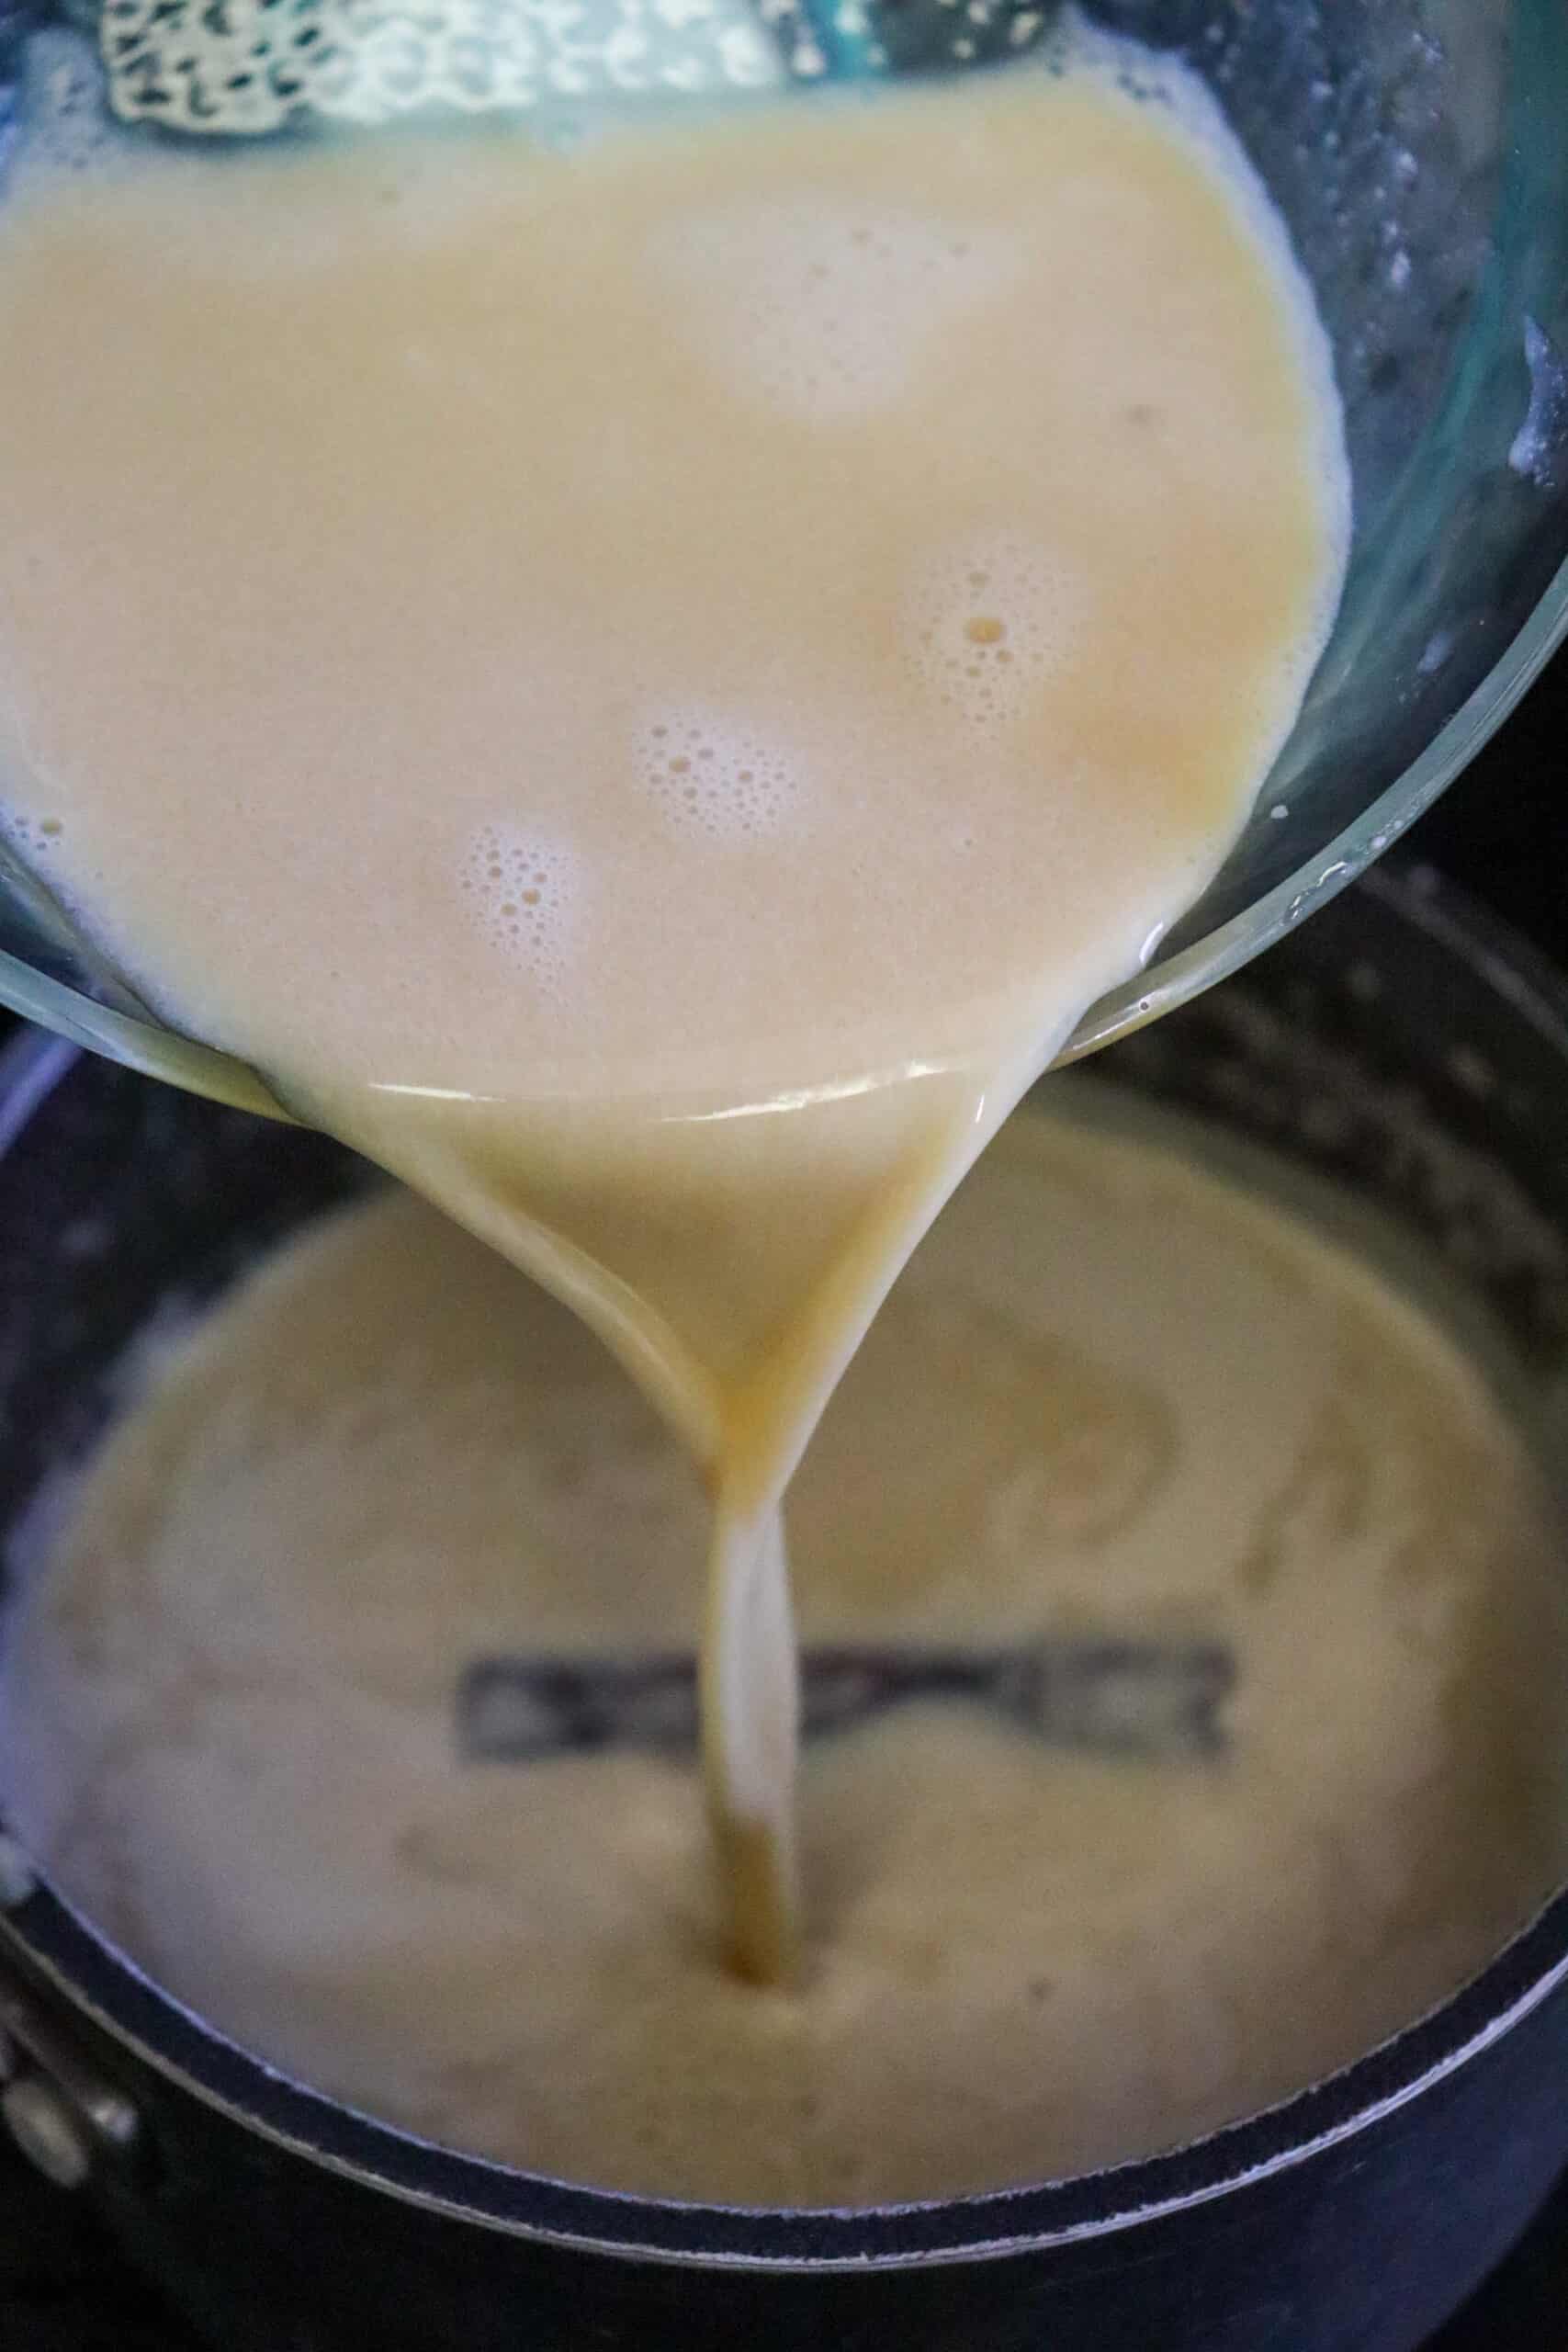
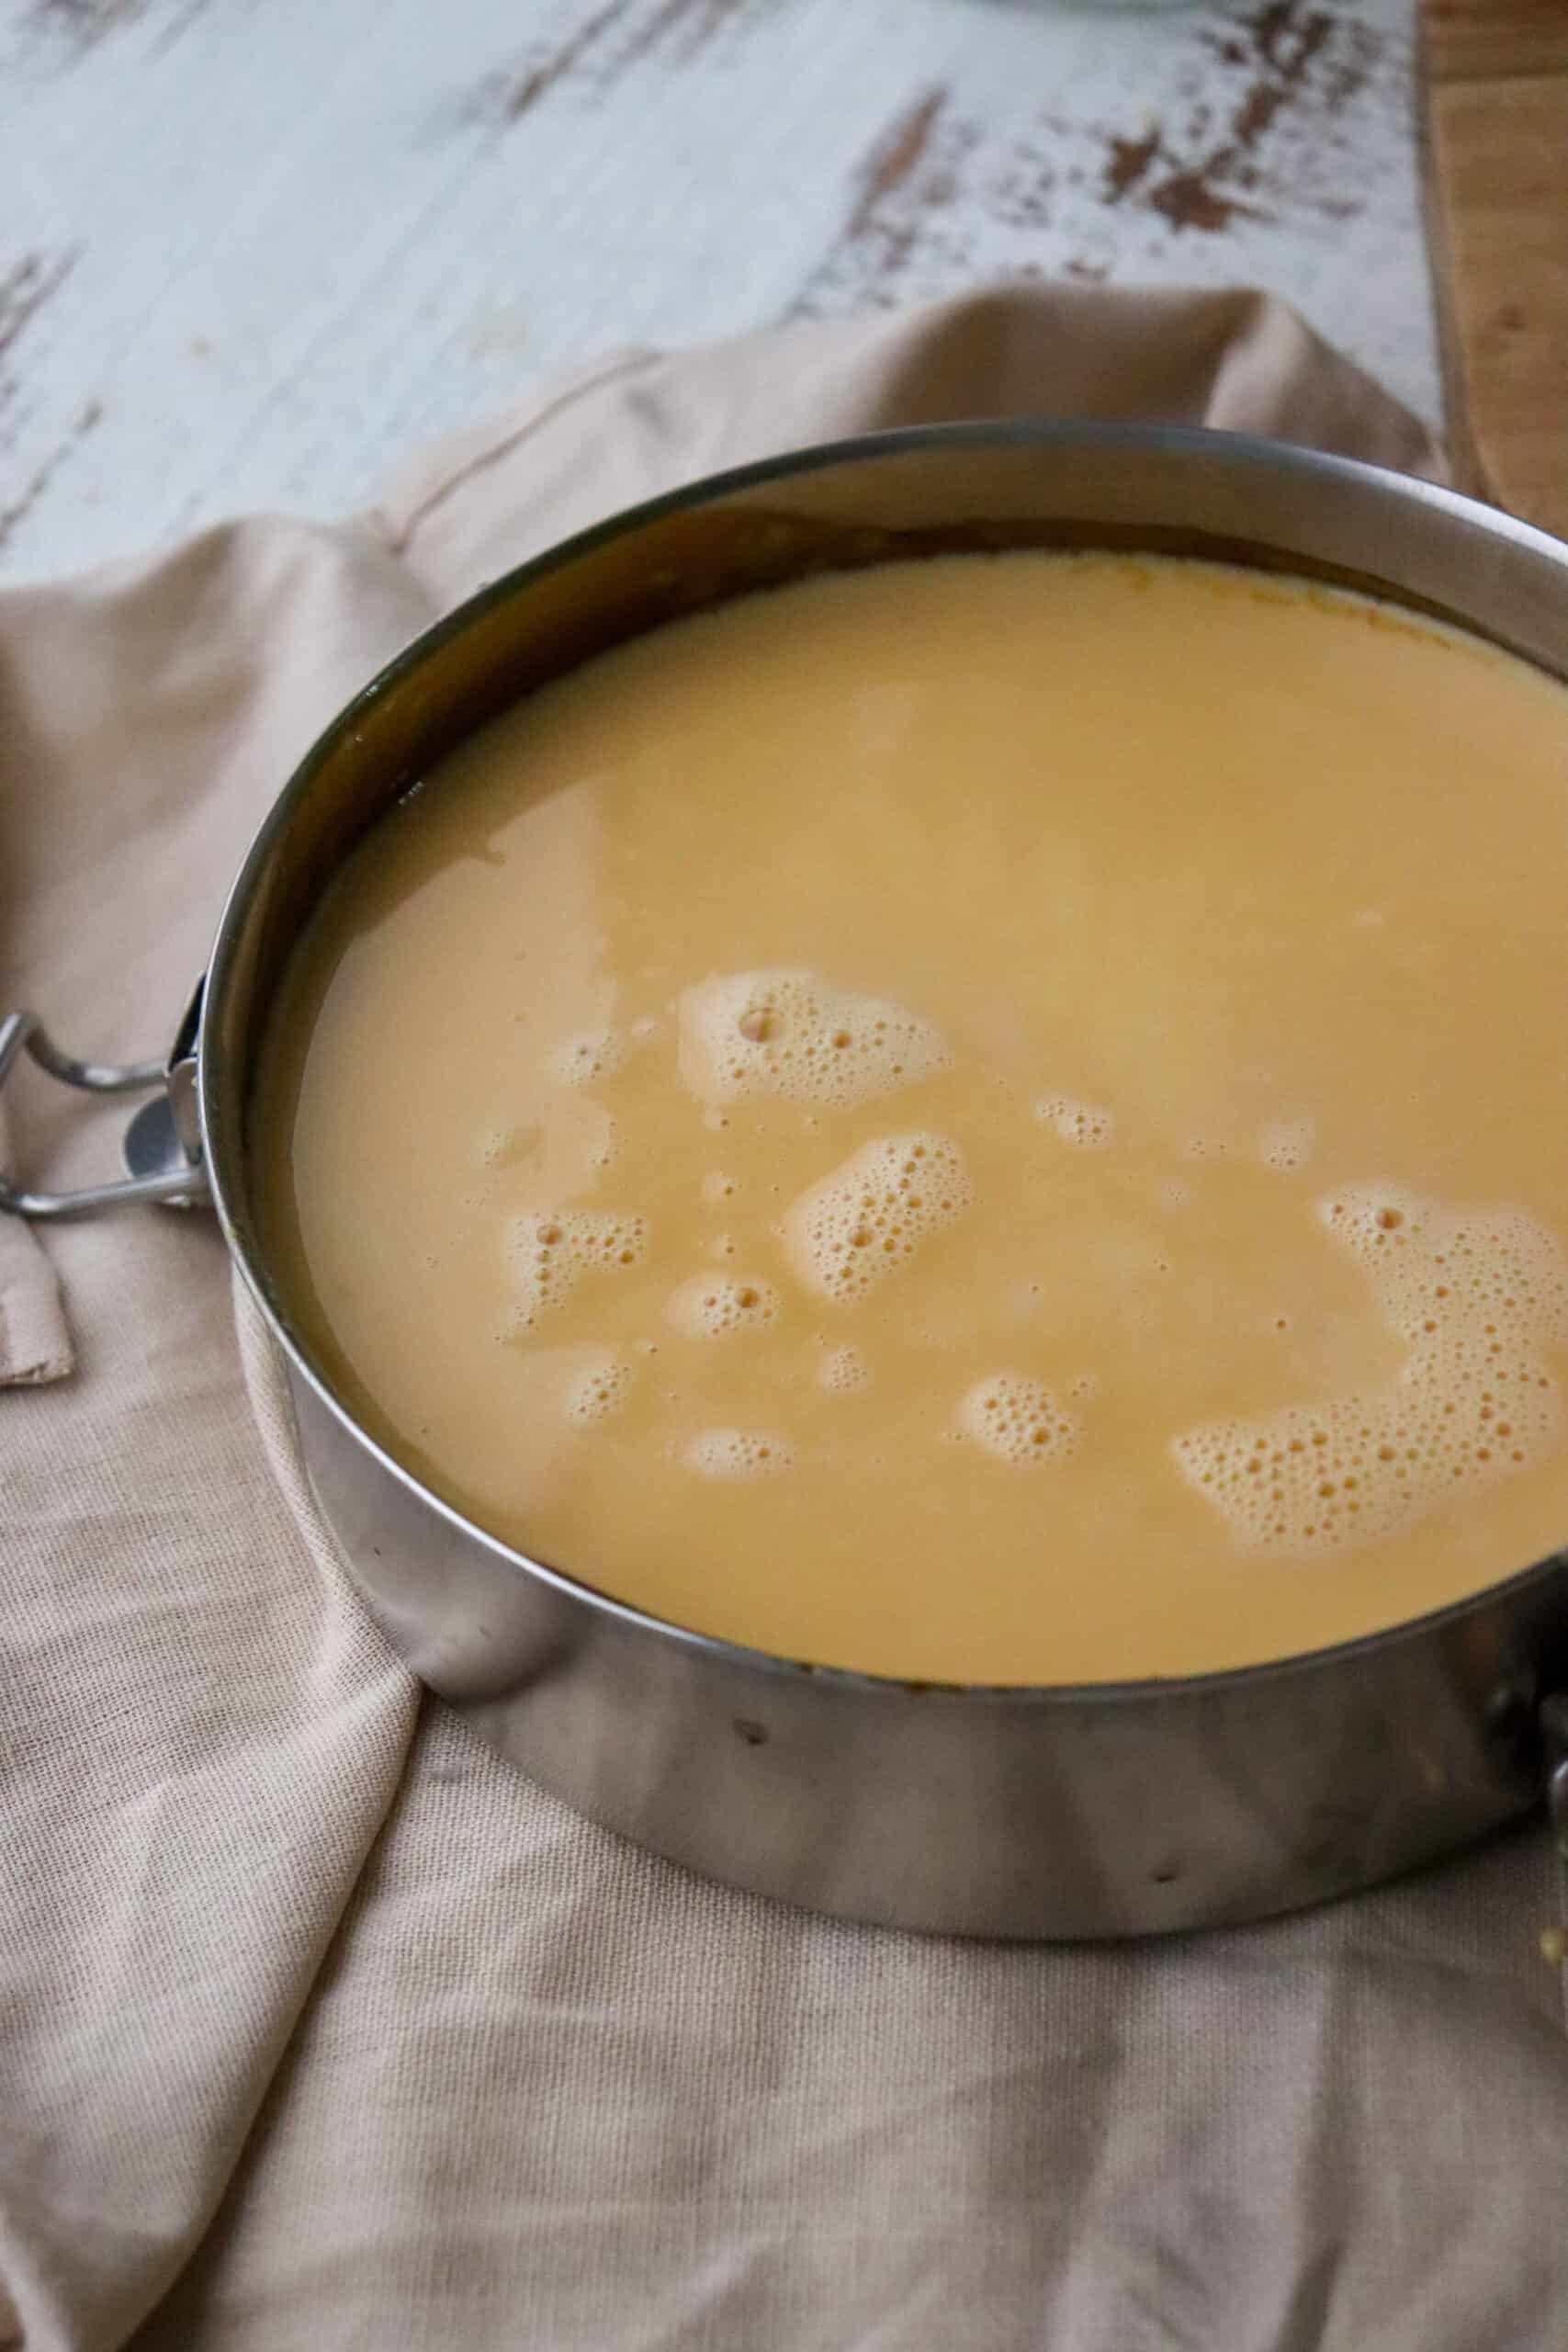
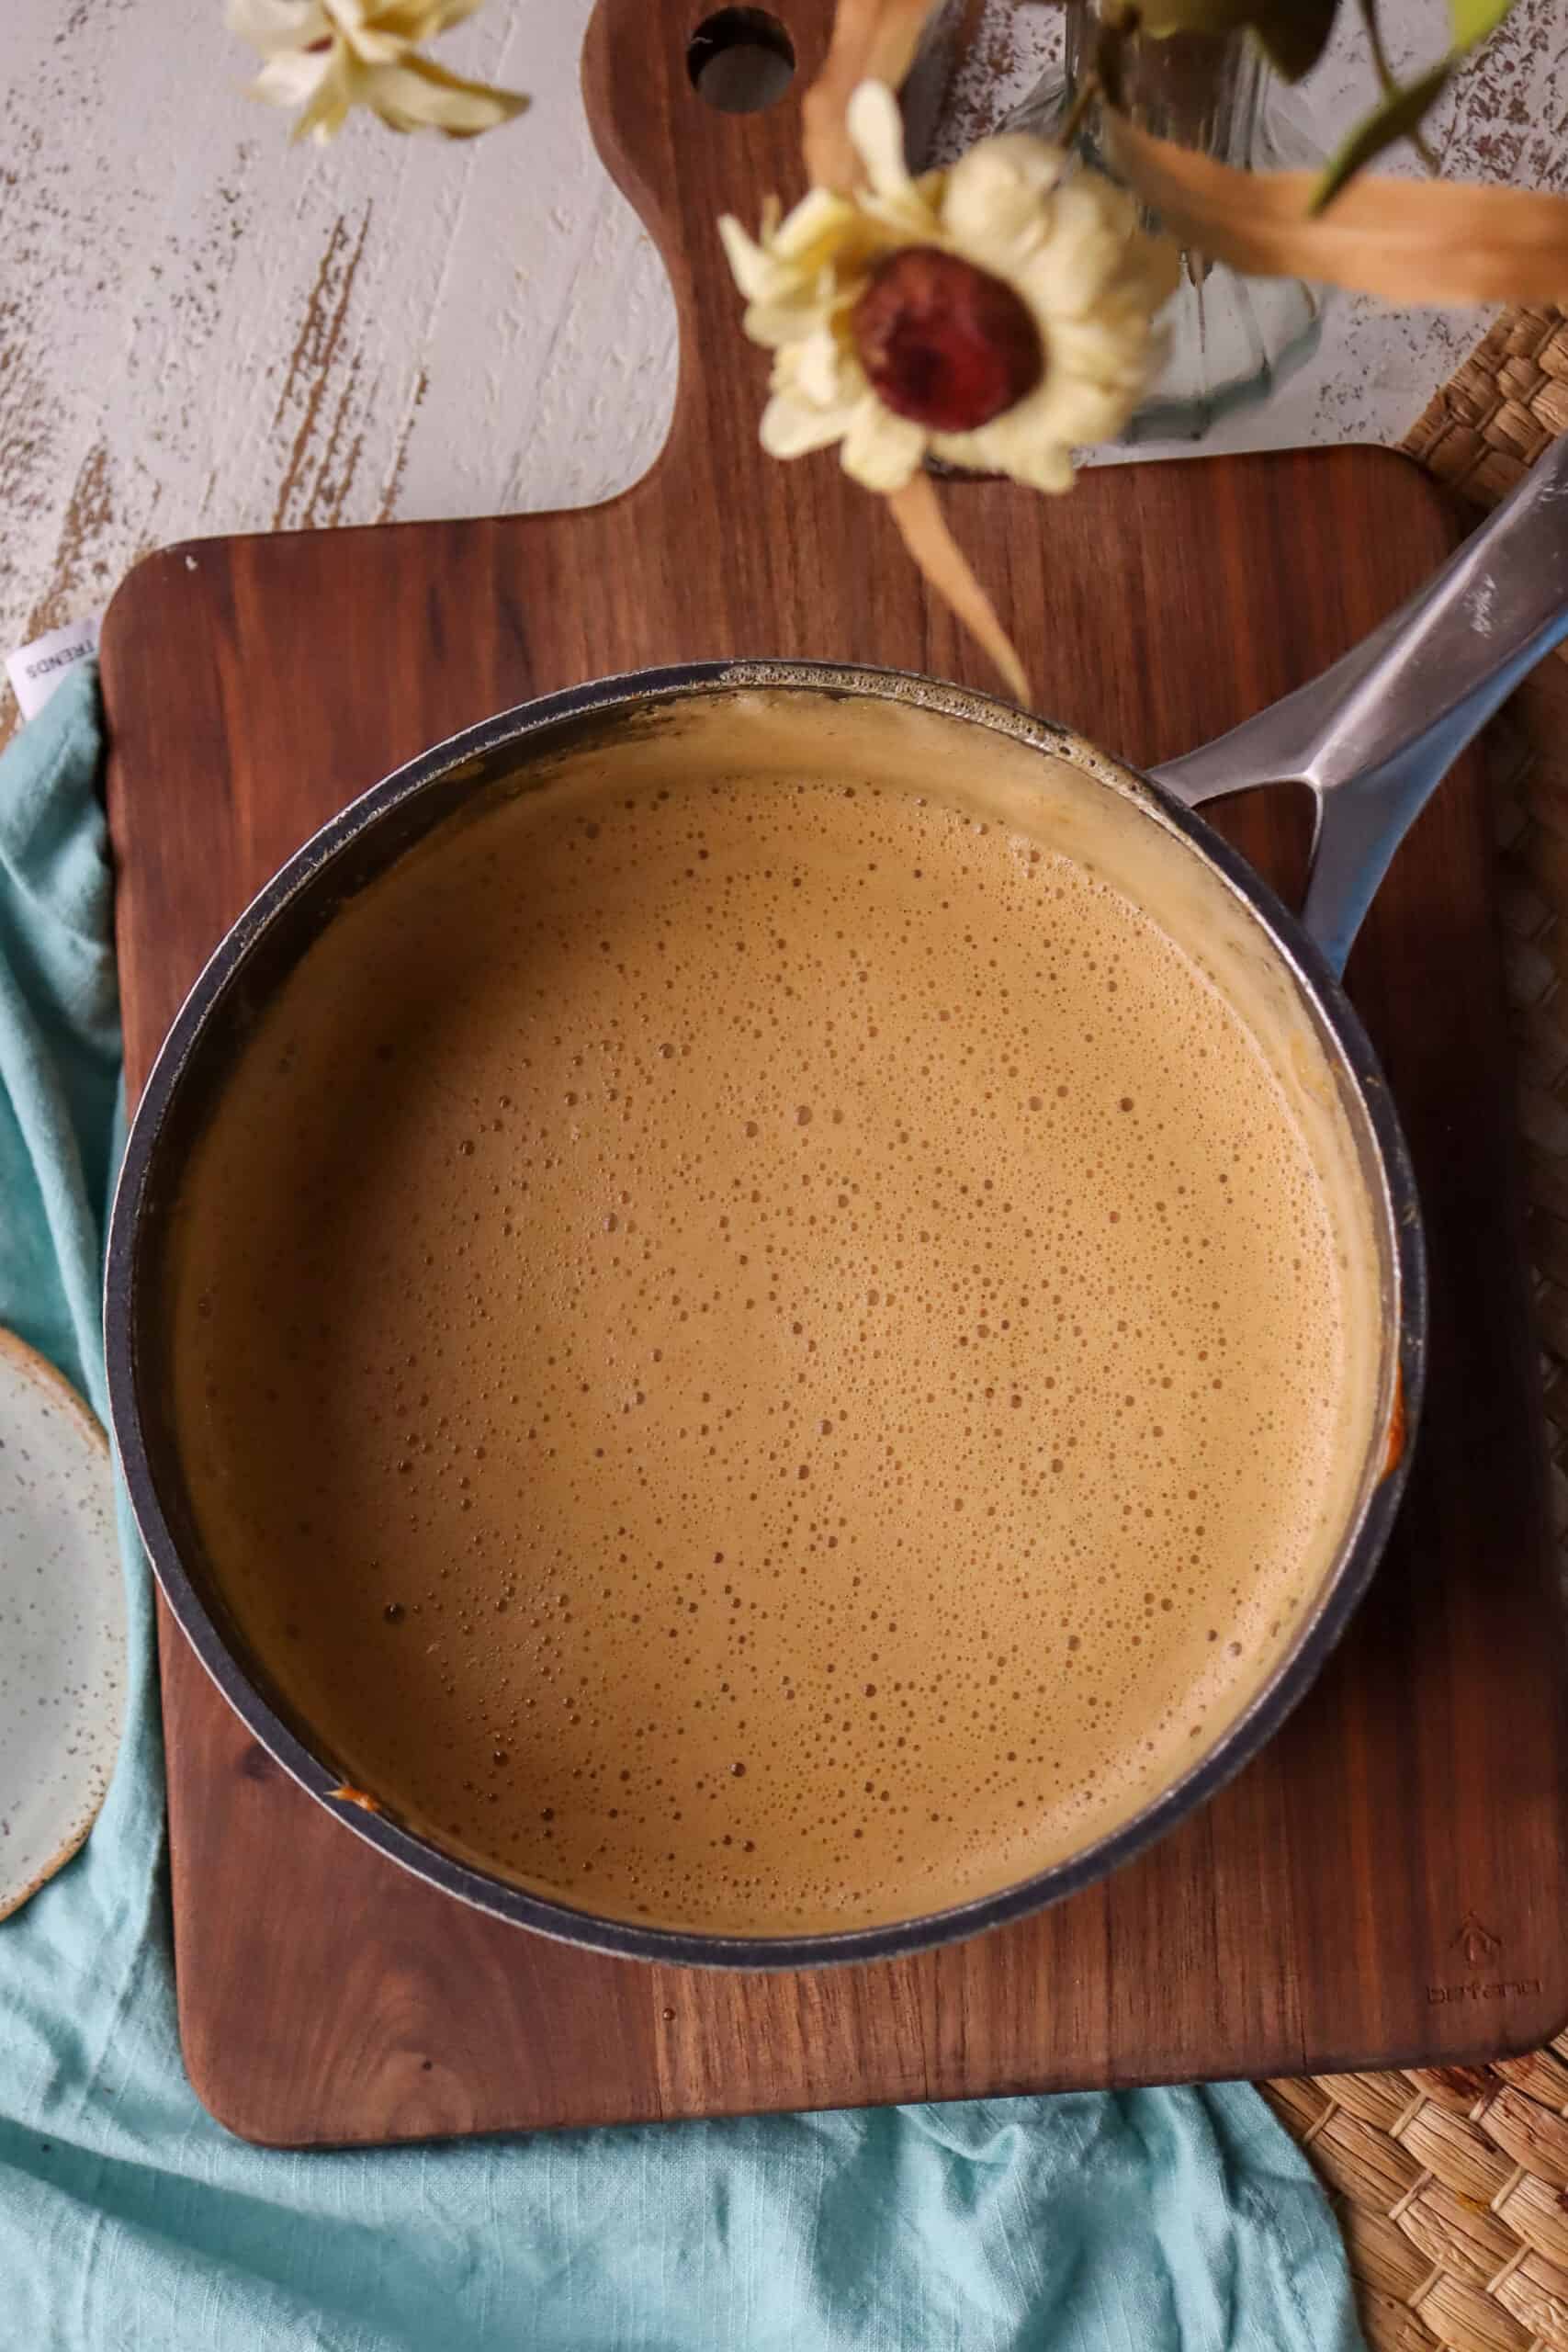
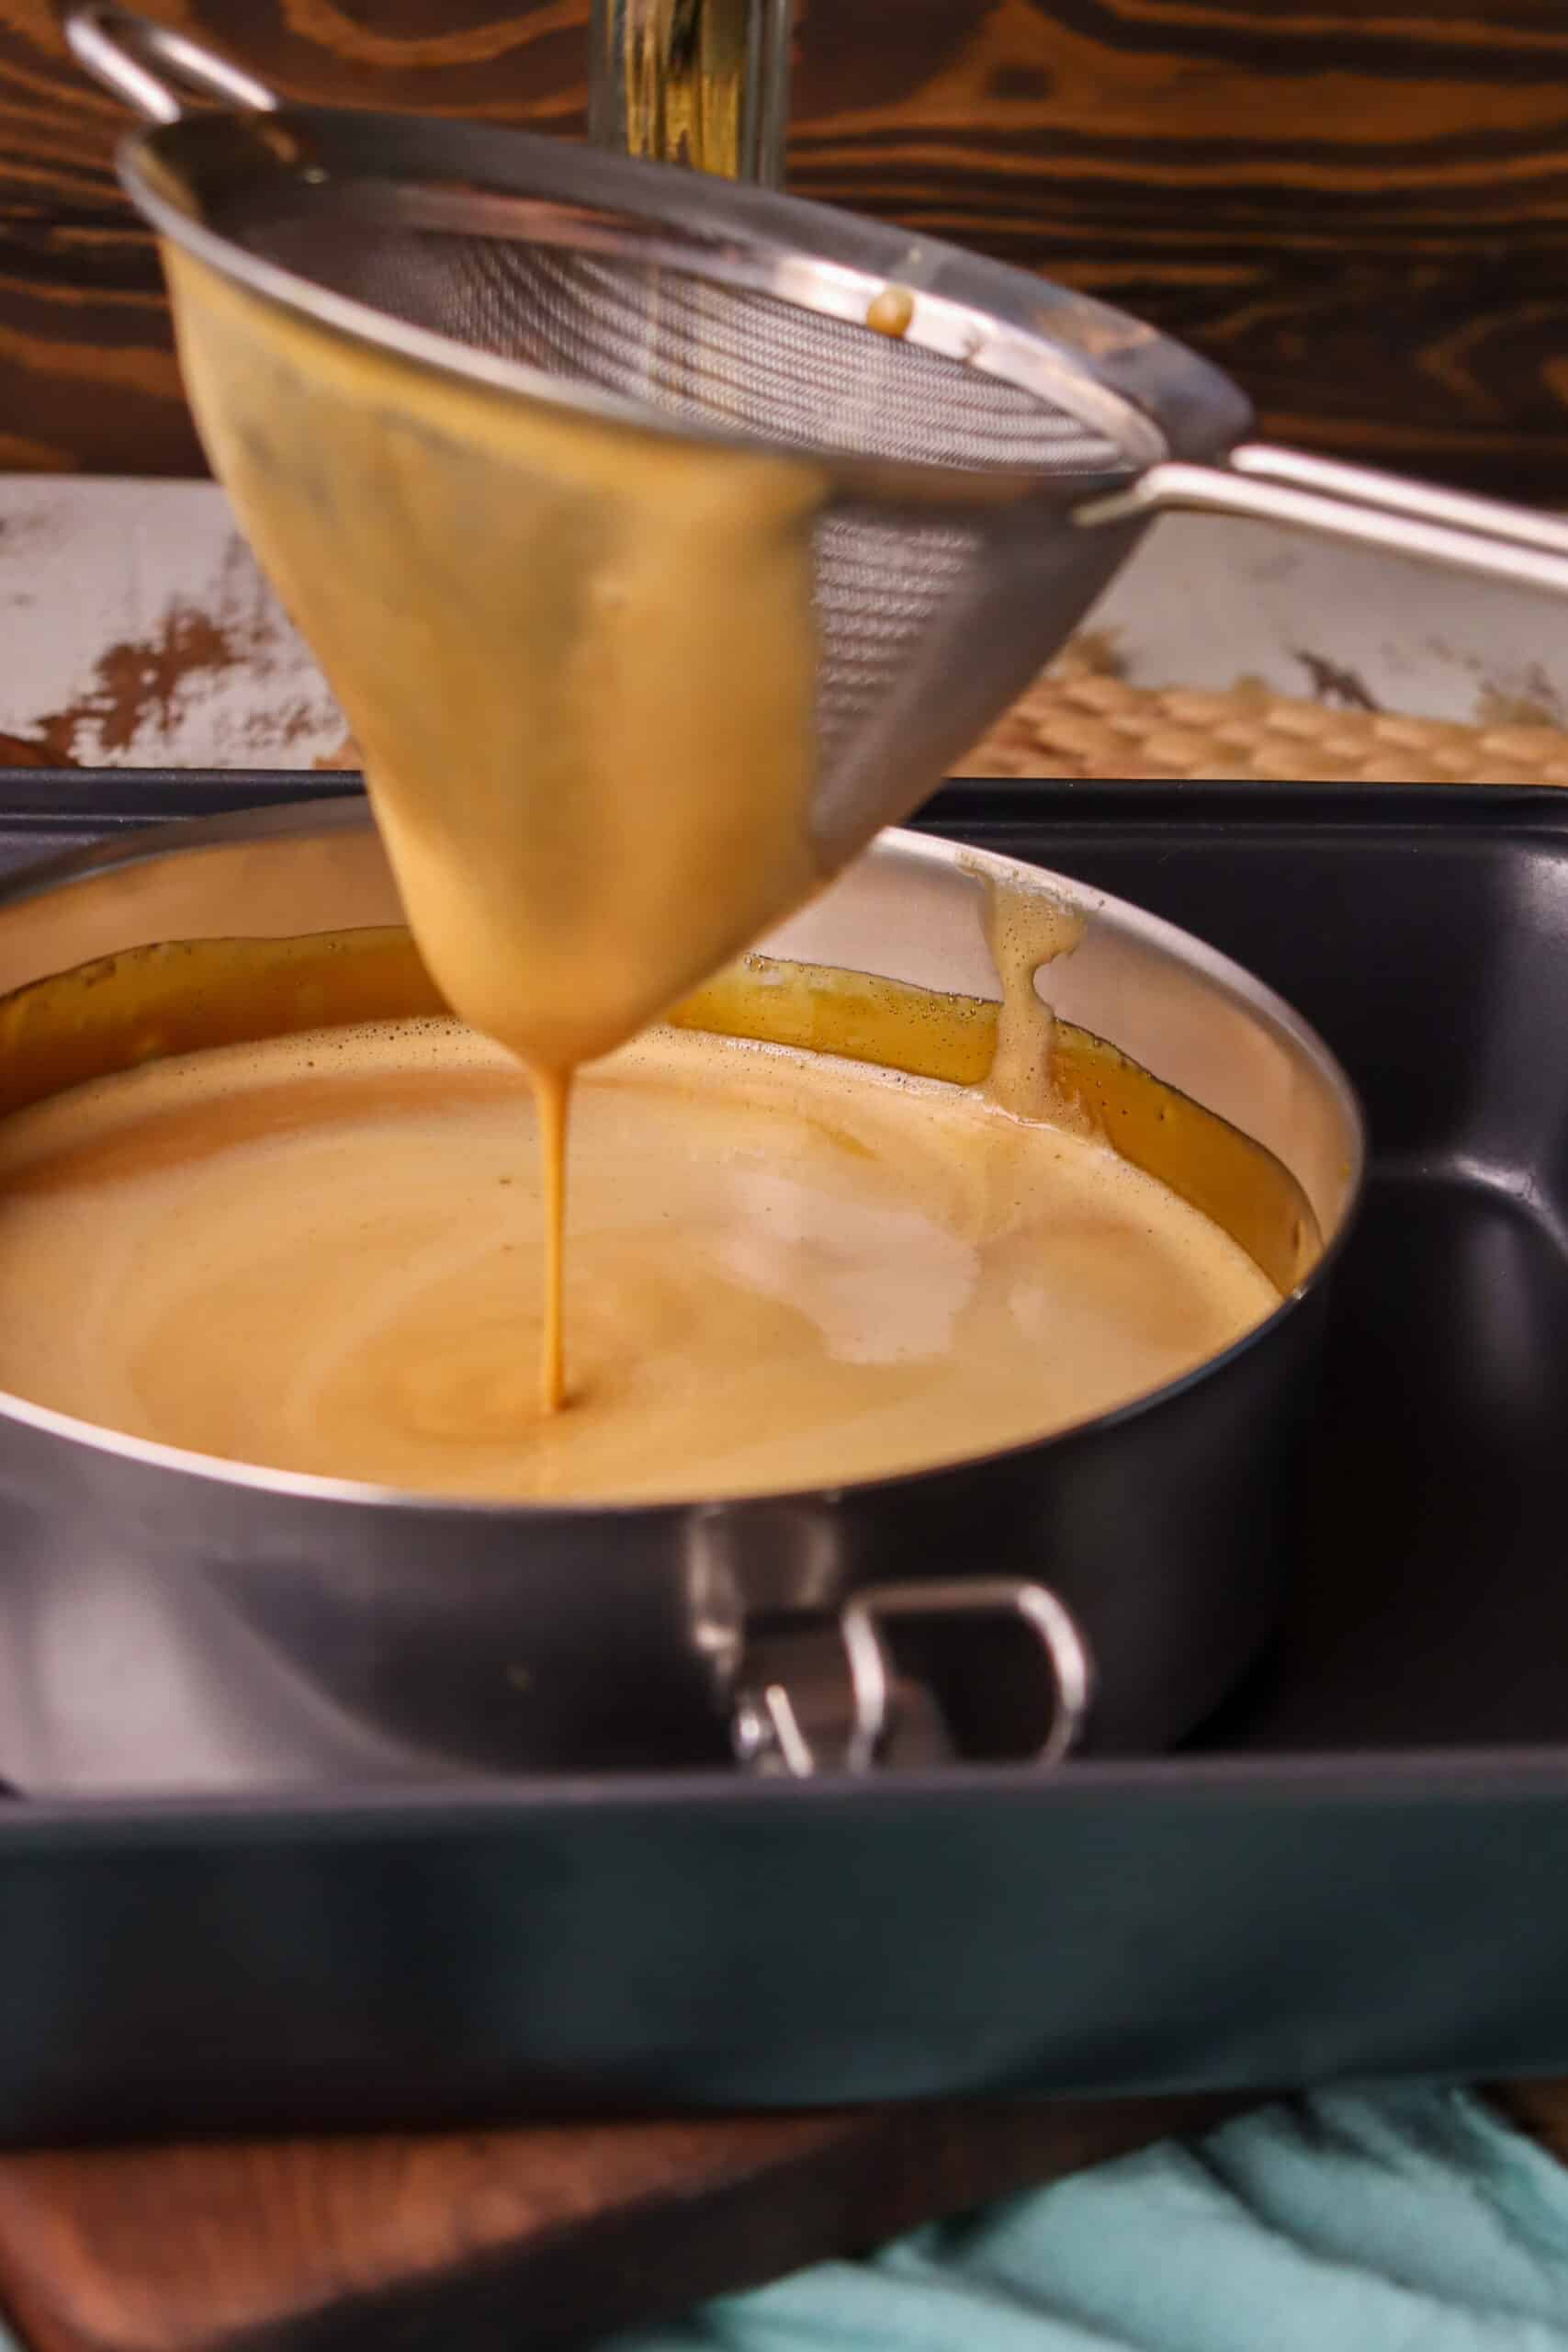
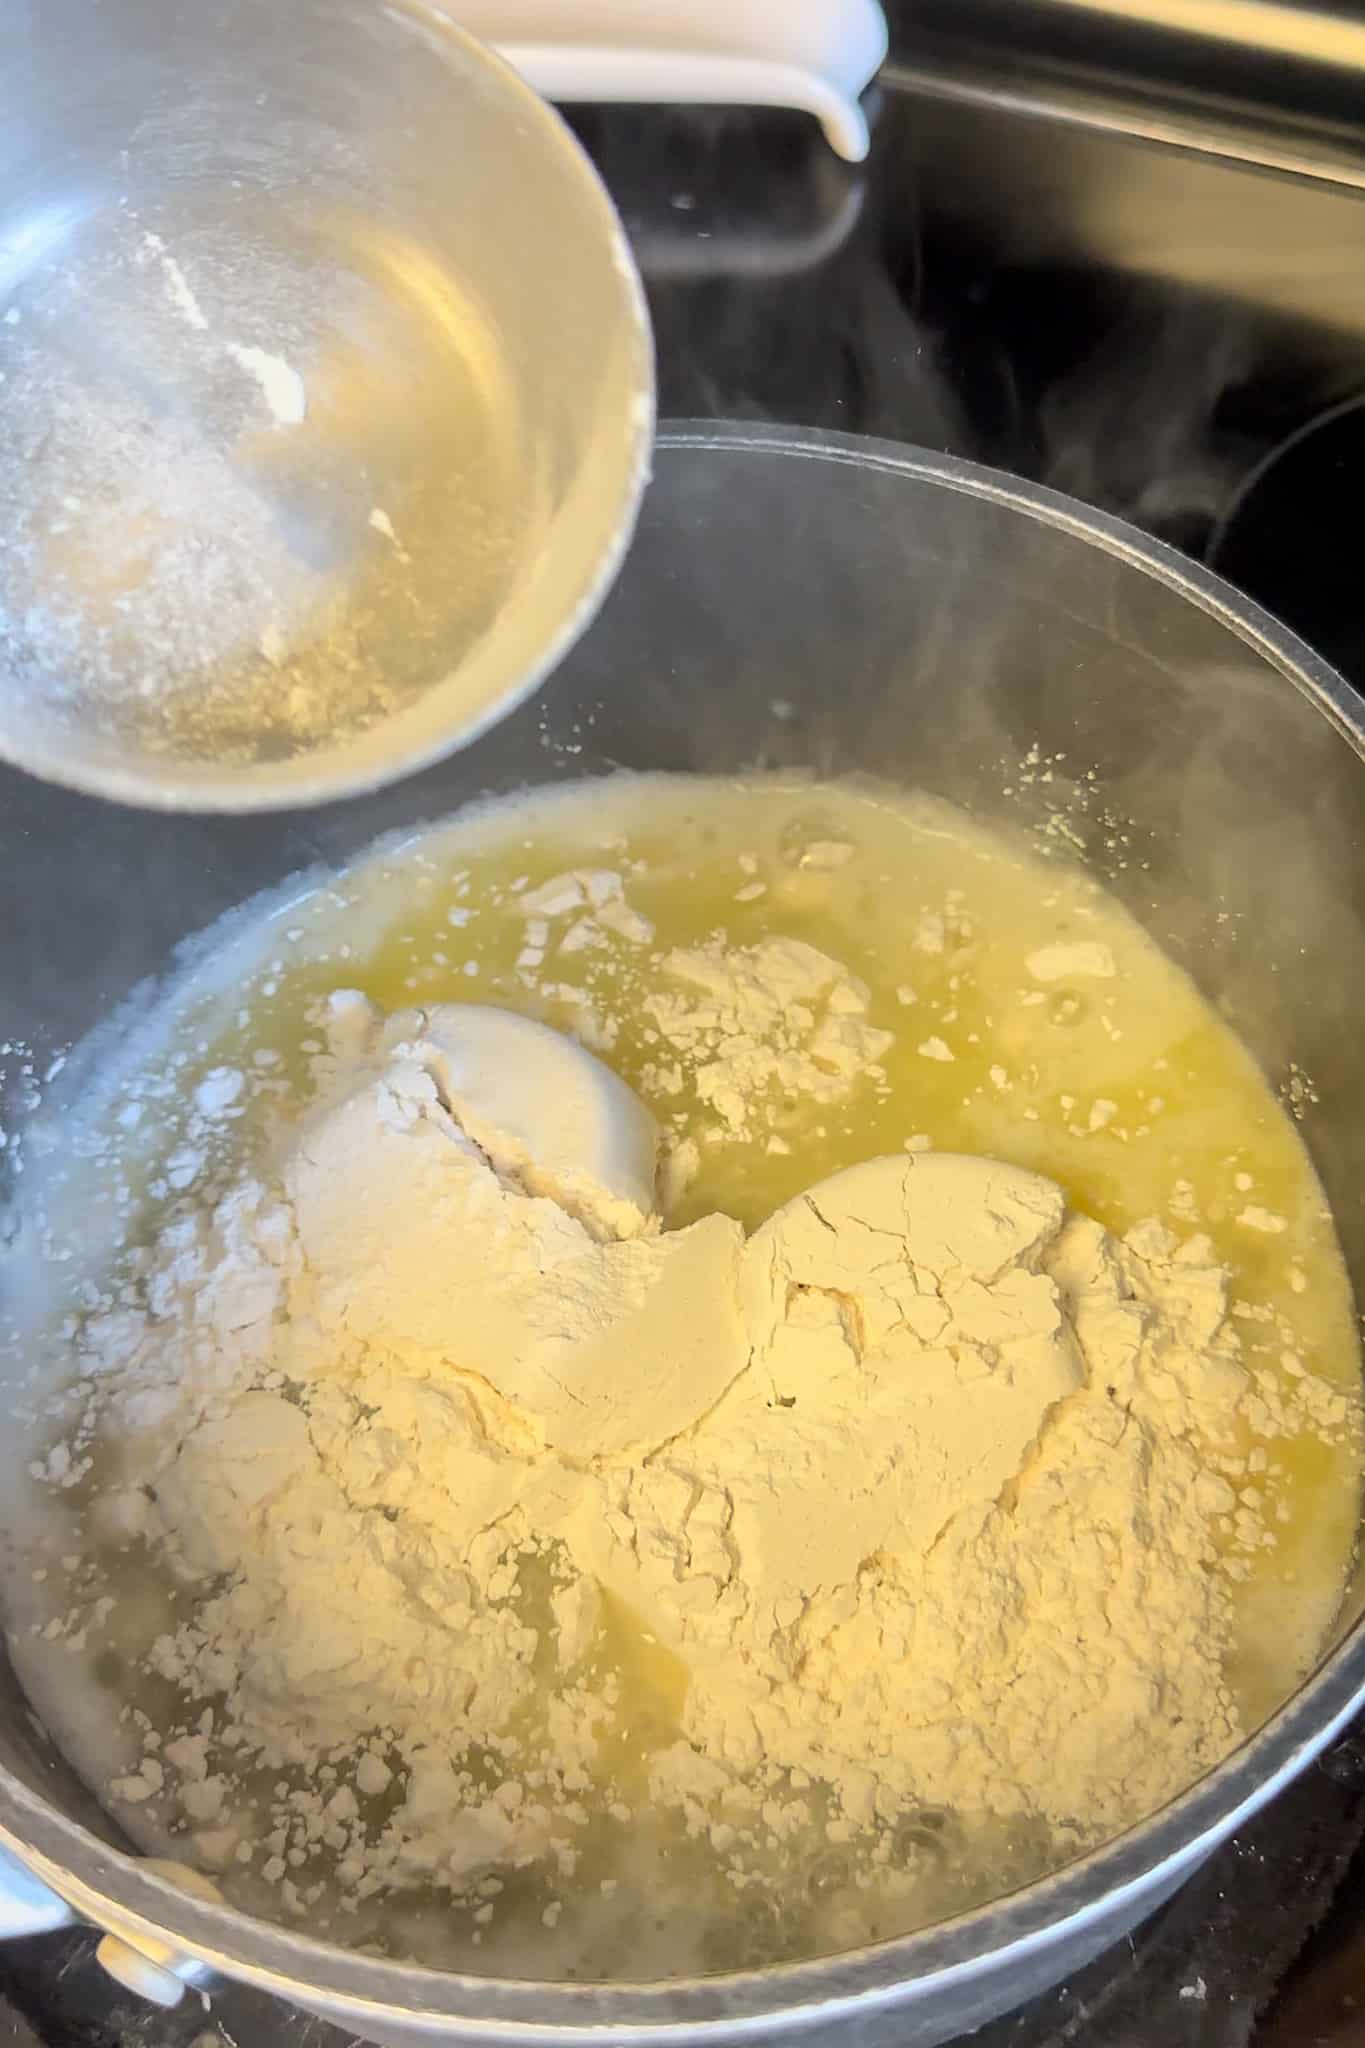
- First you're going to make your choux pastry dough. Heat the water, salt and melted butter in a large saucepan over medium-high heat.
- Once the butter is completely melted and the mixture begins to simmer, stir in the flour with a wooden spoon or heat safe rubber spatula.
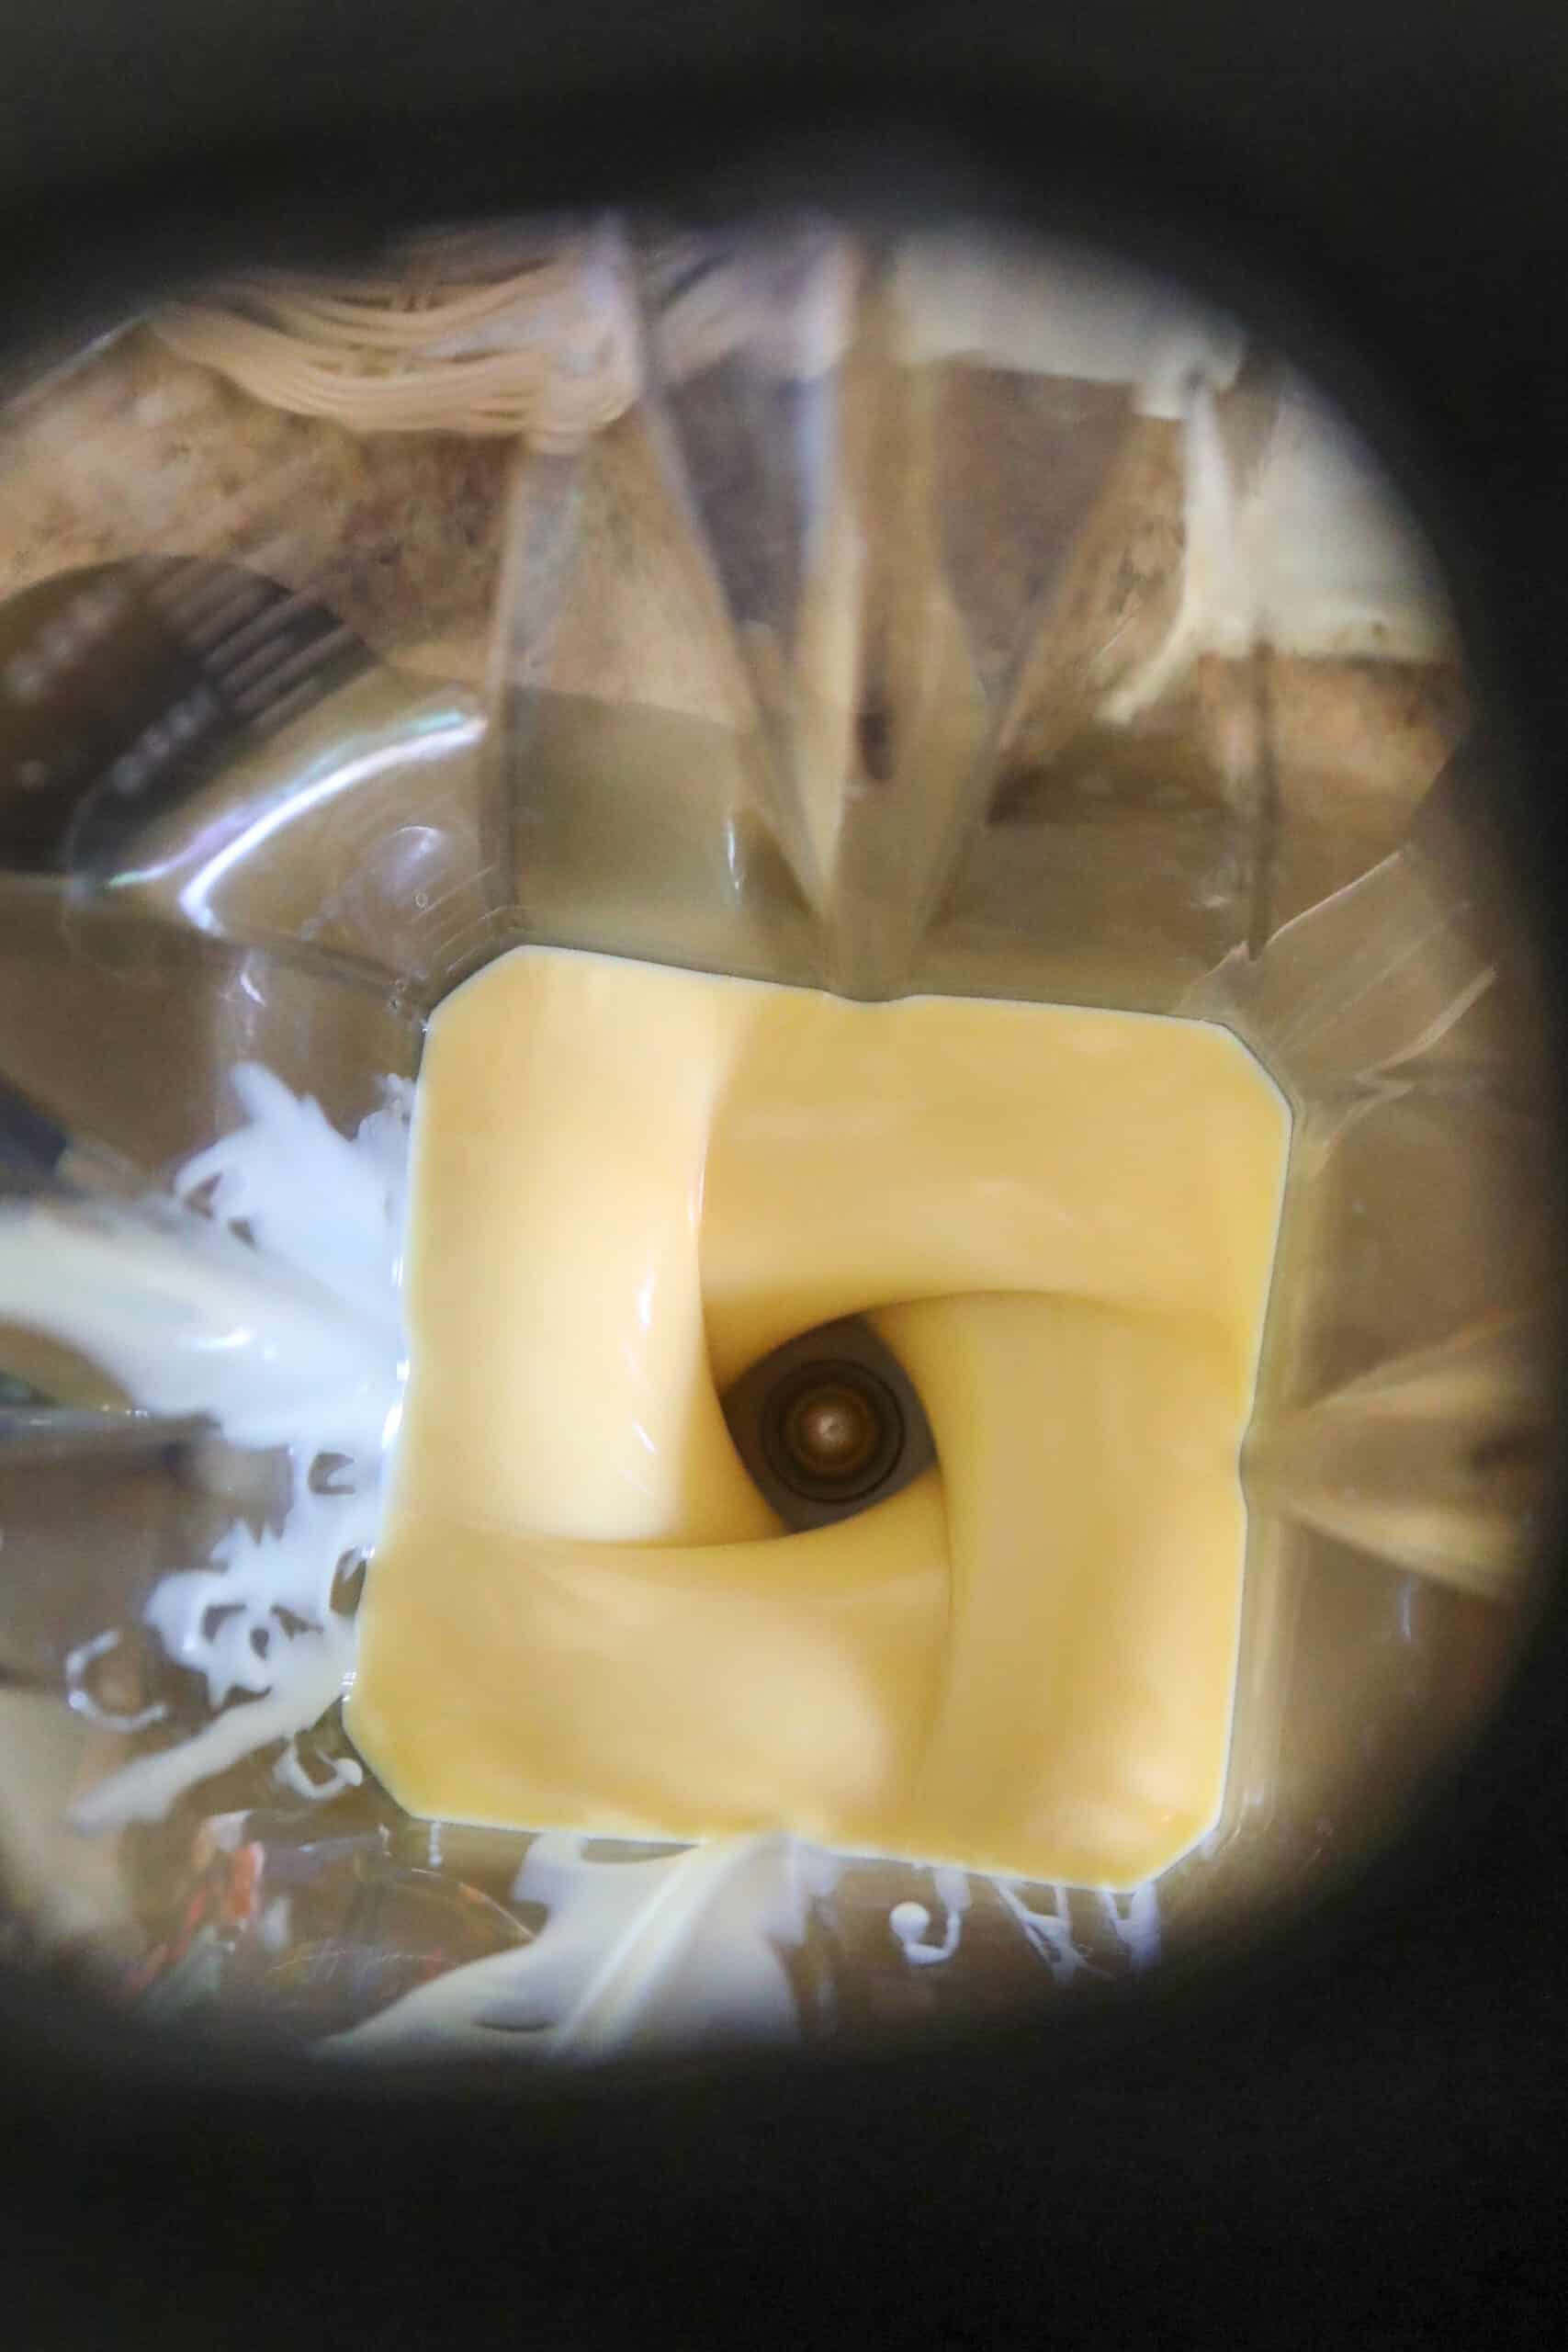
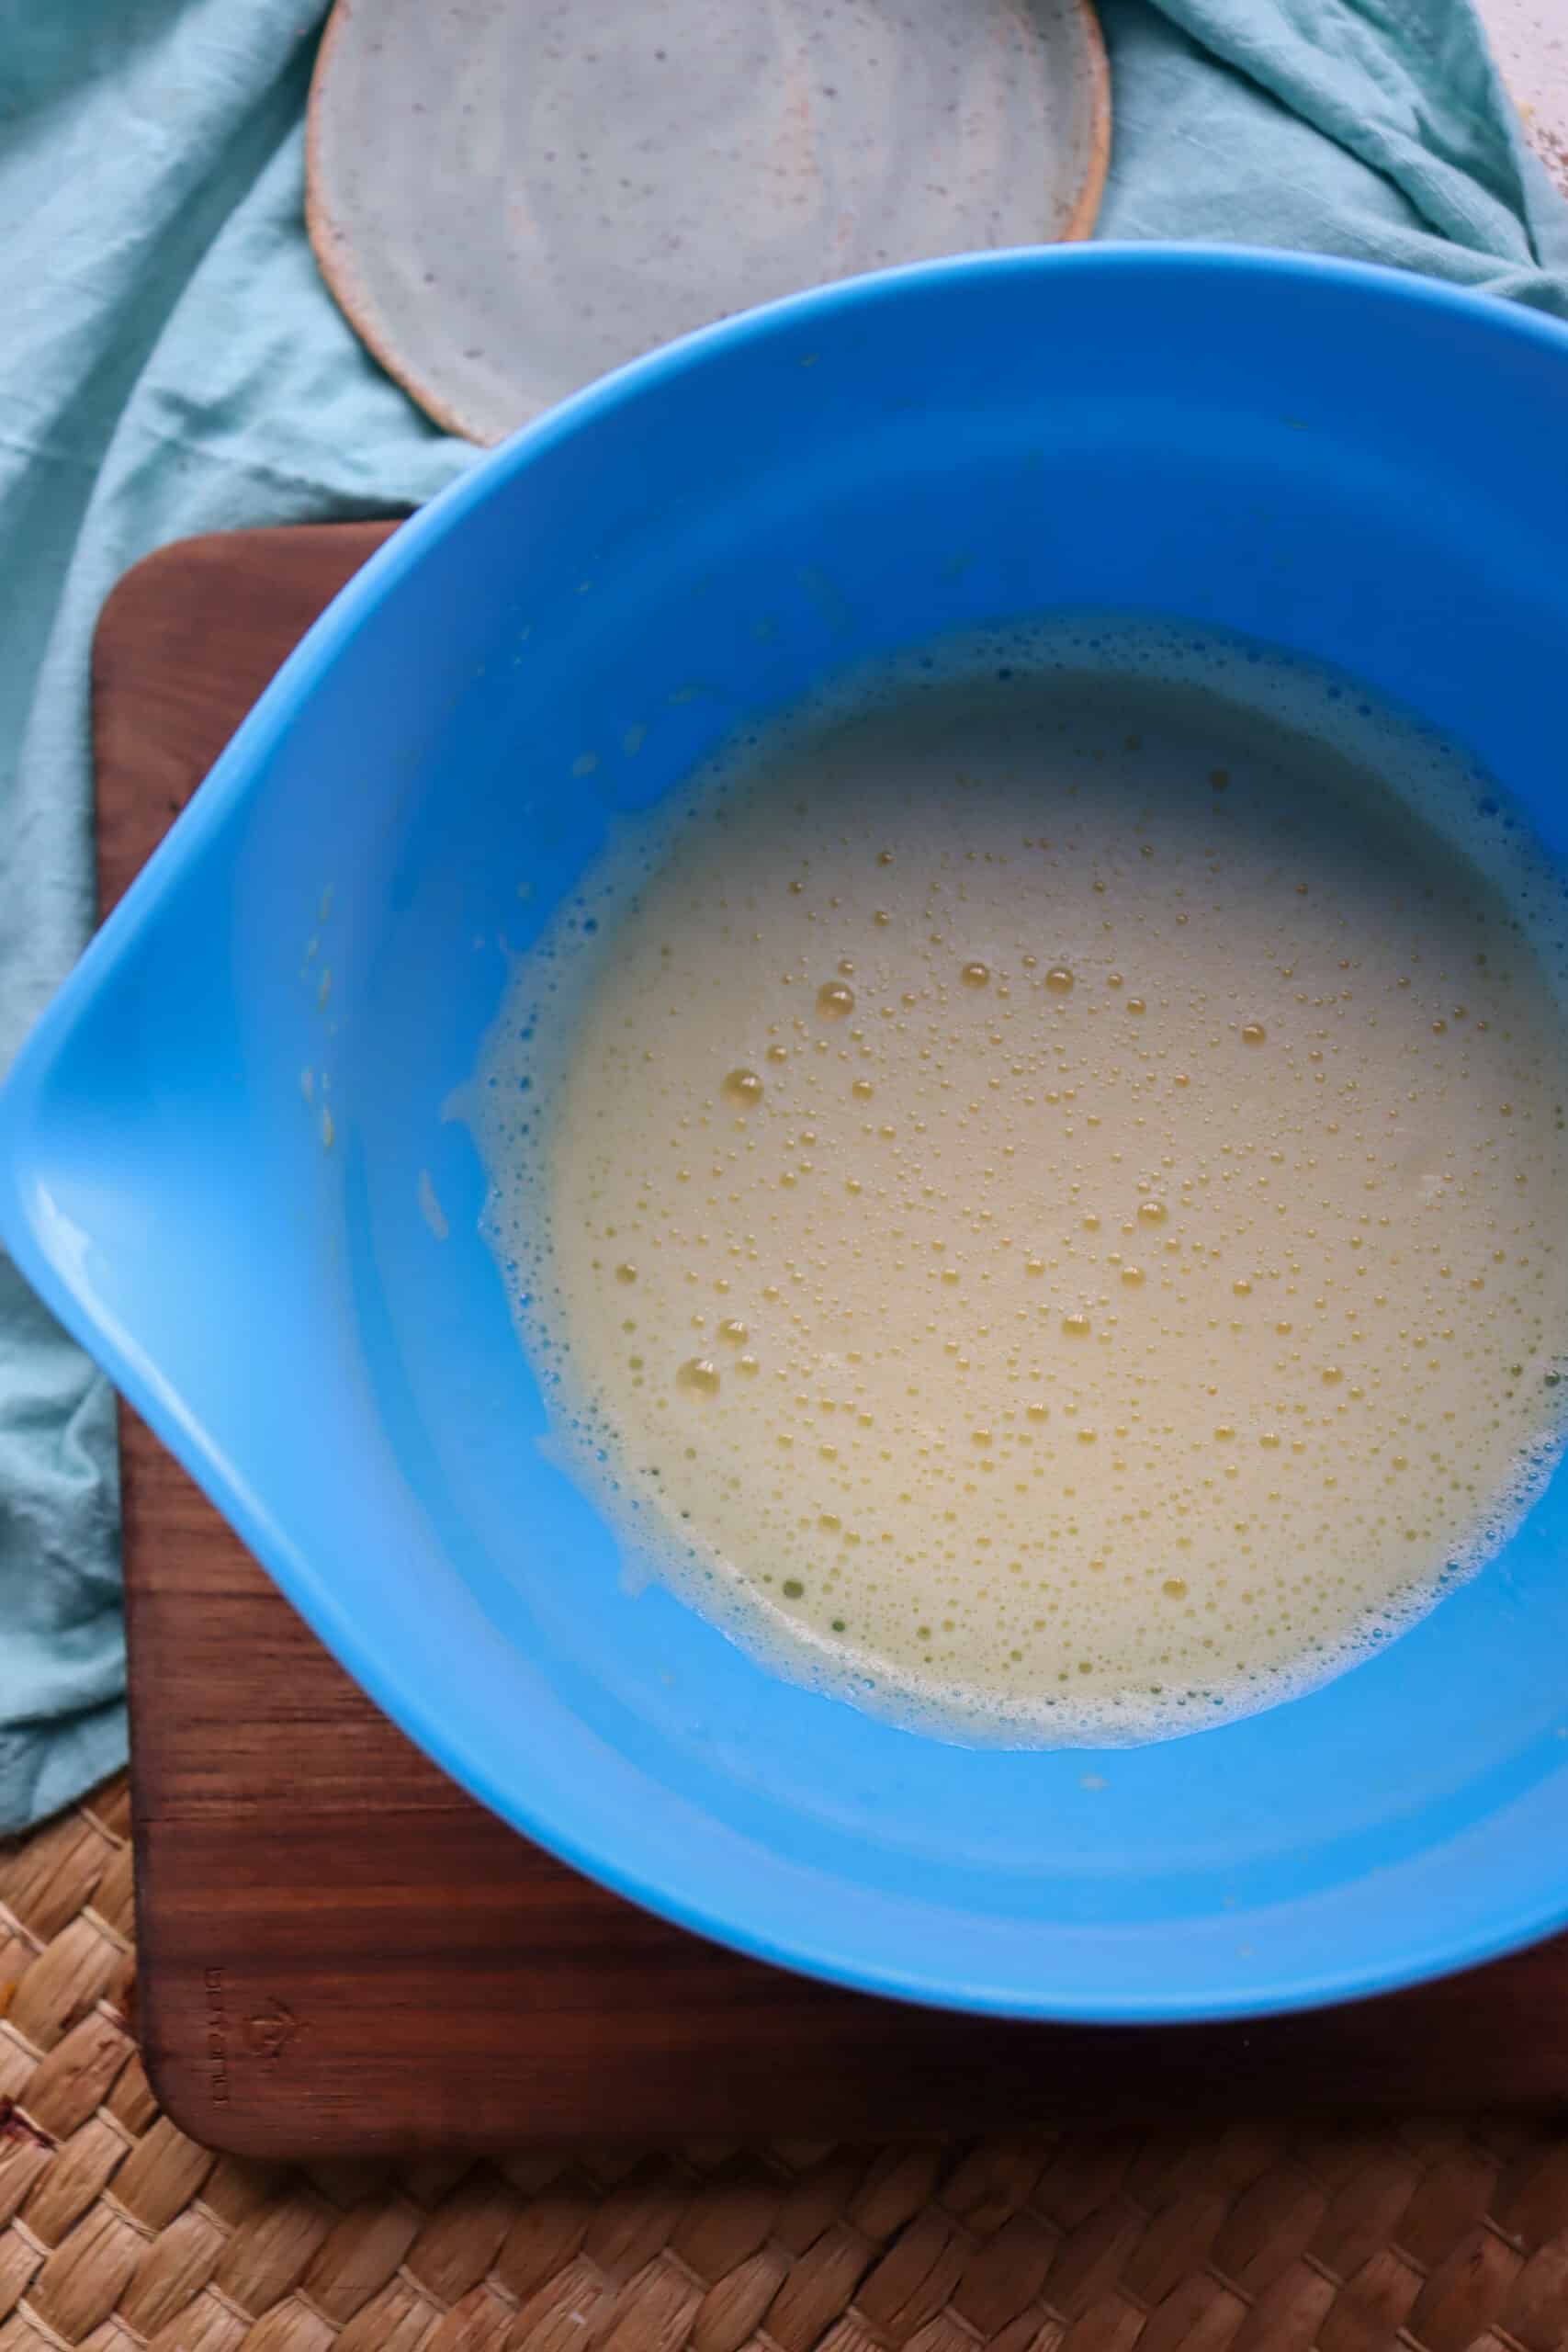
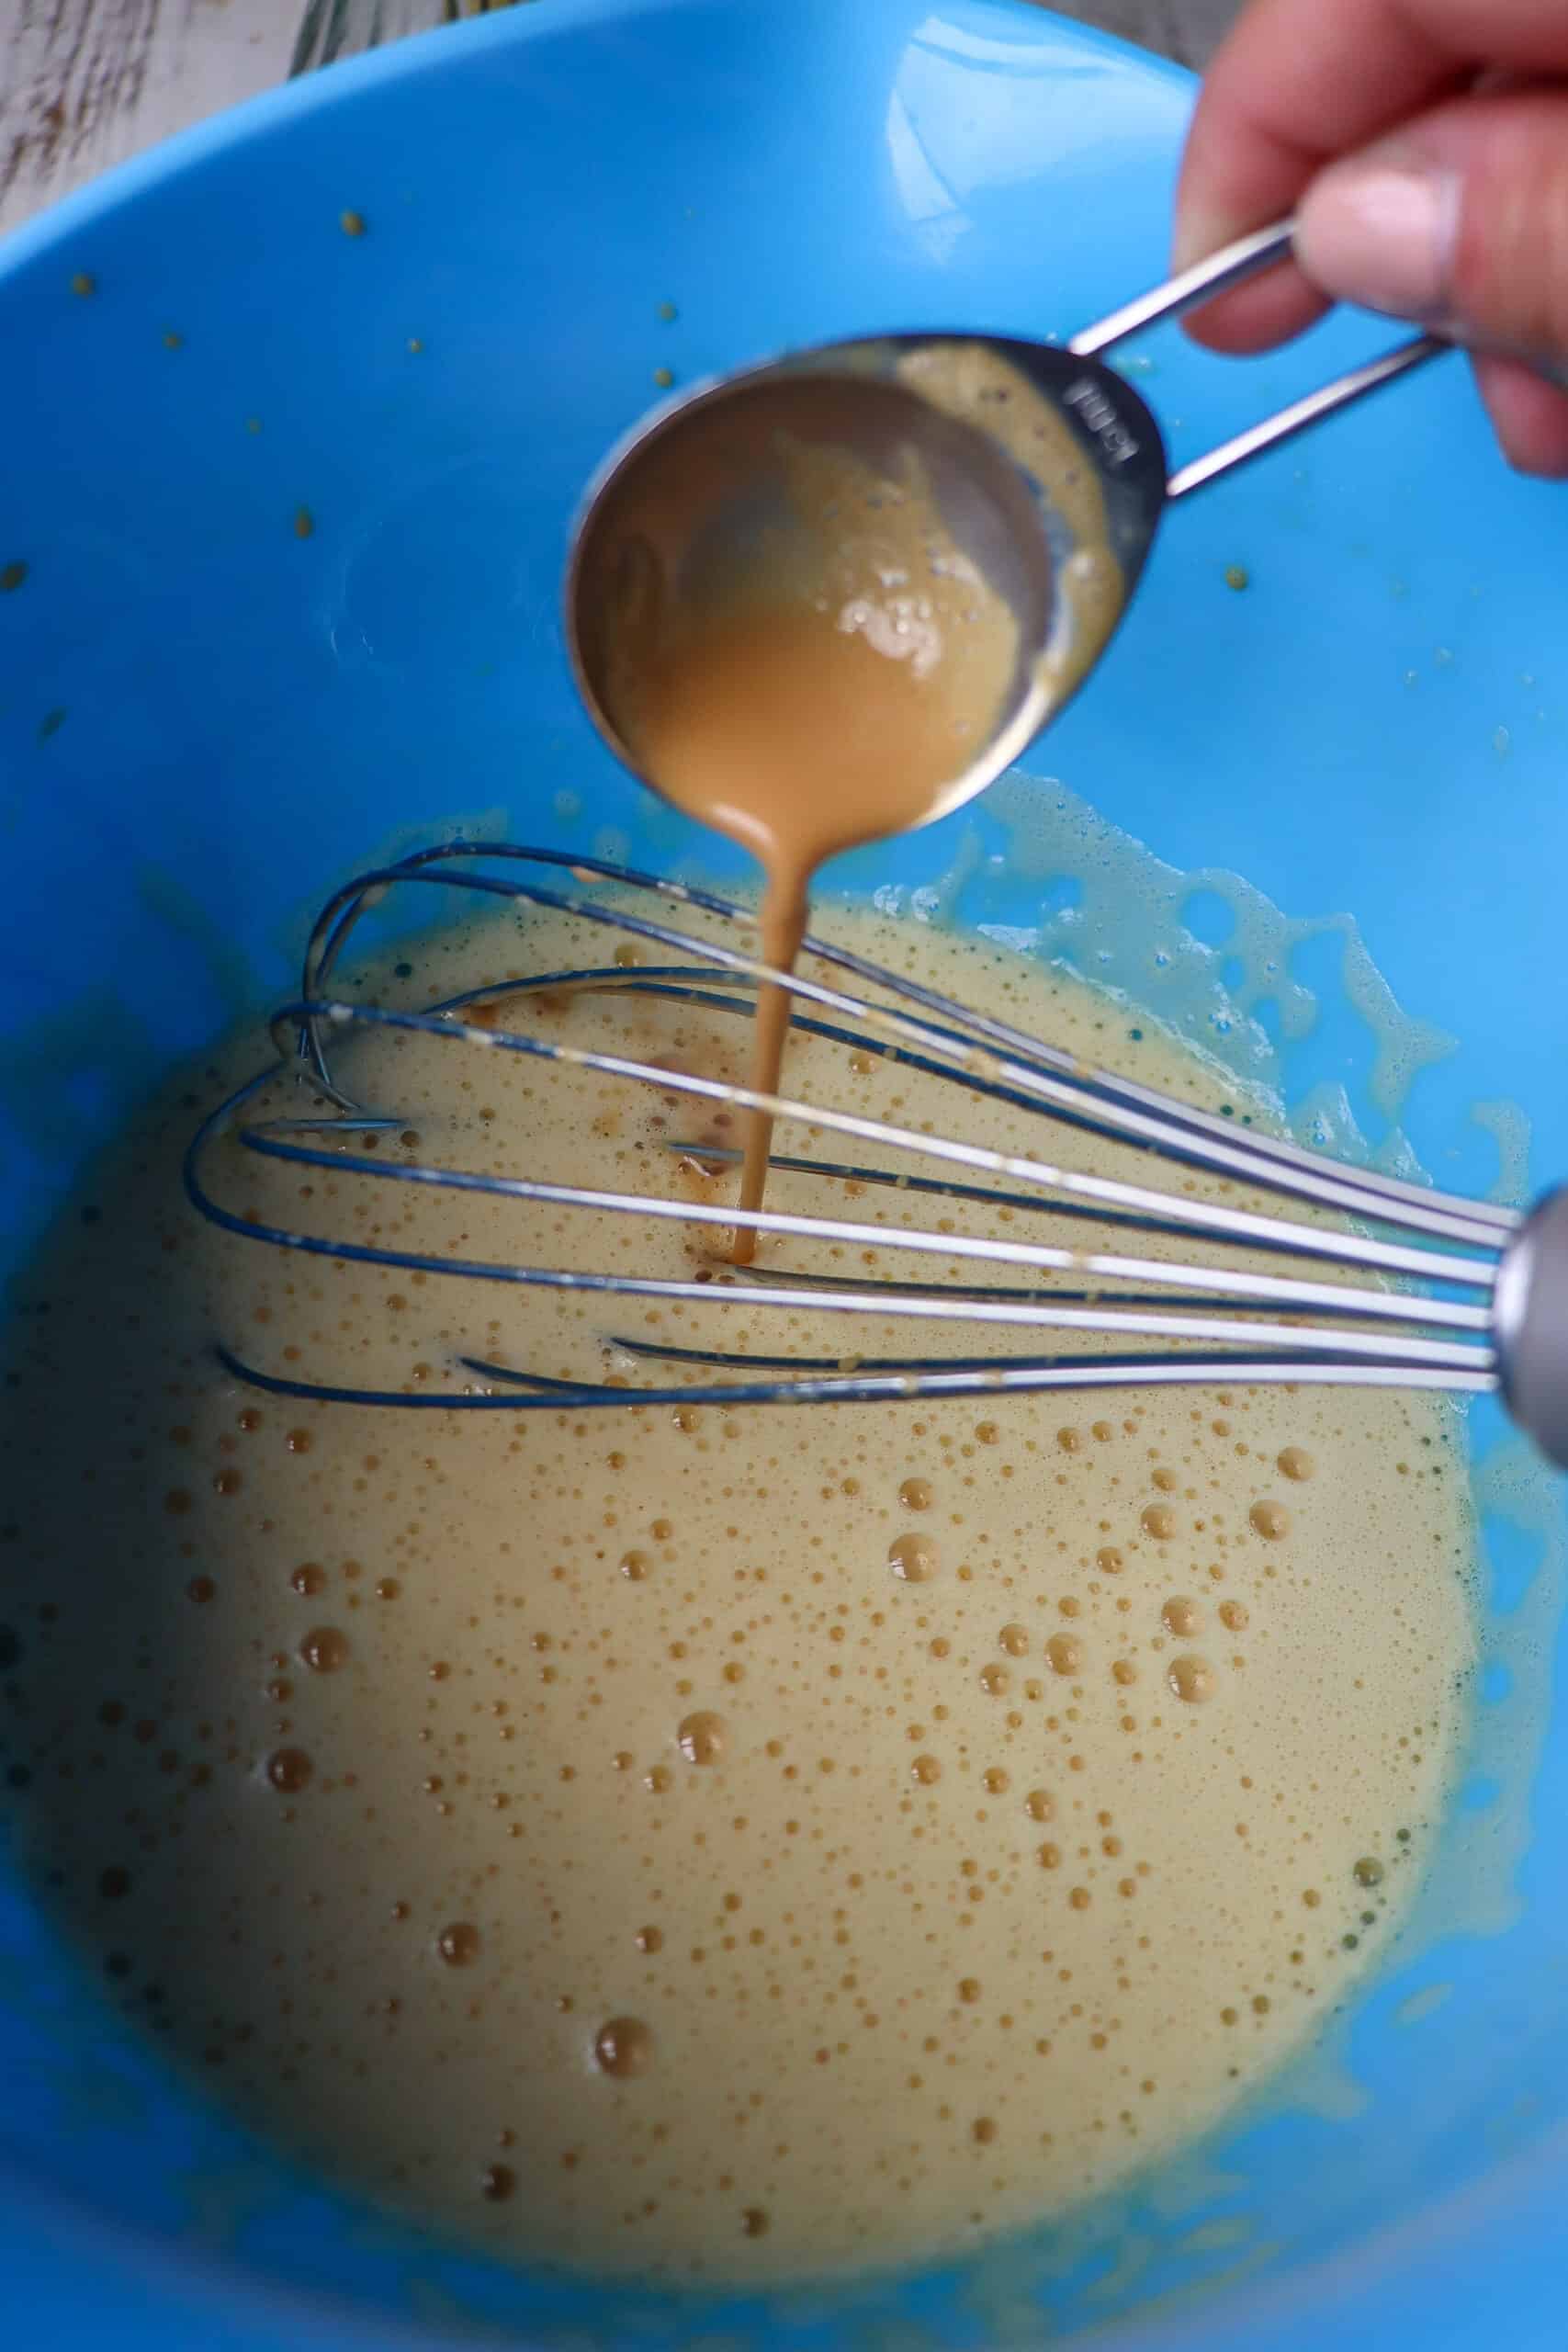
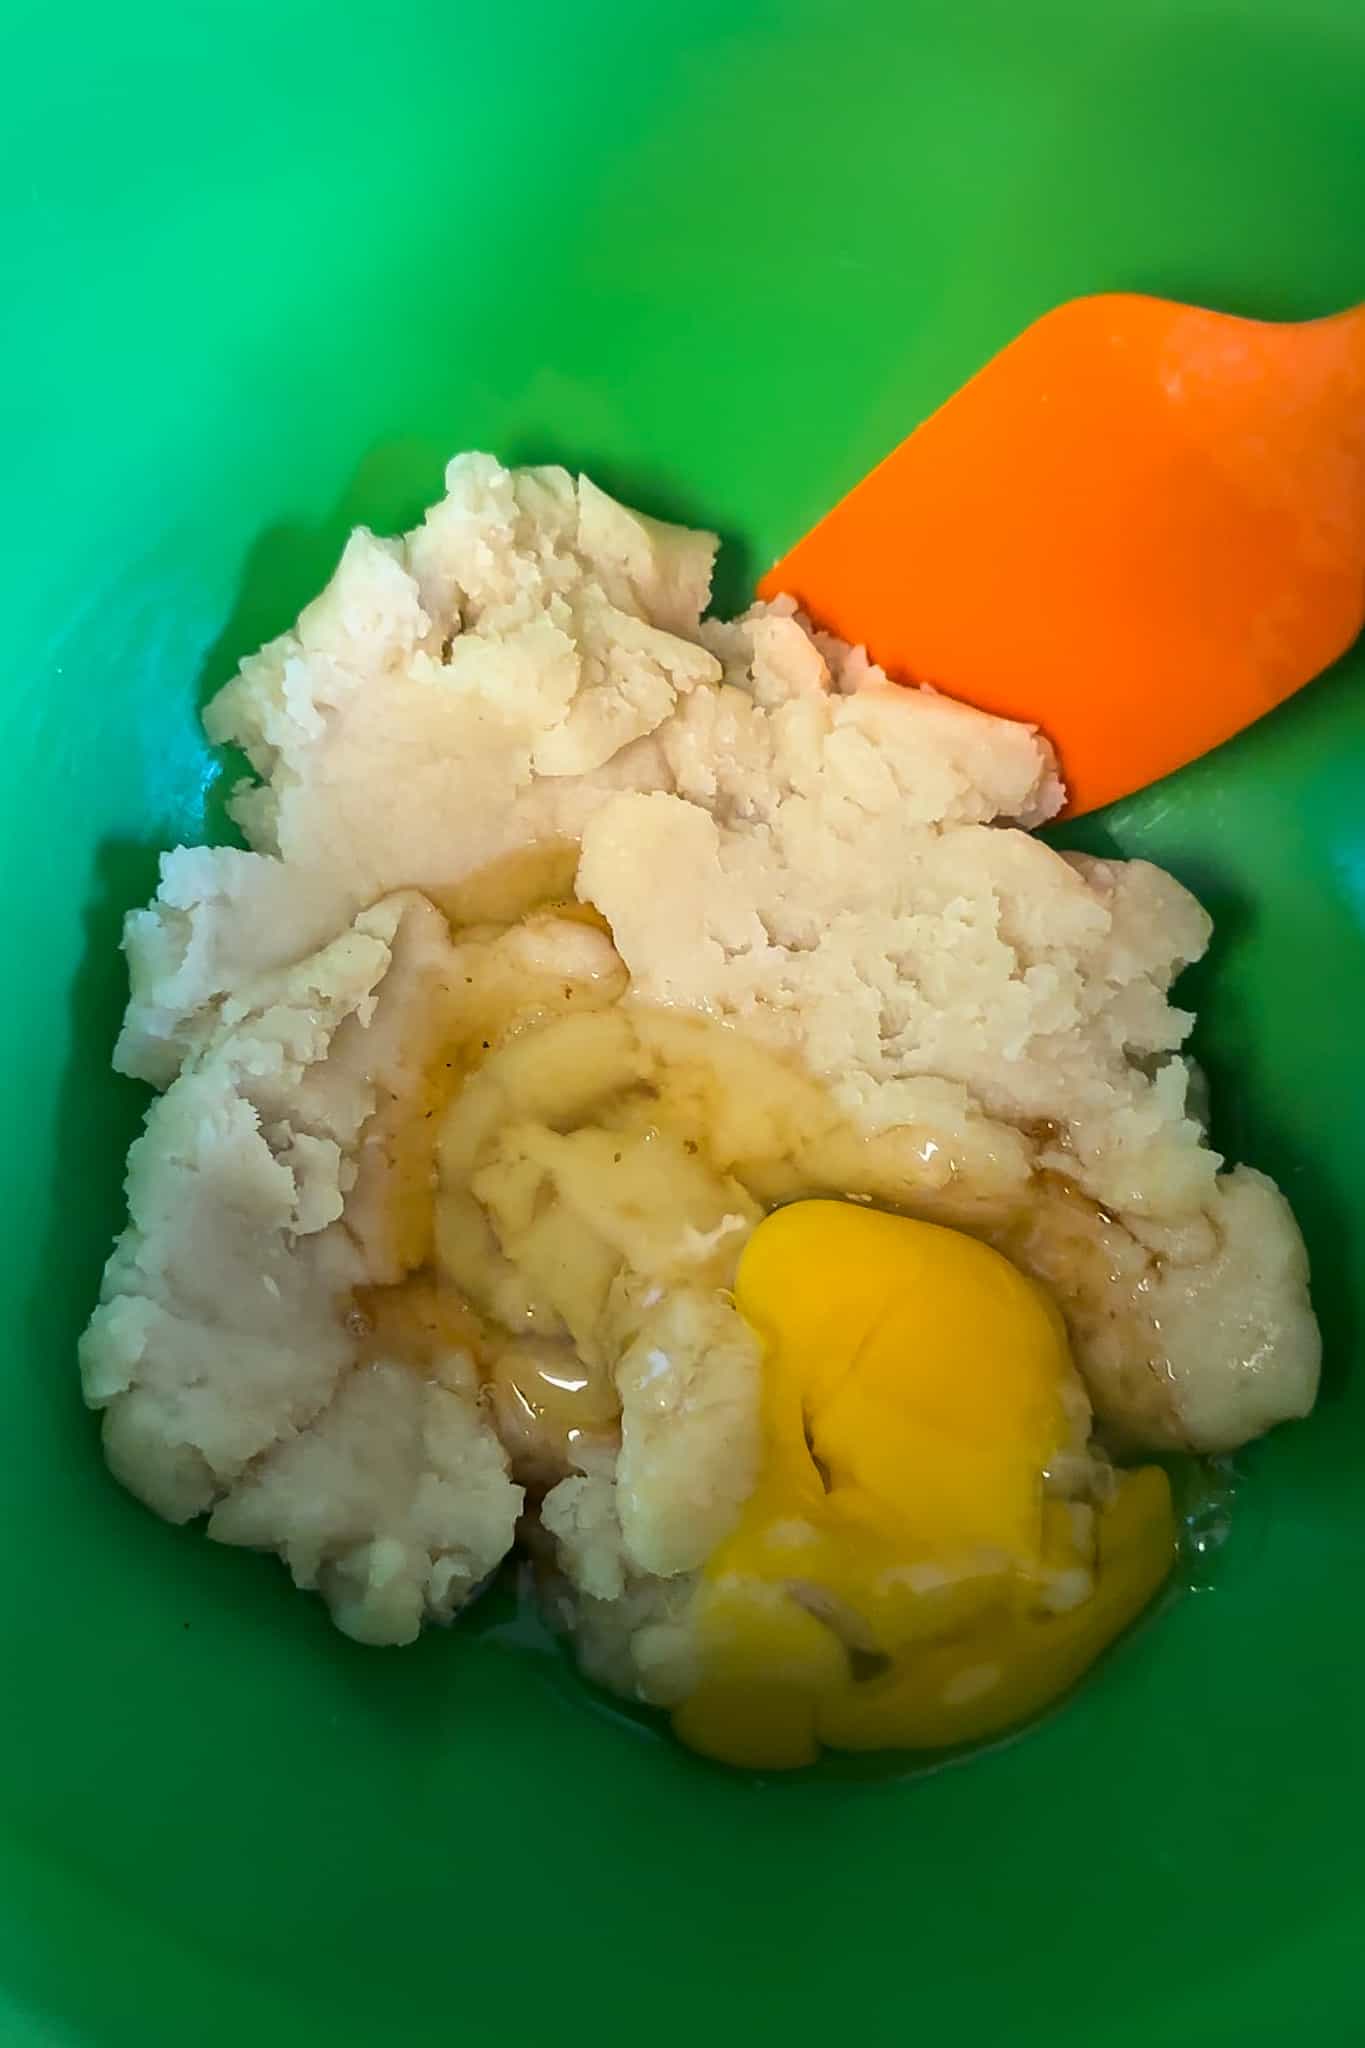
- Remove the sauce pan from the heat and continue stirring. Once a dough is formed, add in the vanilla extract and the eggs one at a time, stirring and mashing the dough together until all of the eggs are fully incorporated.
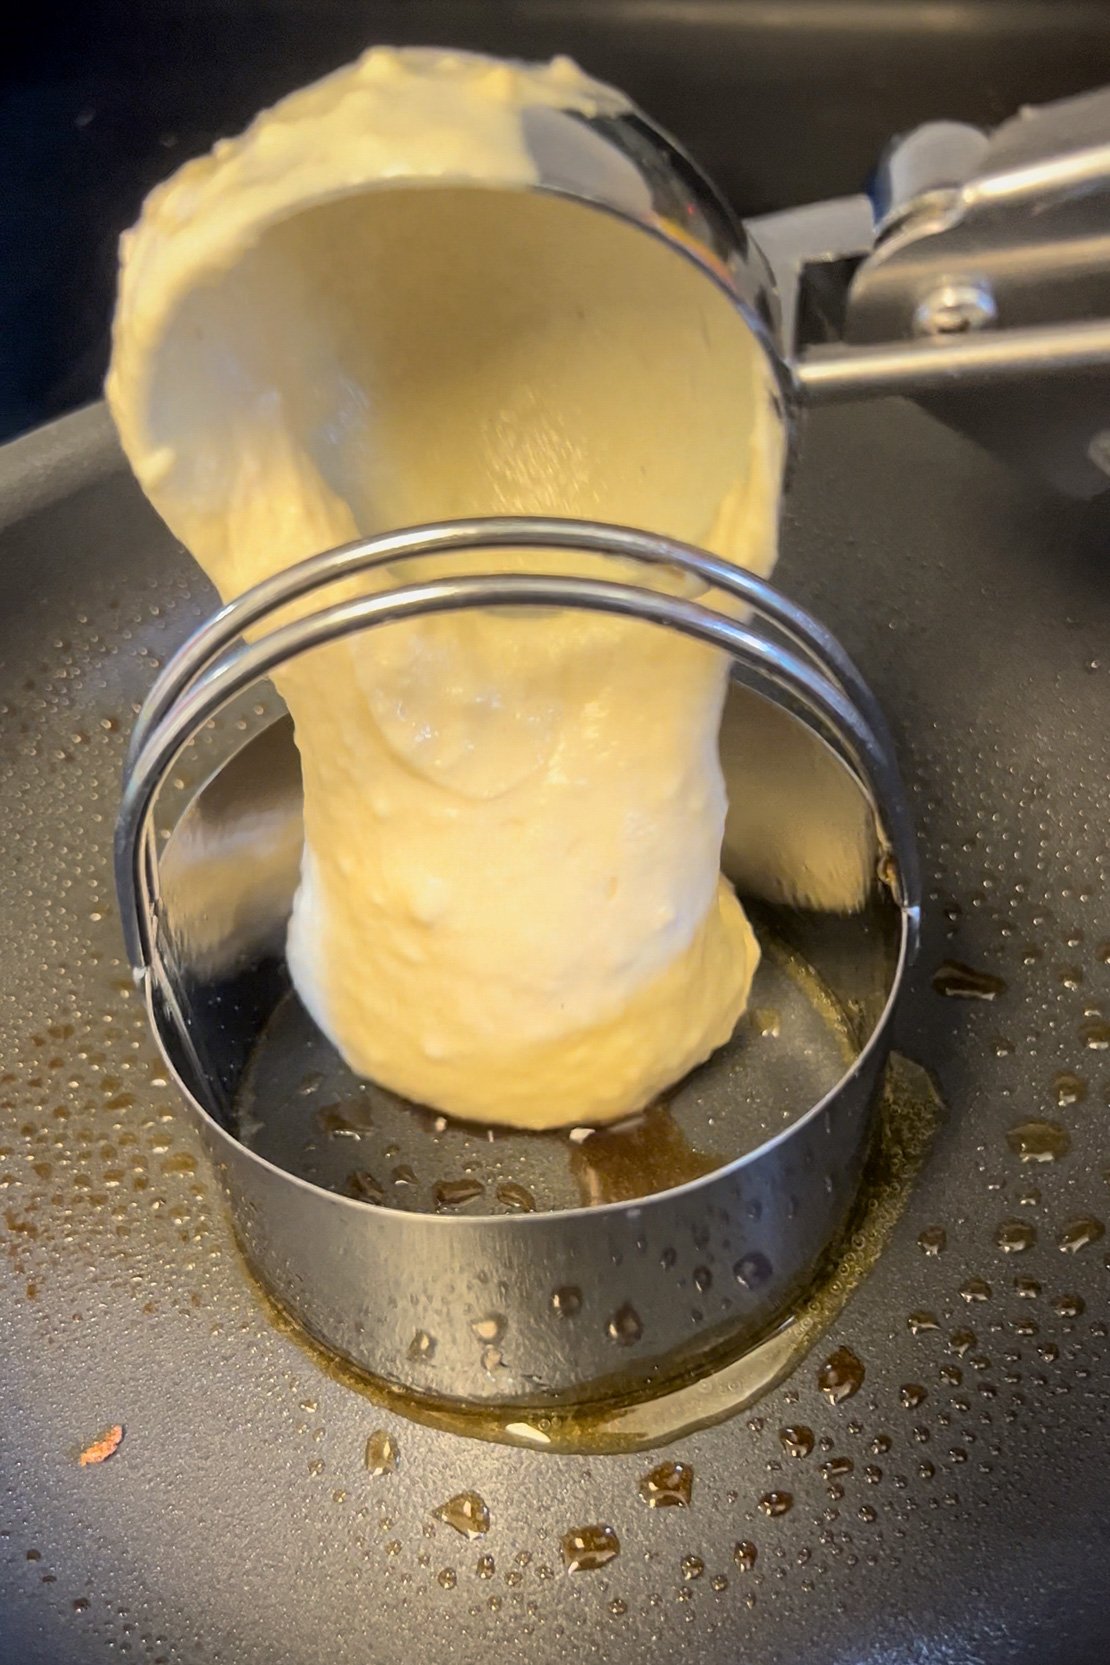
- Transfer the mixture to a large piping bag fitted with a large open star tip.
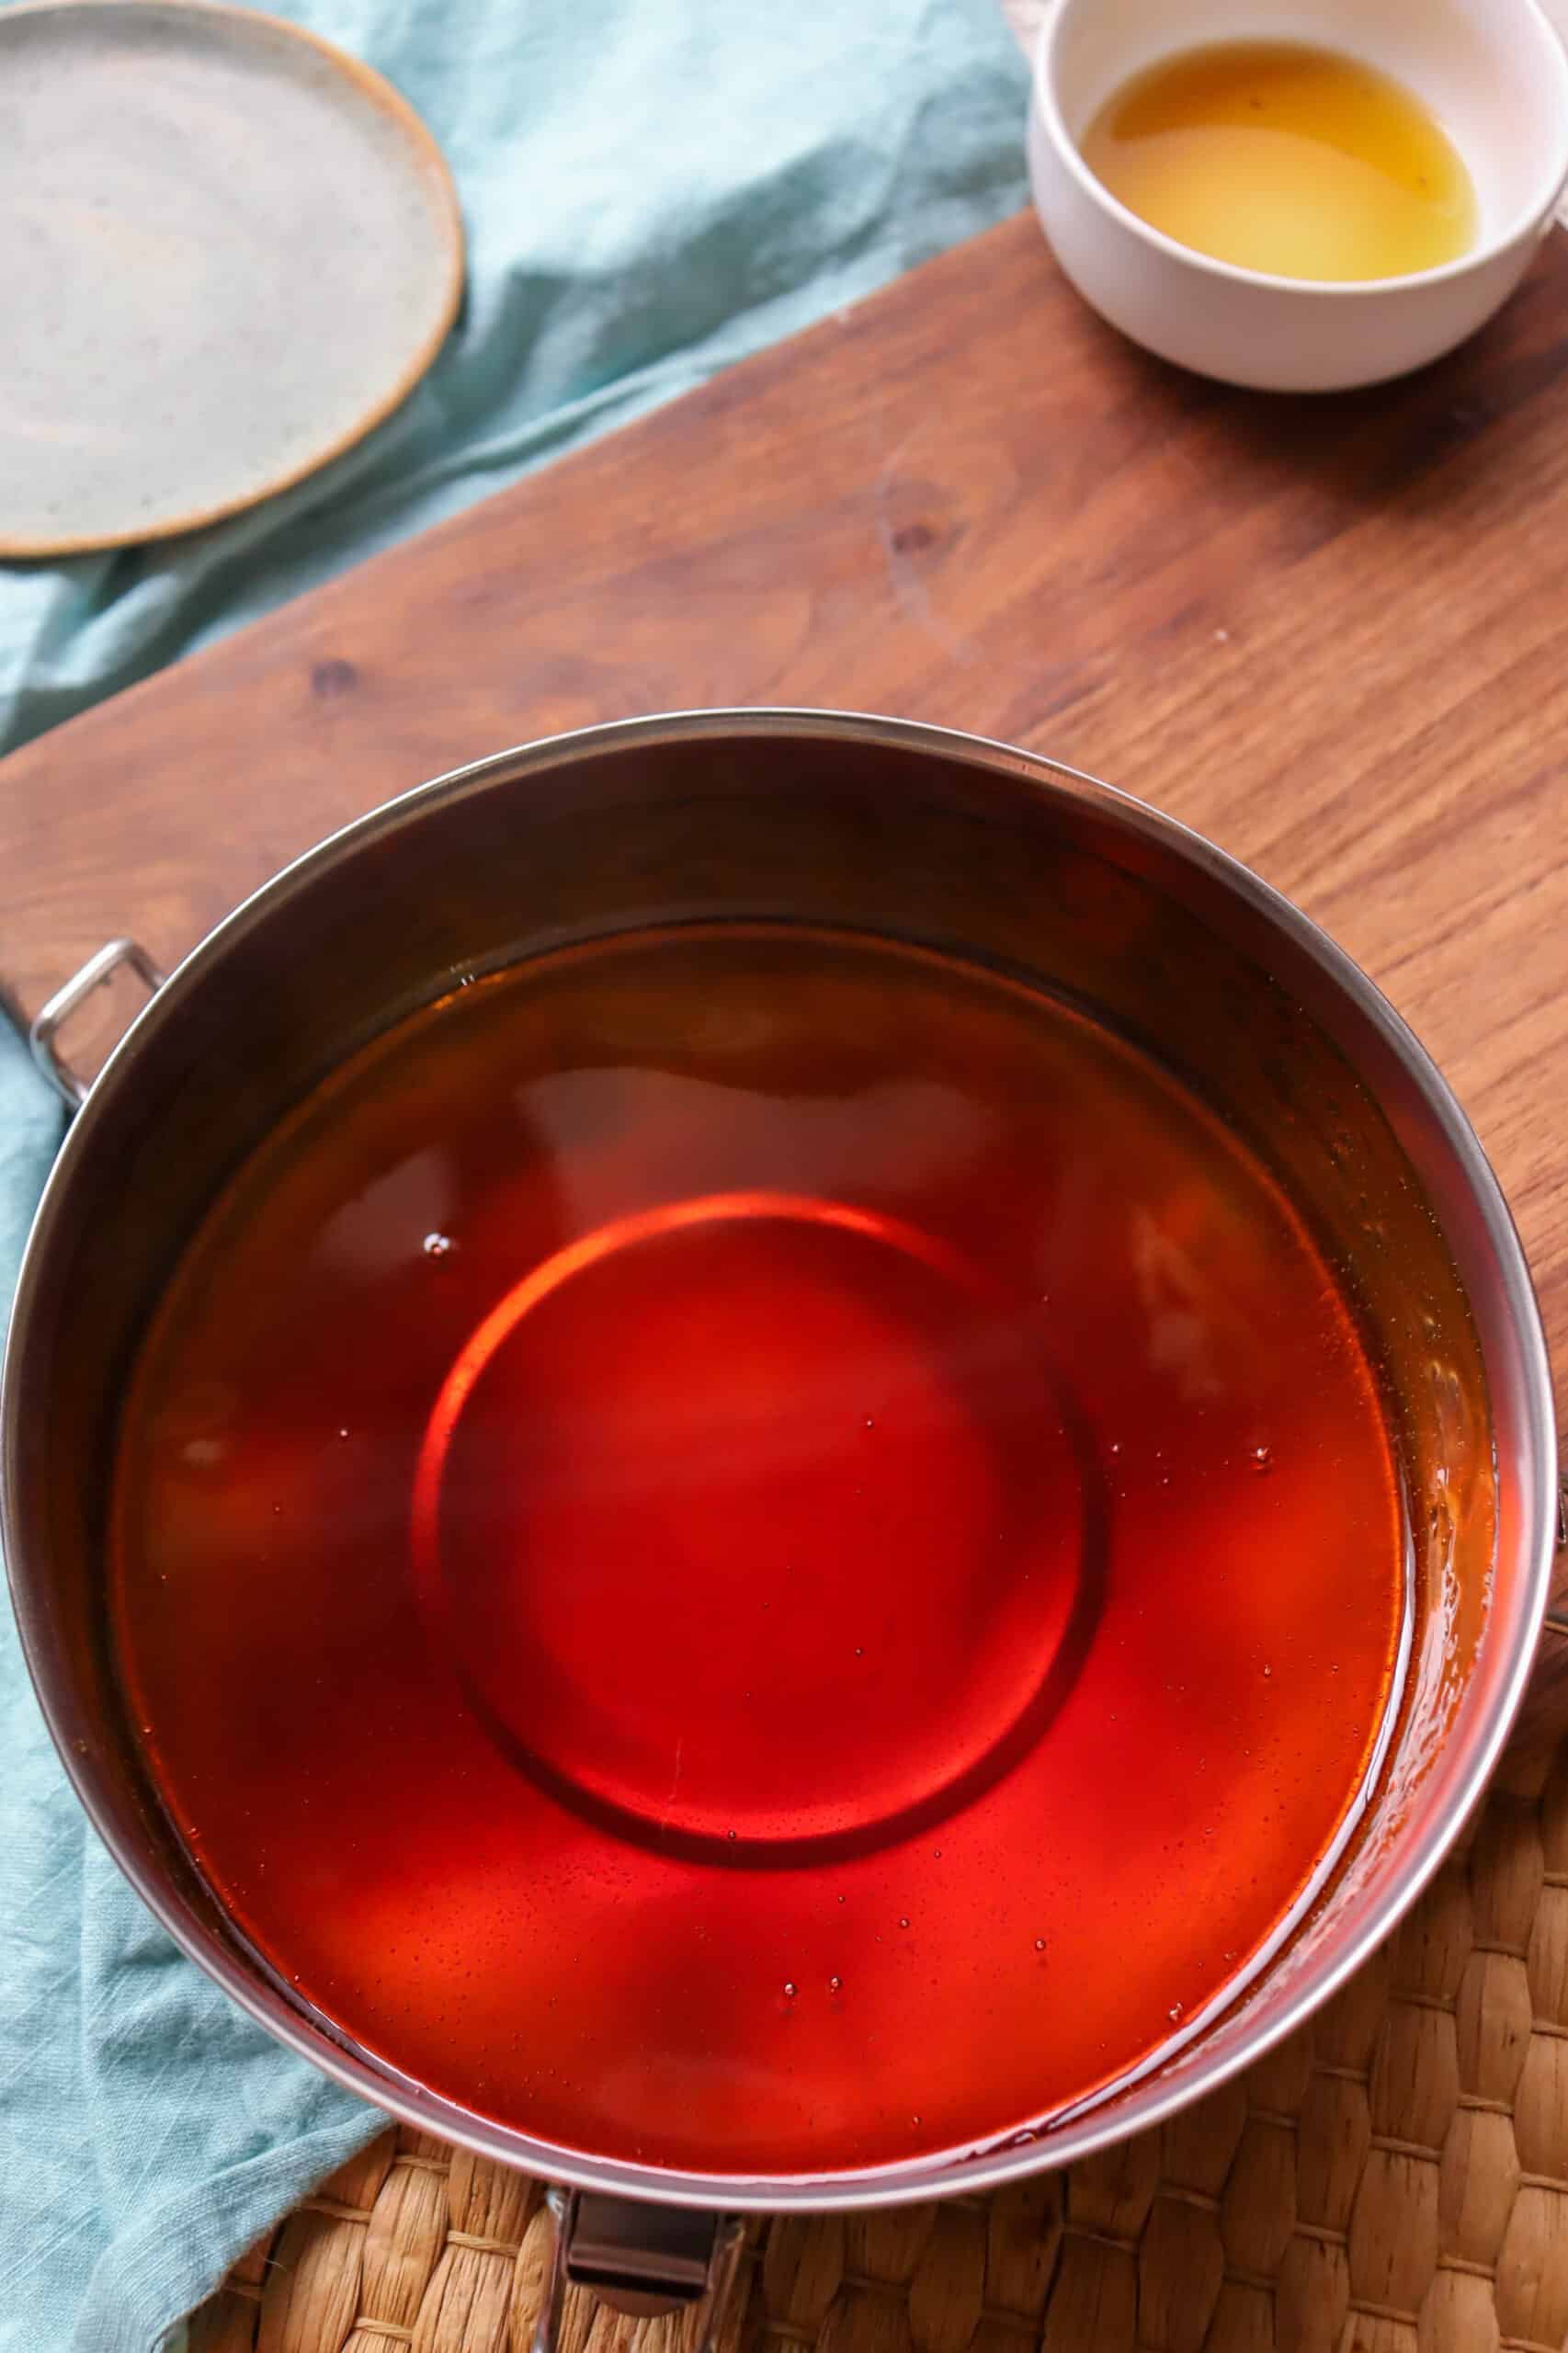
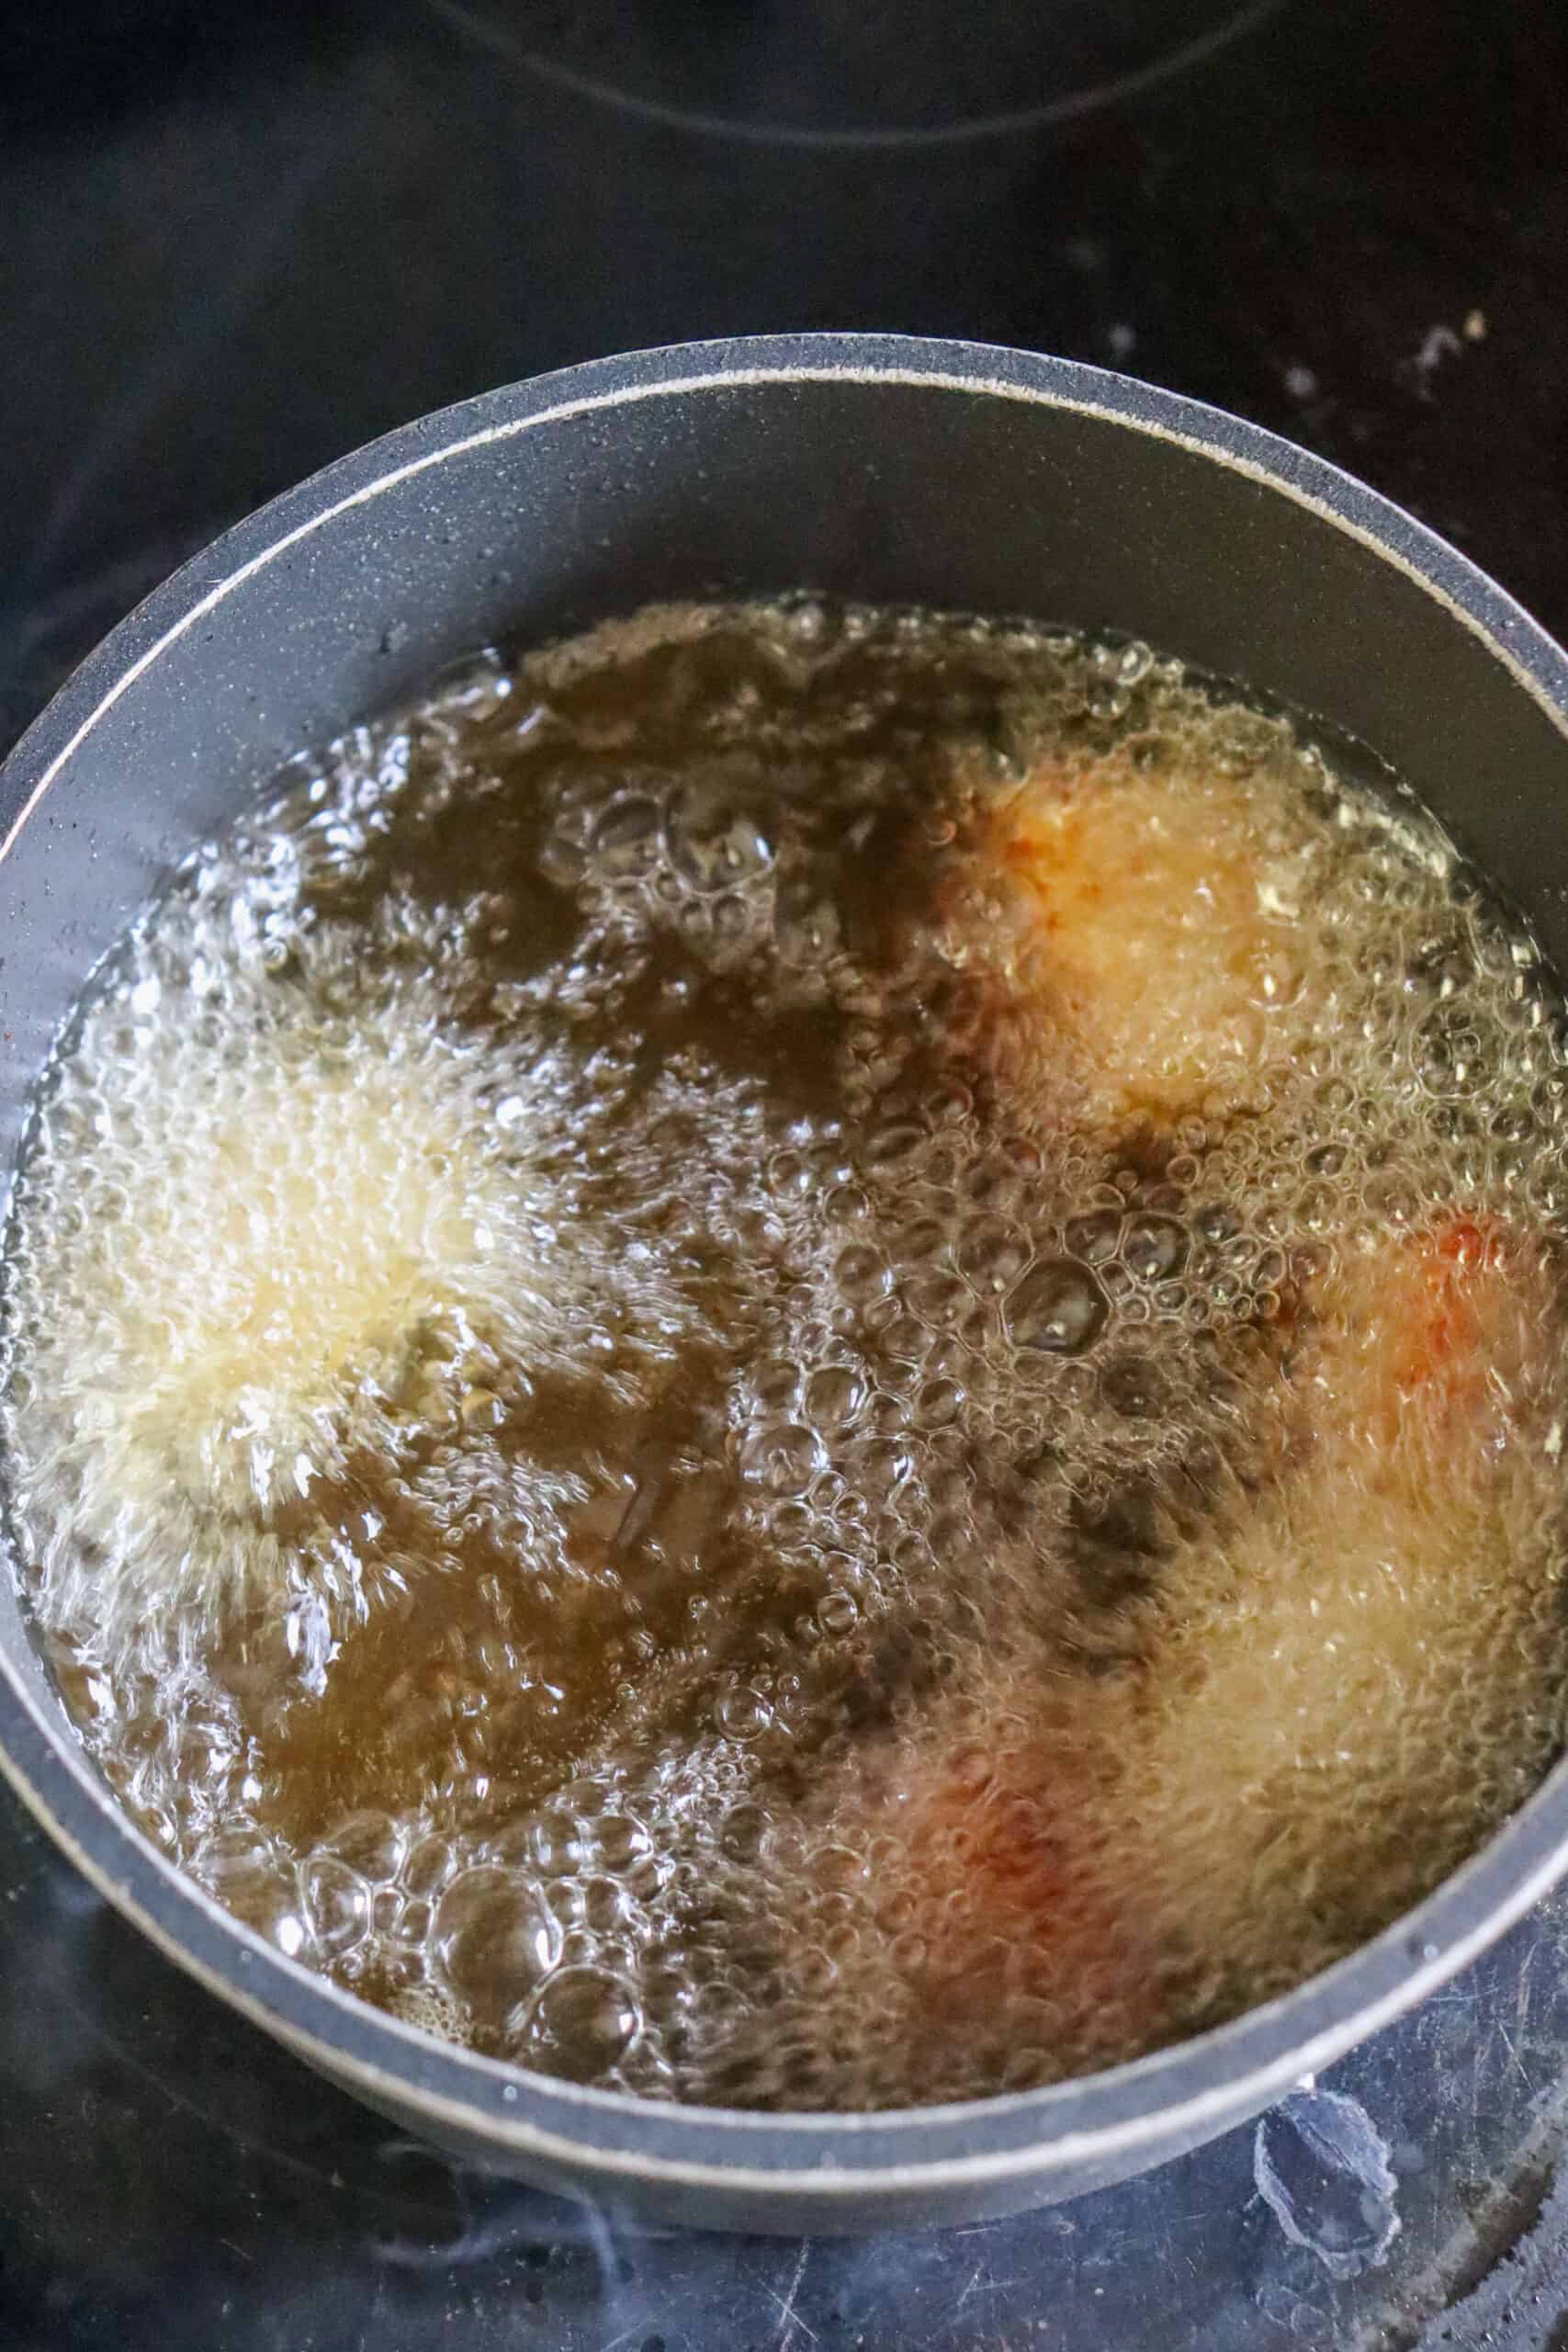
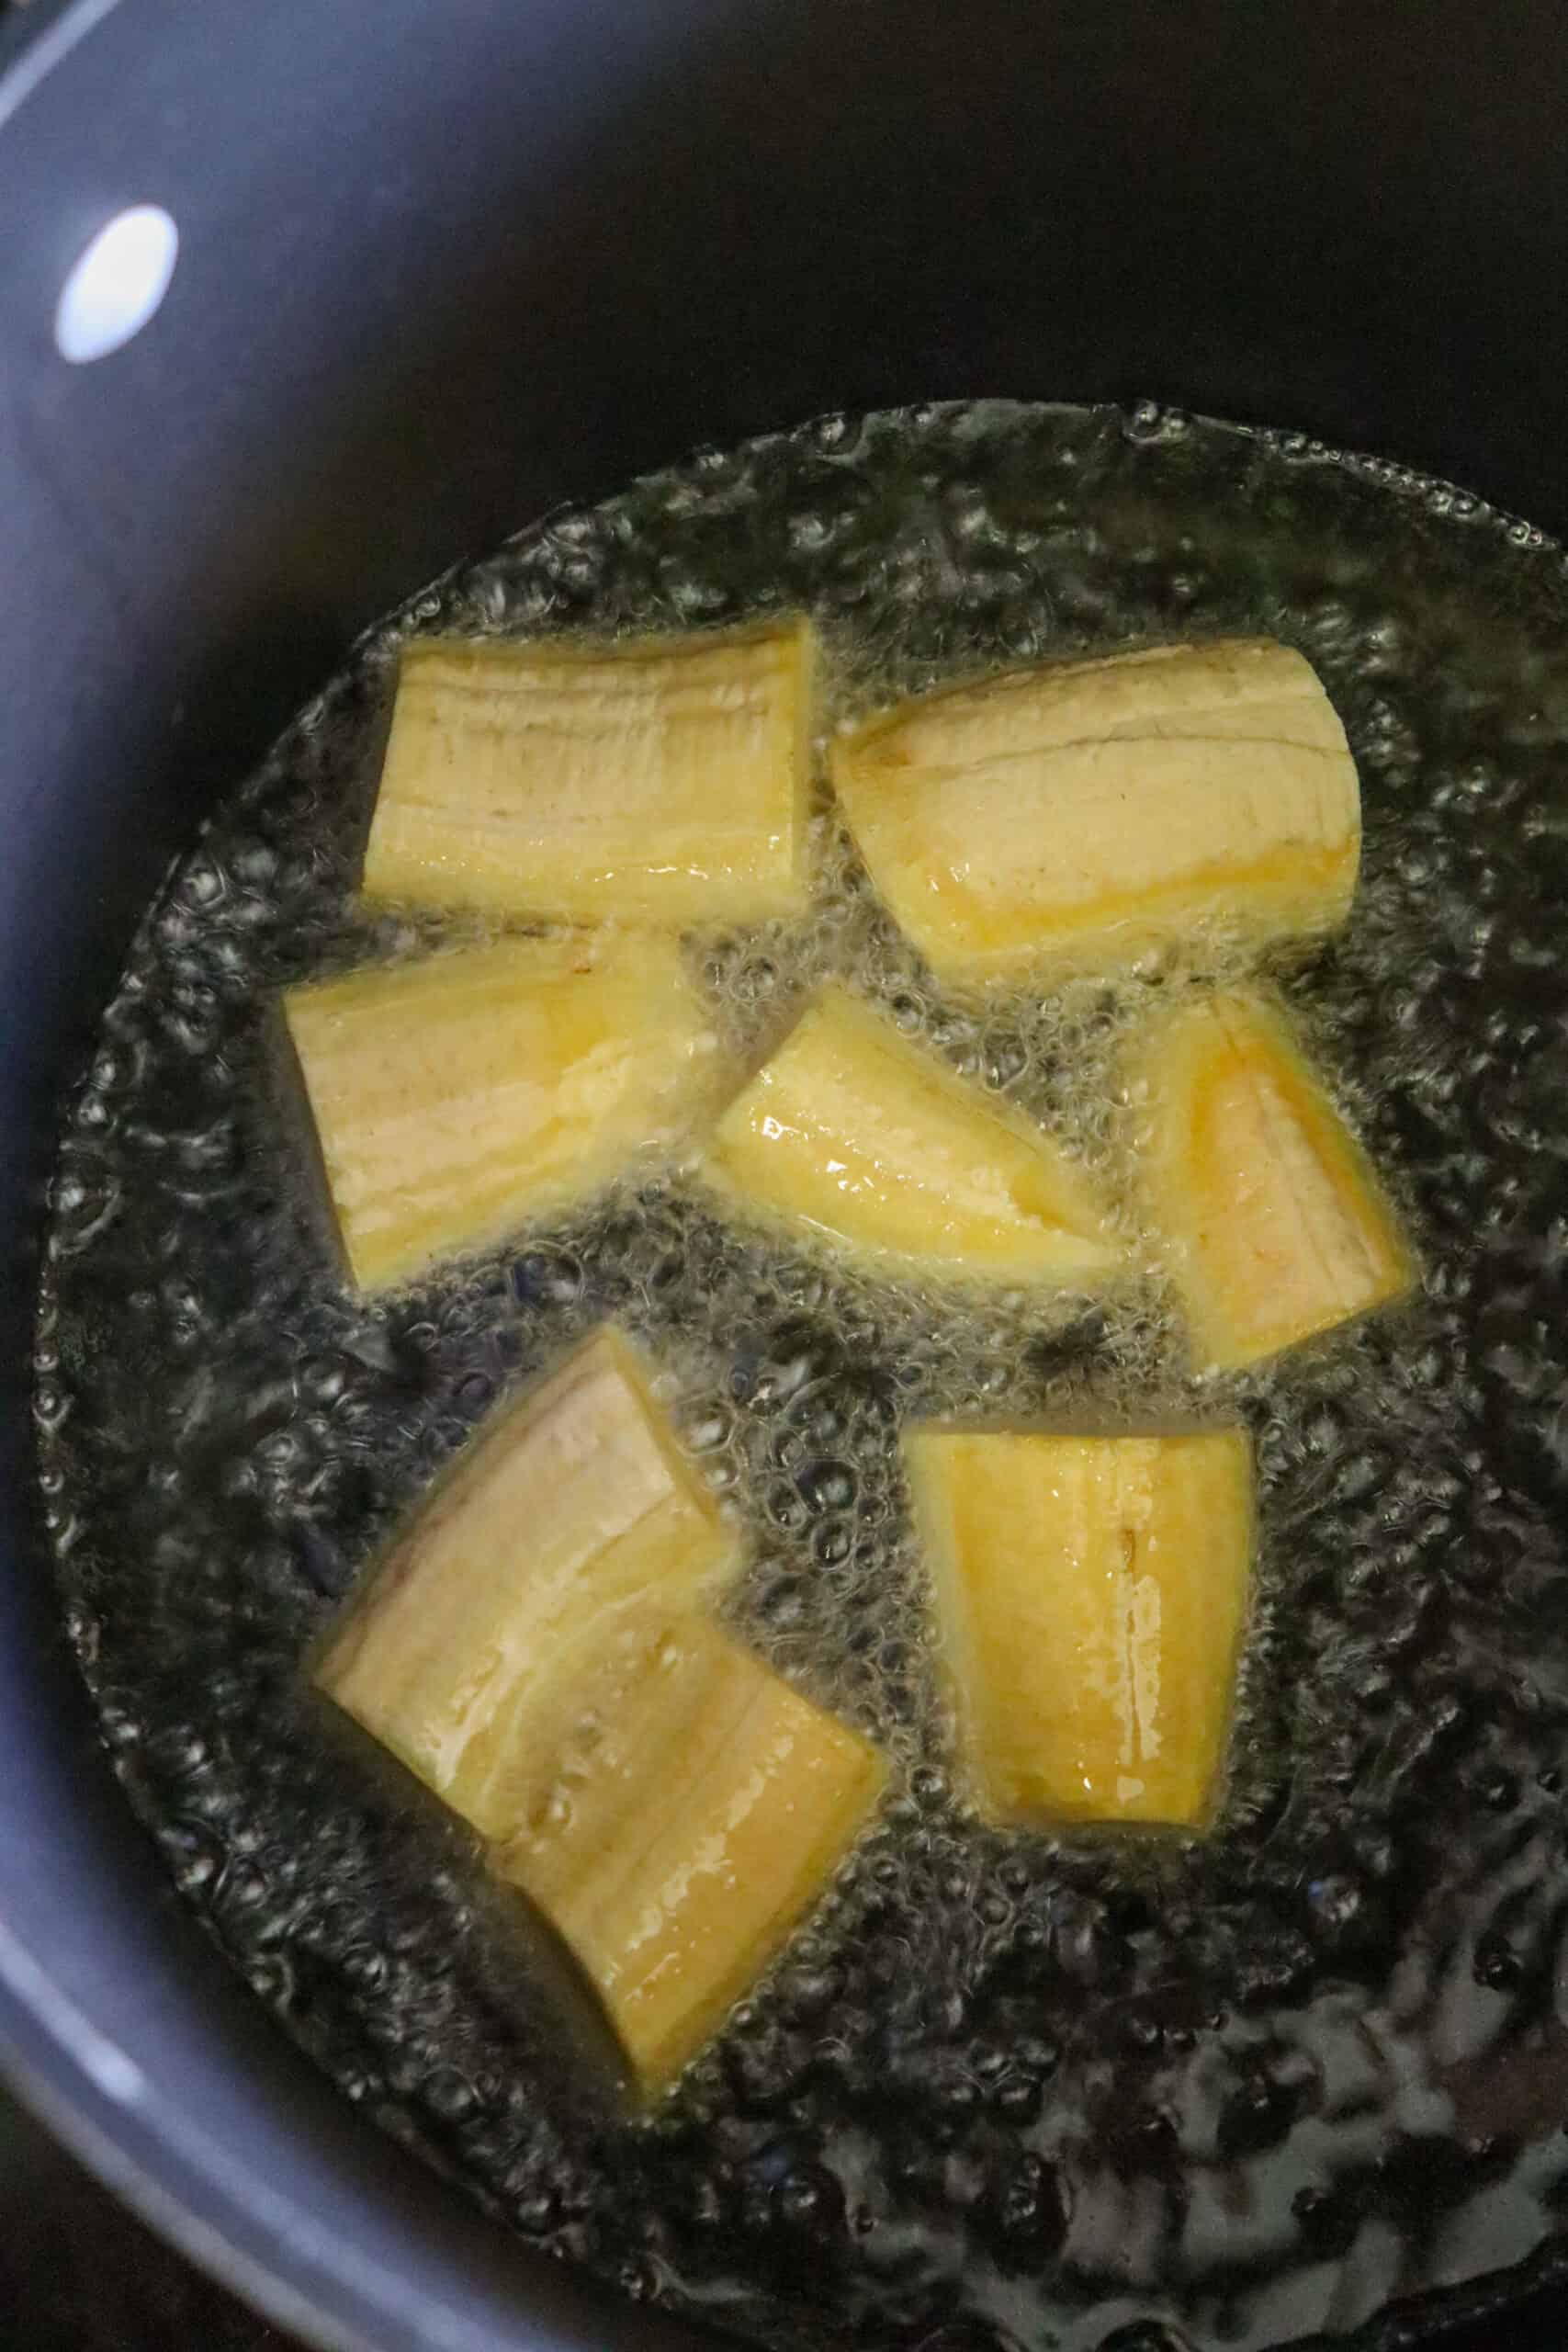
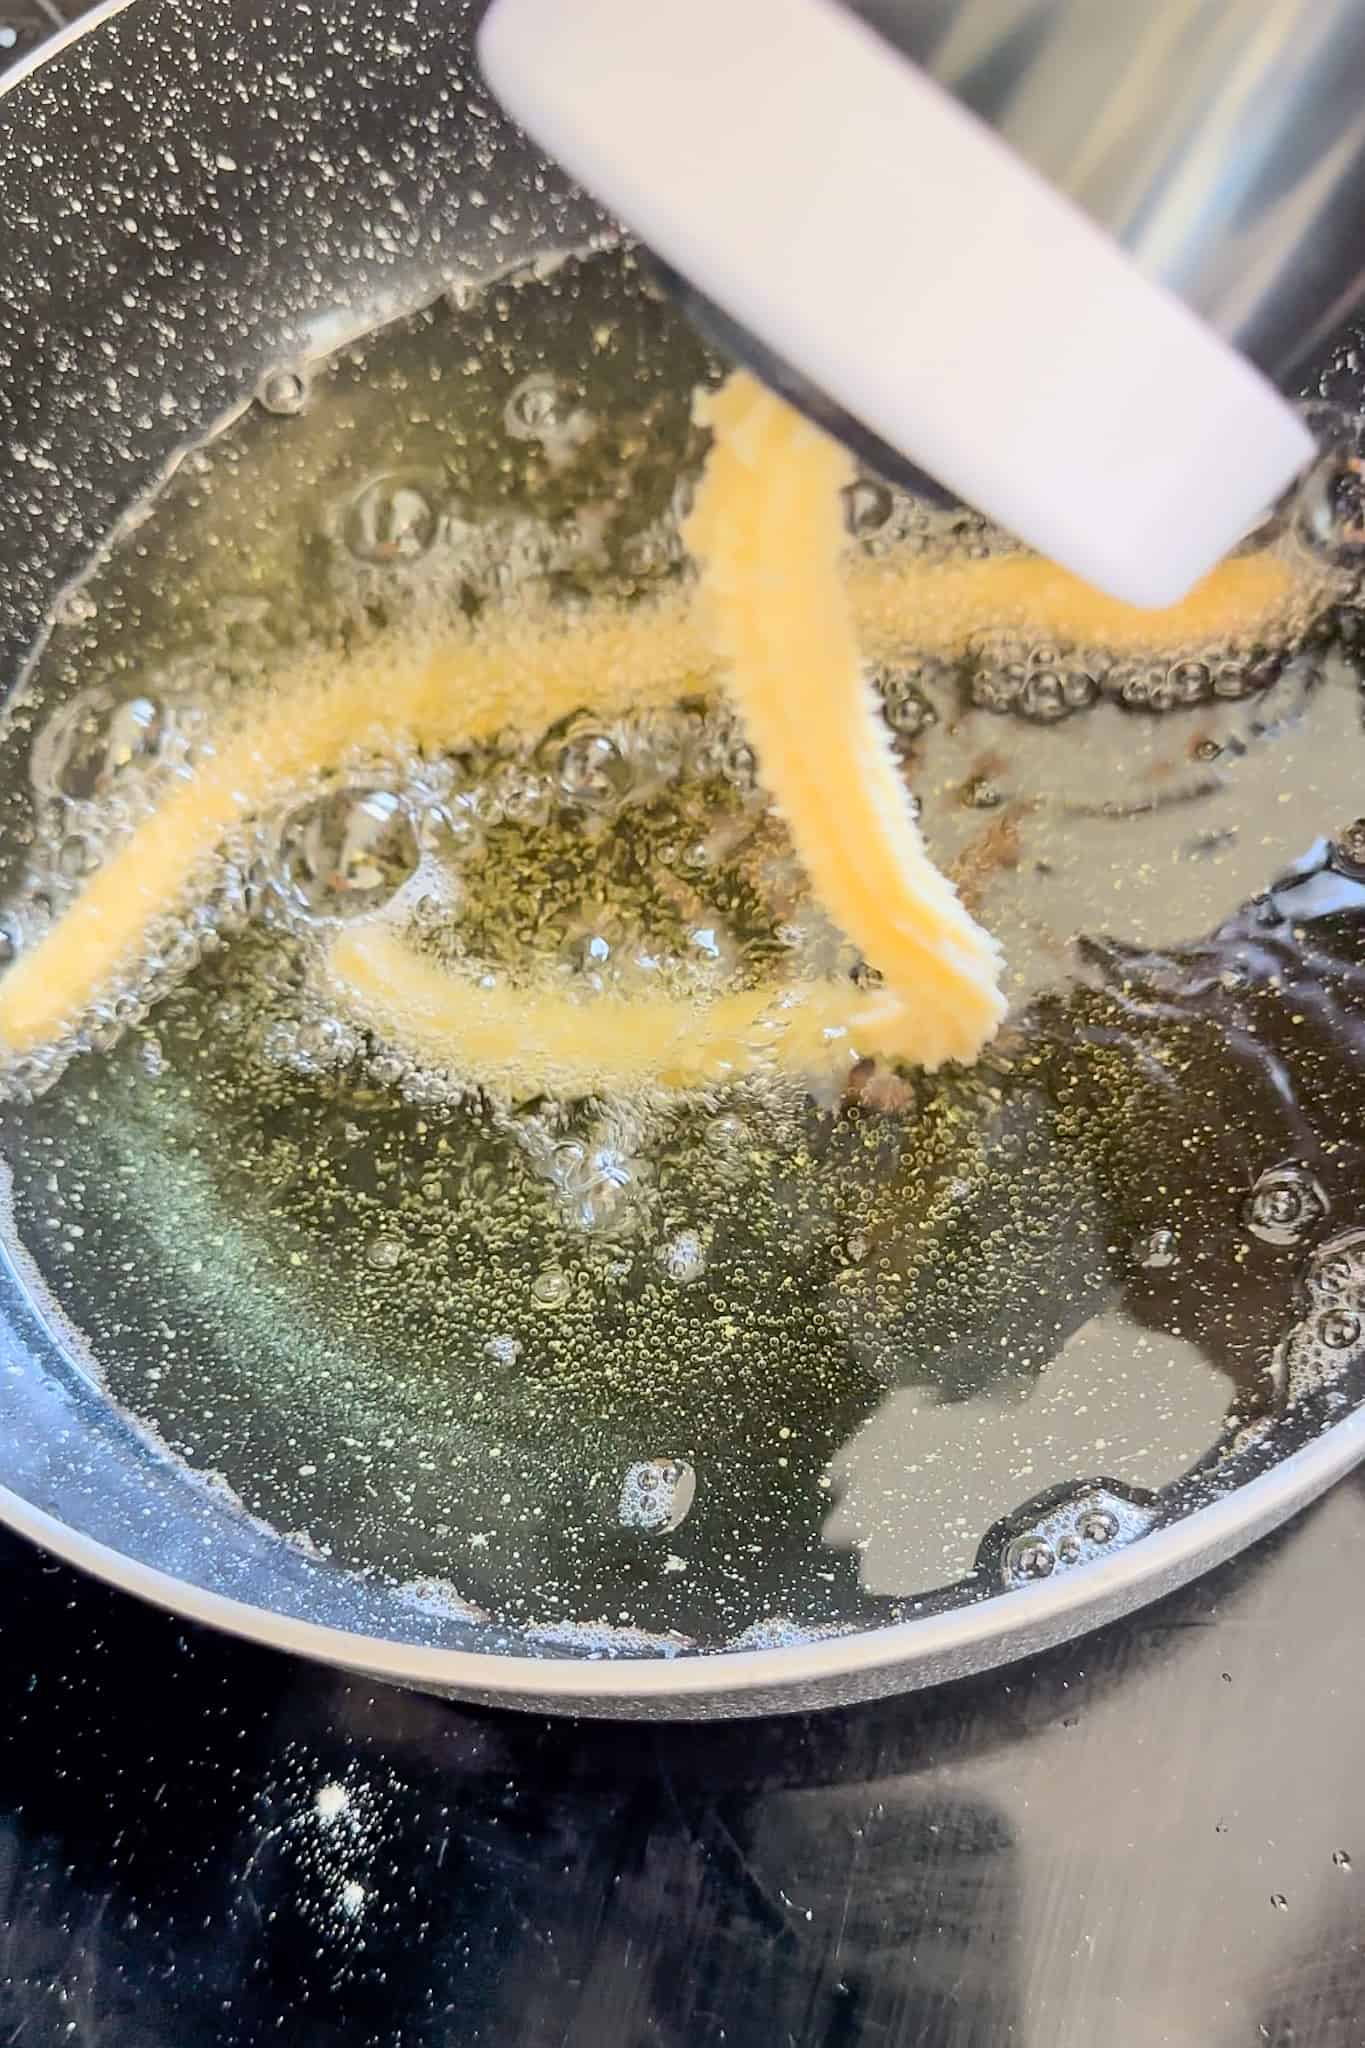
- Place your frying oil into a dutch oven and heat until the temperature on a candy thermometer reads 350 degrees for the oil.
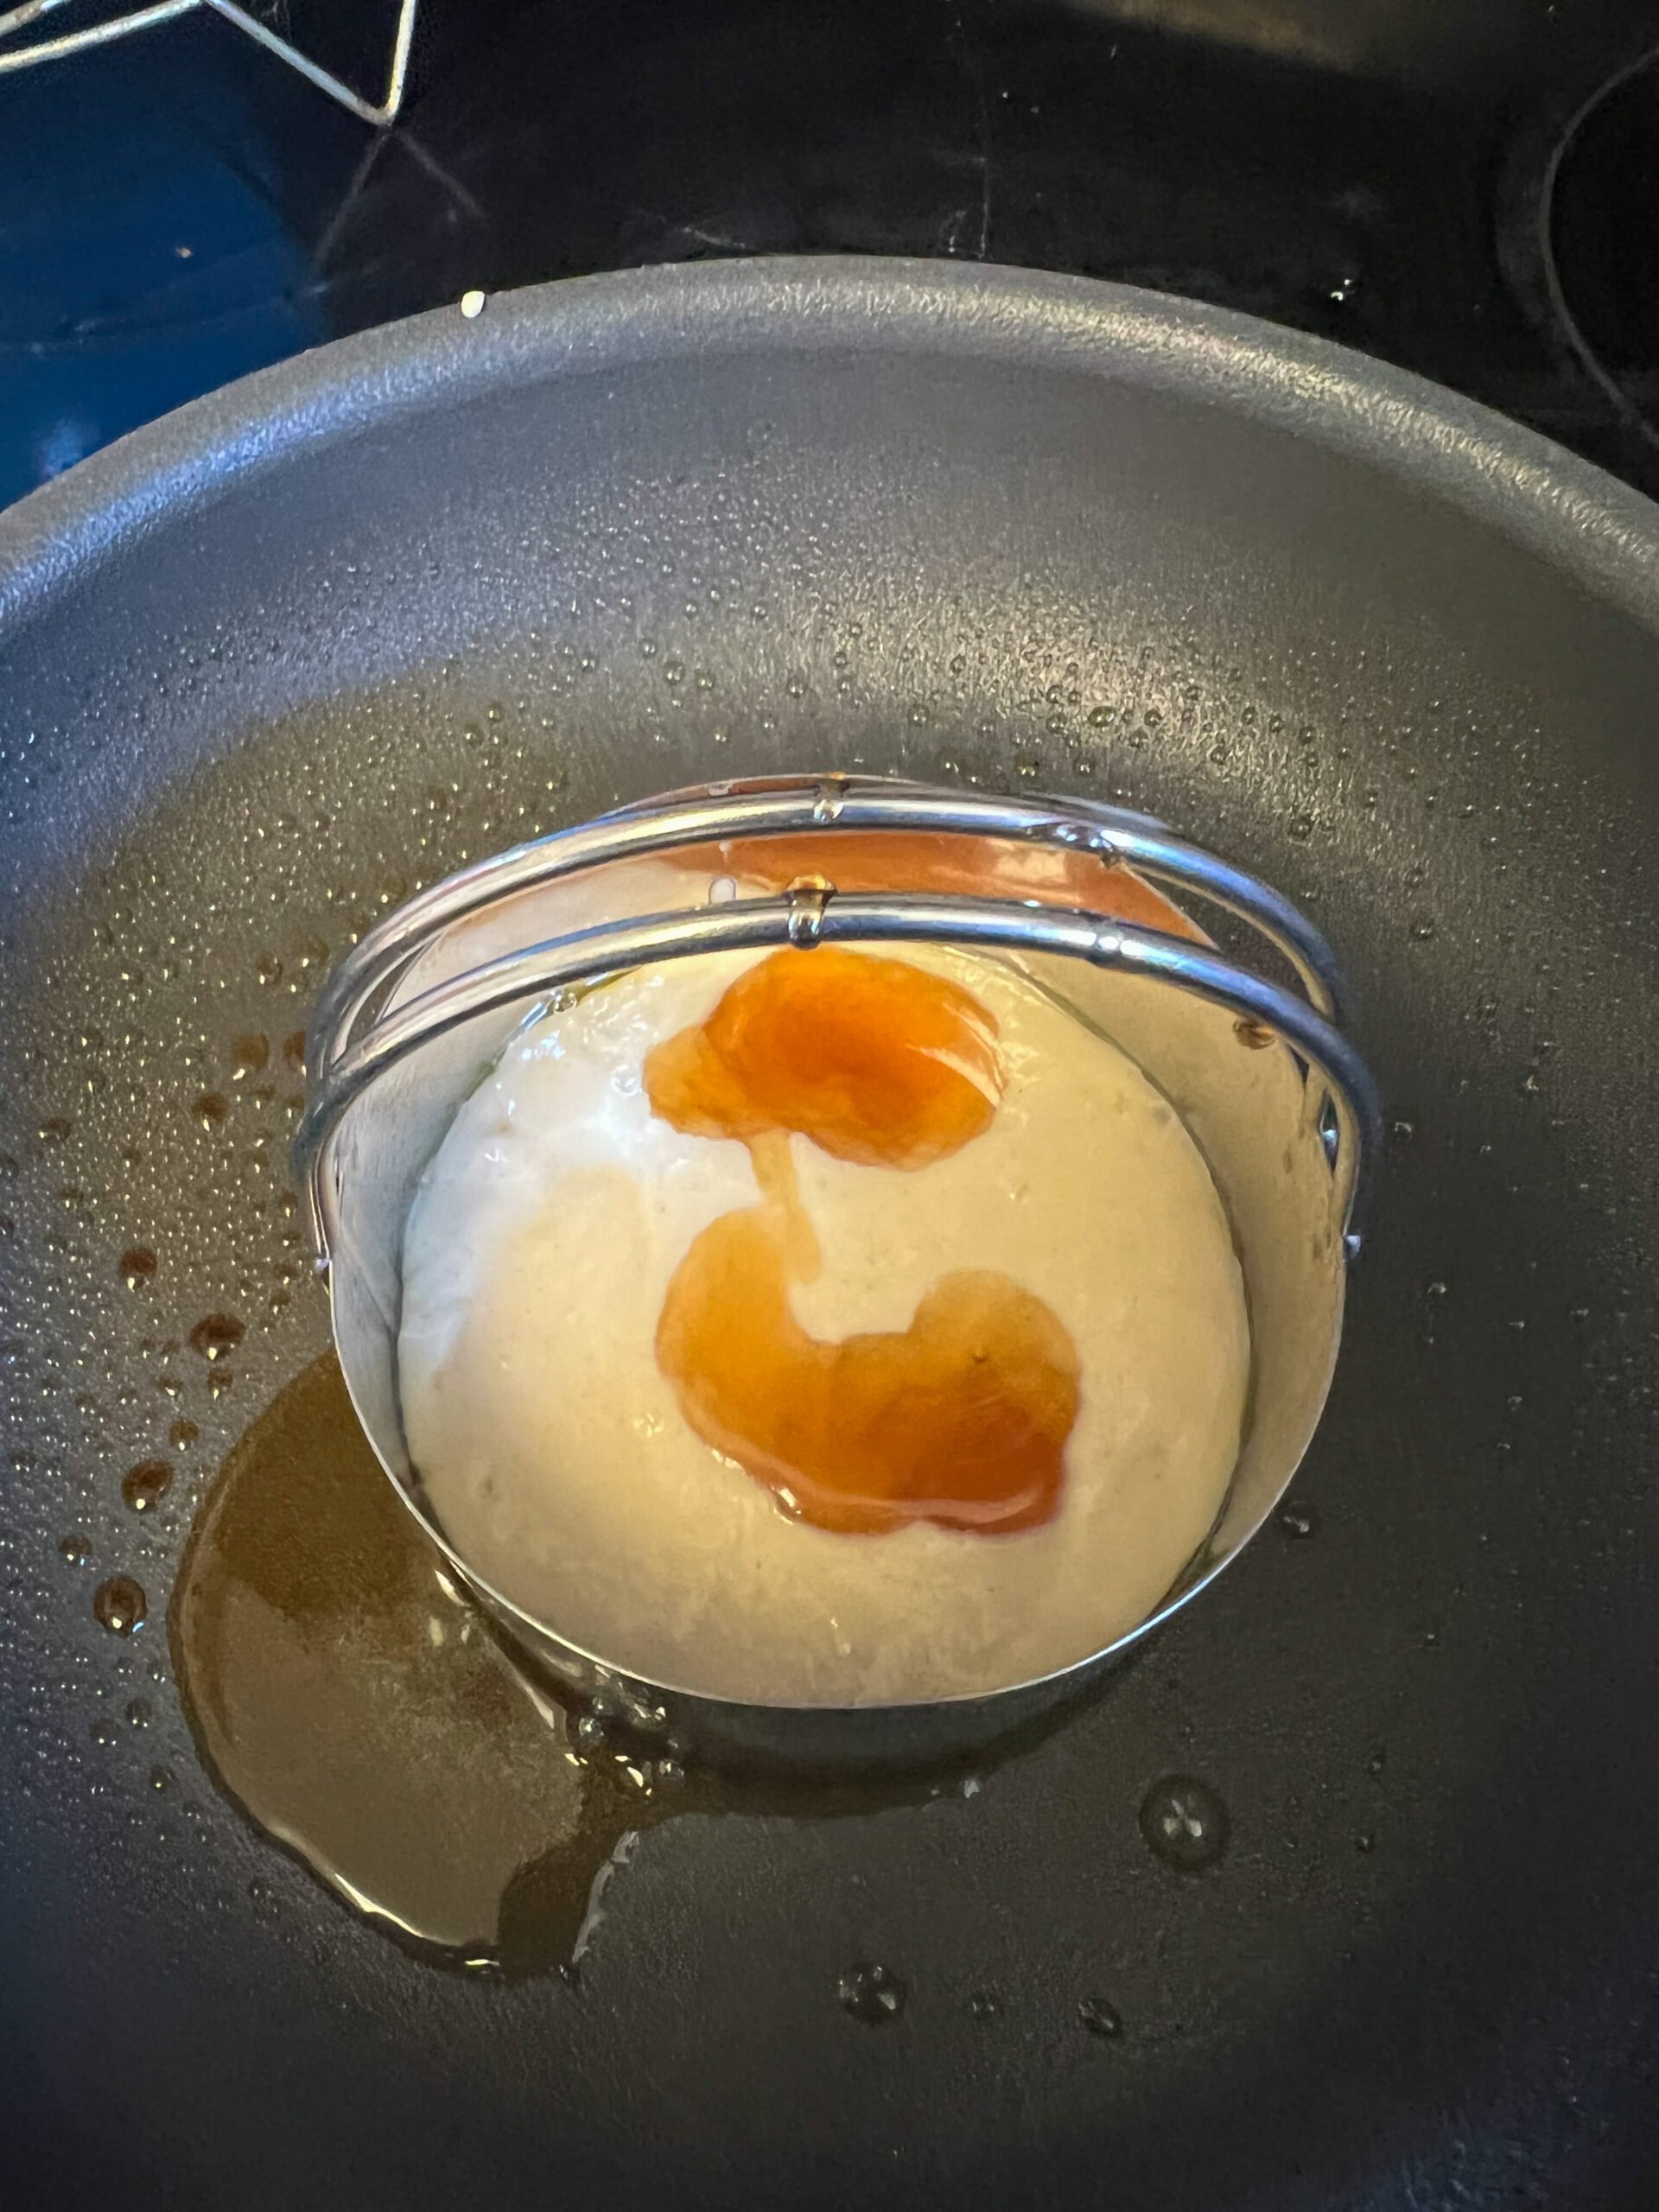
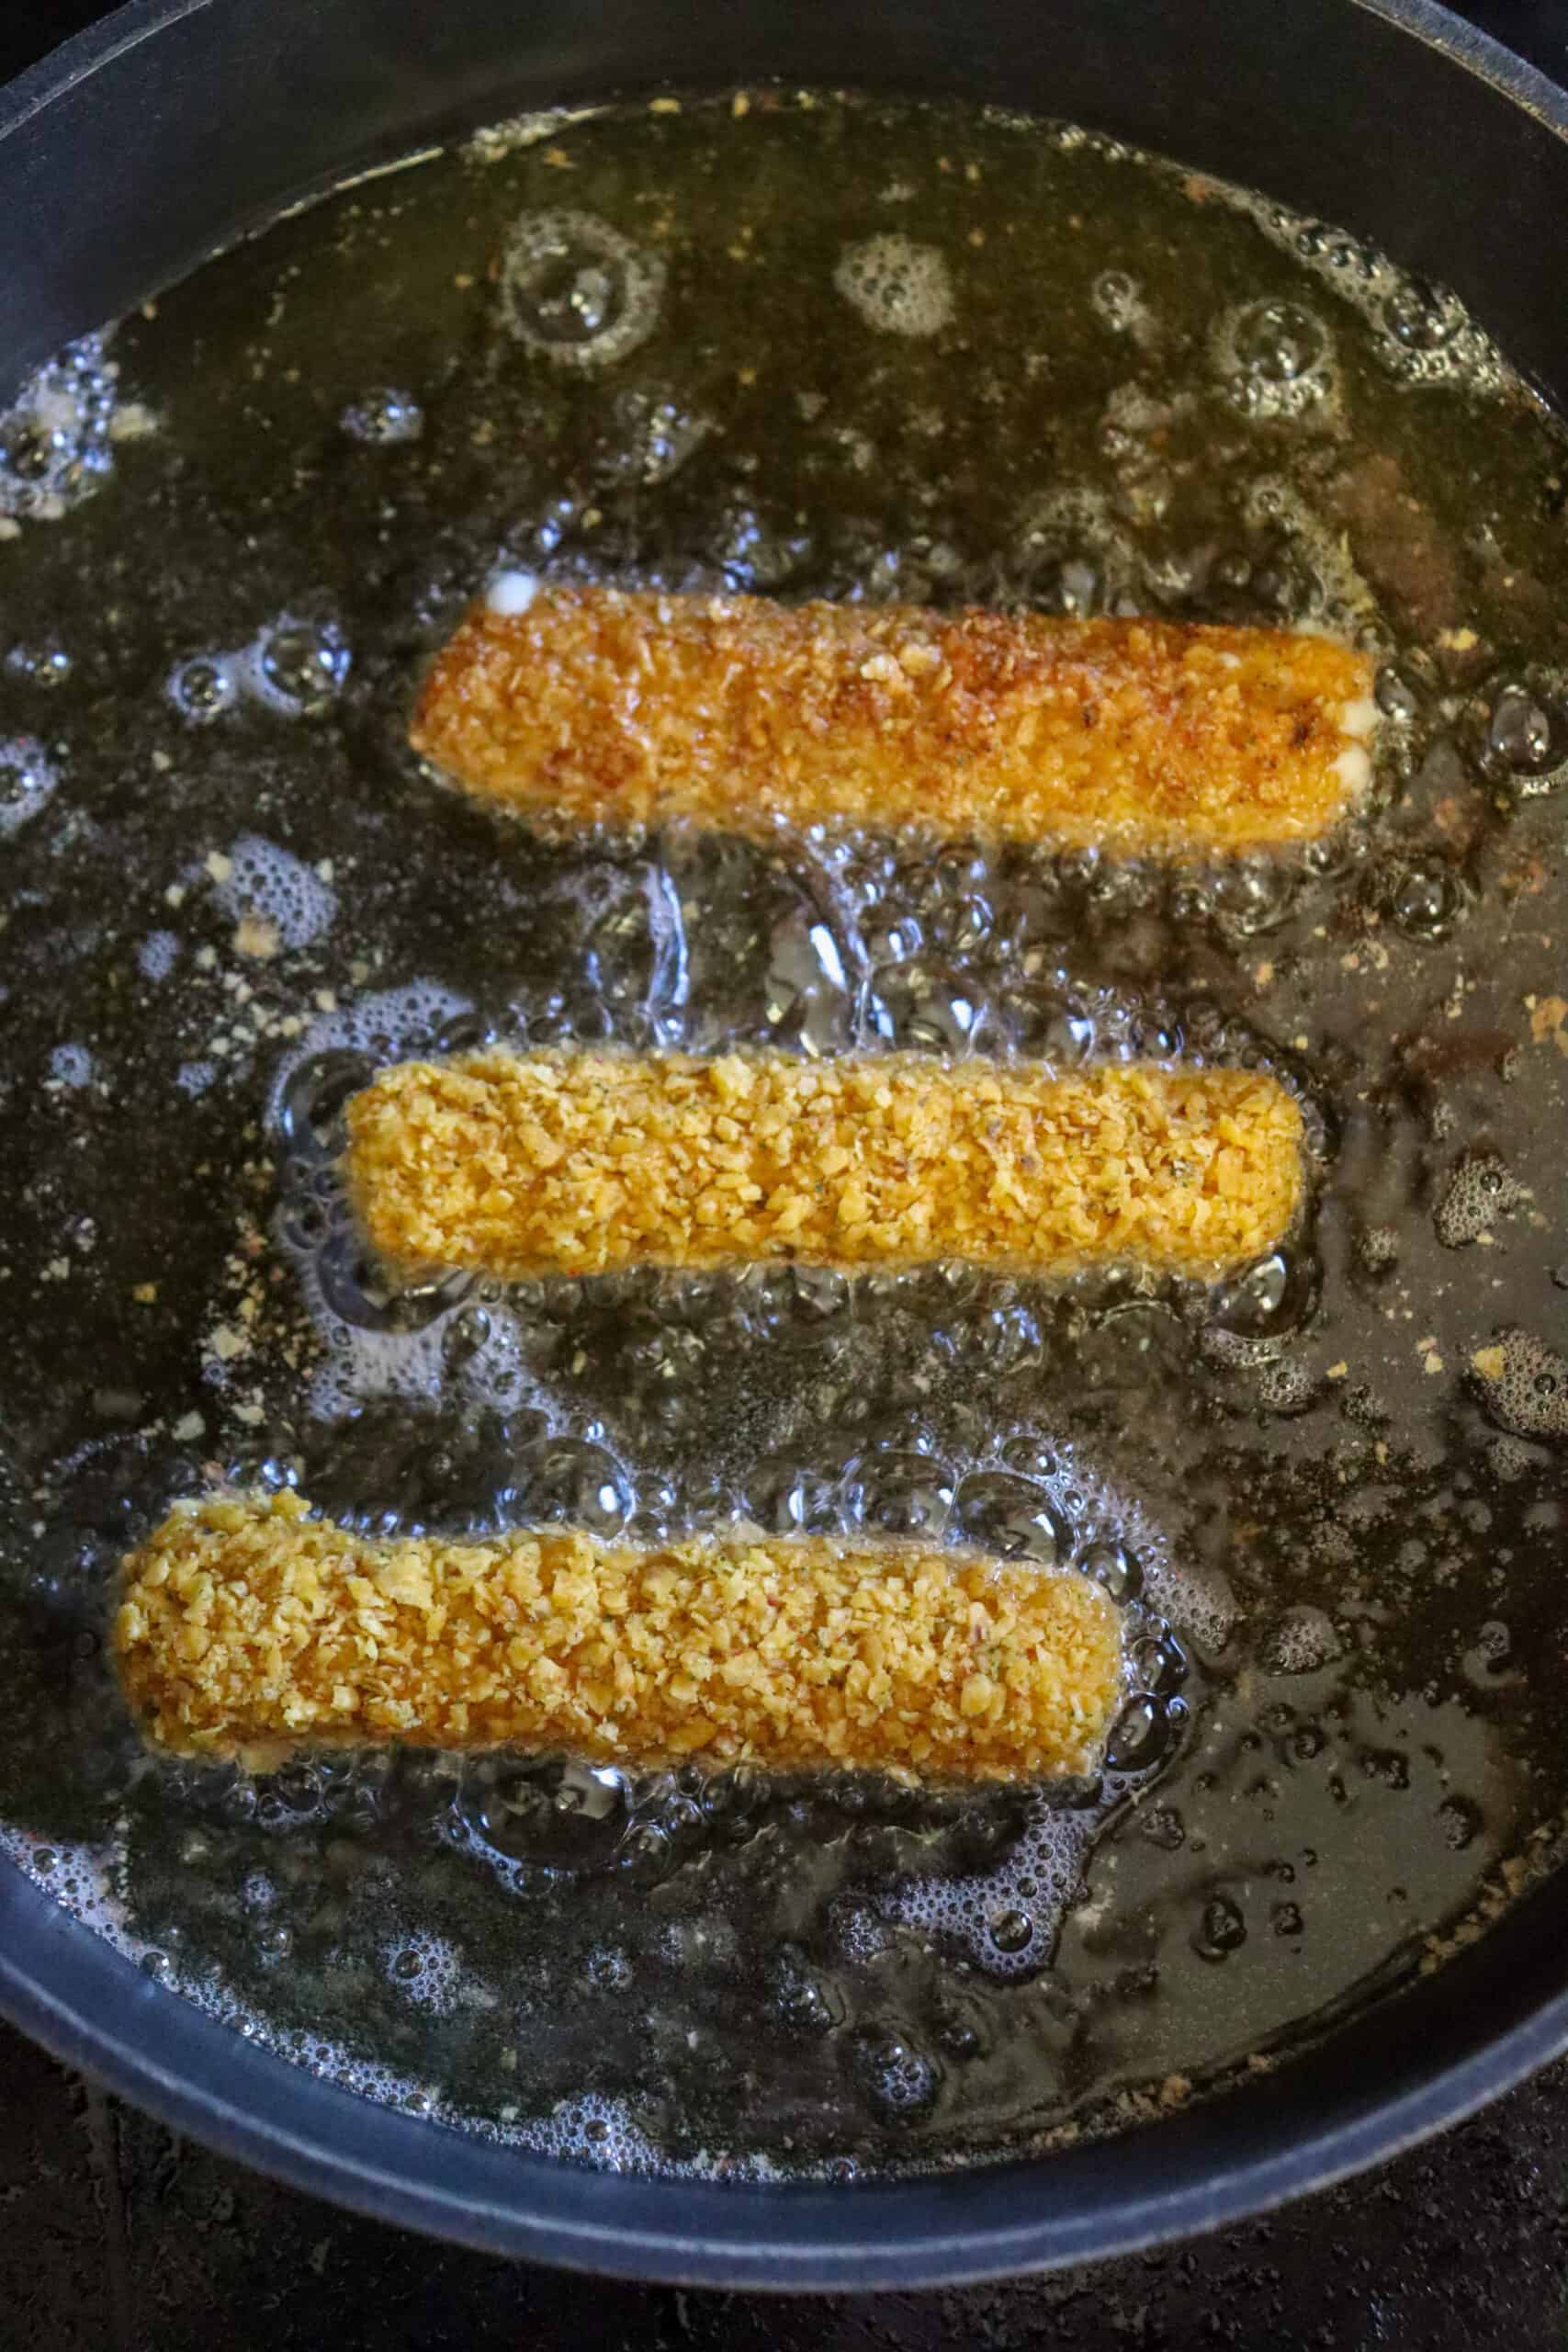
- Pipe the soft dough directly into the hot oil and use a pair of kitchen scissors to cut the churros into strips.
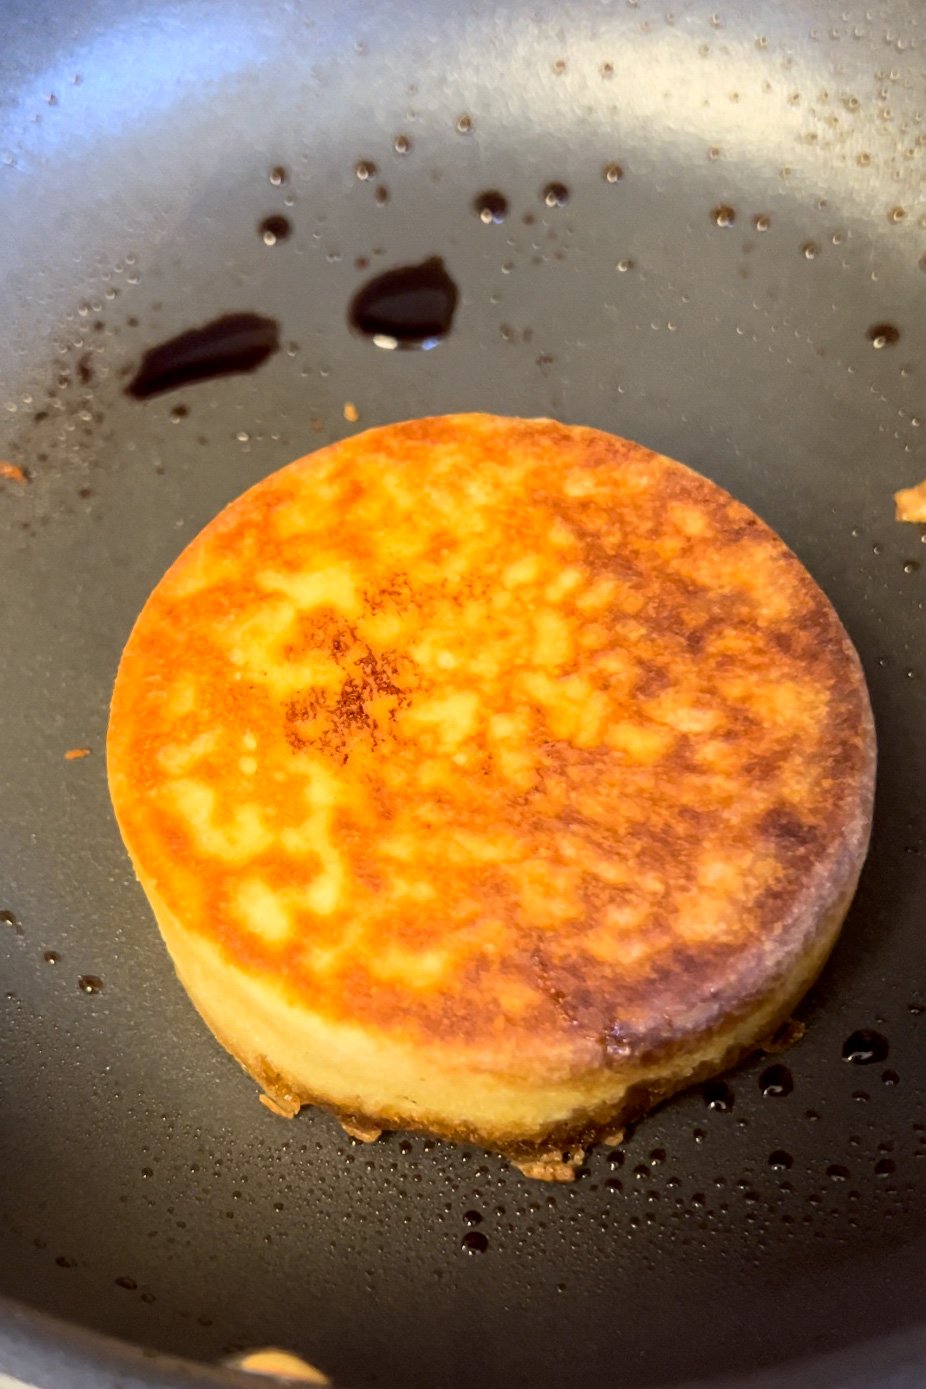
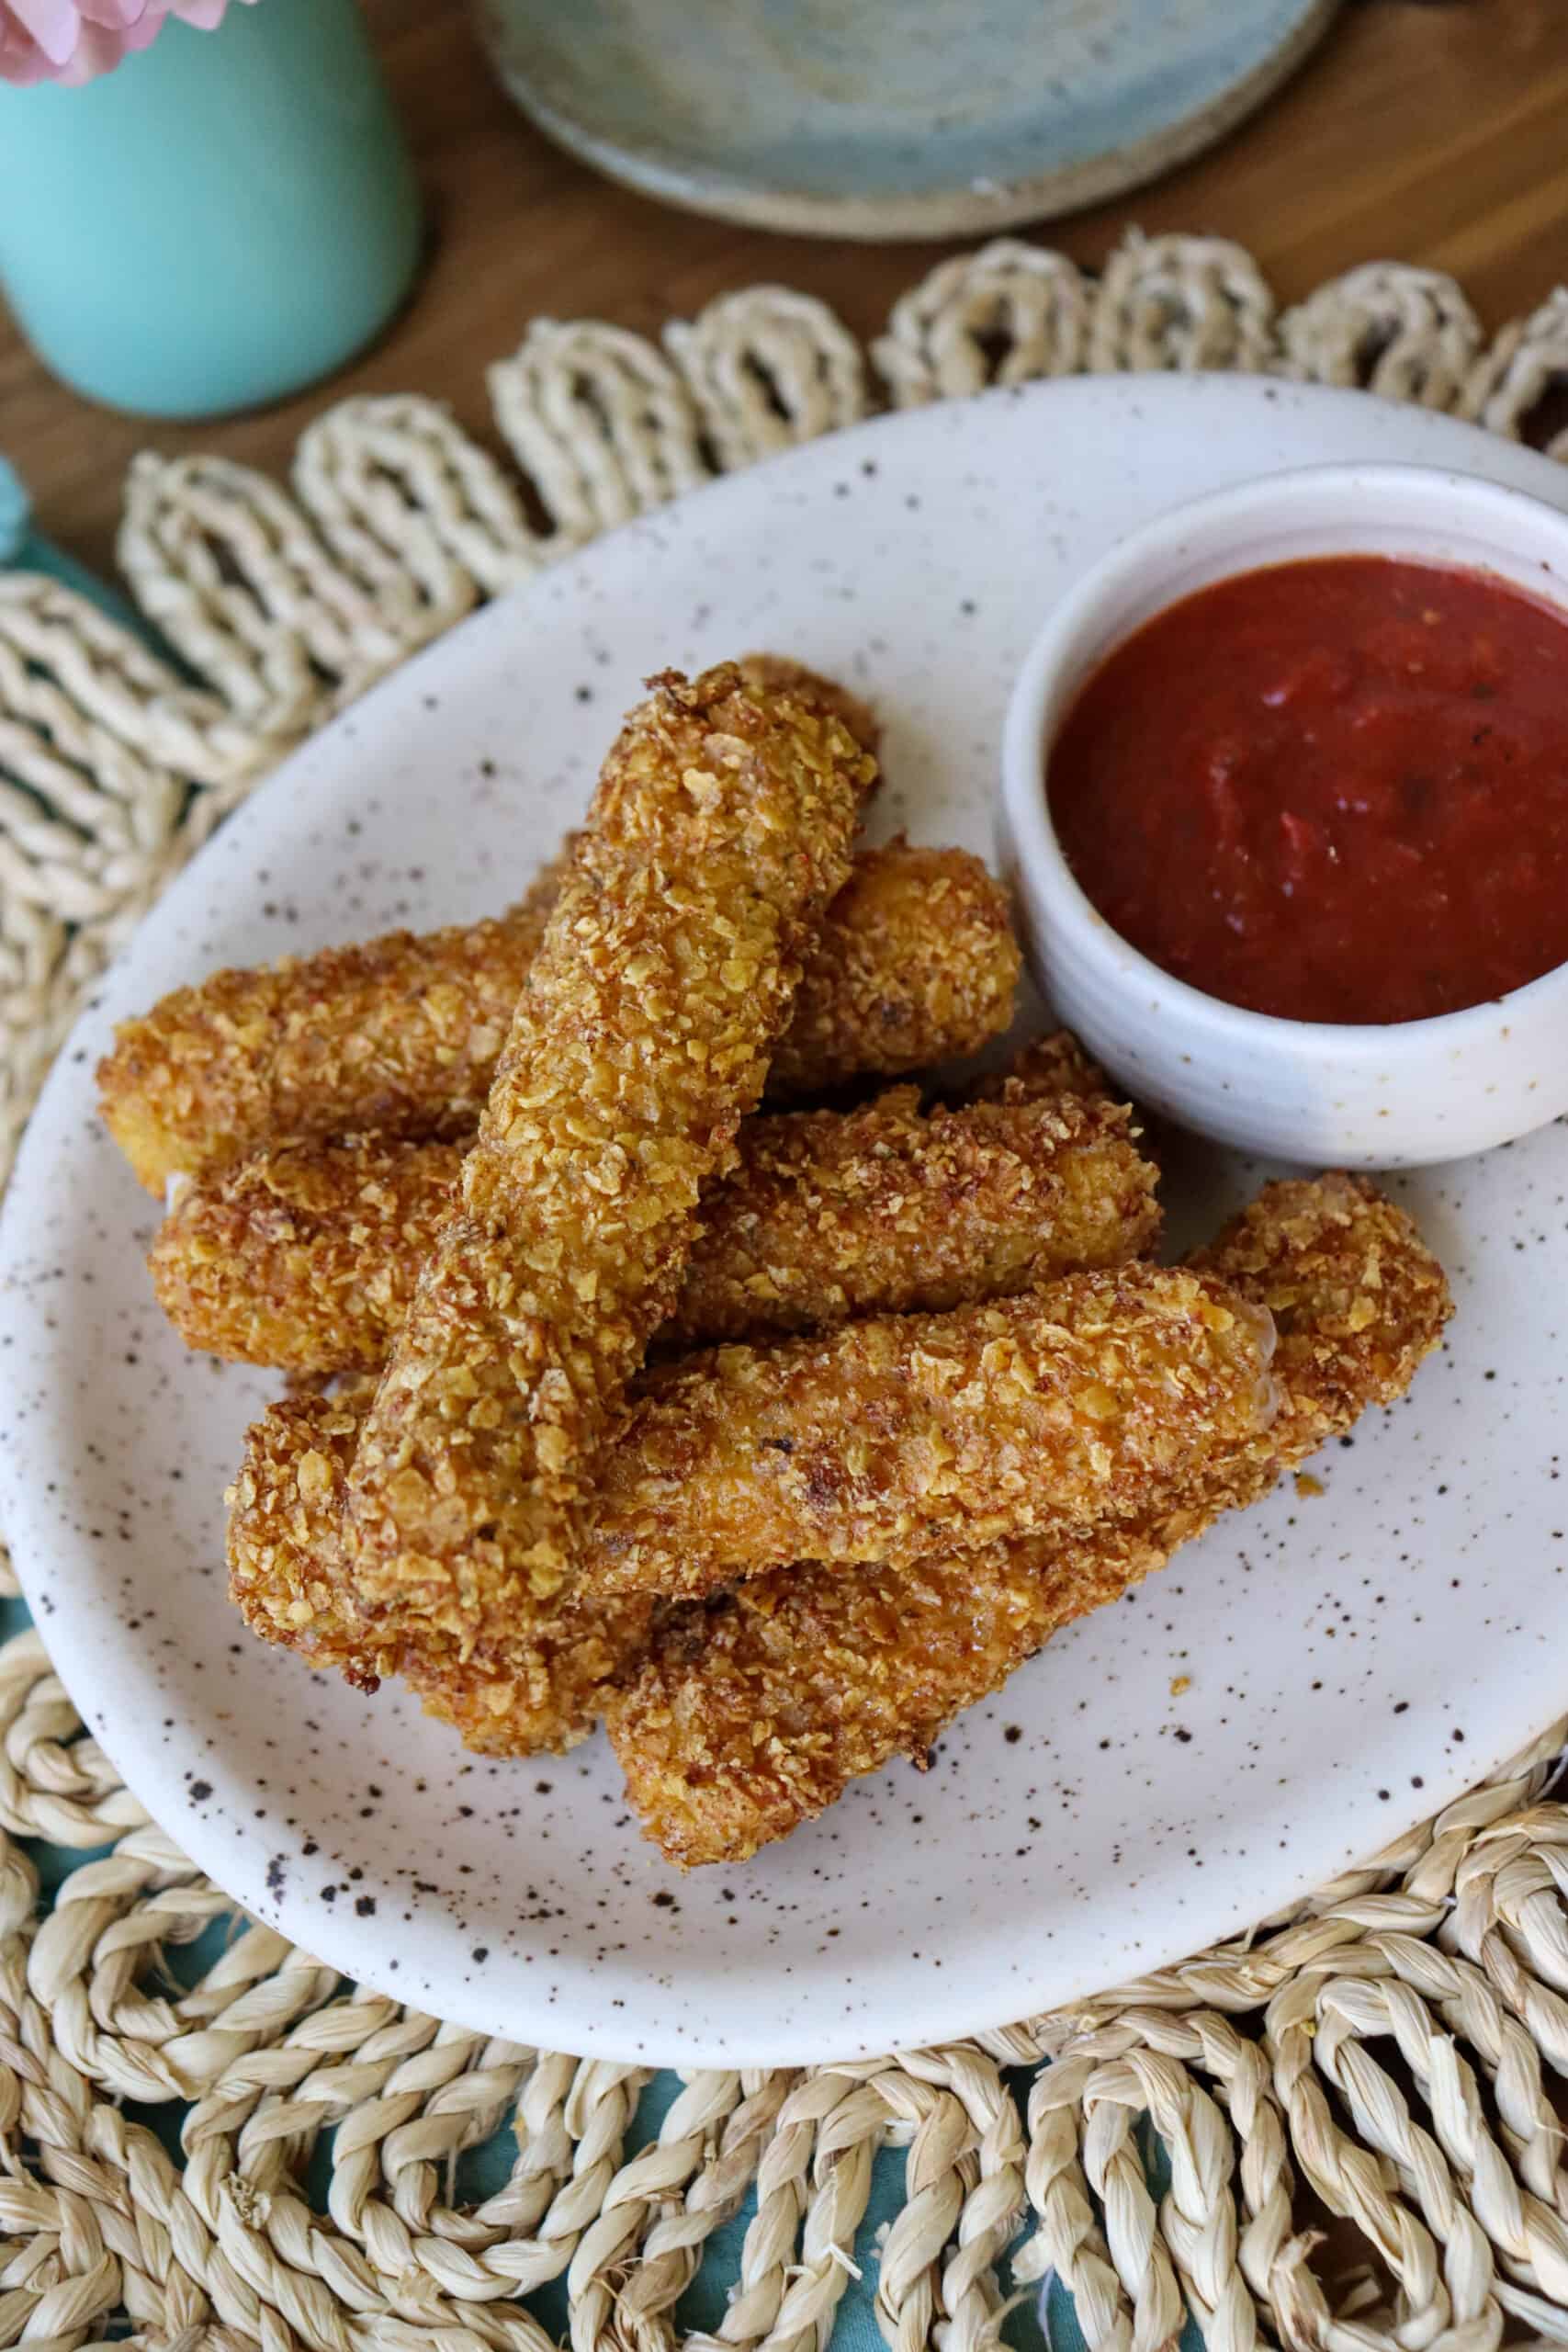
- Cook until dough puffs and turns golden brown, turning halfway through so all sides evenly cook. This should just take 2 to 4 minutes total.
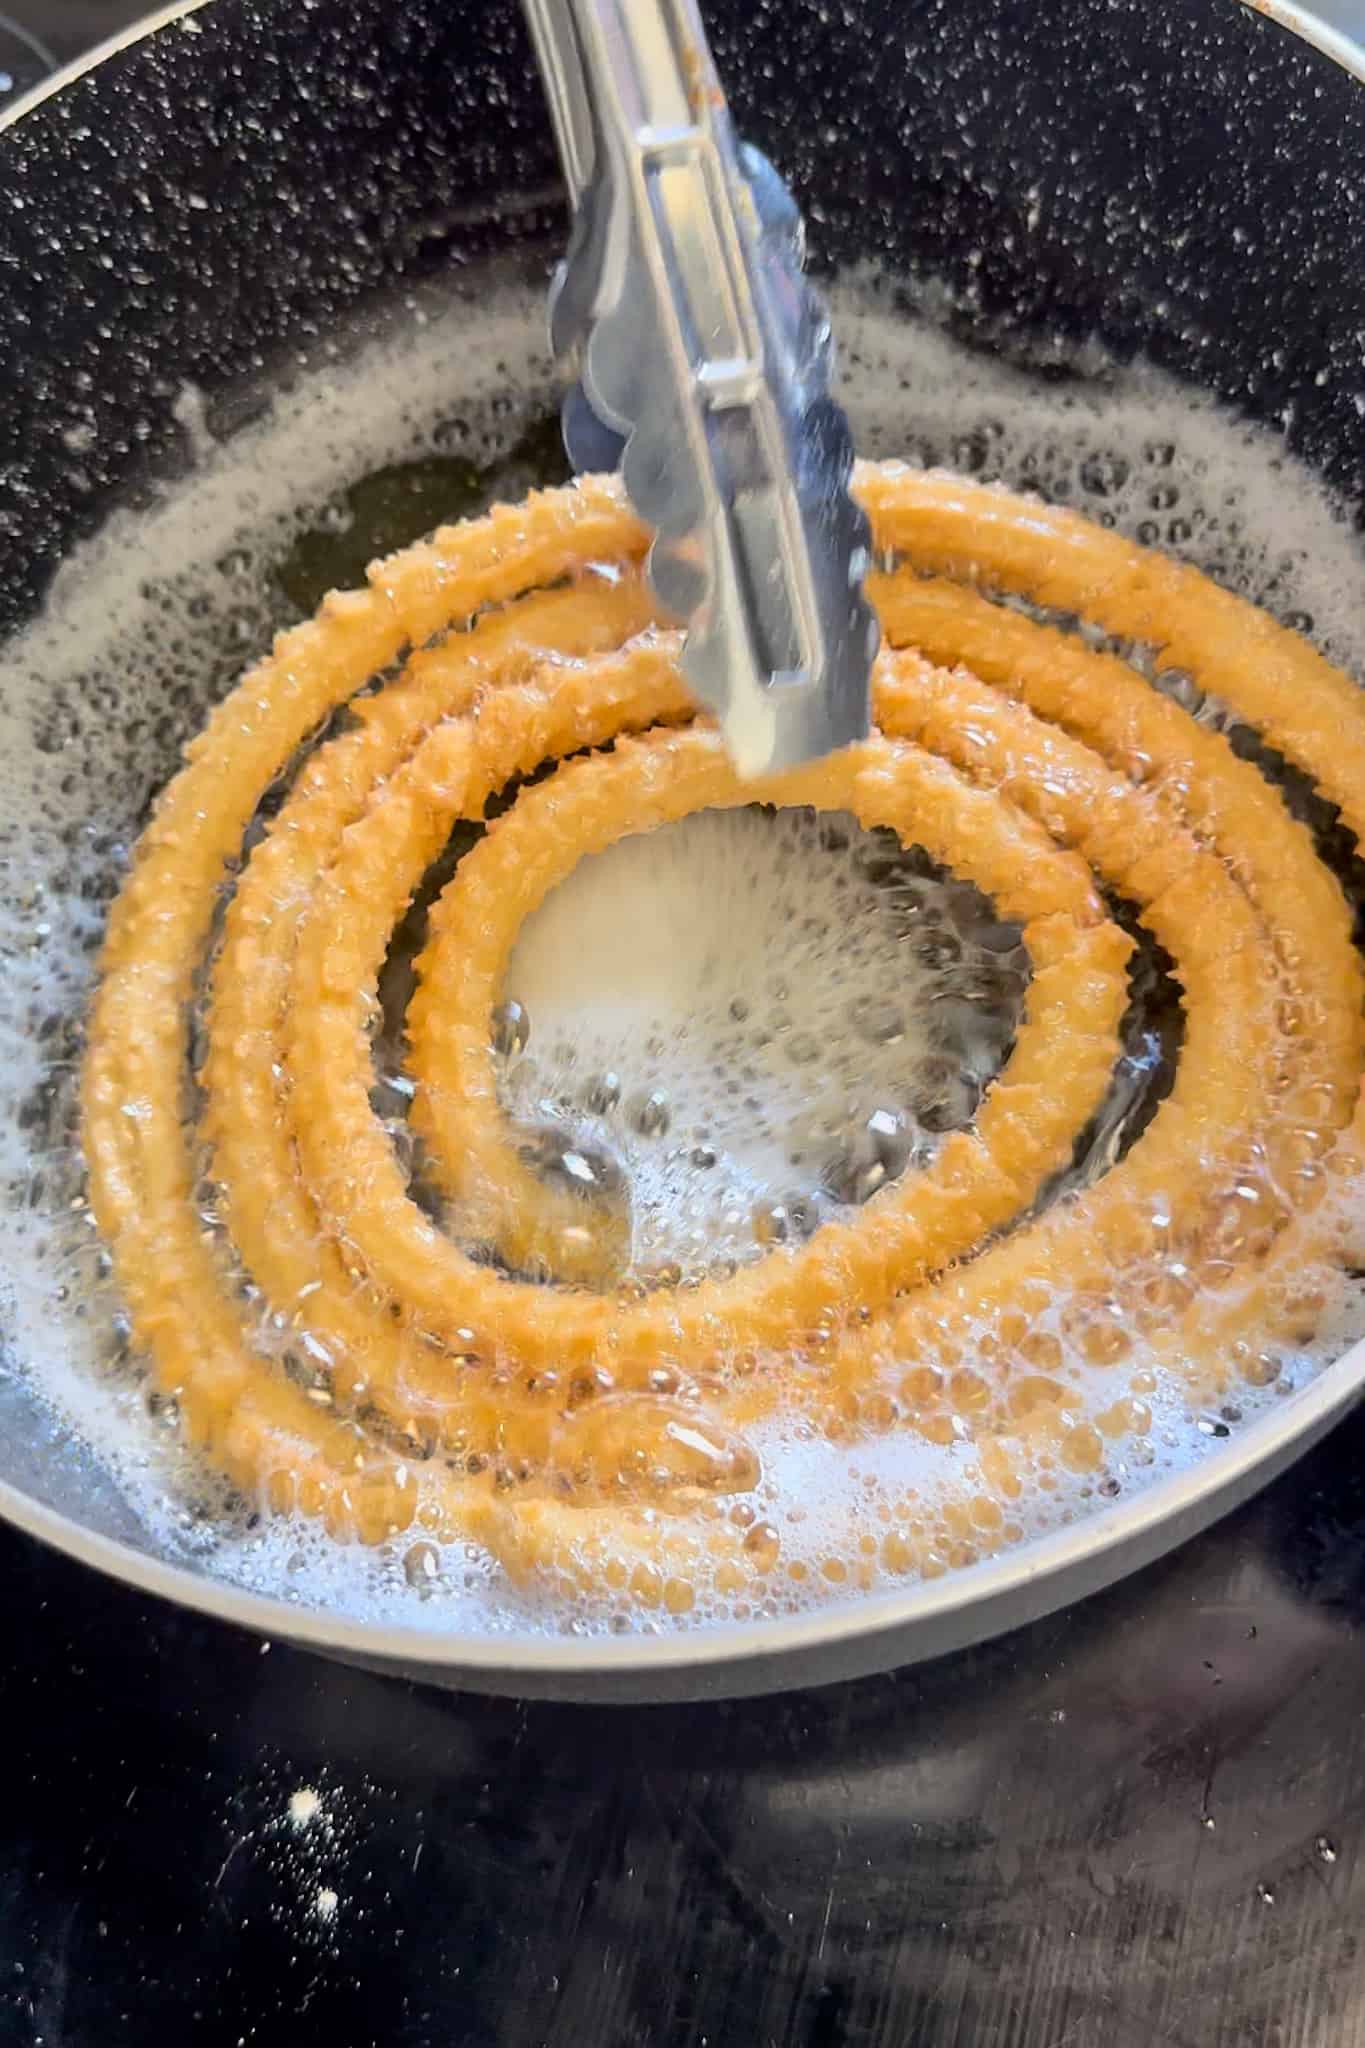
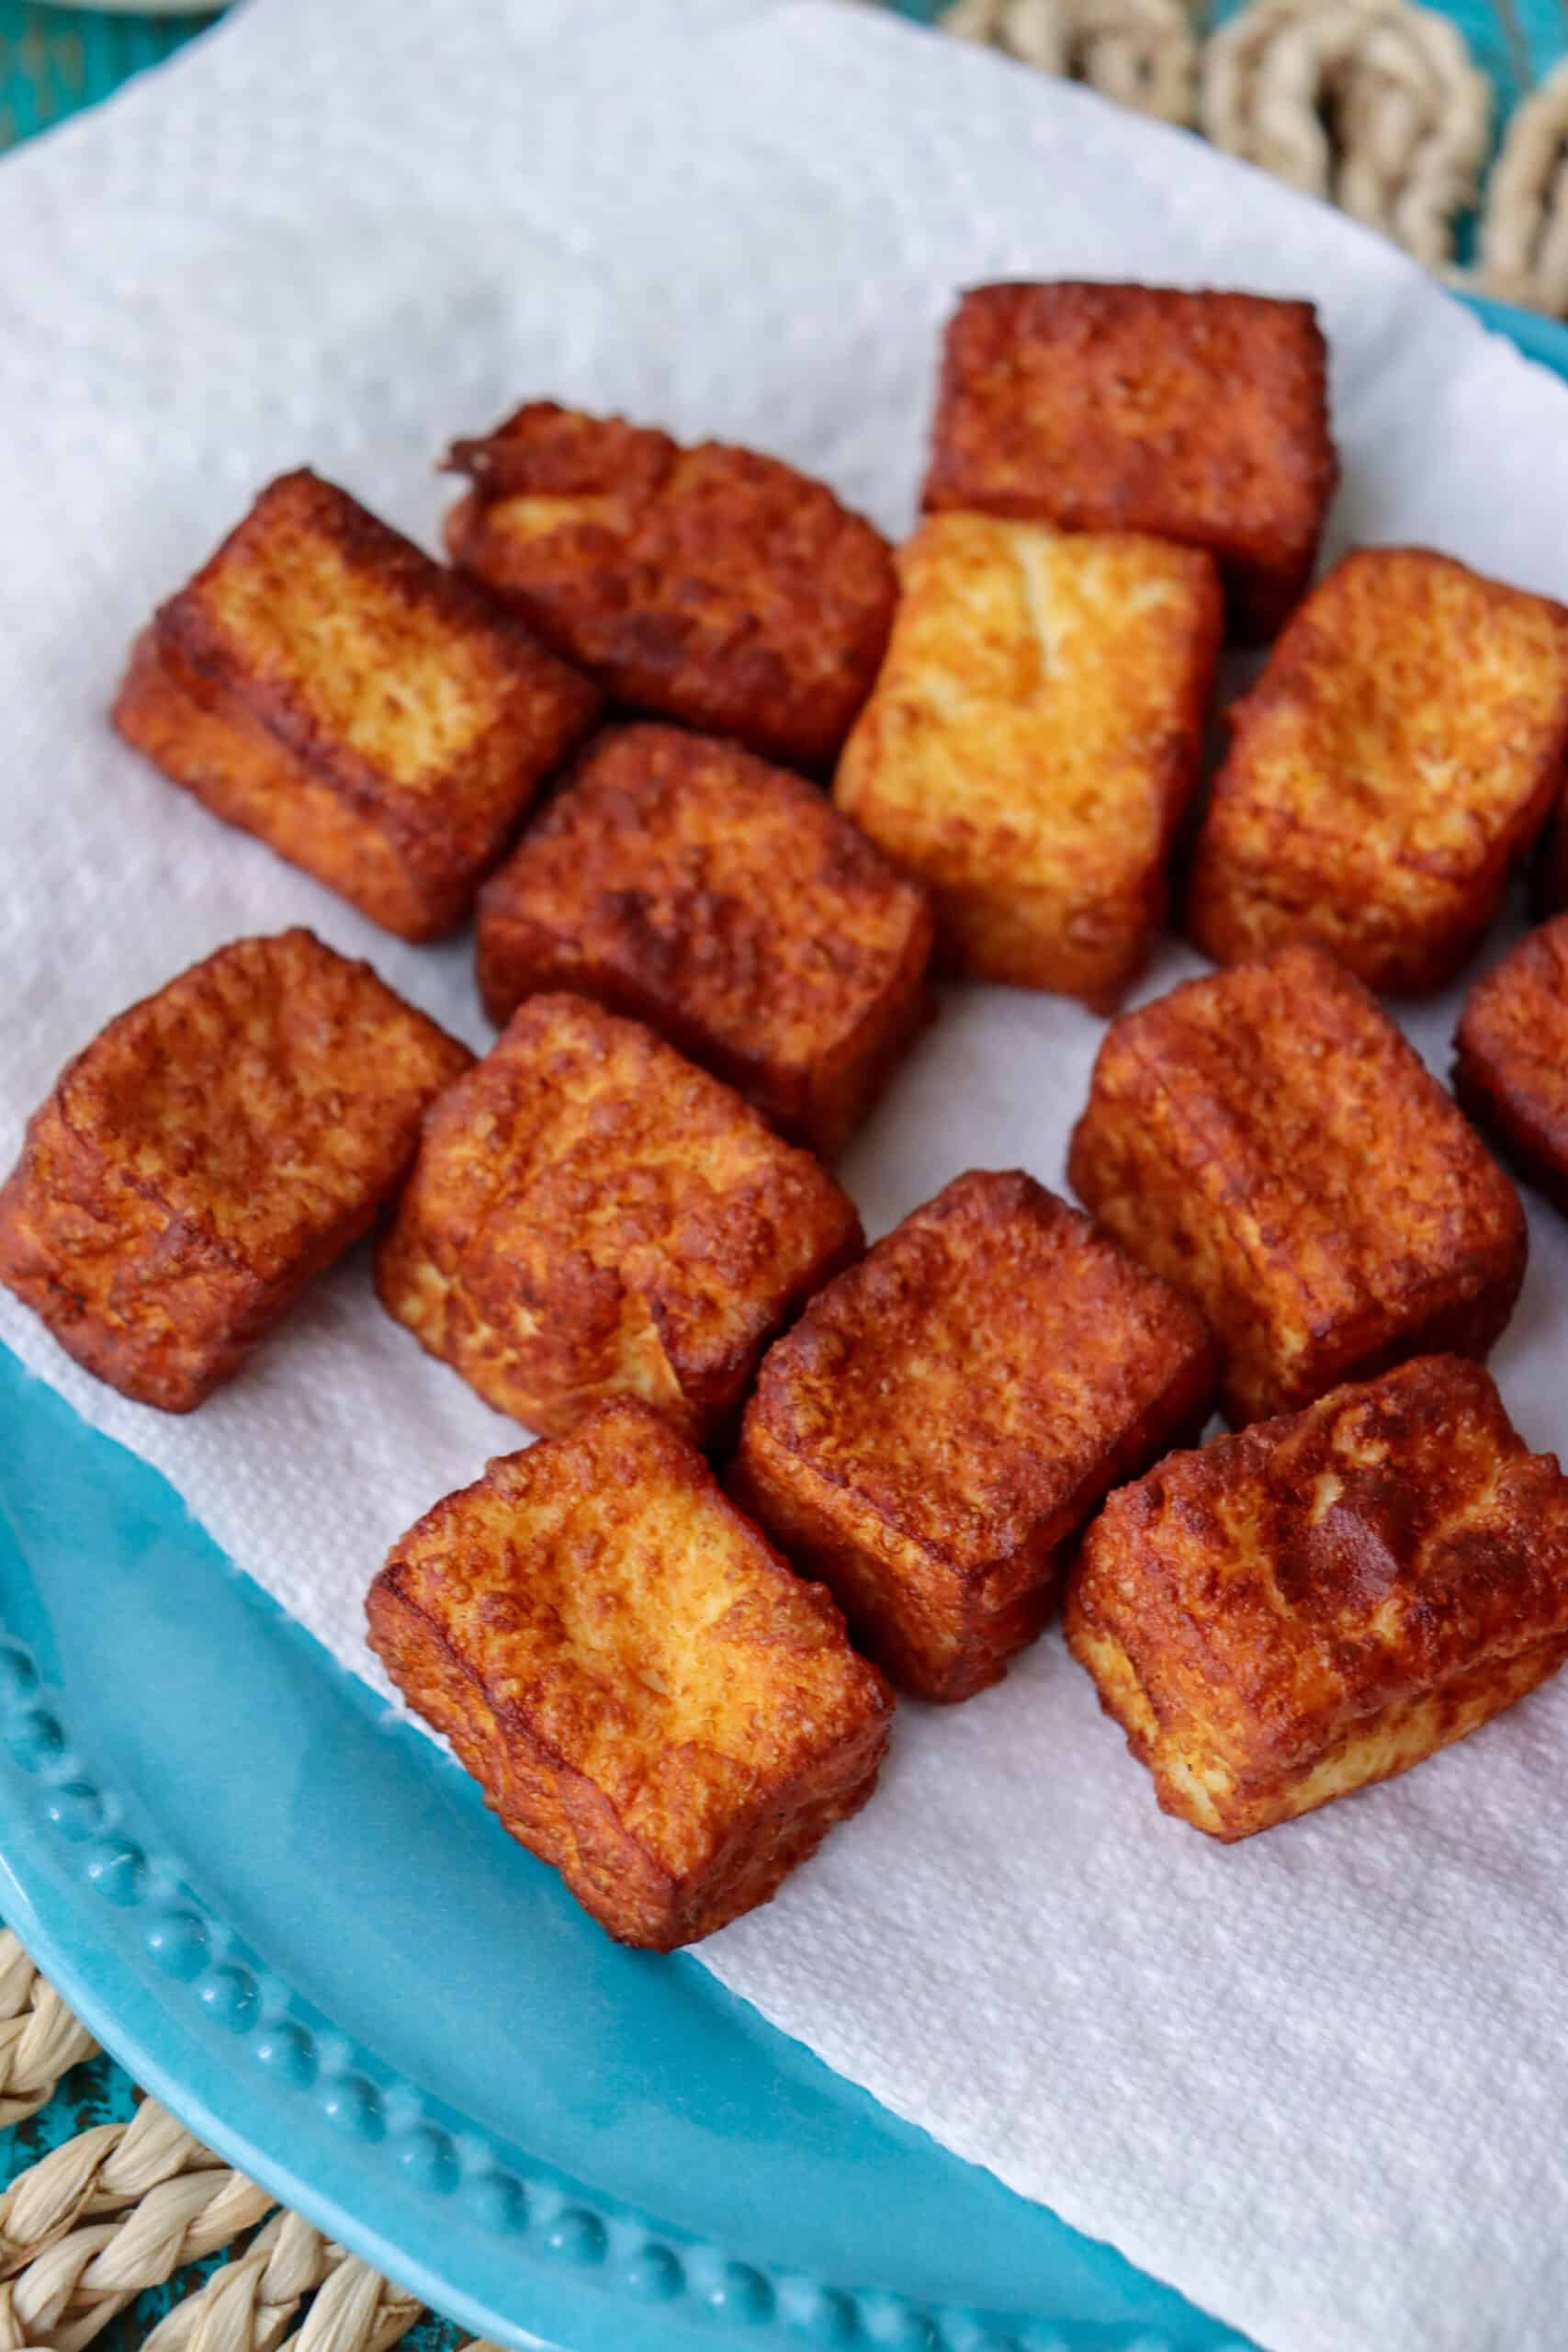
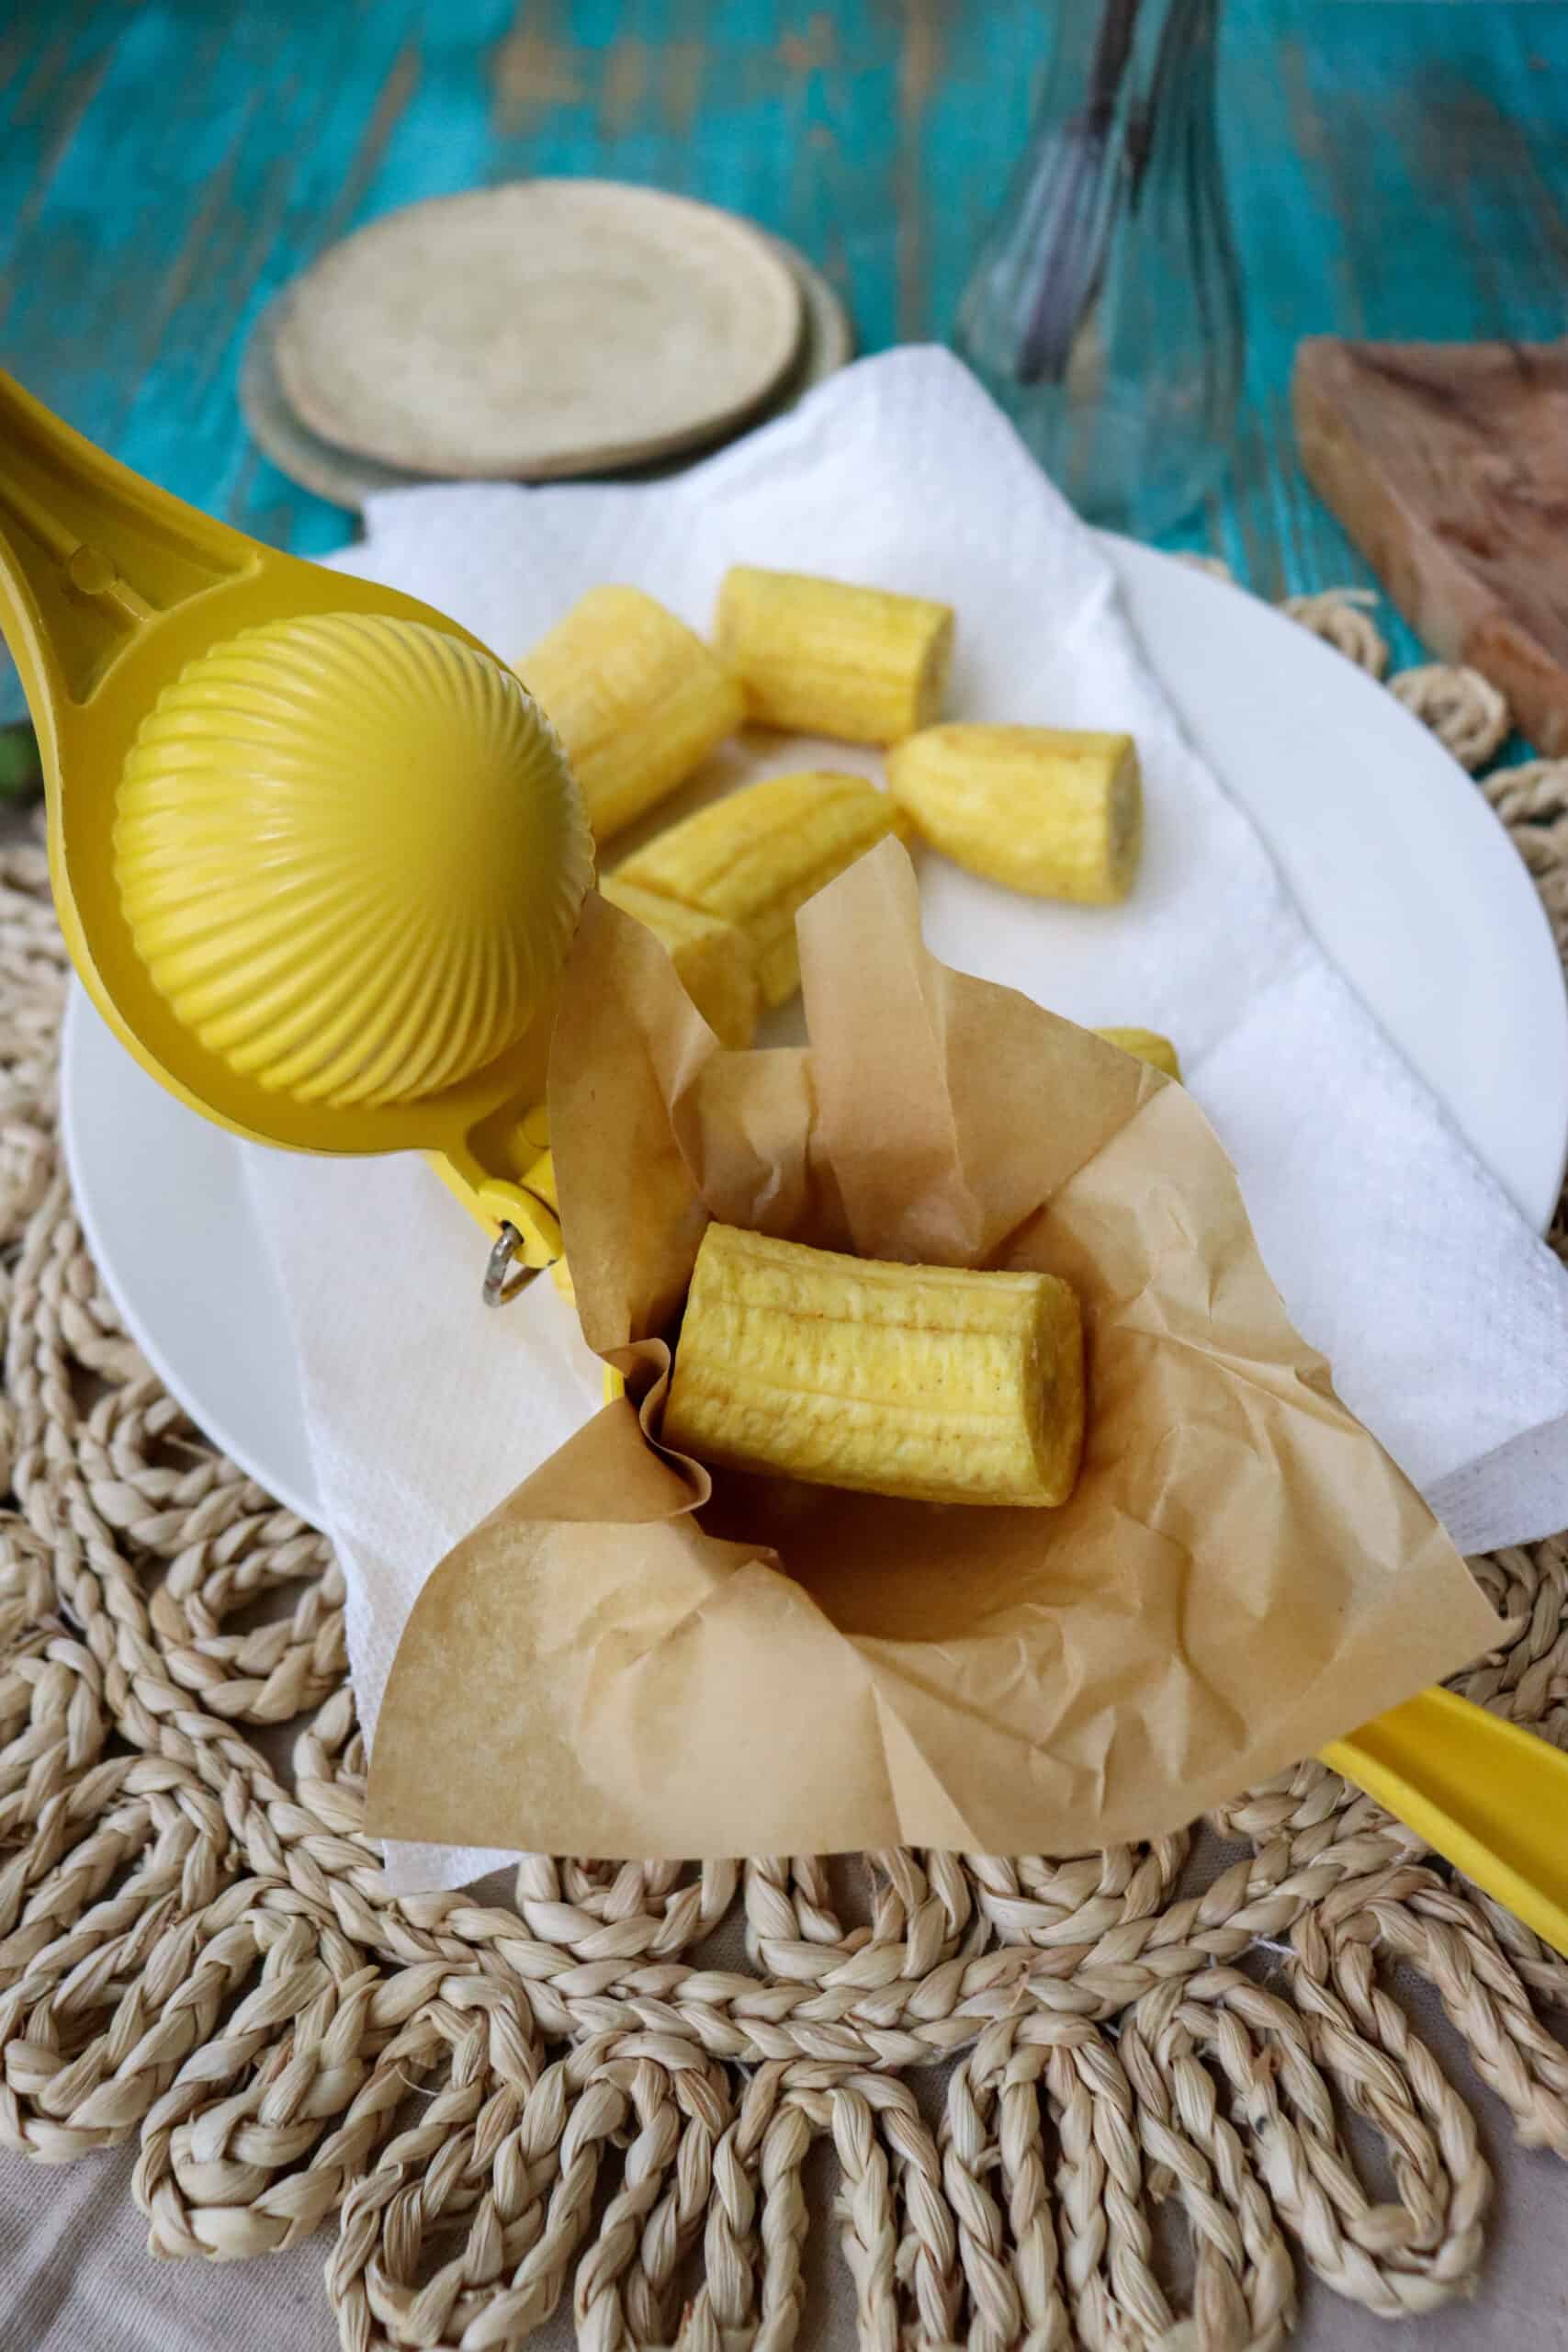
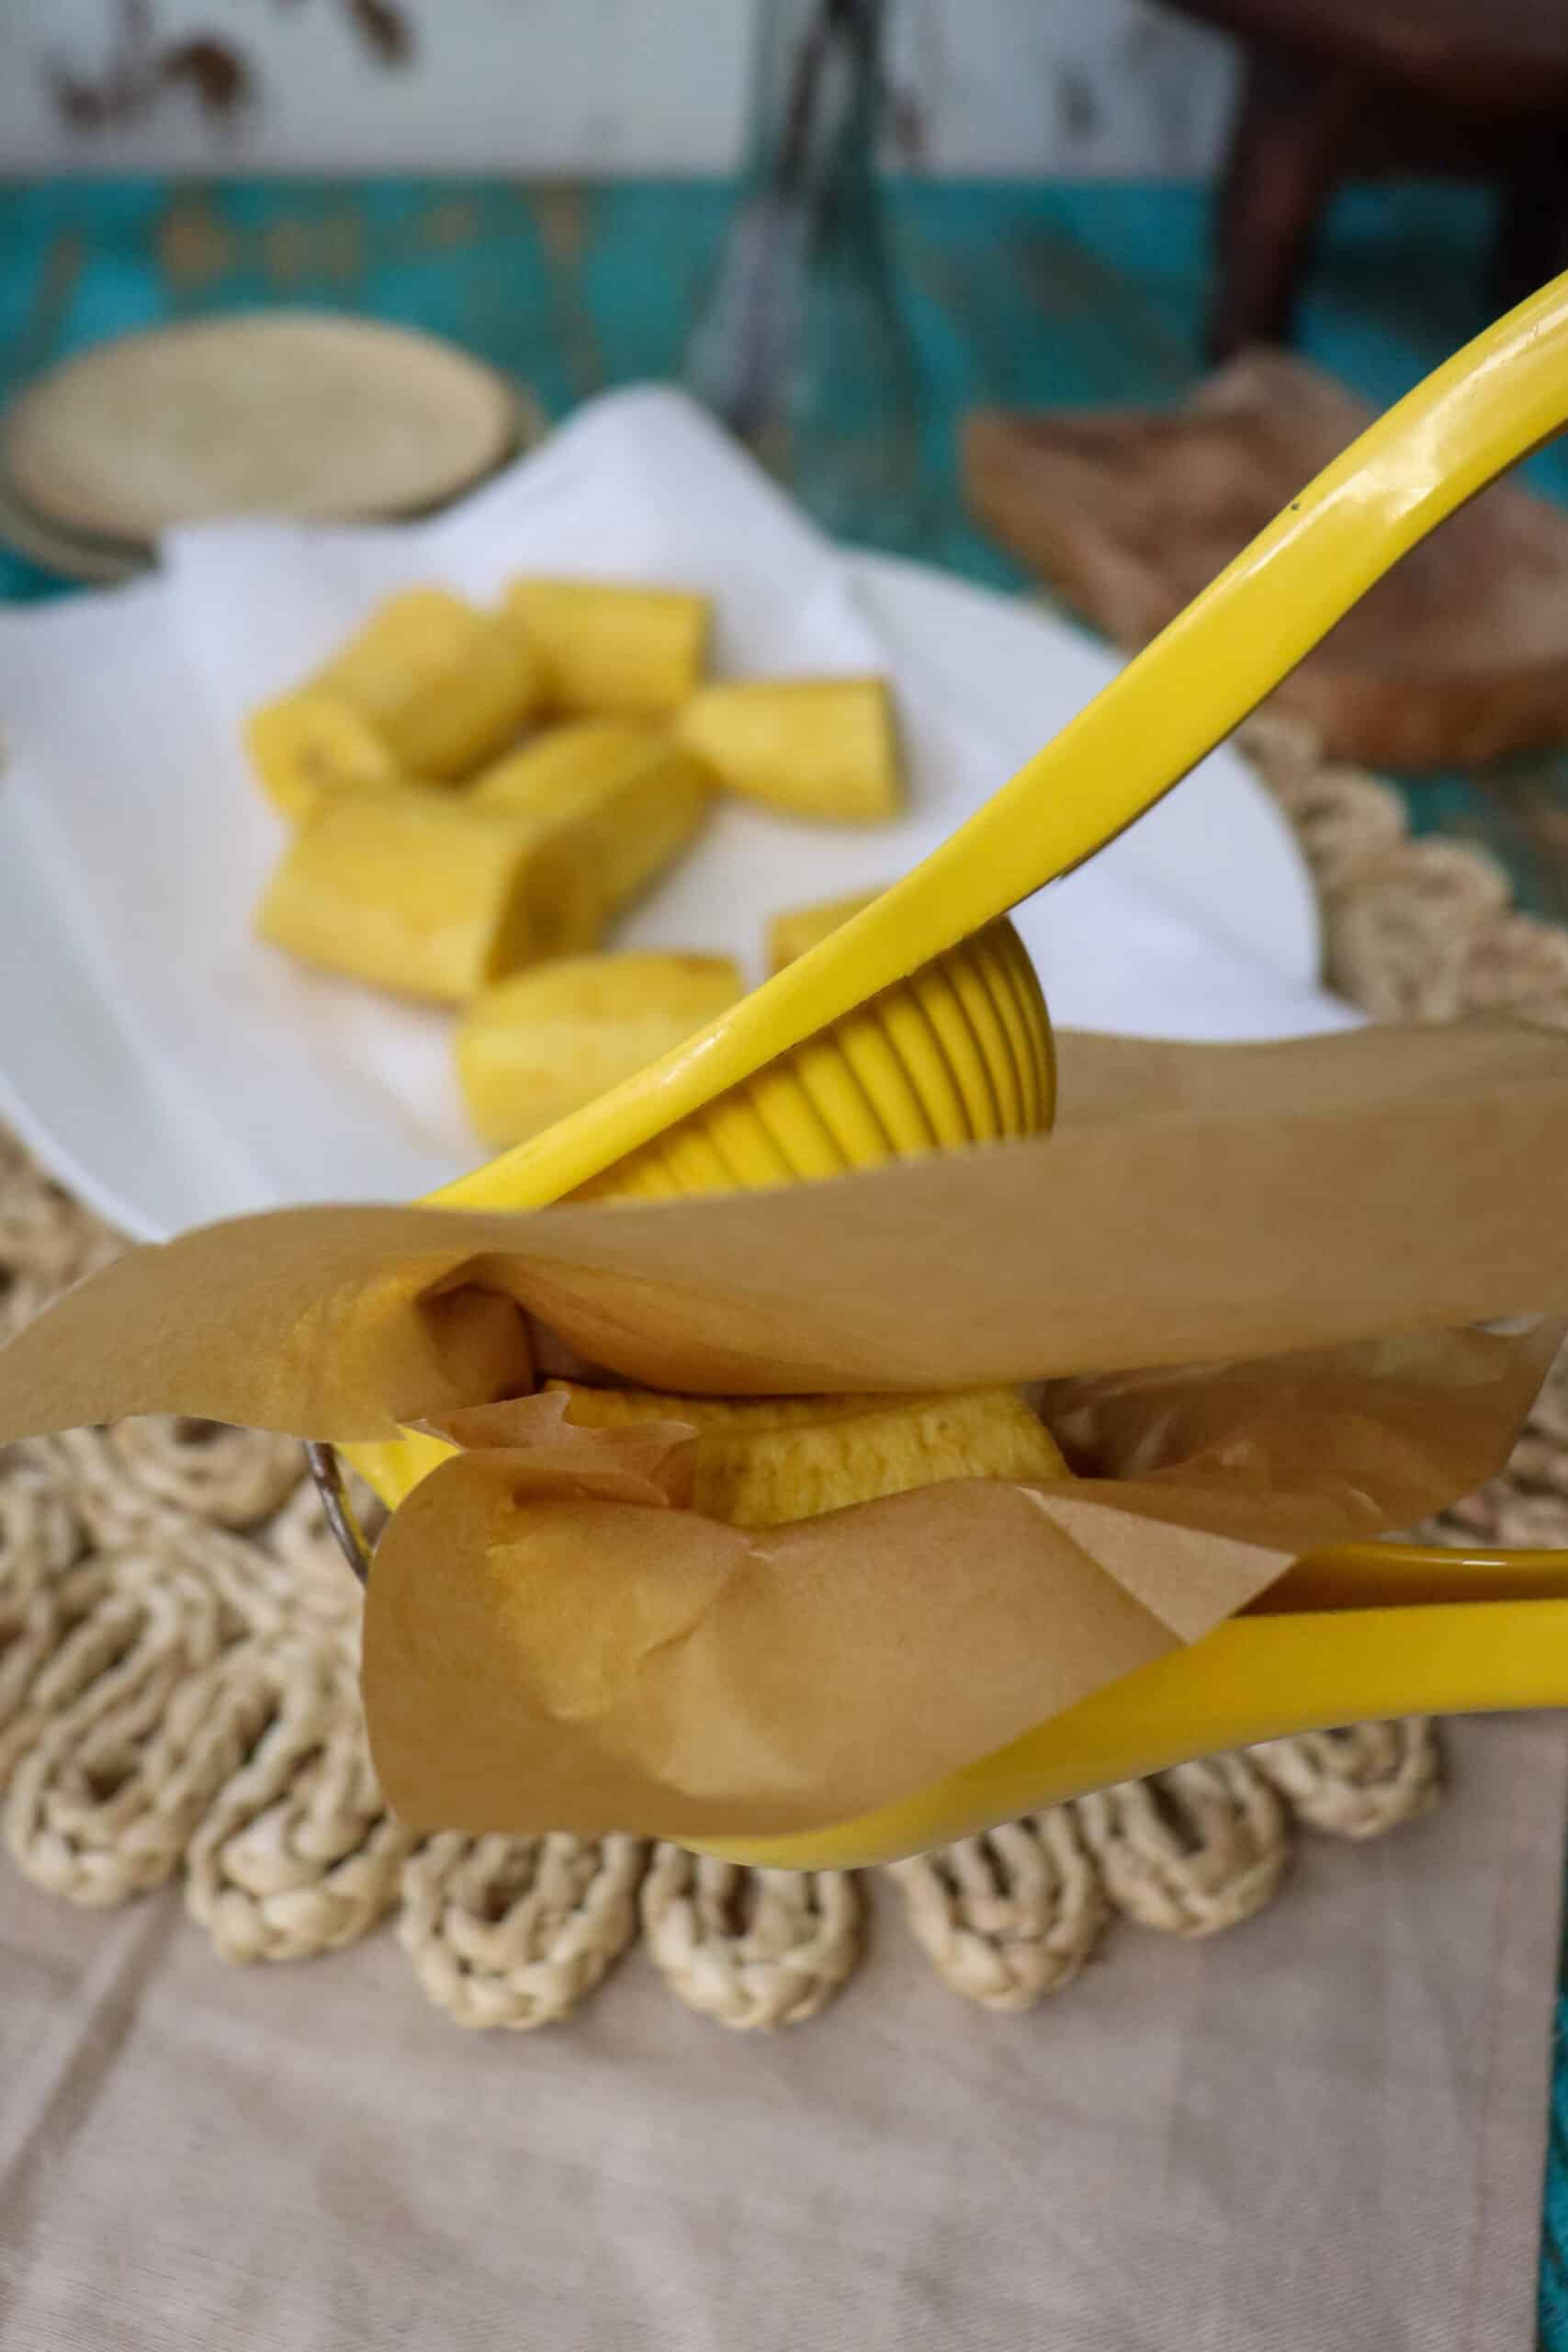
- Carefully remove churro from oil using tongs and place on a paper towel-covered plate to drain excess oil, 1-2 minutes.
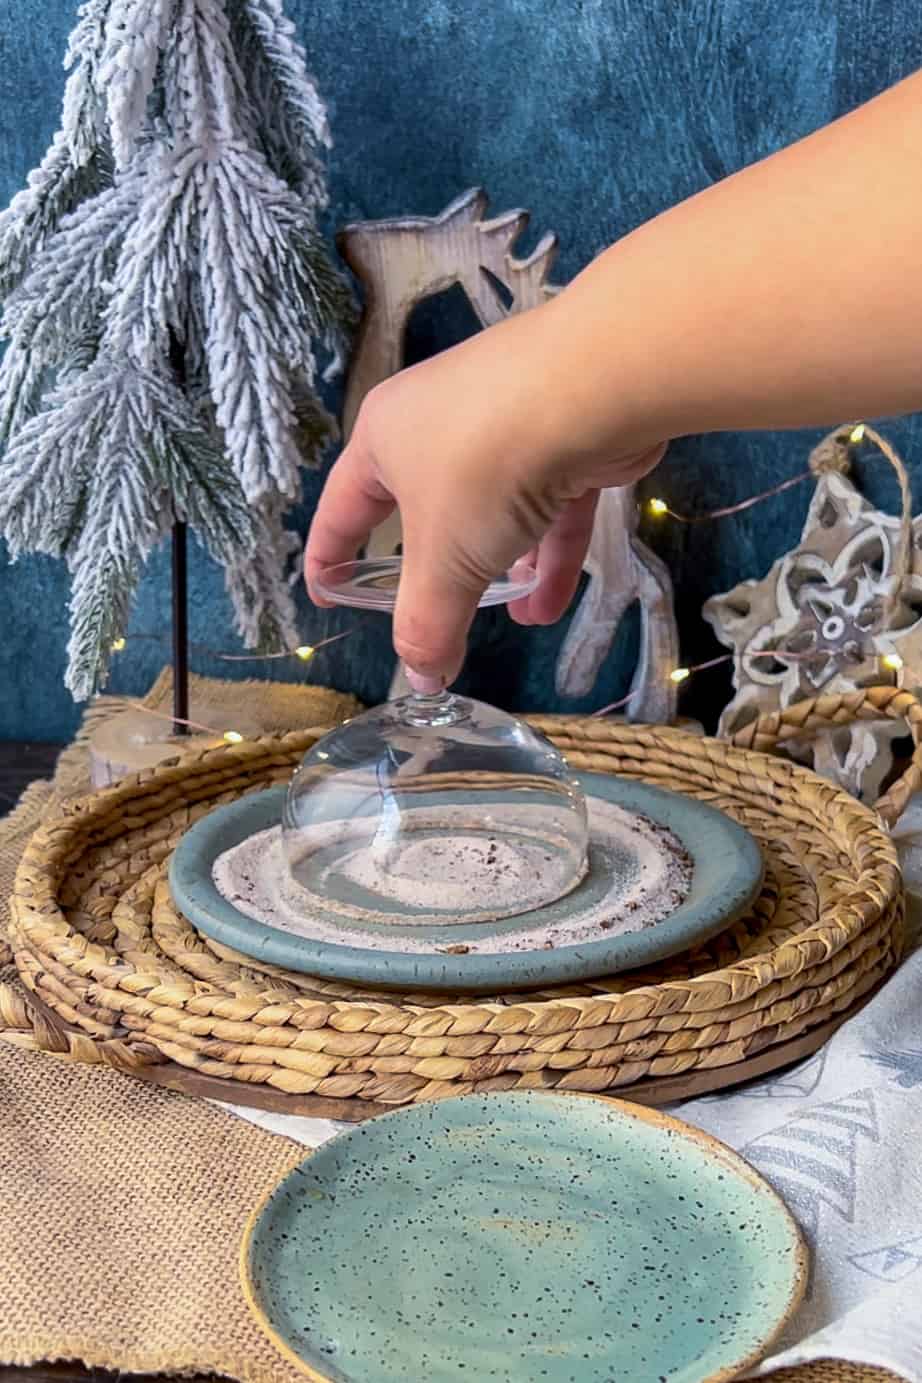
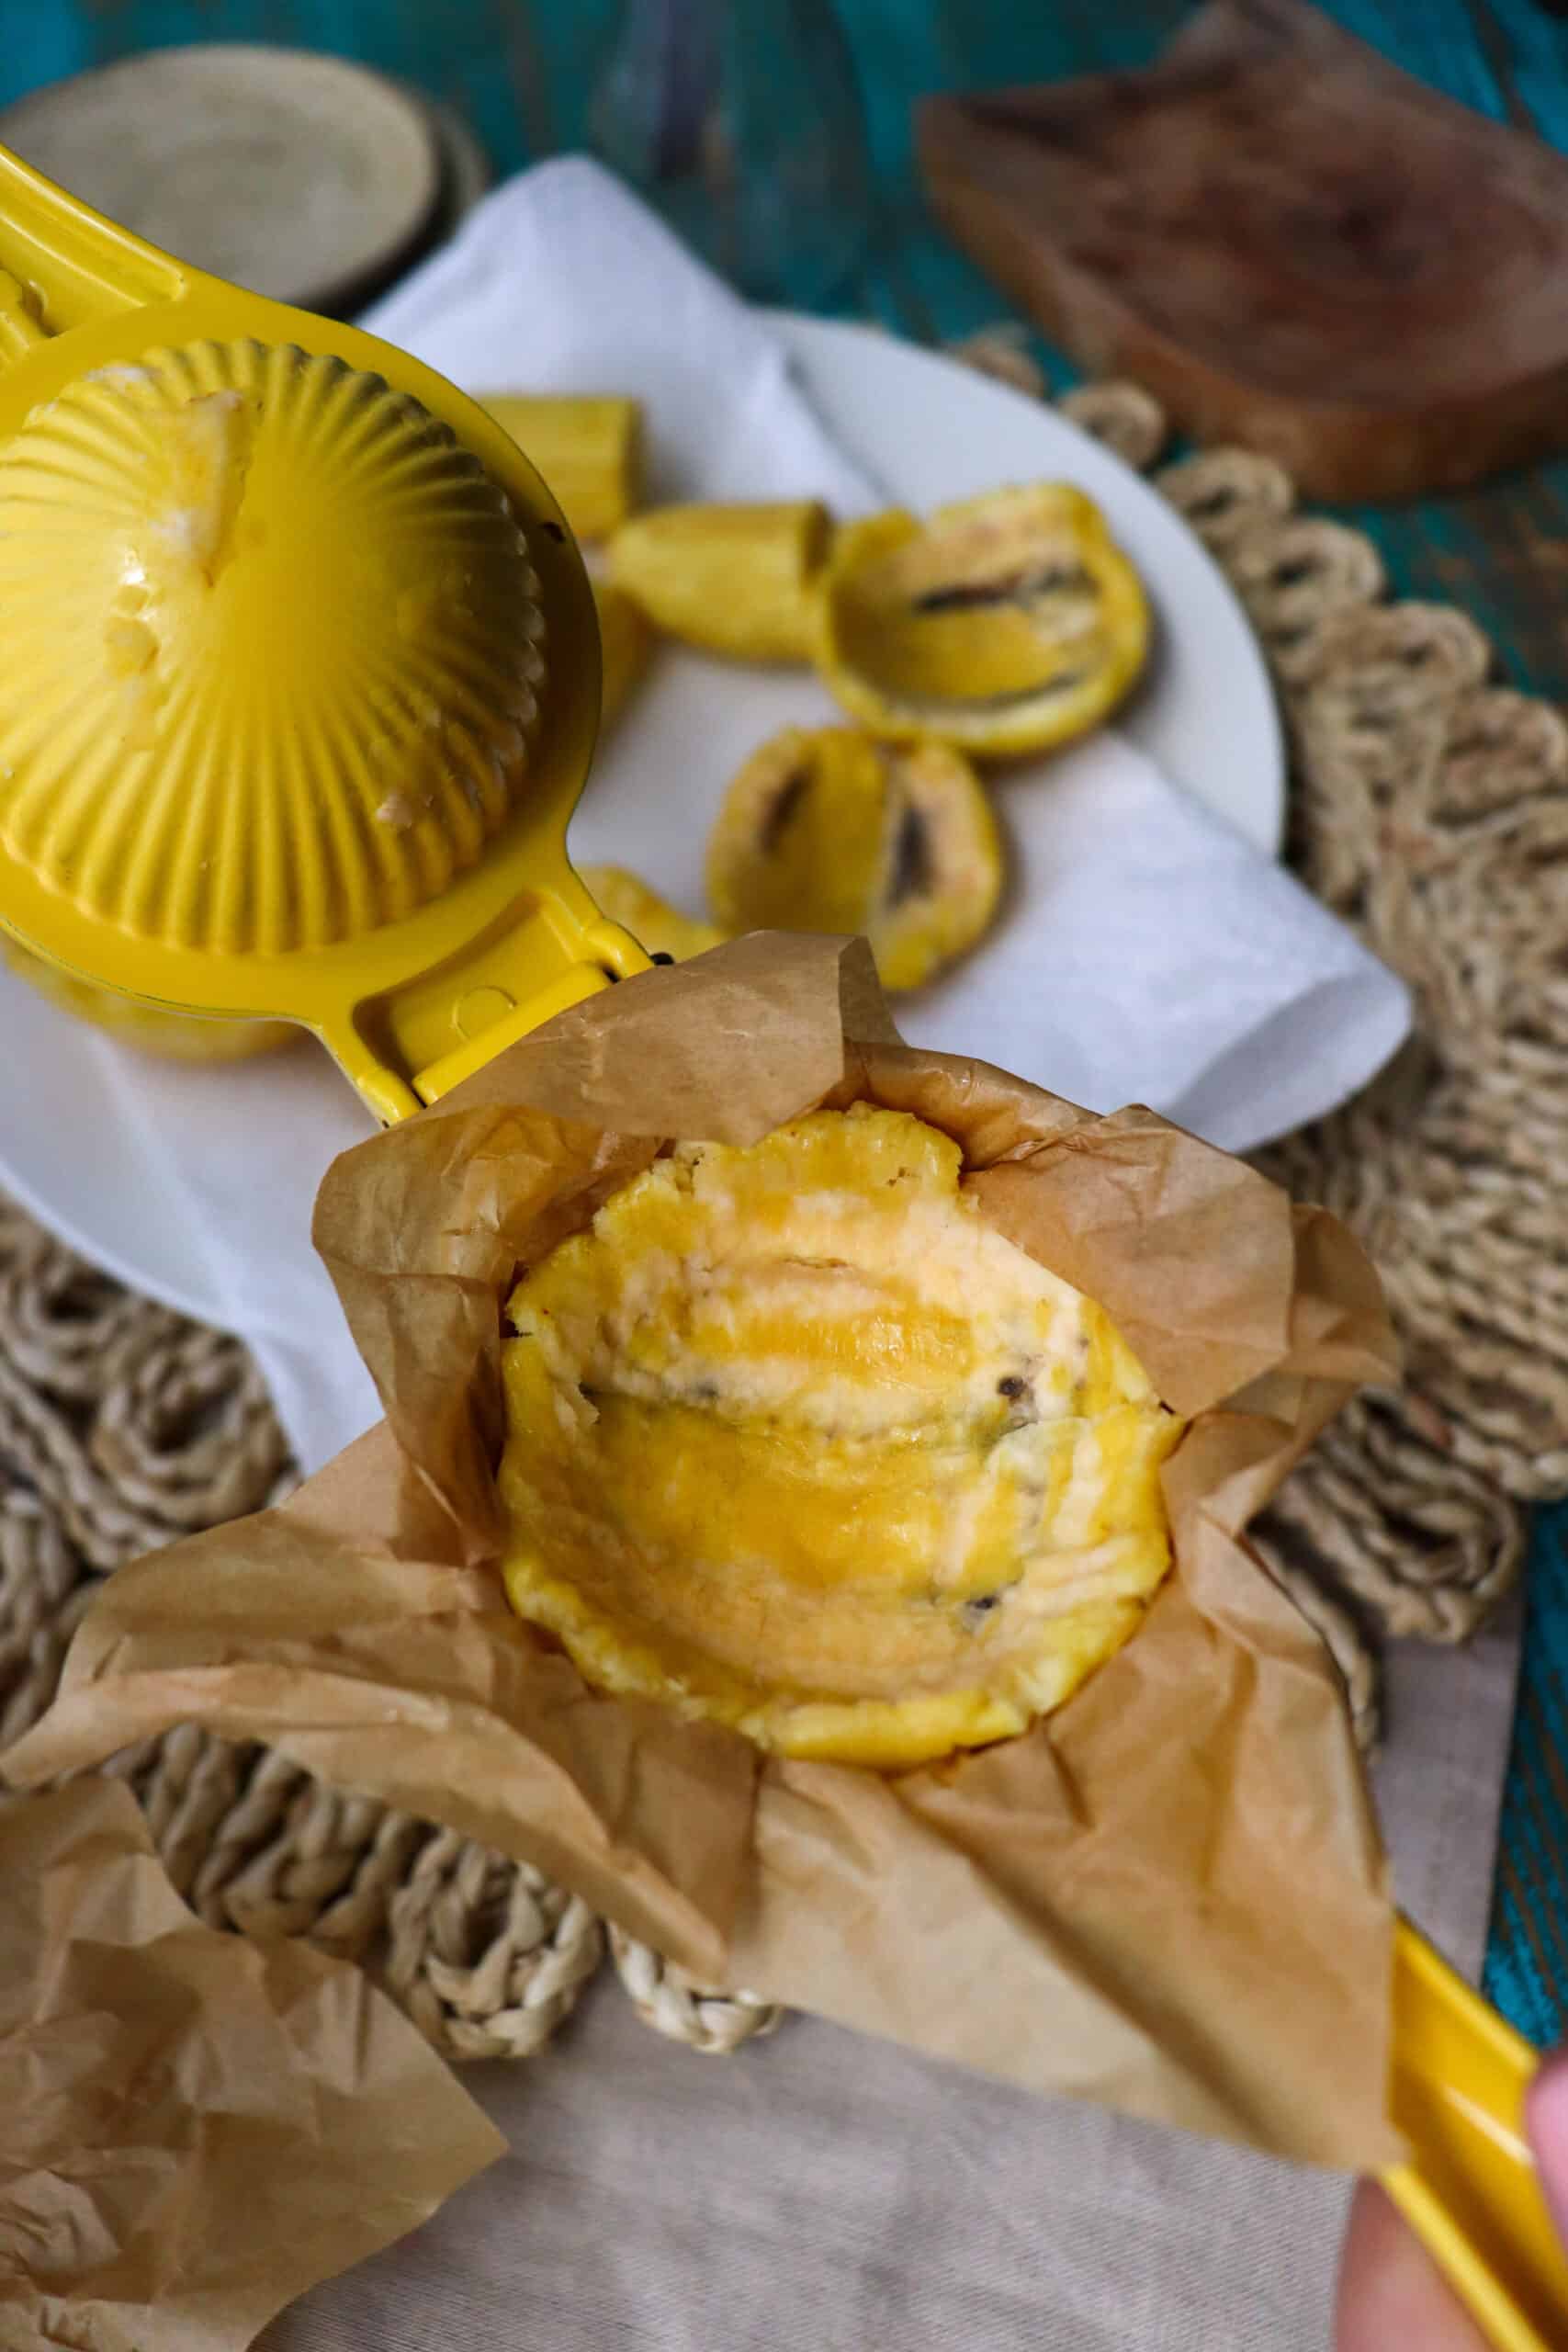
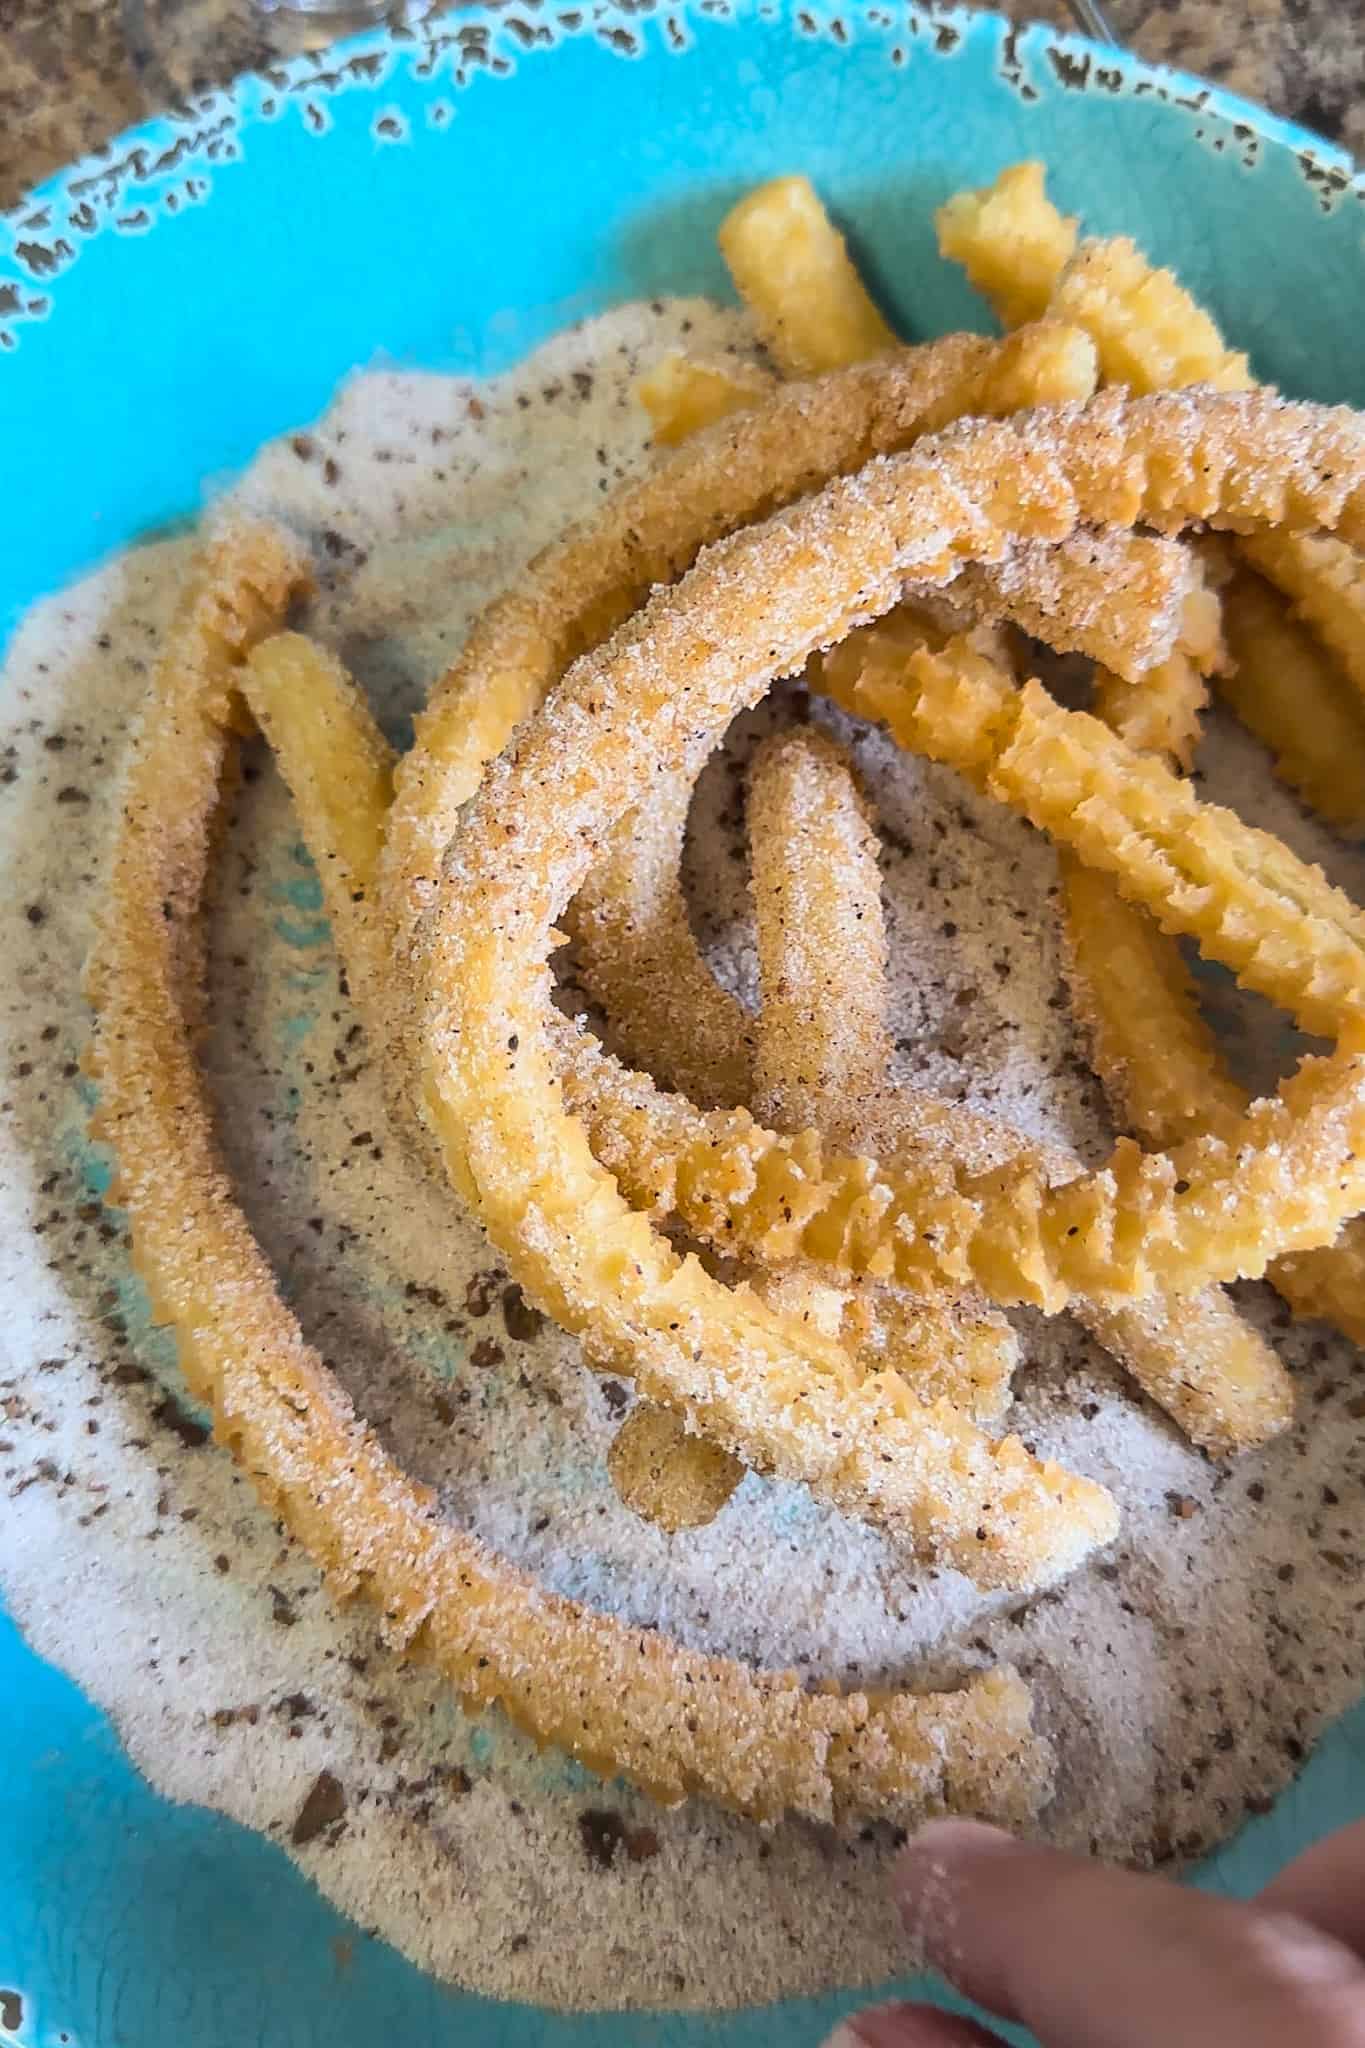
- Once the churros have drained some oil but are still hot, place the cinnamon and sugar in a large bowl and mix together. Place the churros in the cinnamon sugar mixture and give them a good toss until well coated.
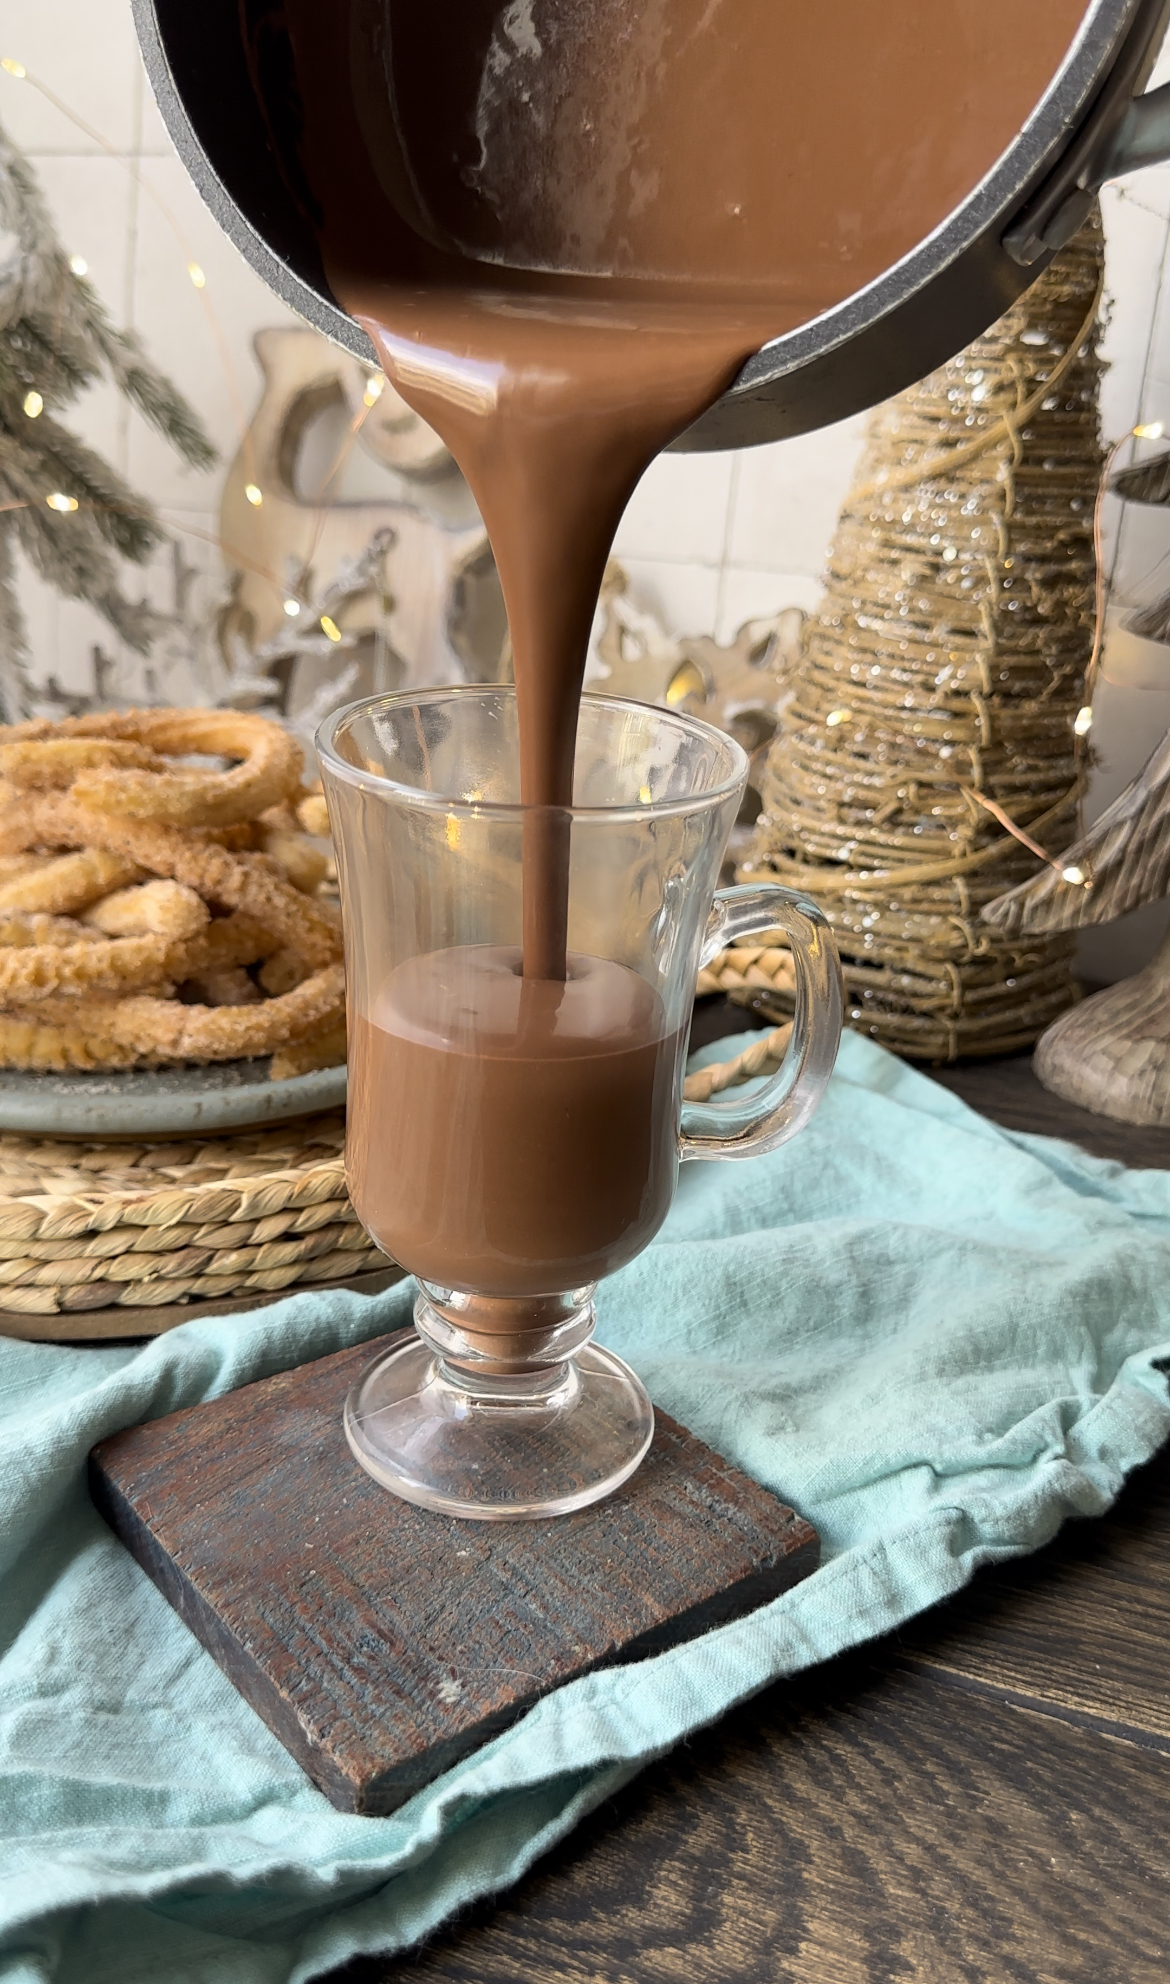
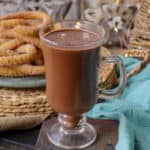
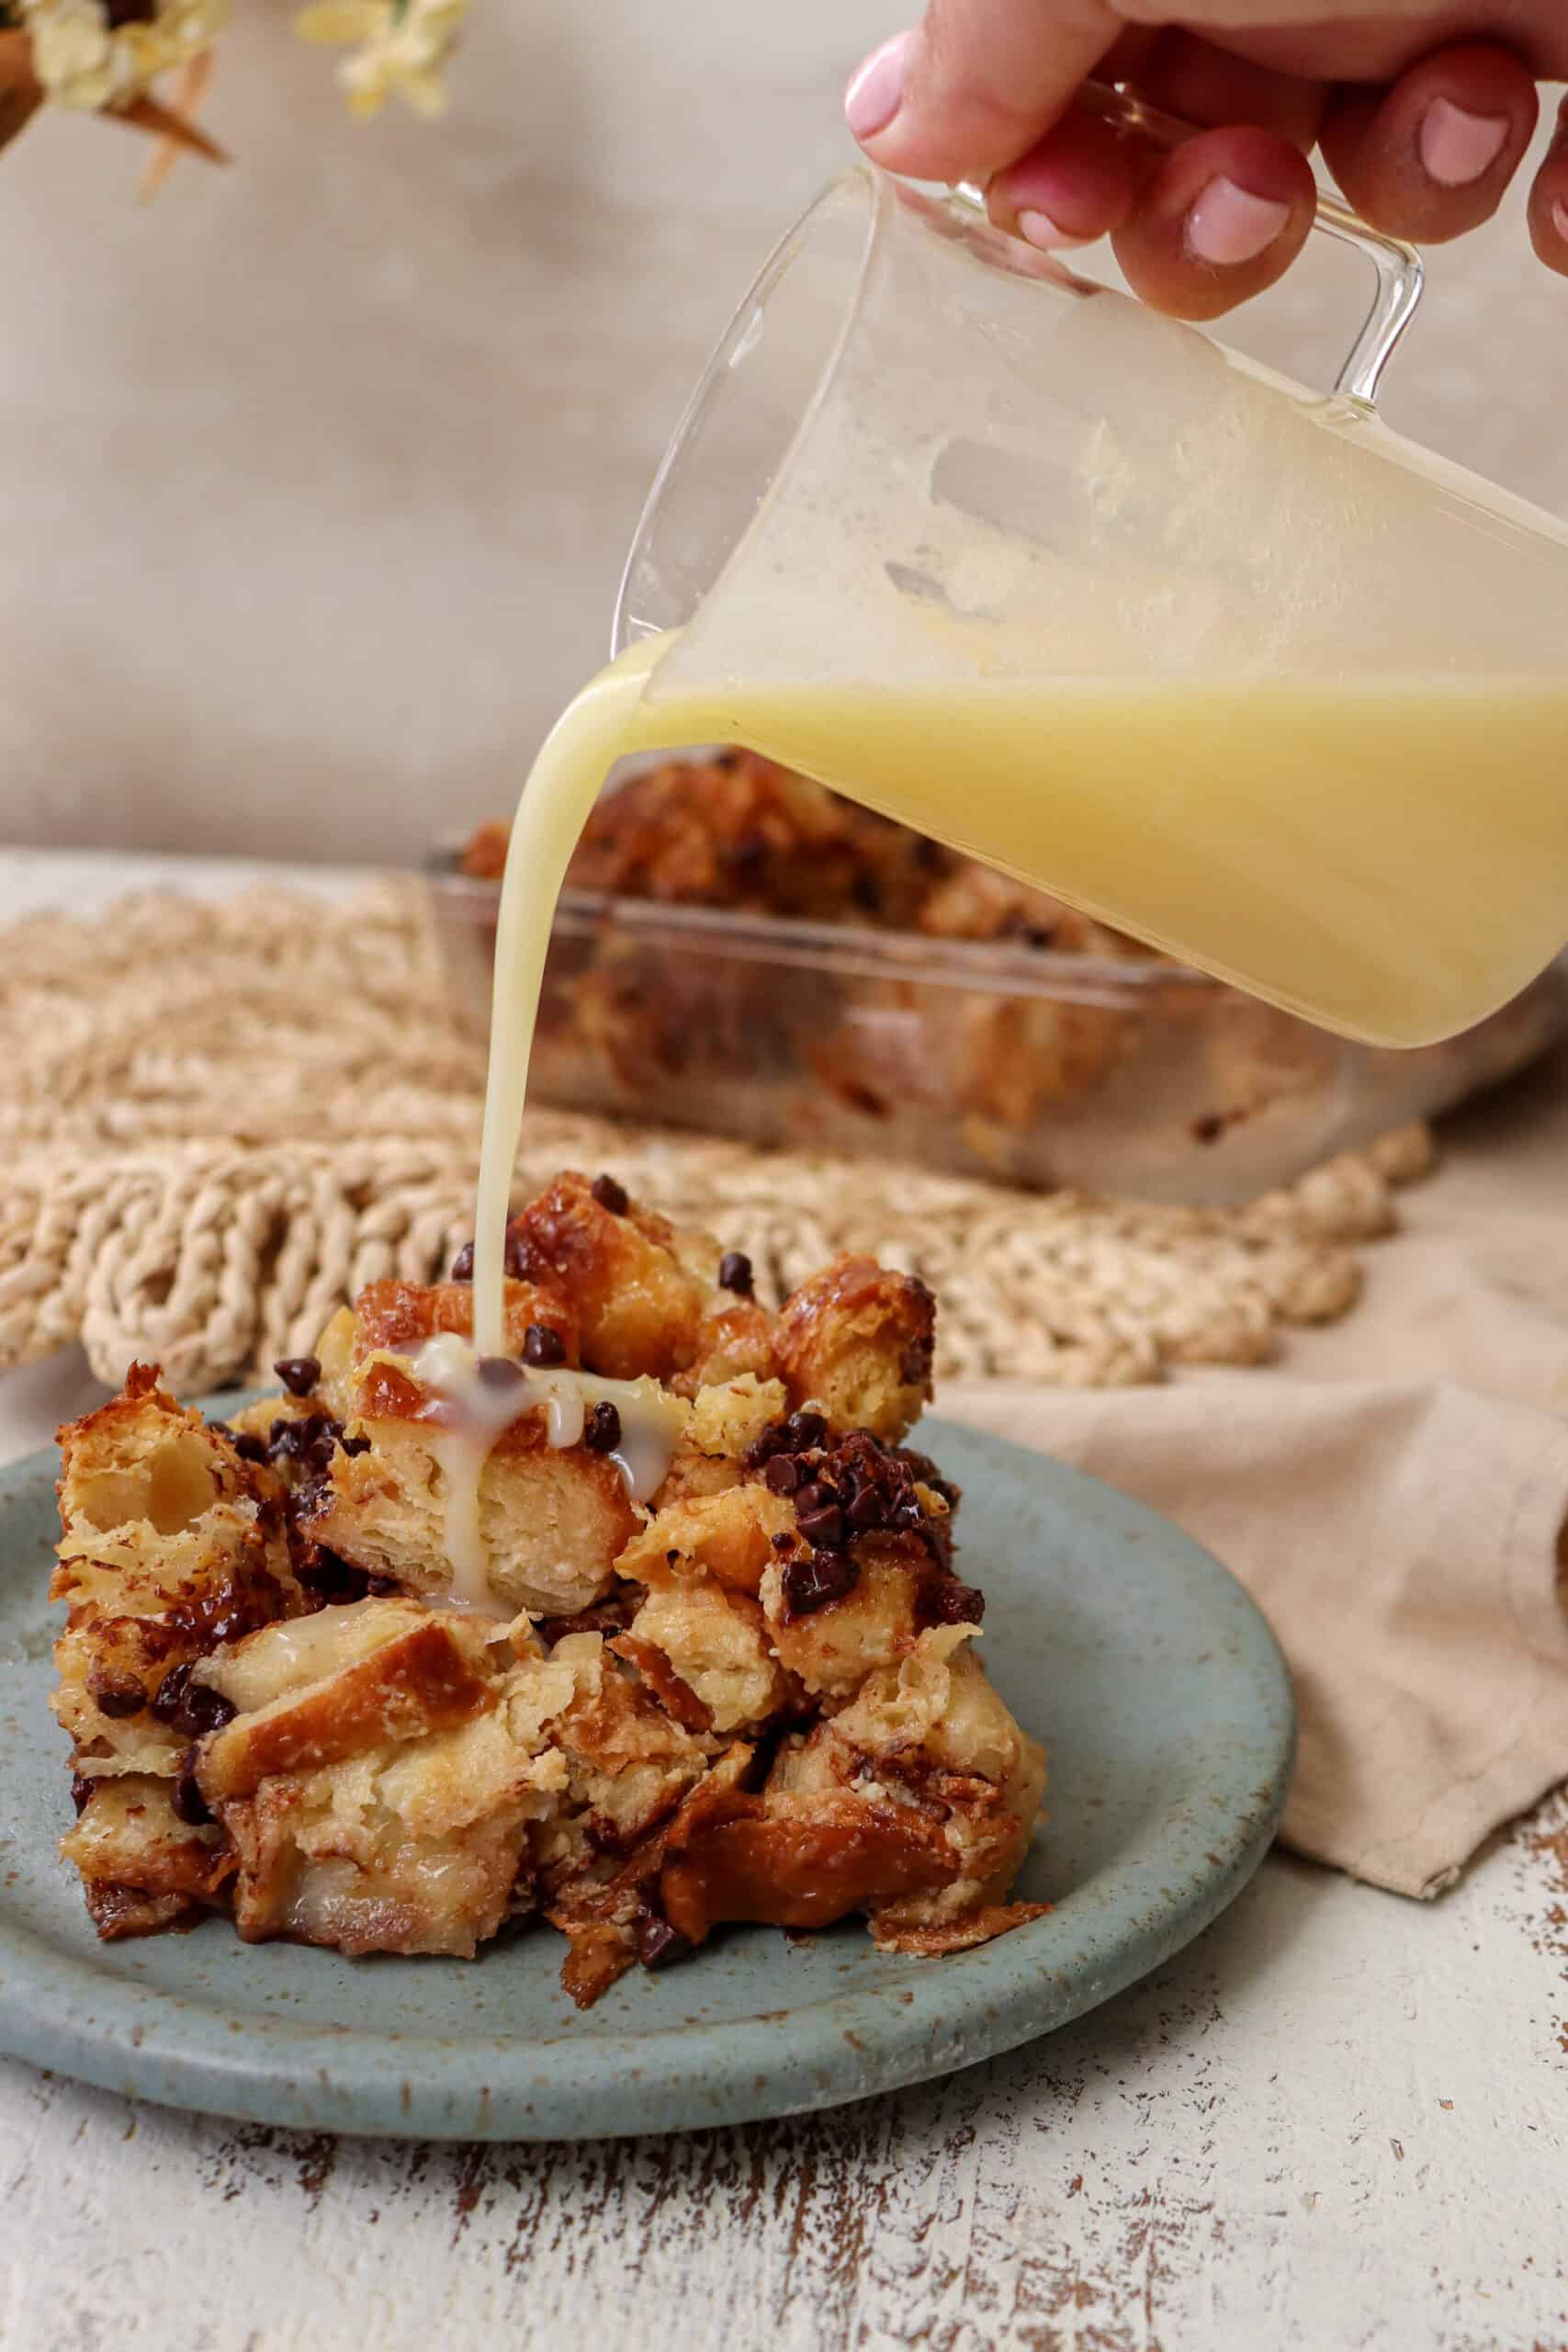
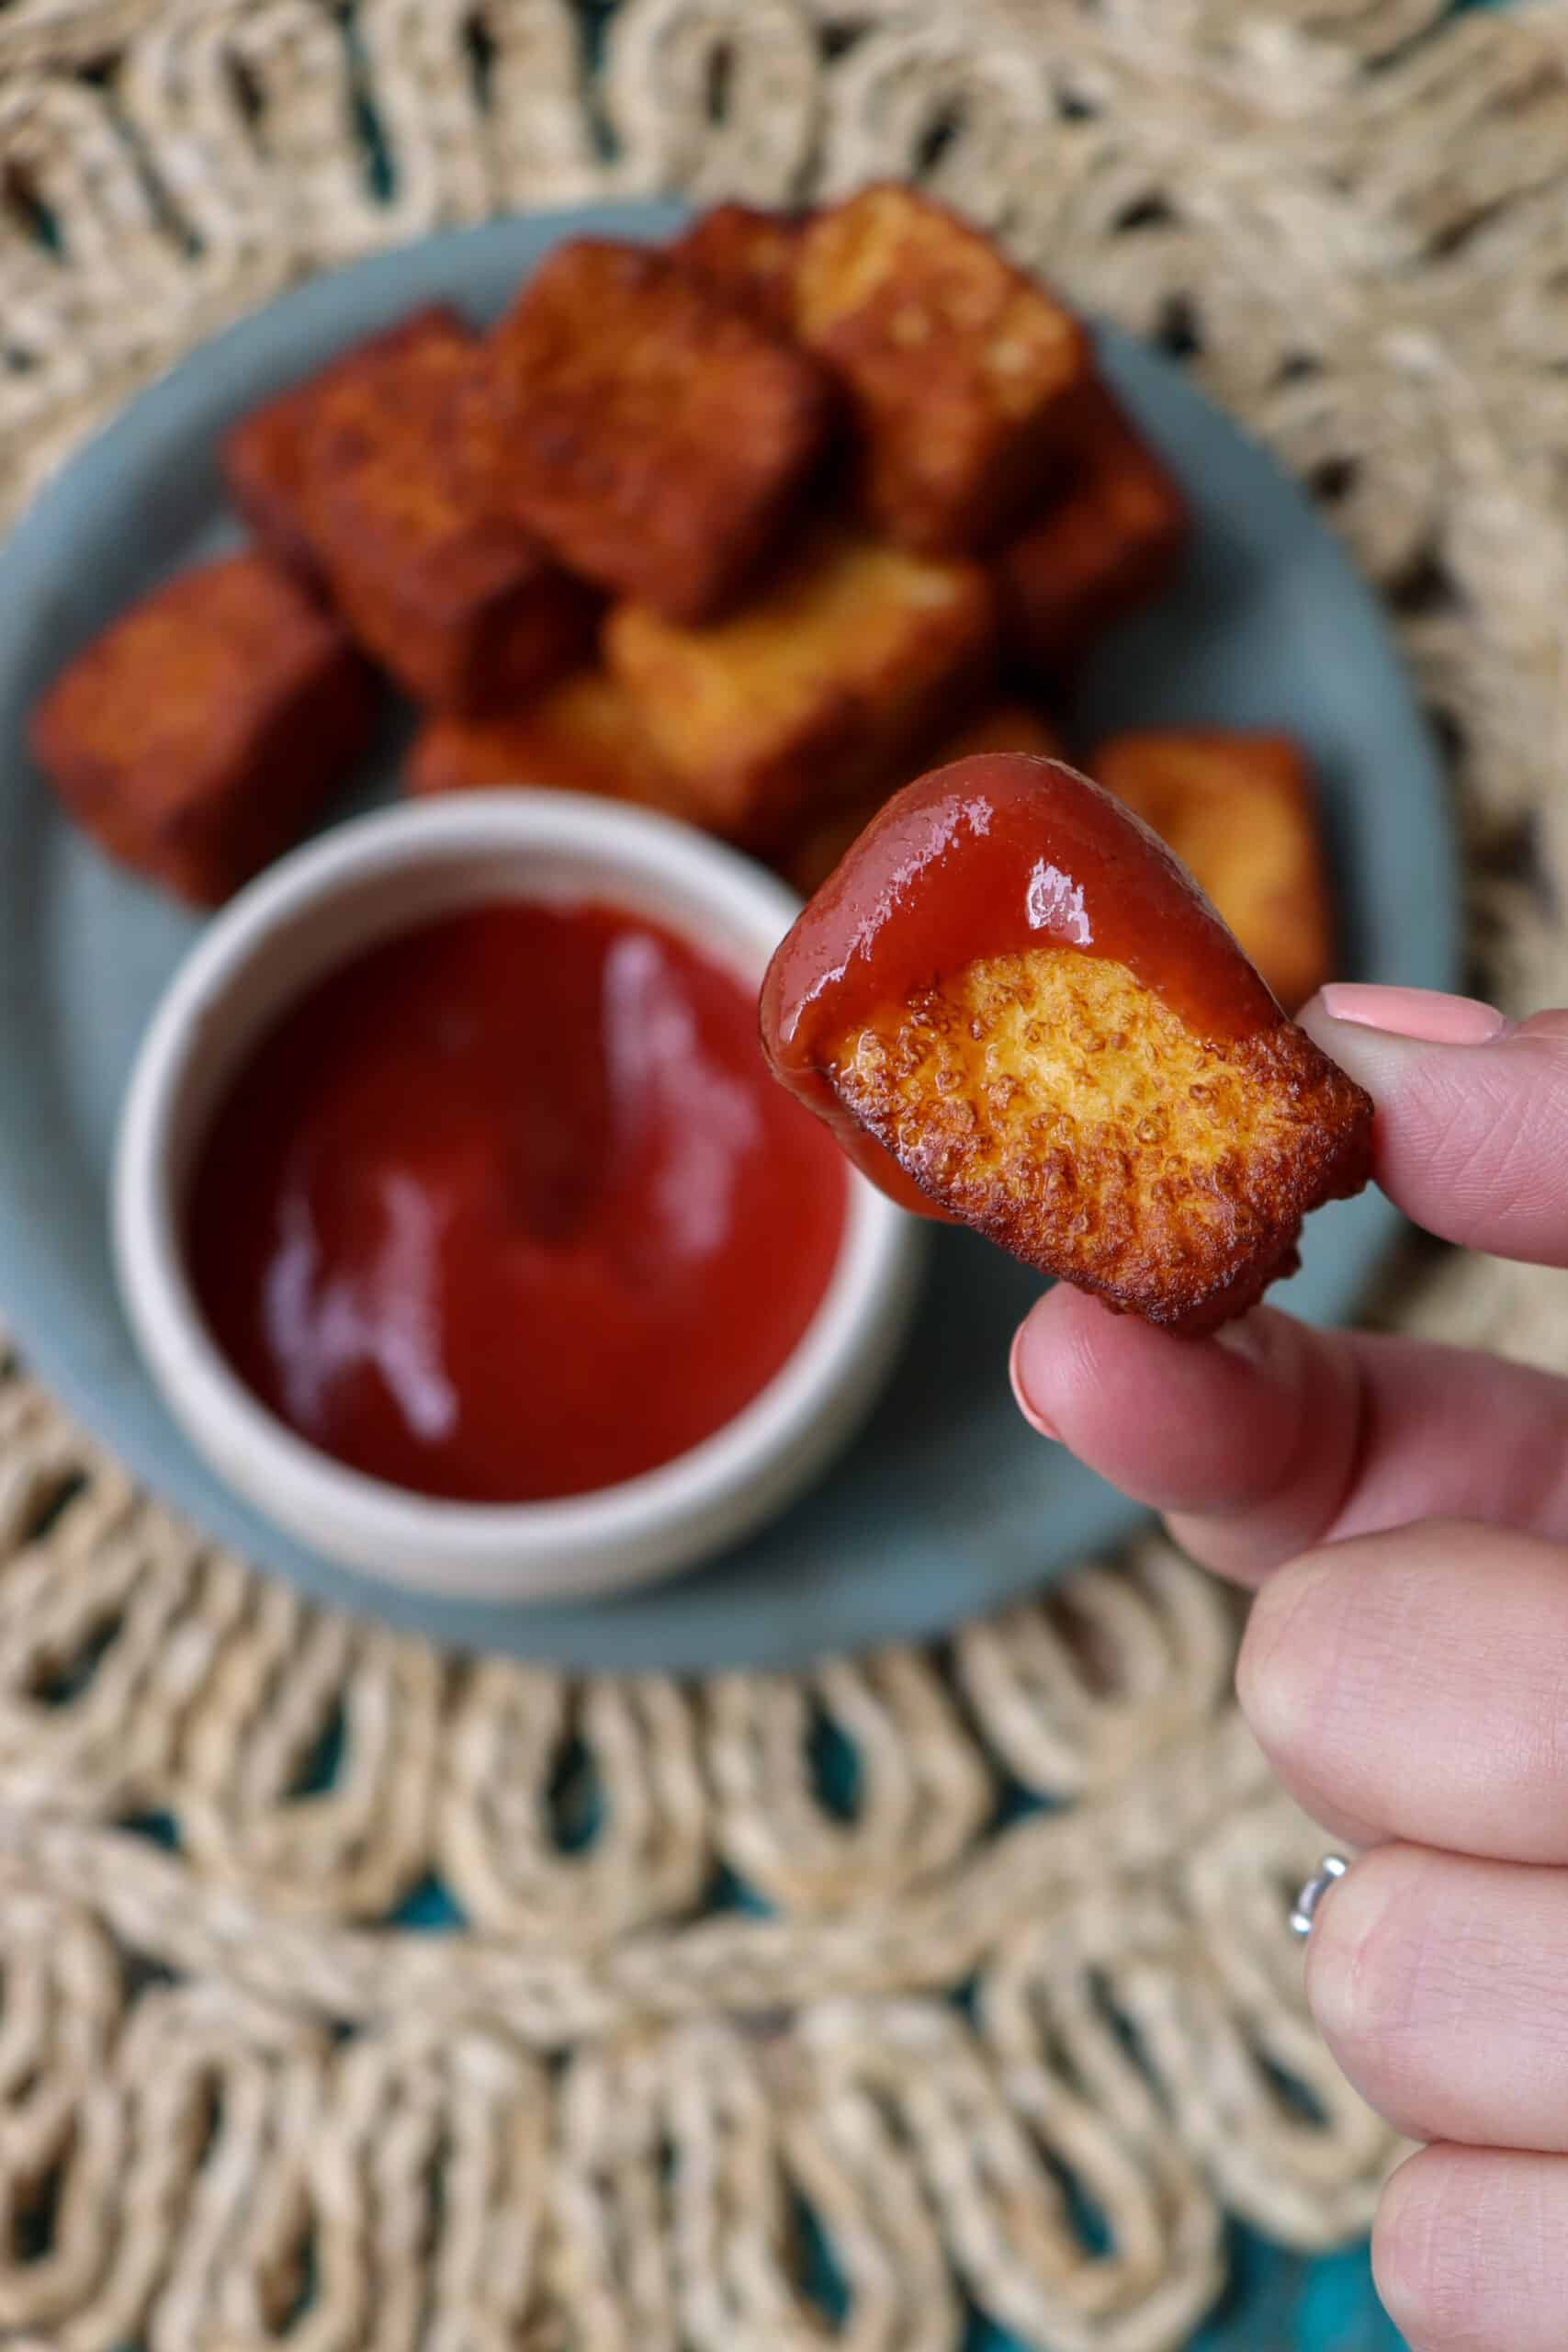
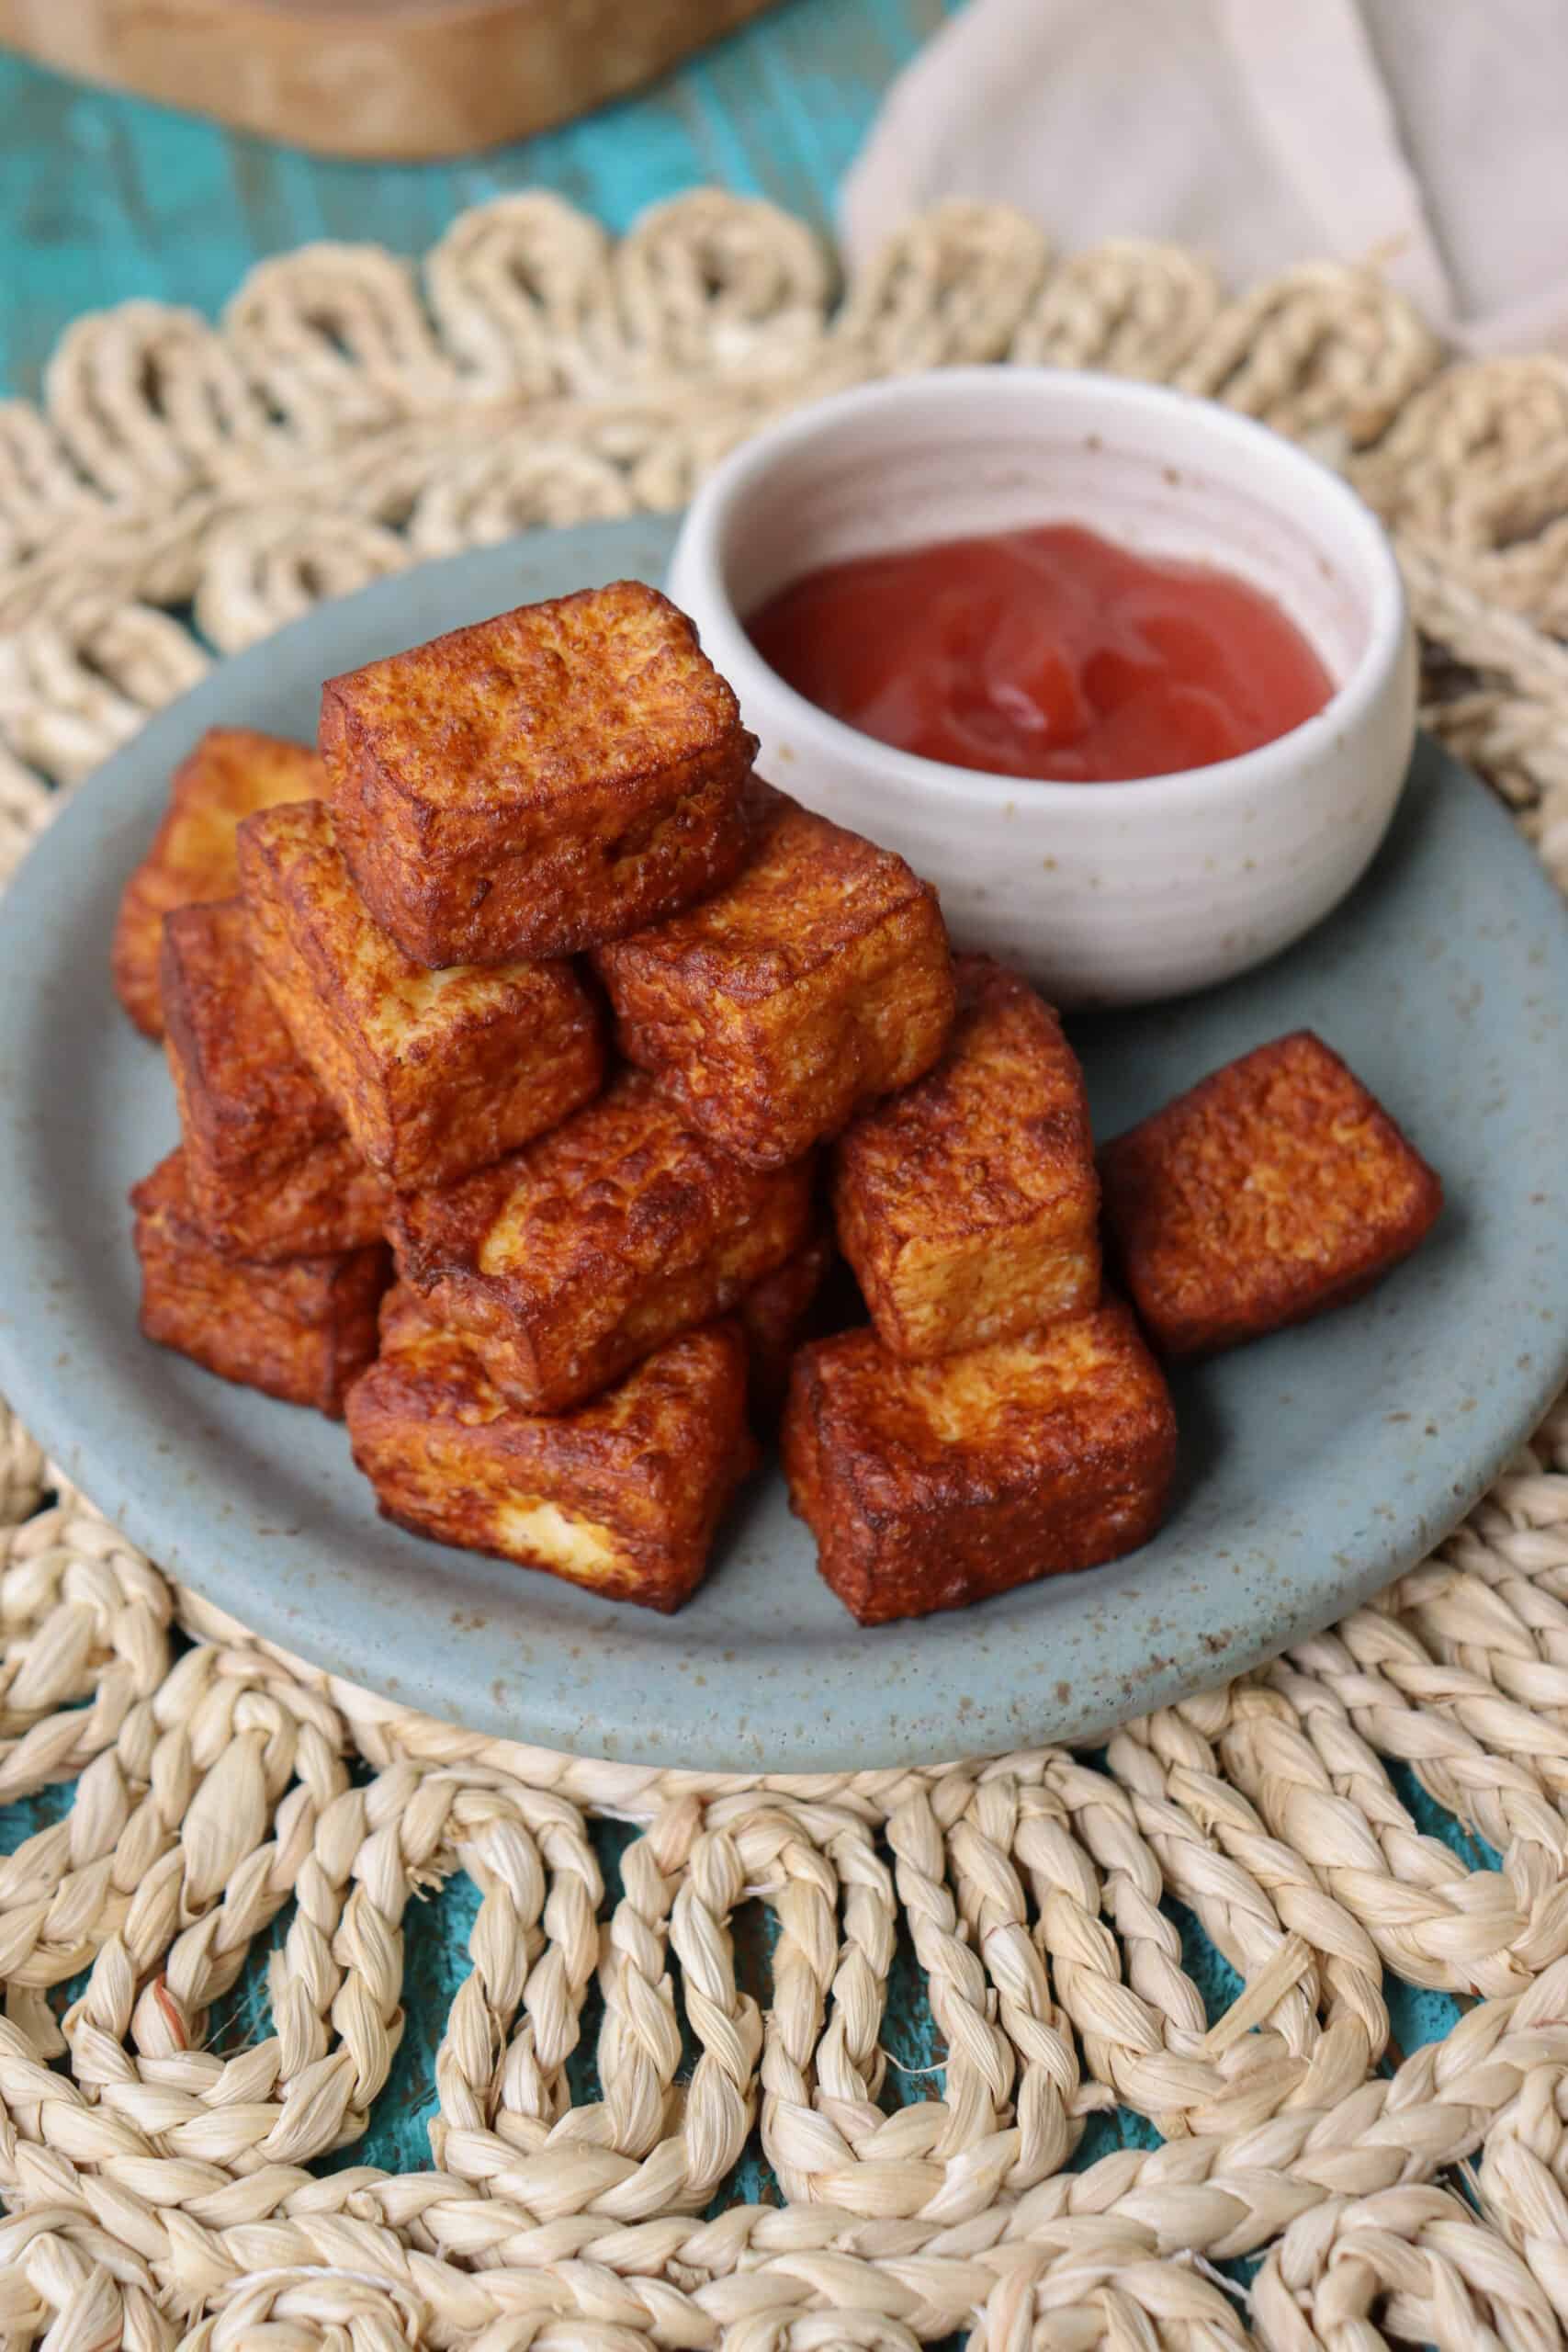
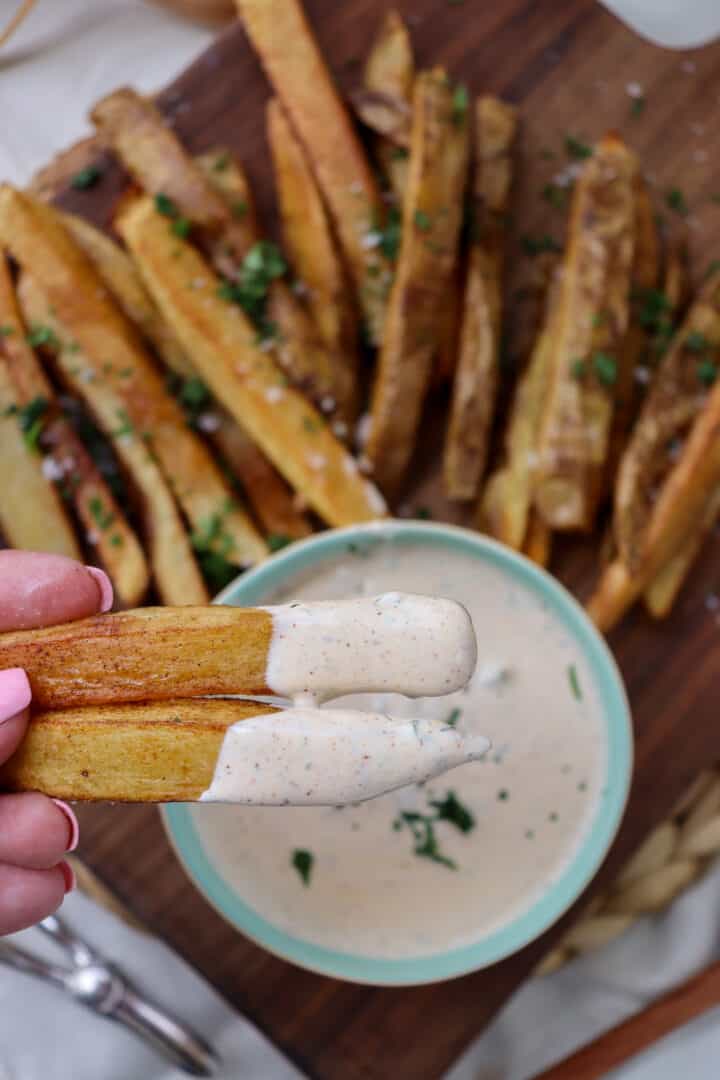
- Serve immediately with your choice of sauce or hot chocolate.
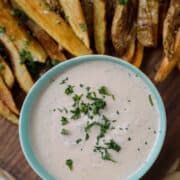
What to serve with these churros
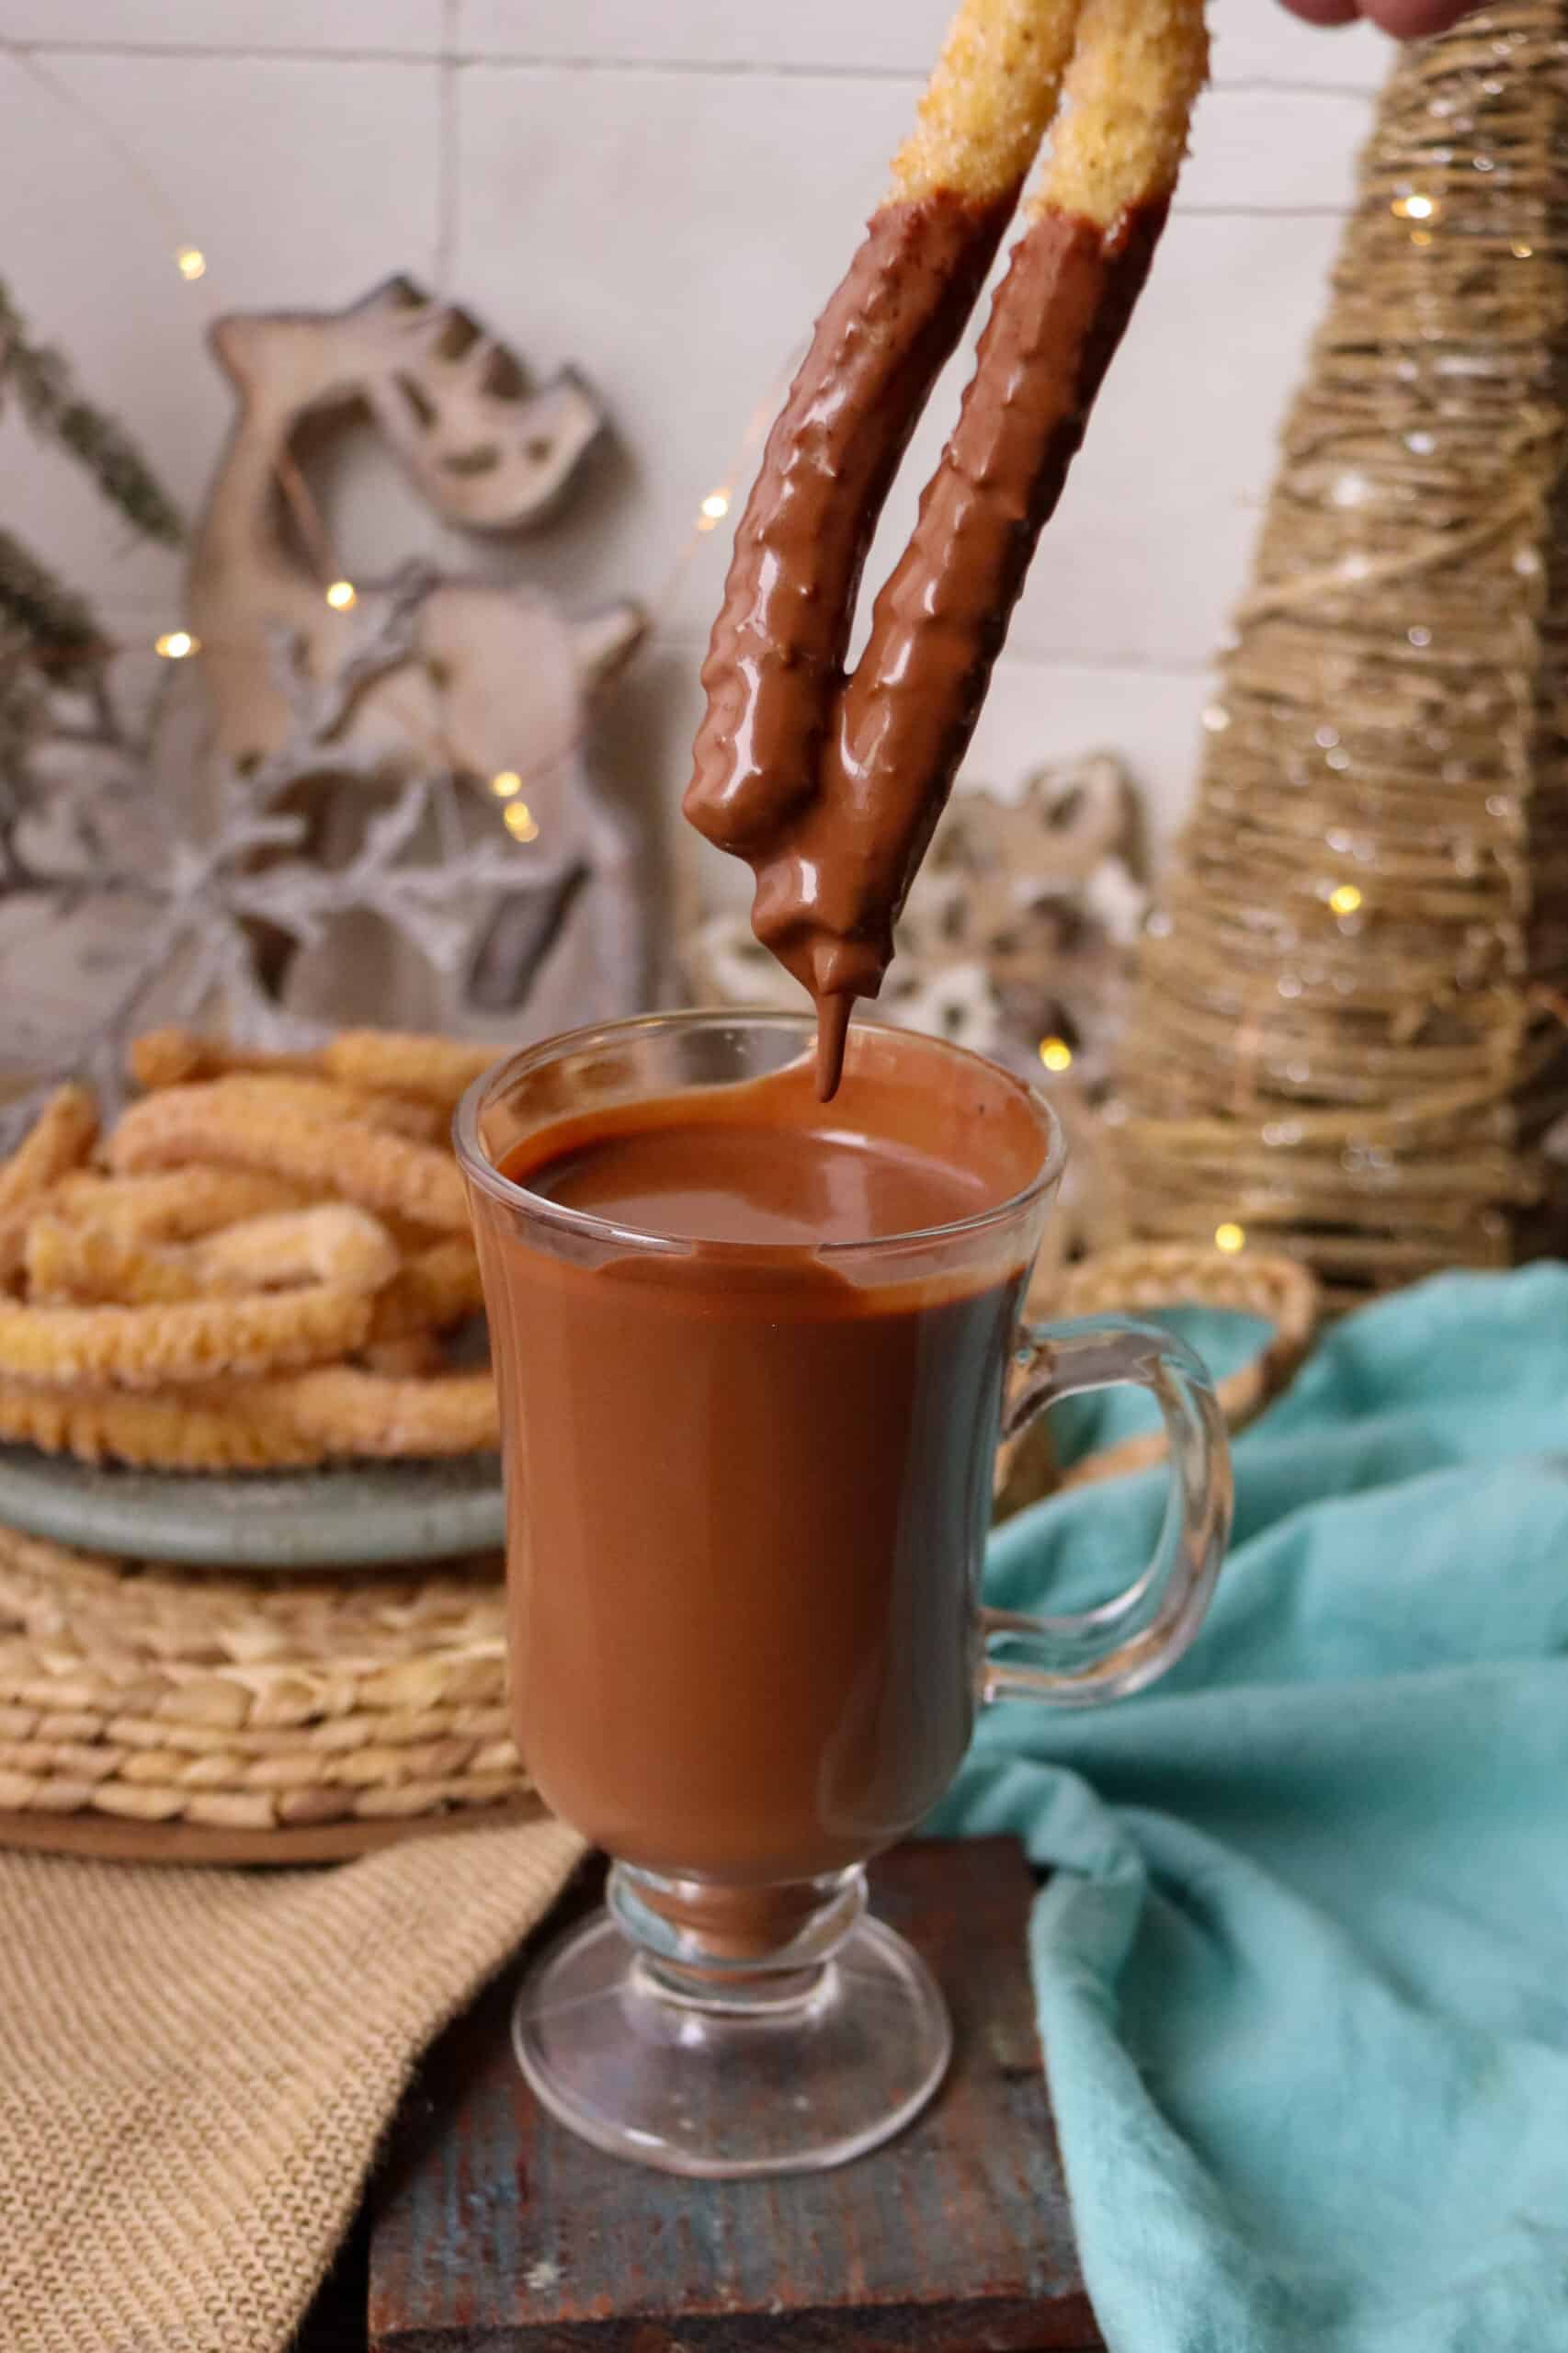
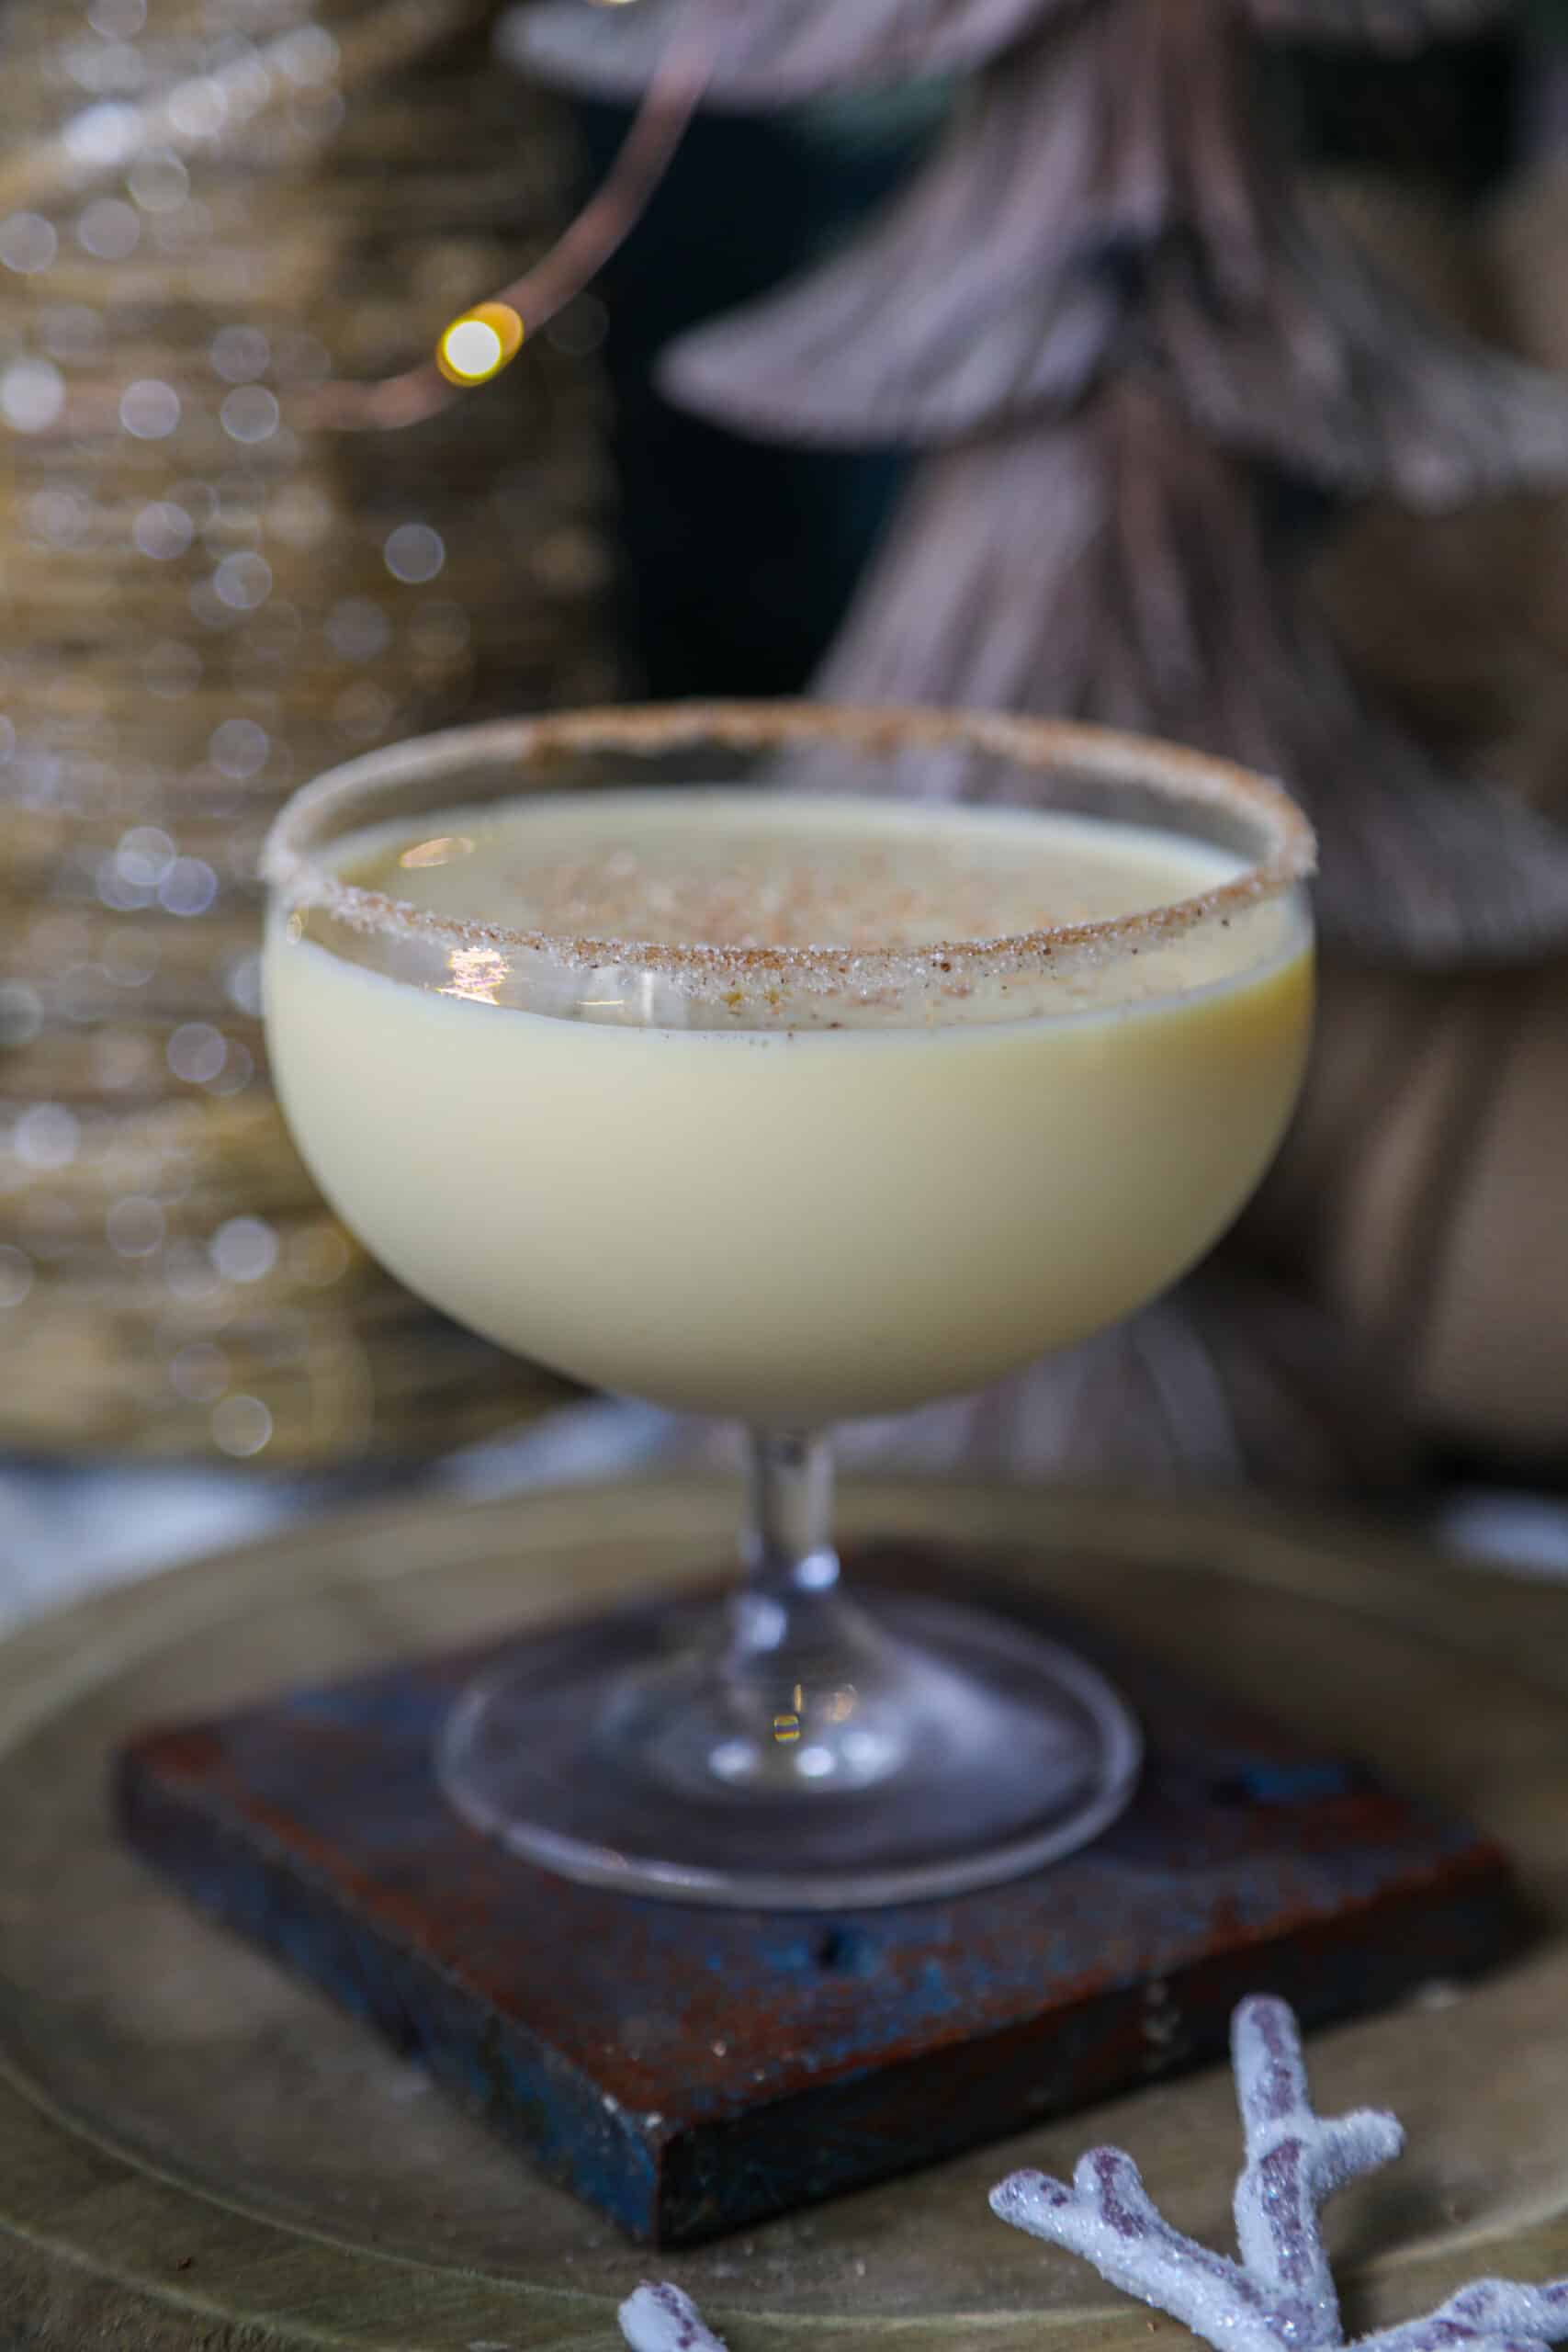
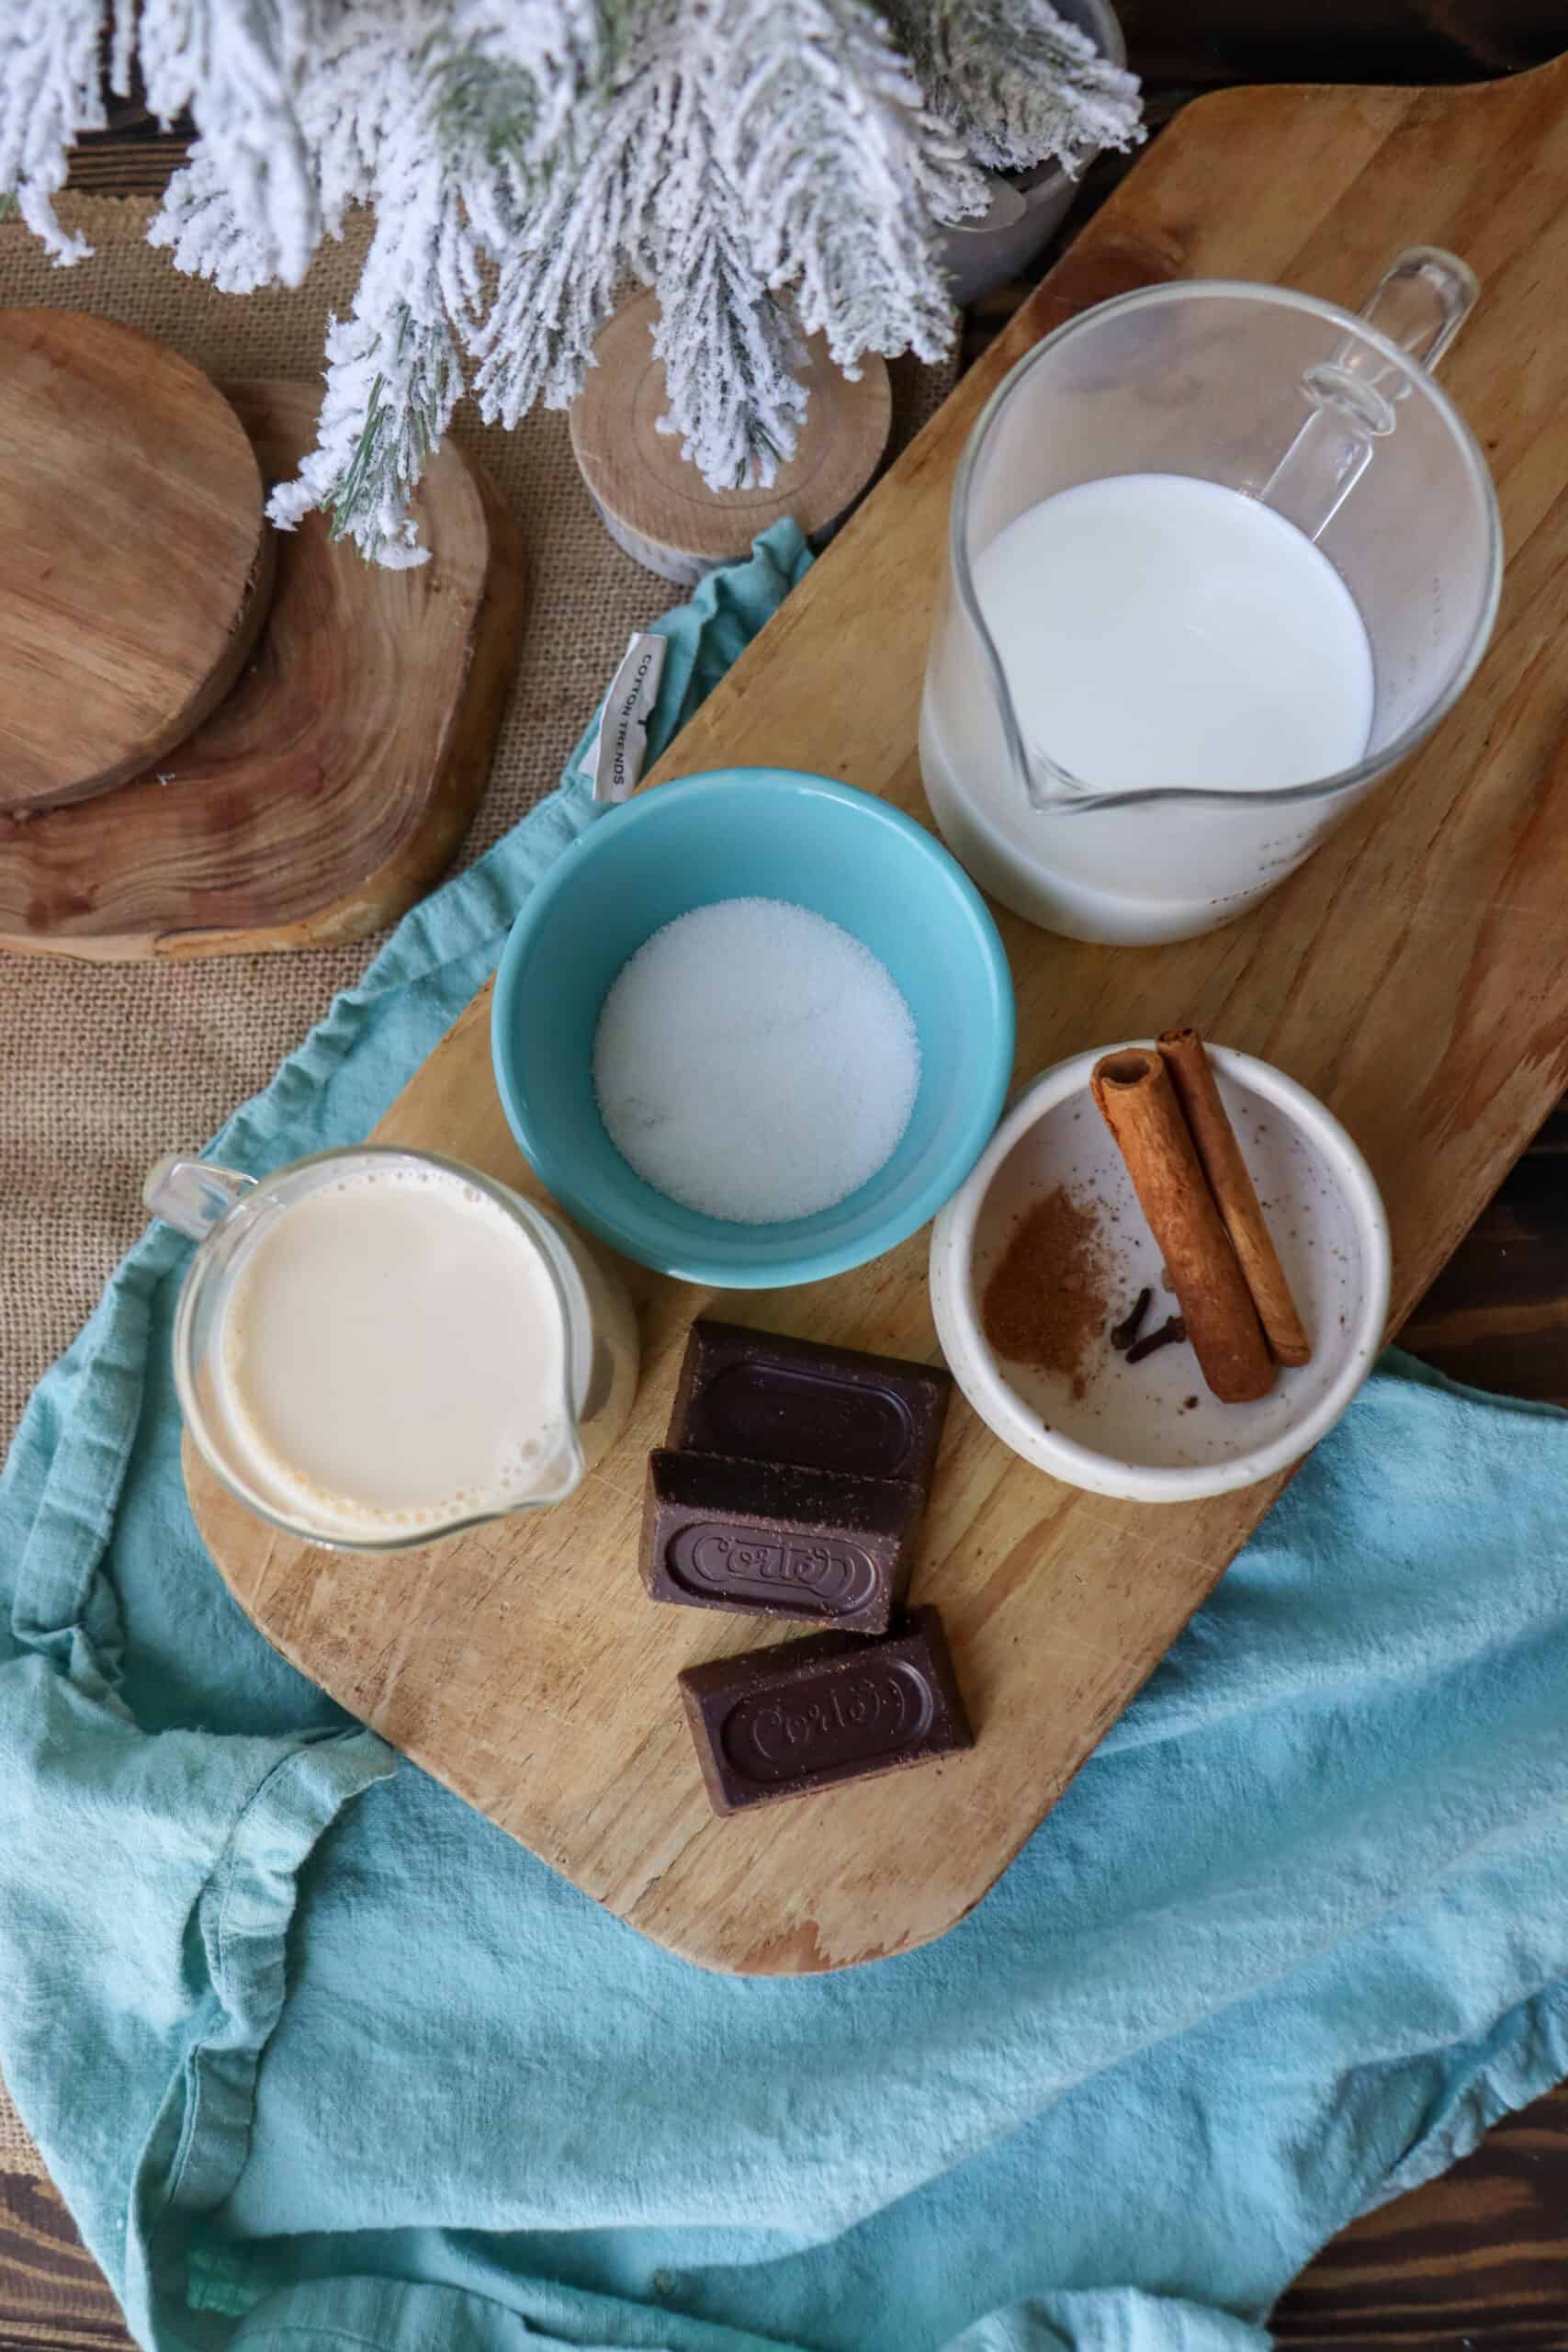
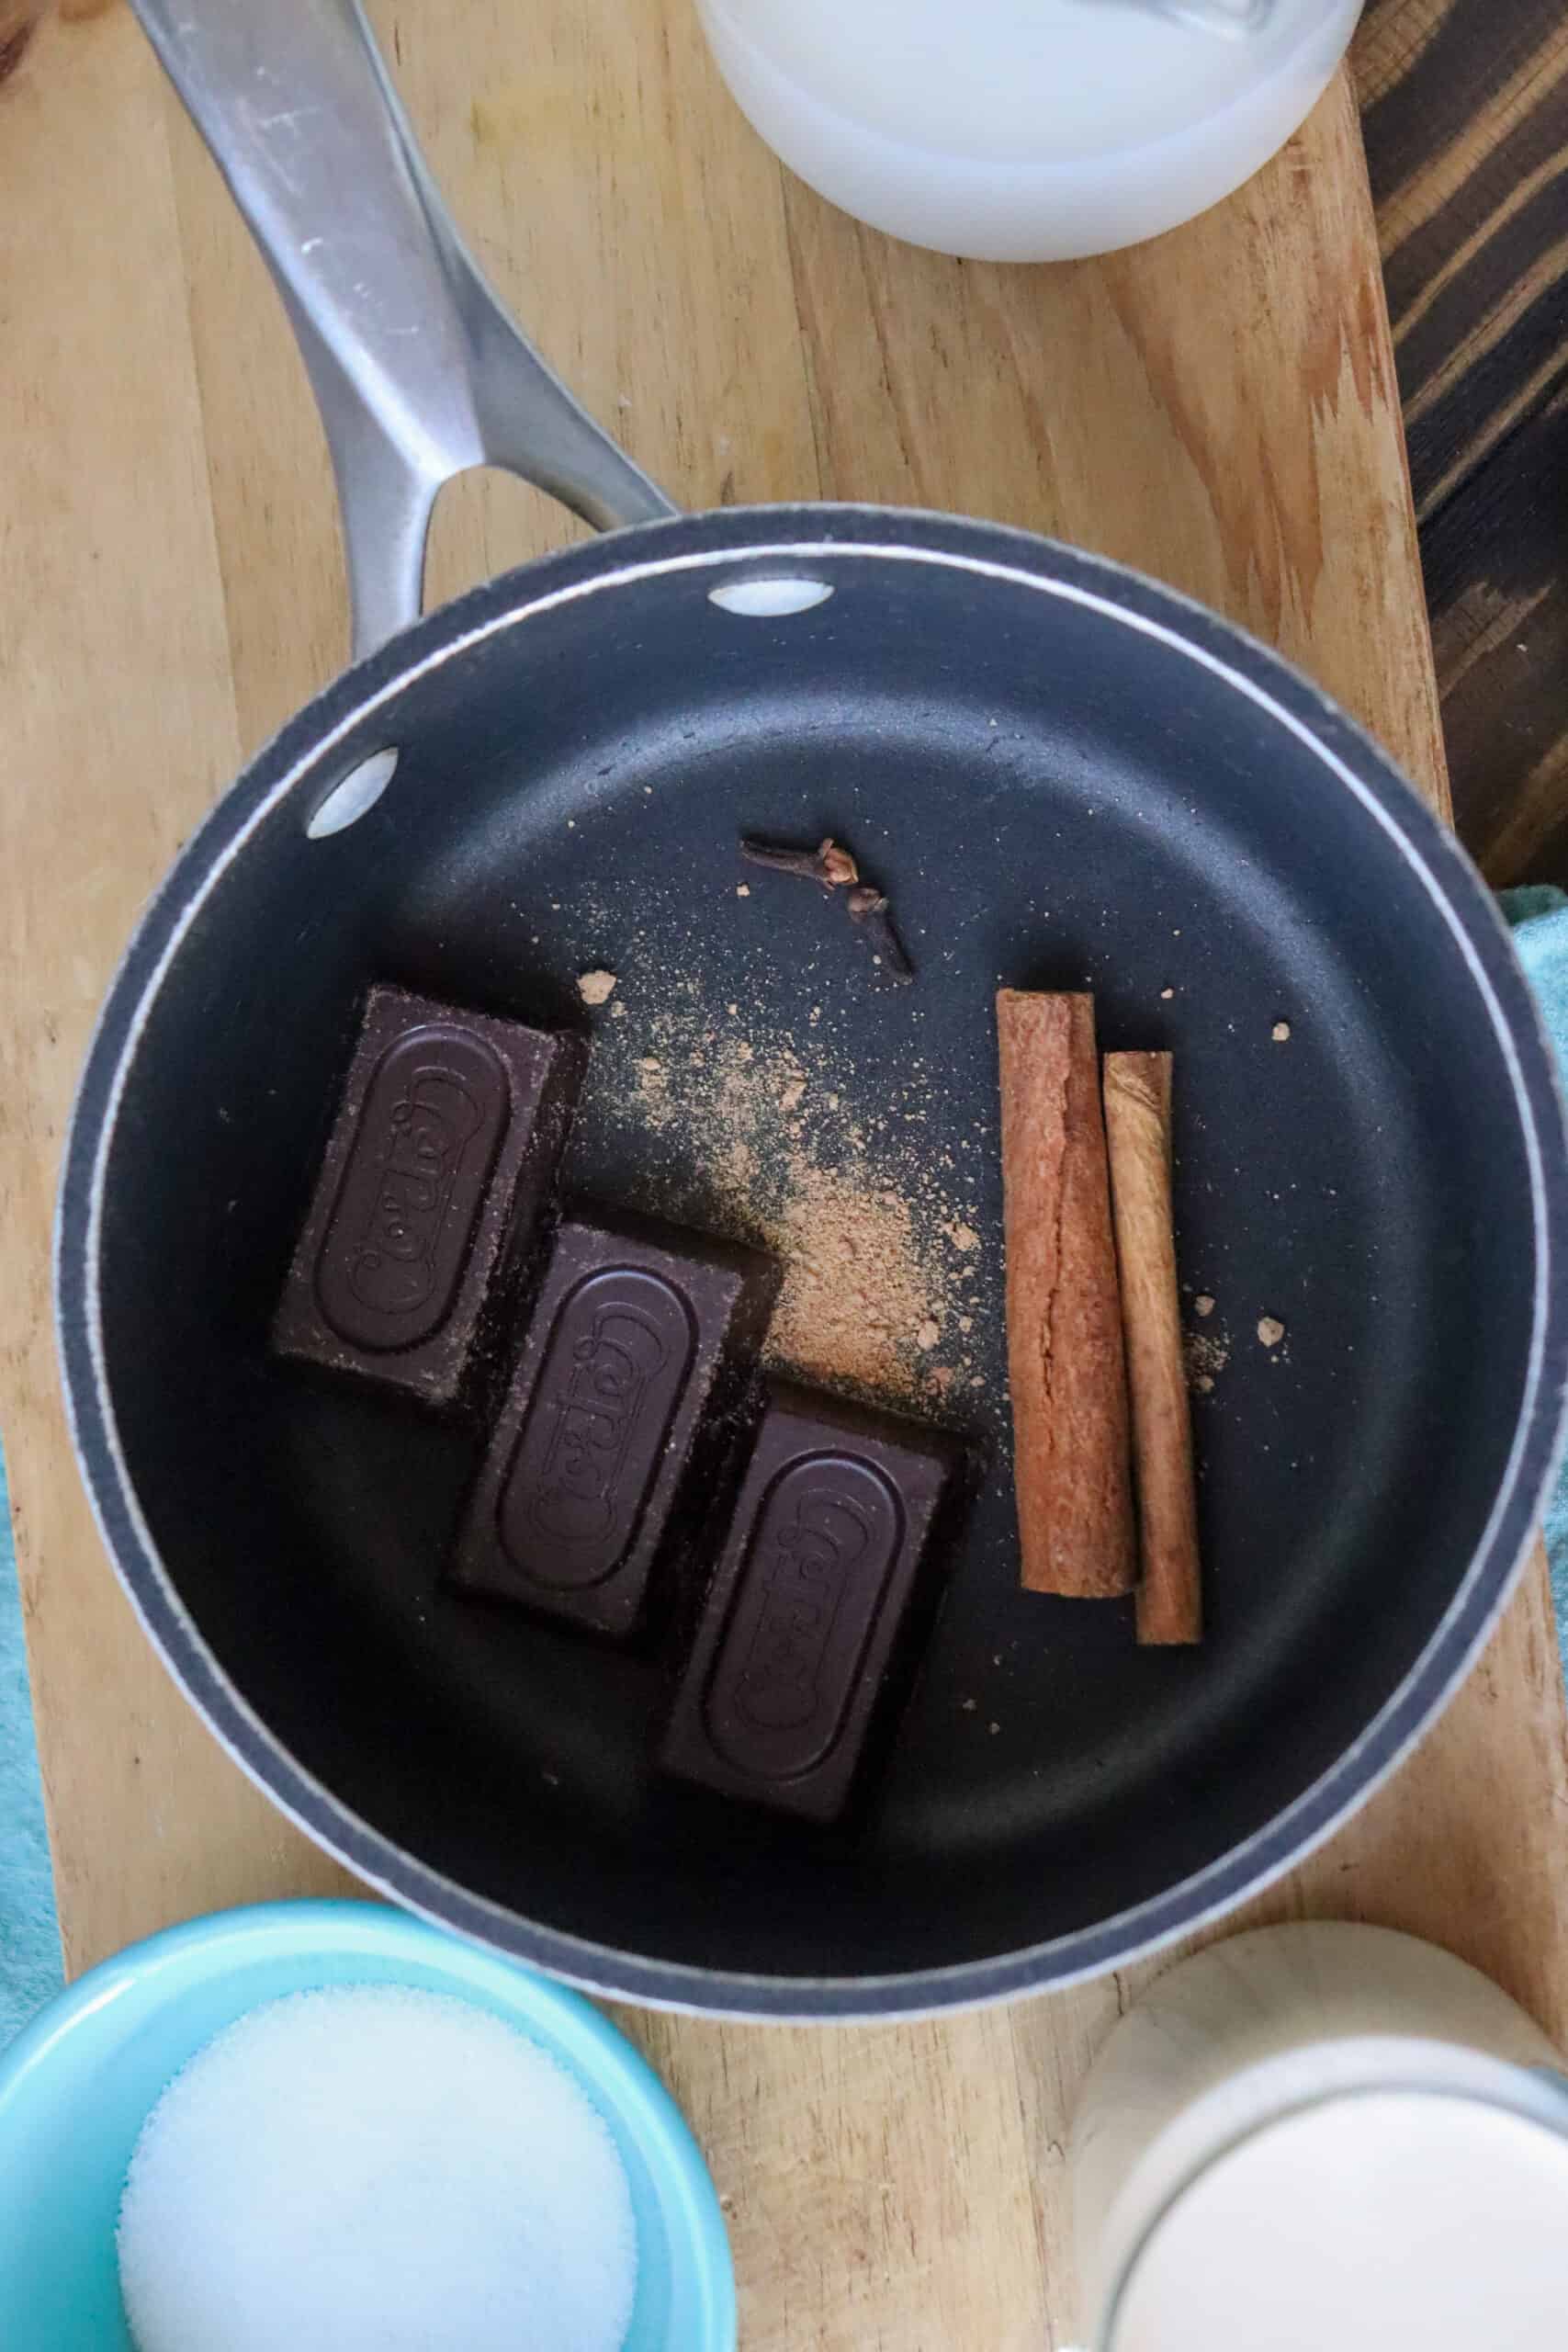
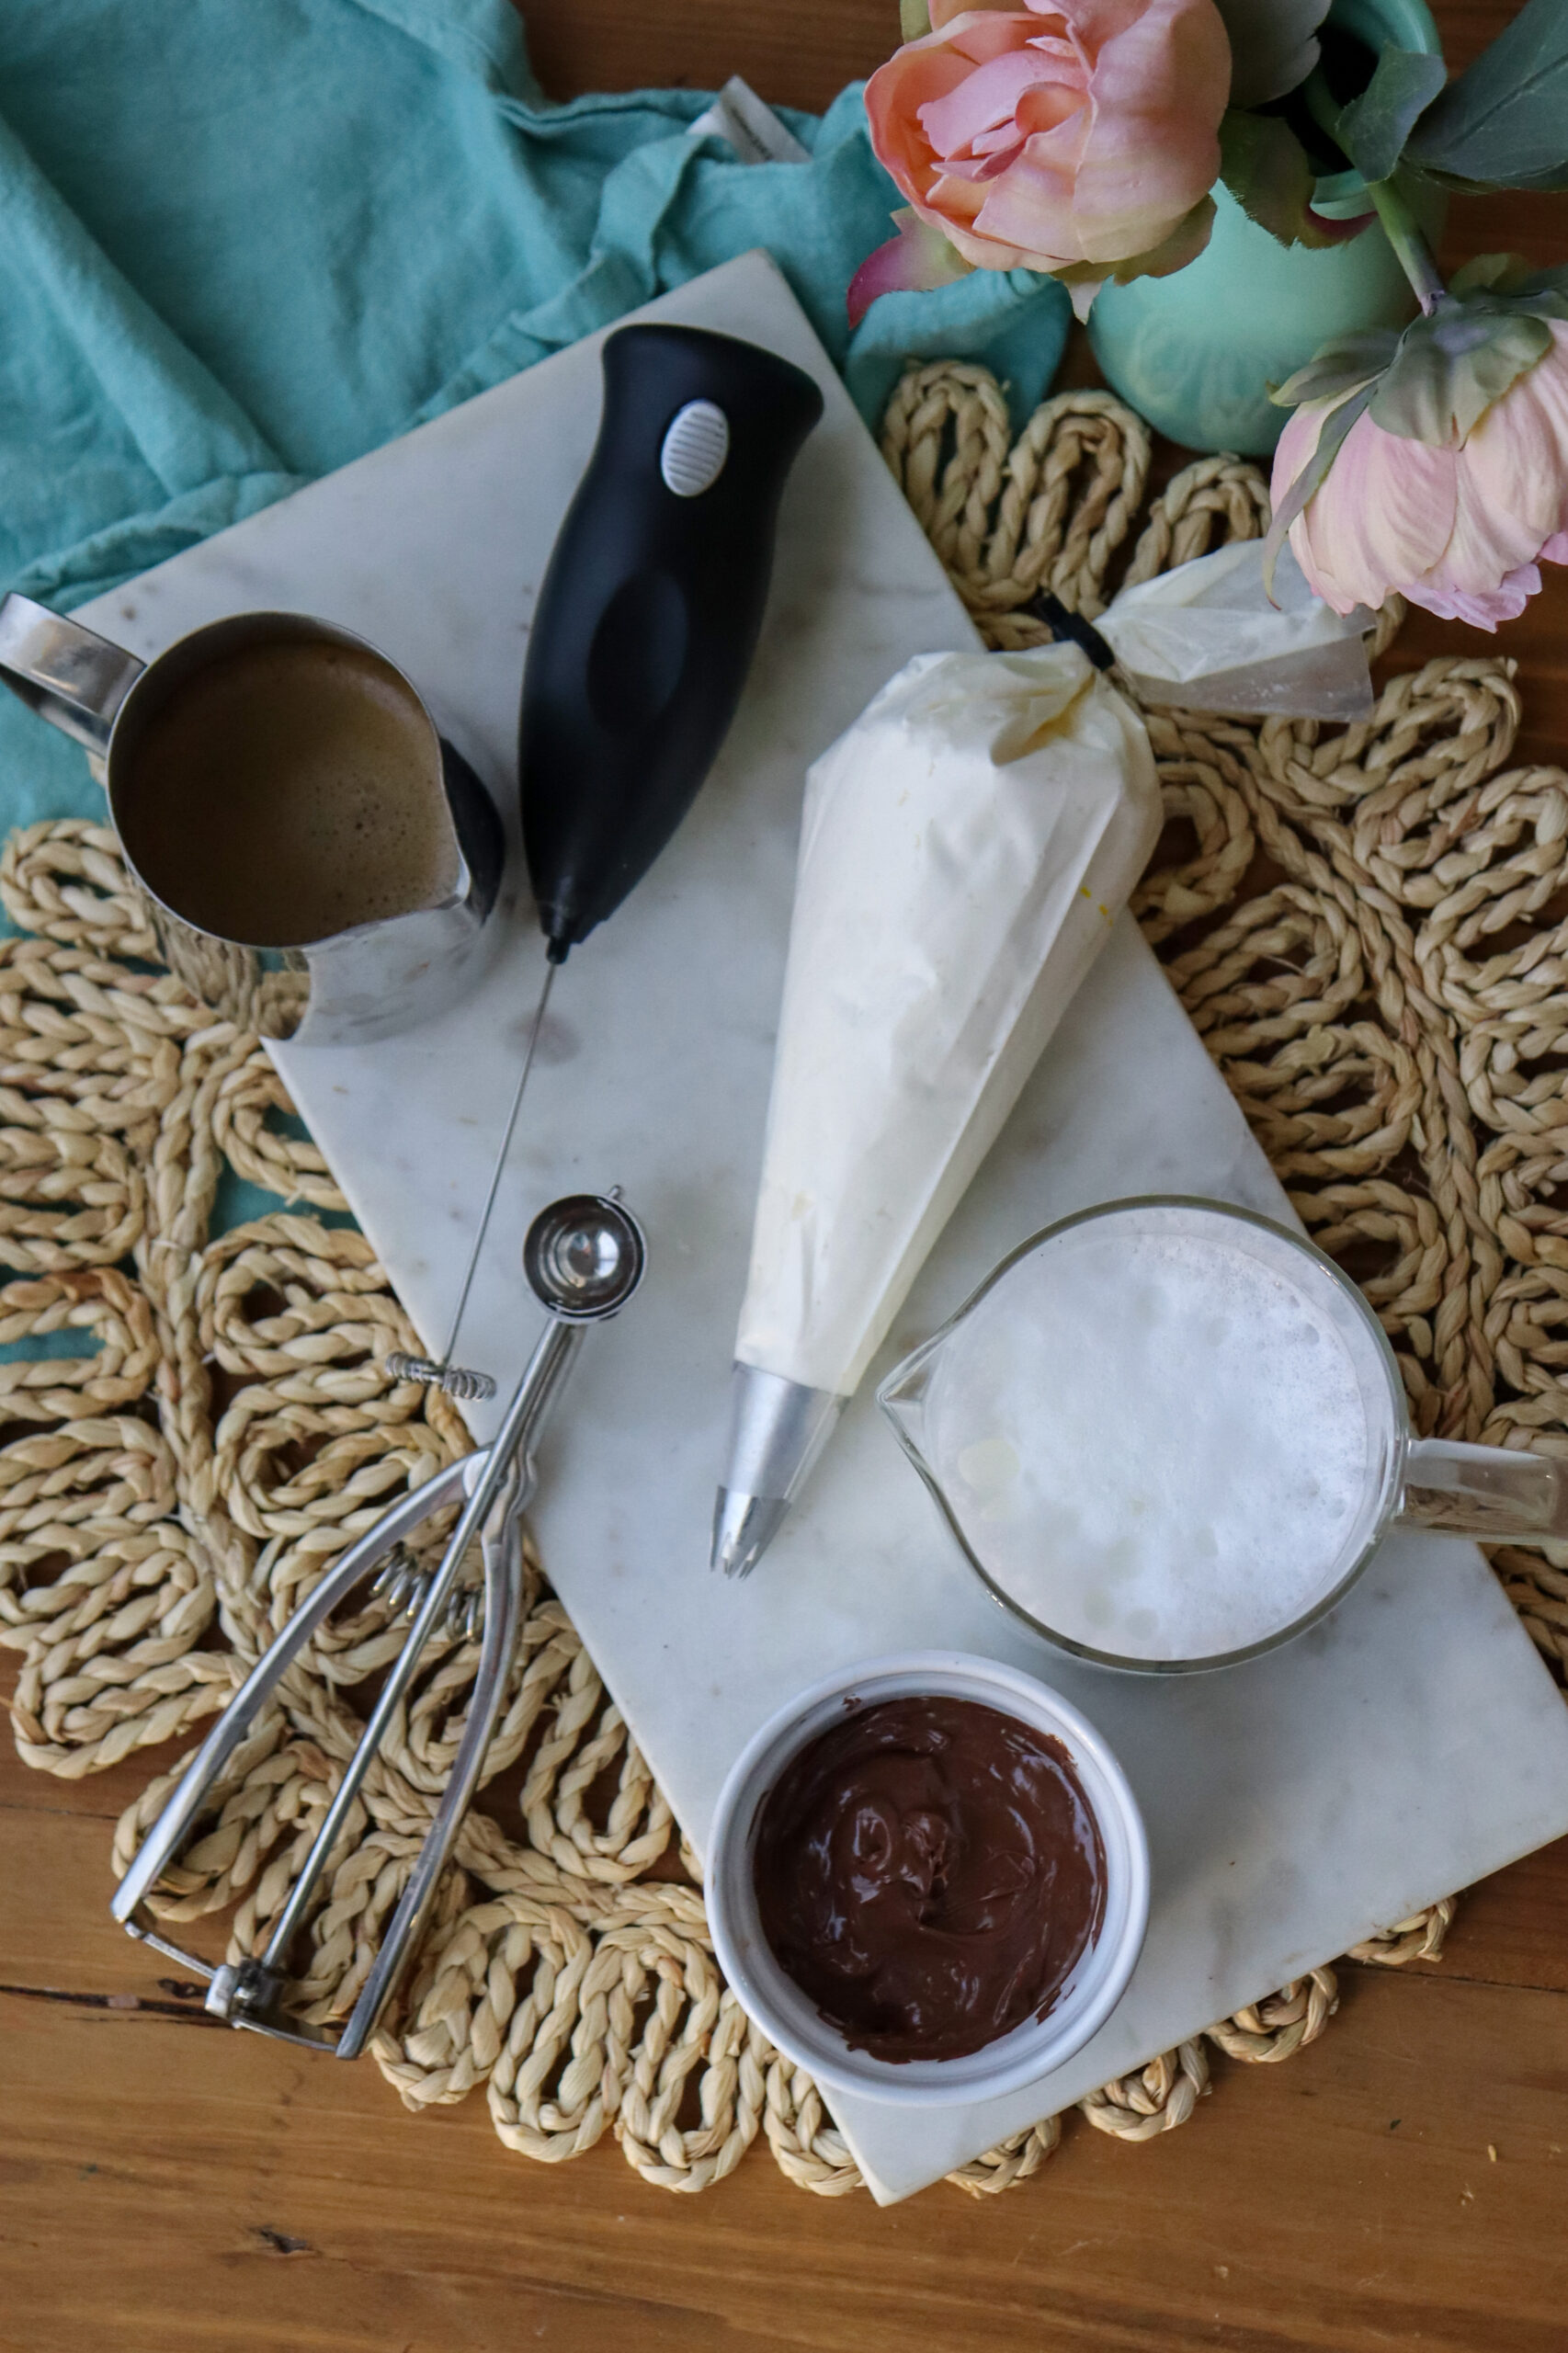
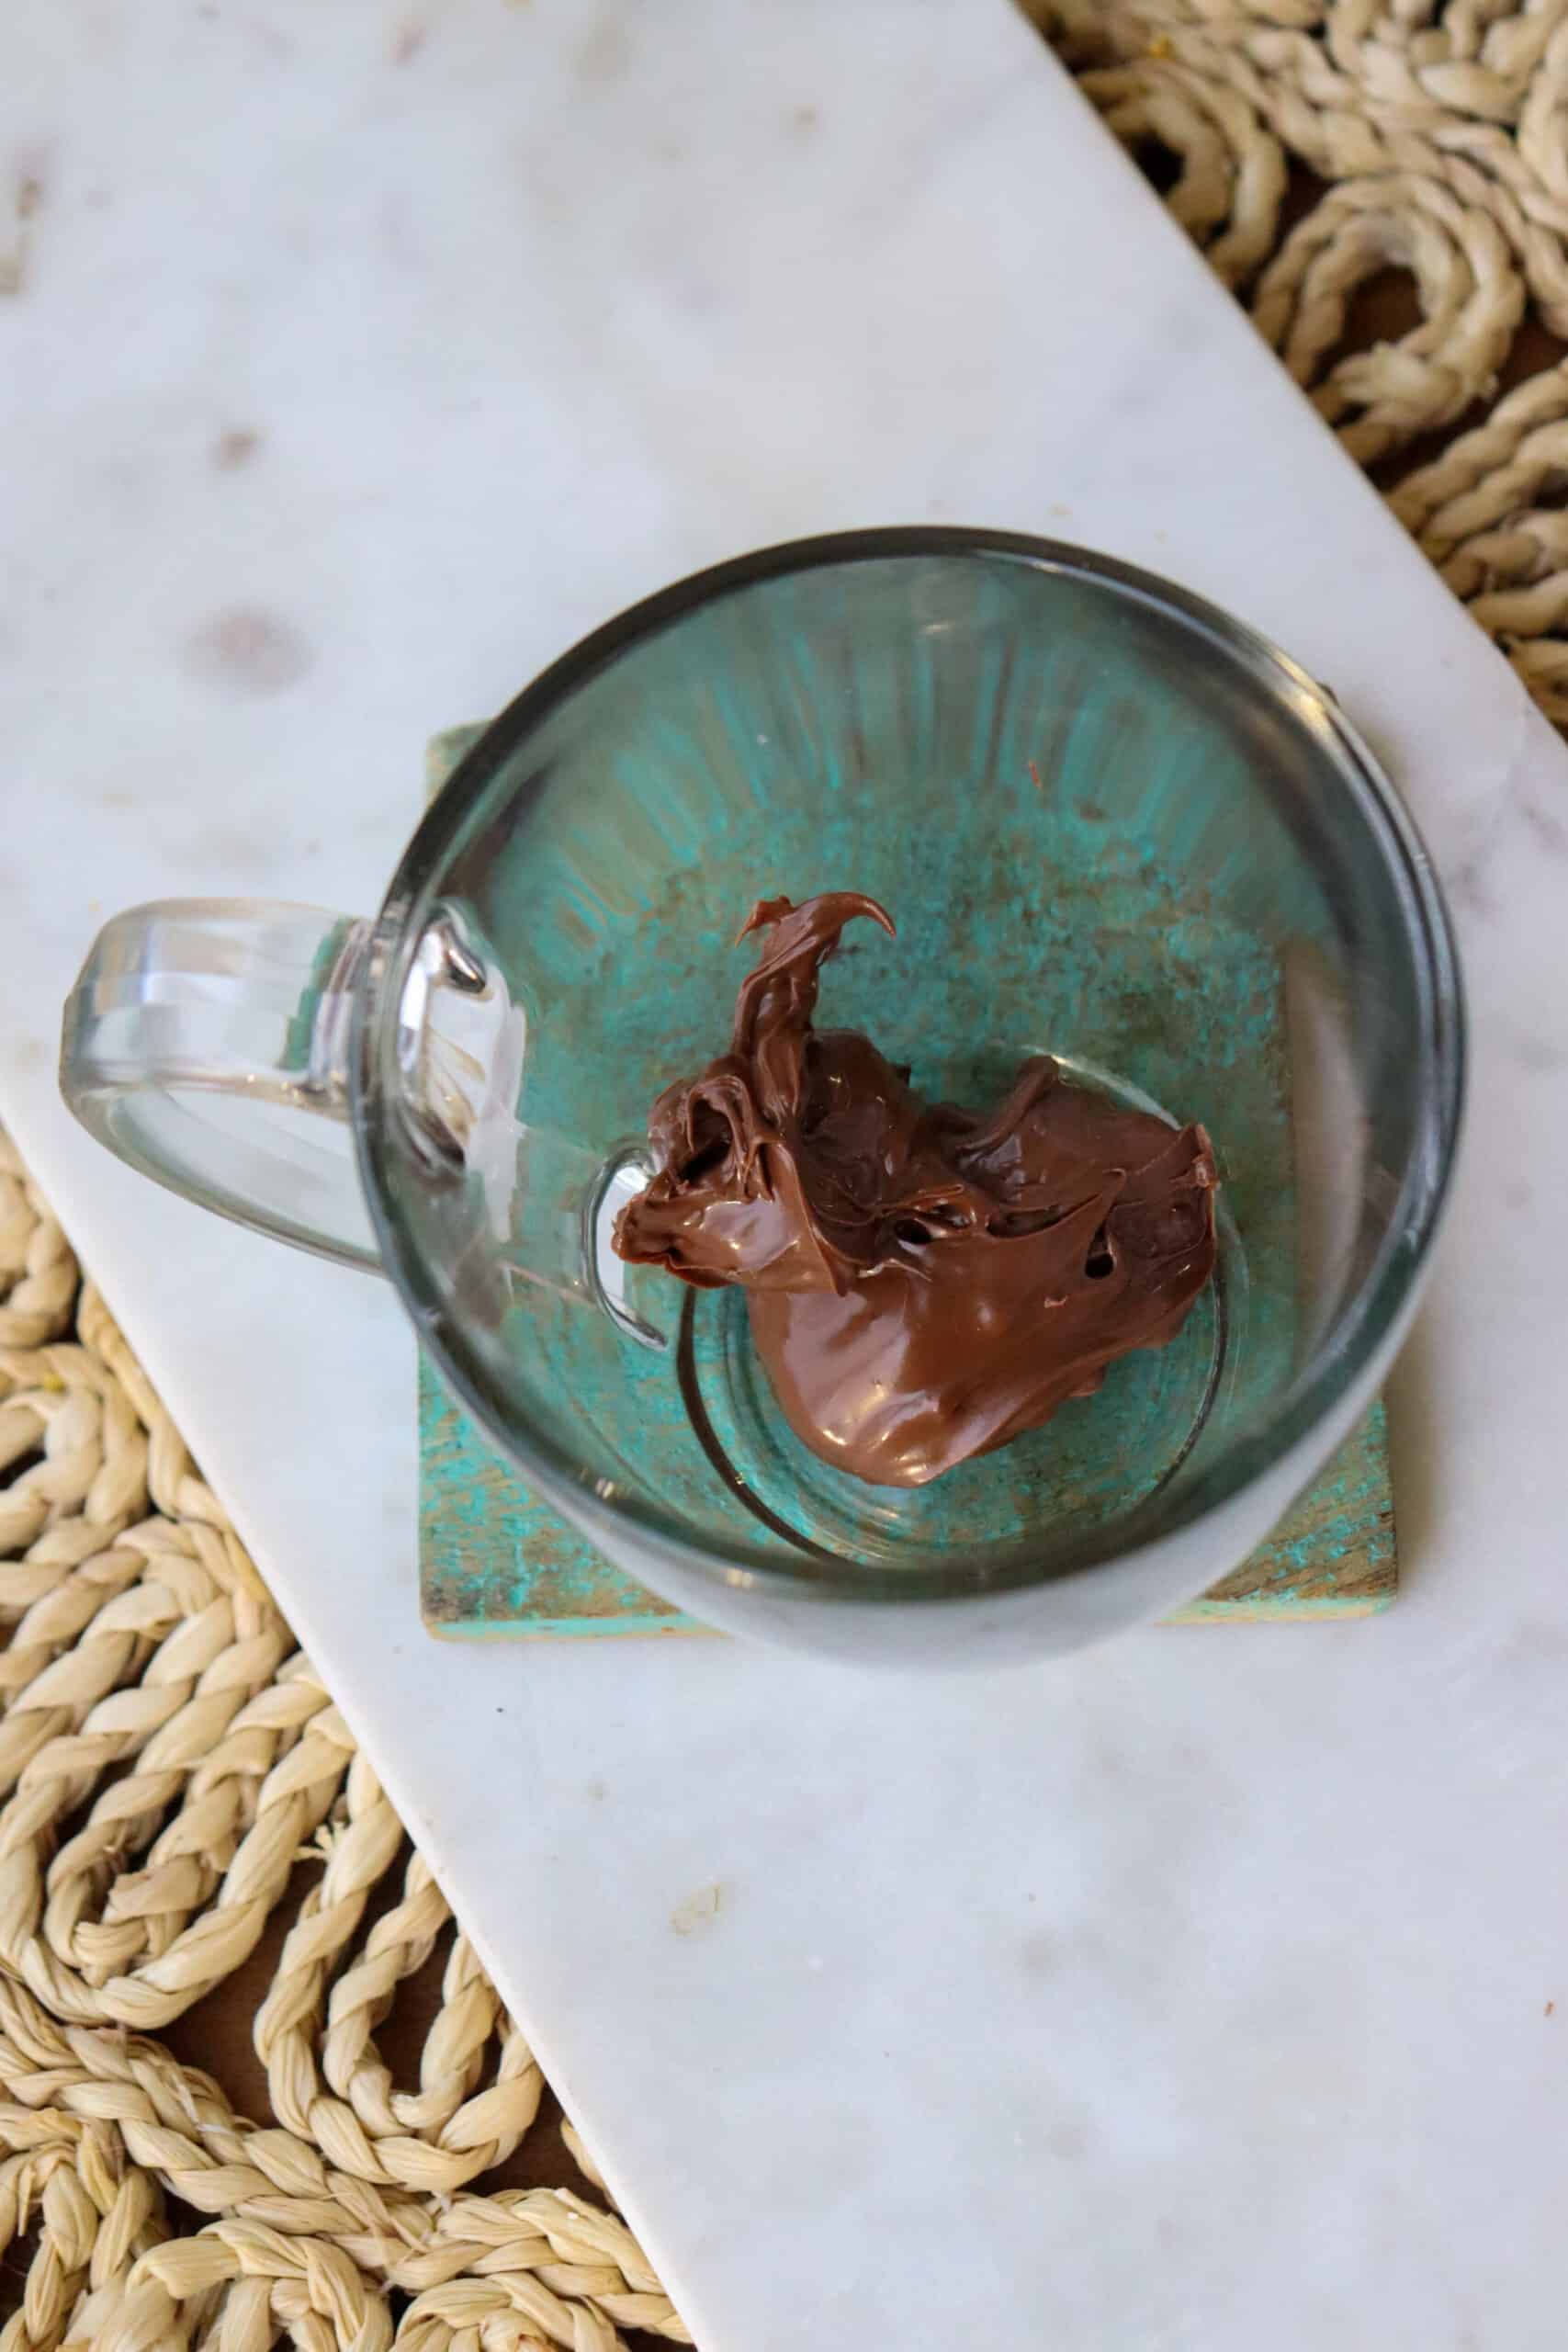
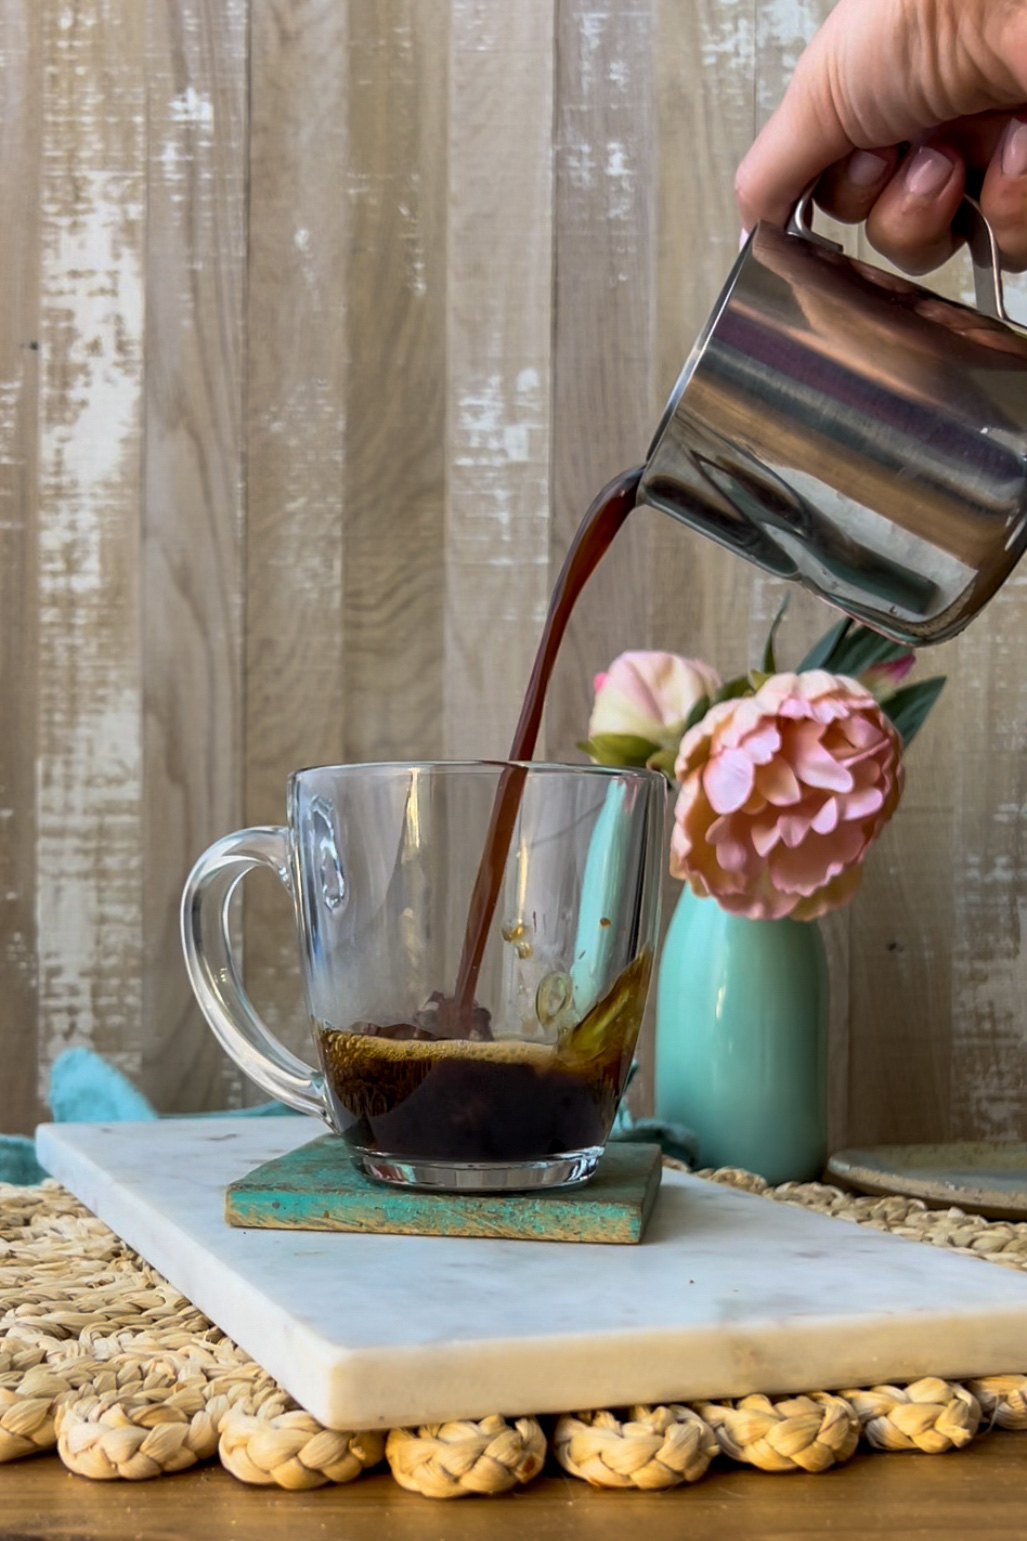
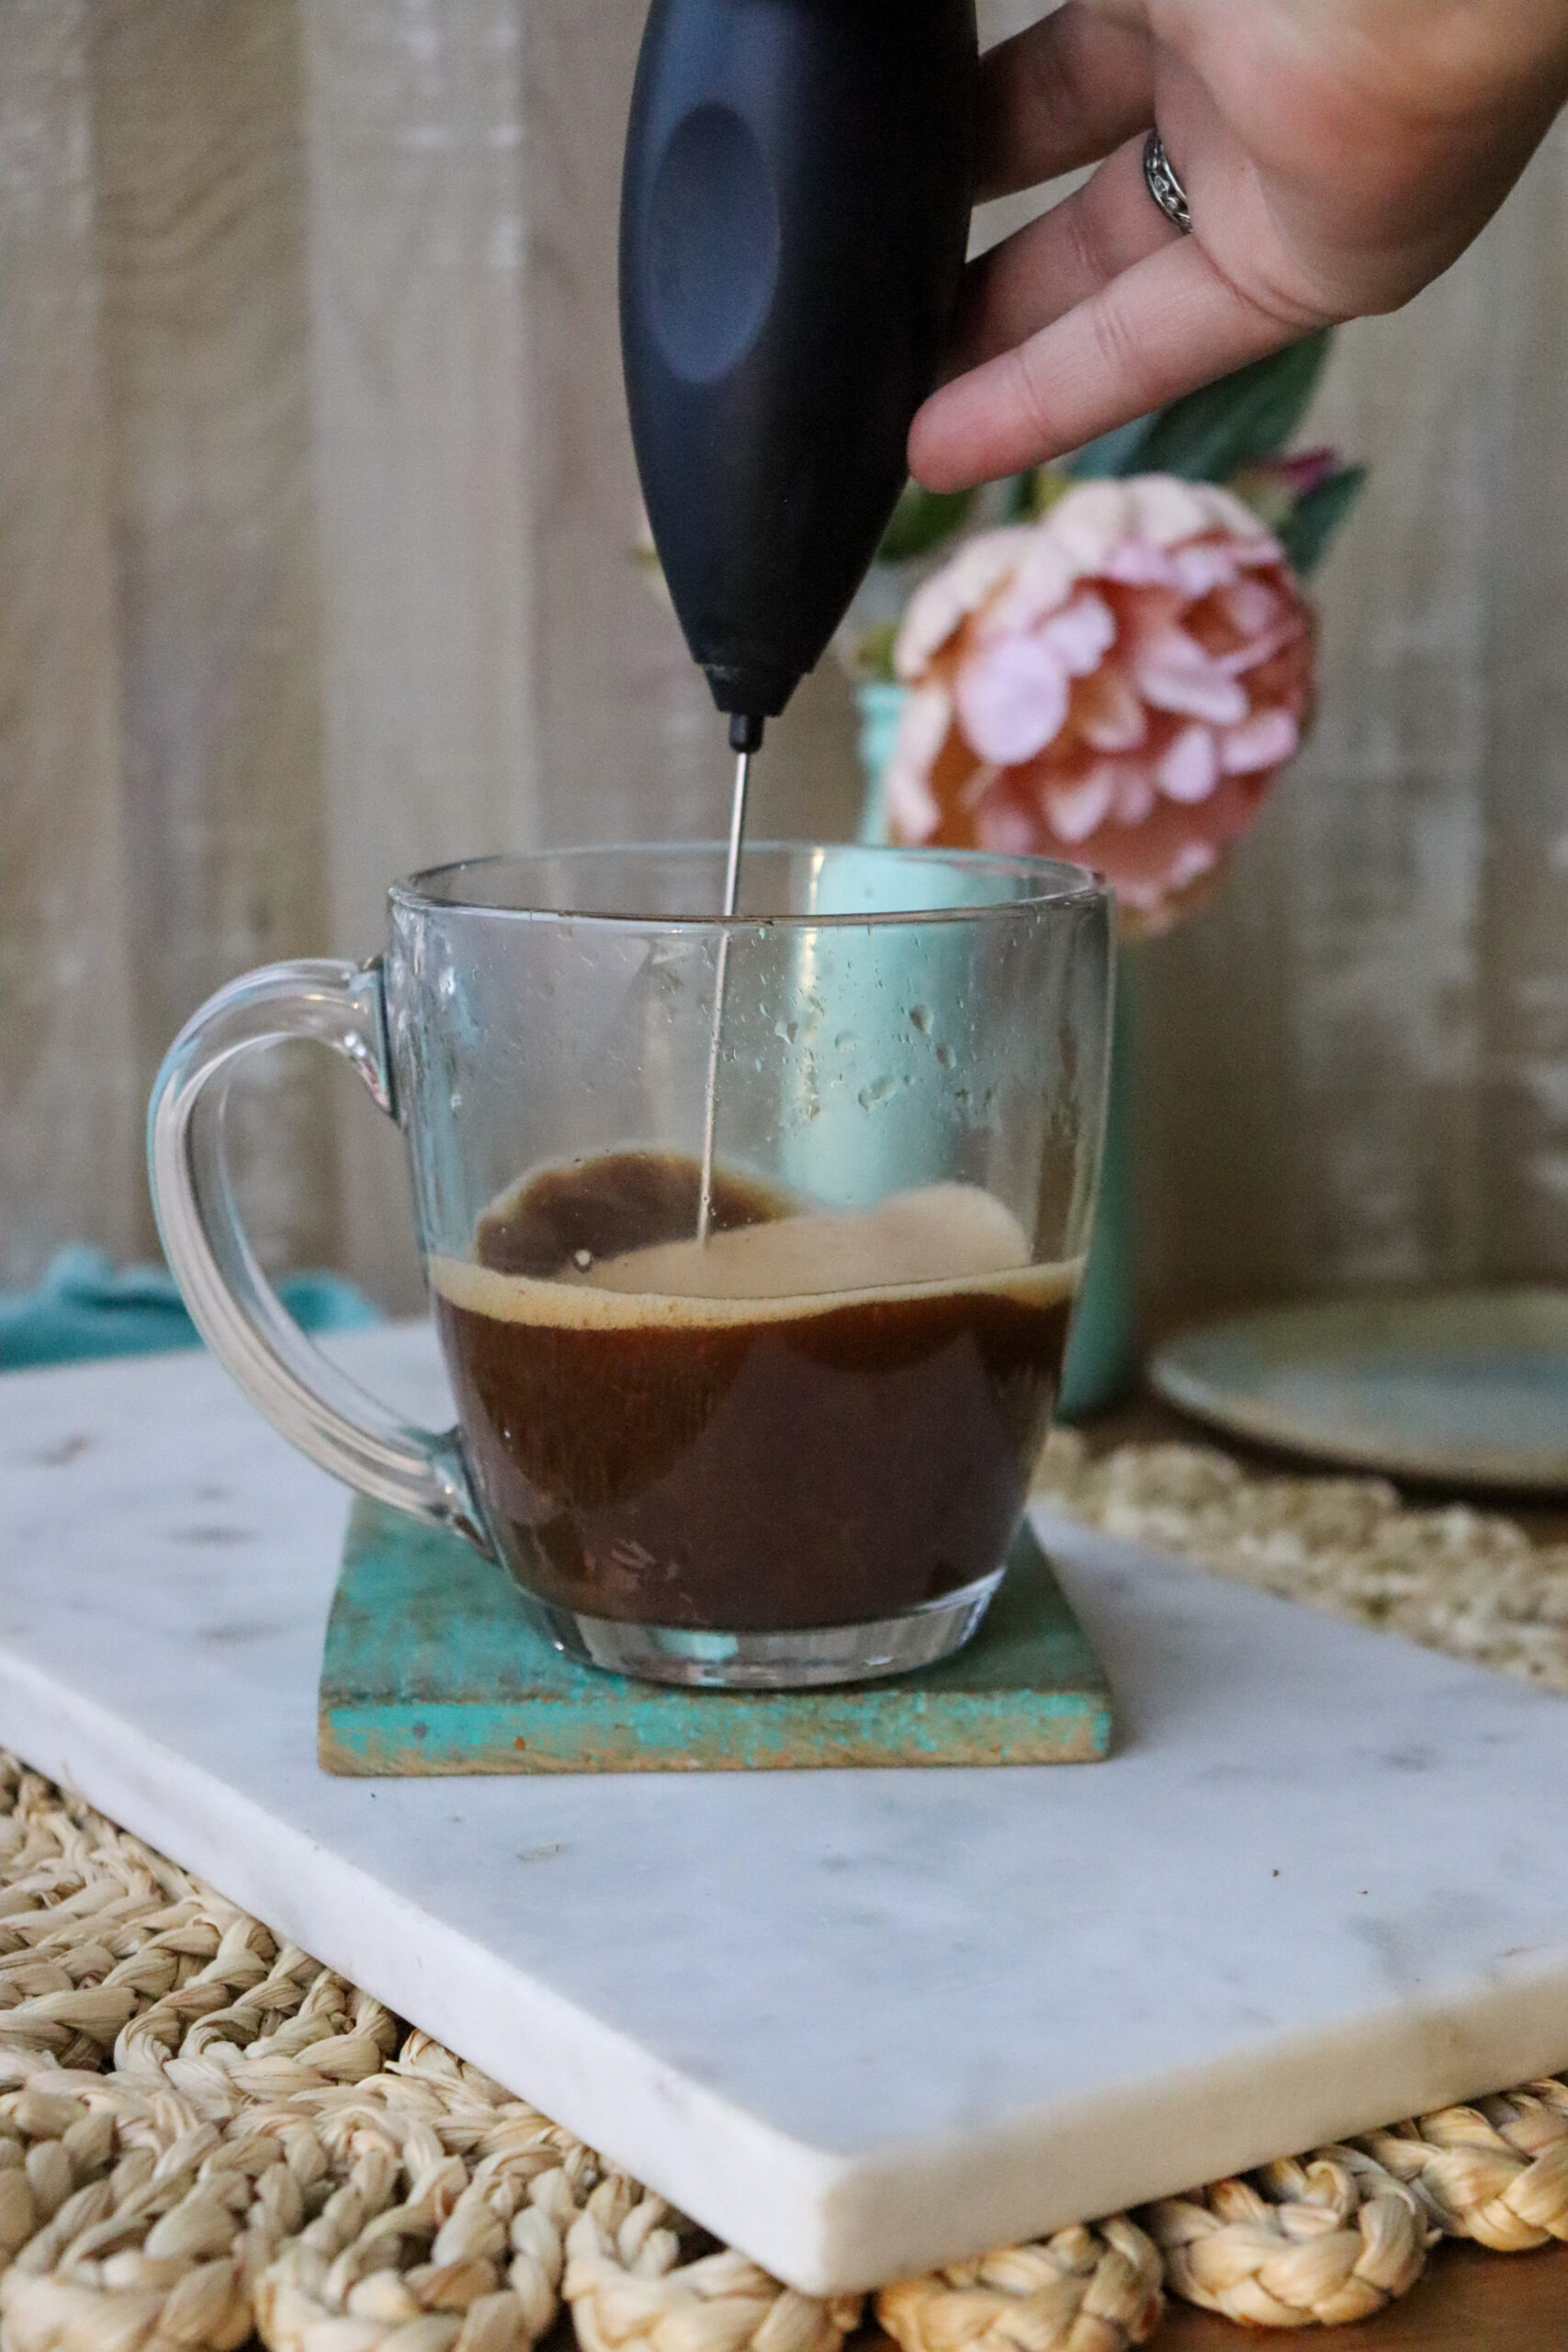
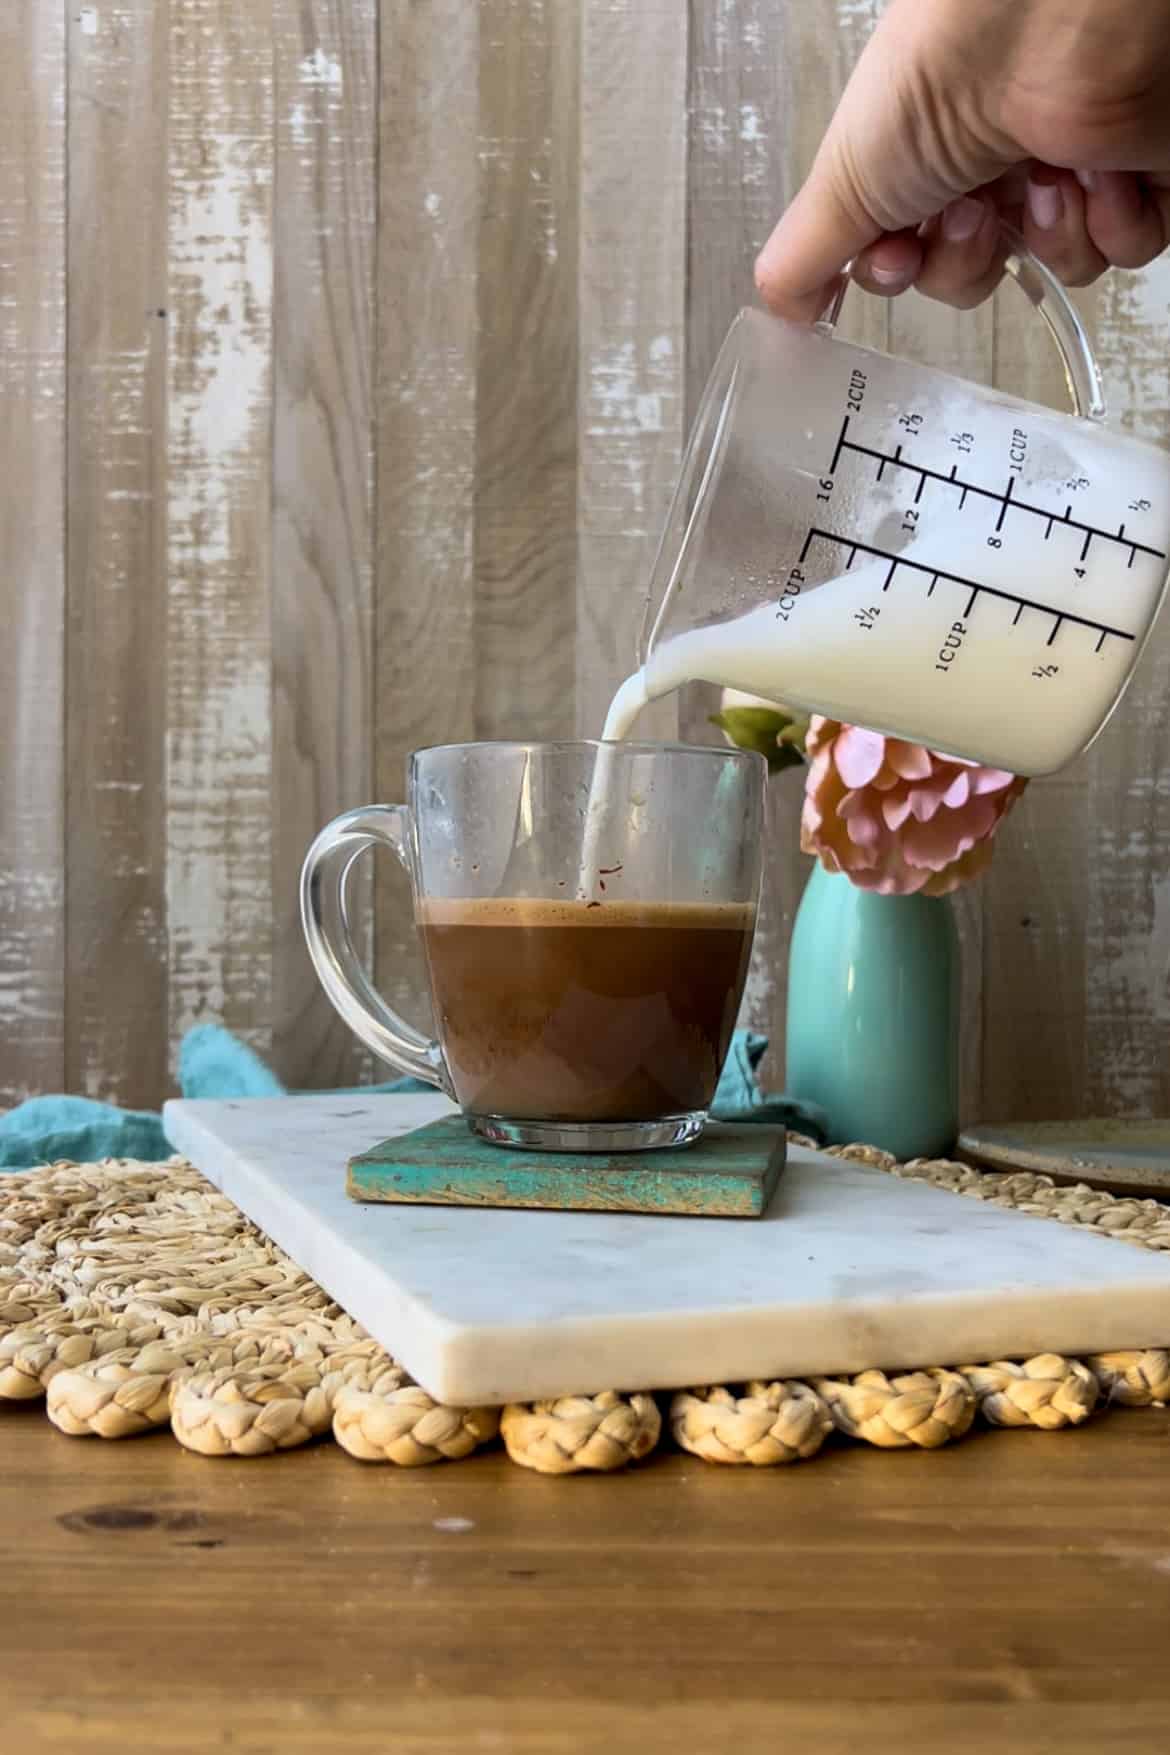
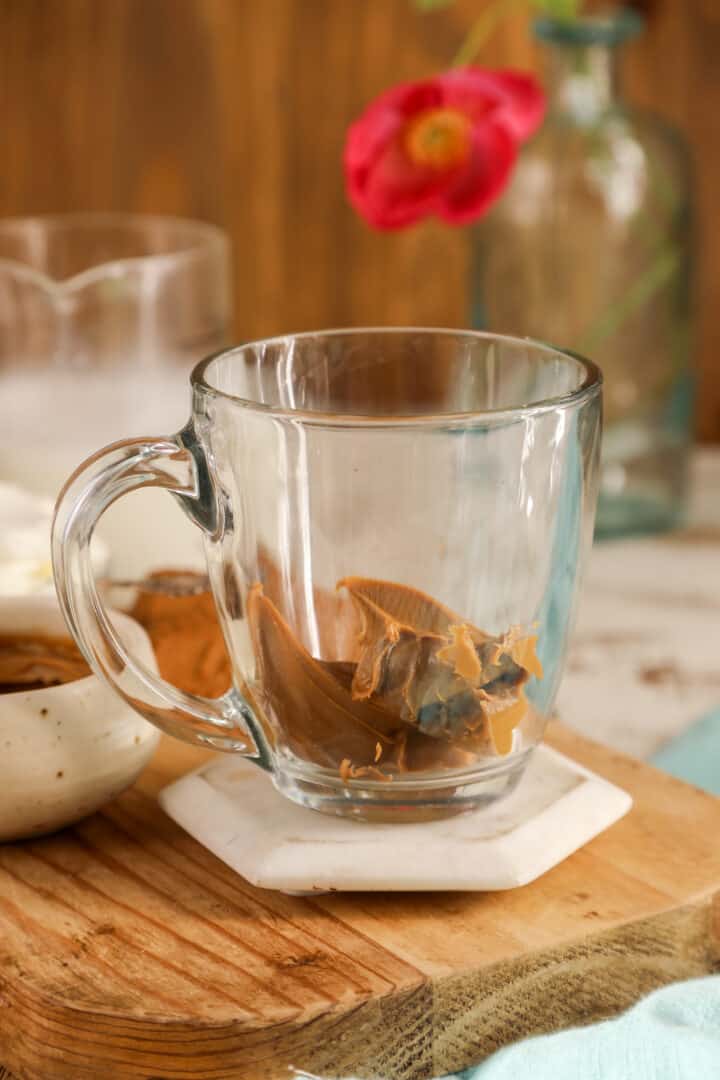
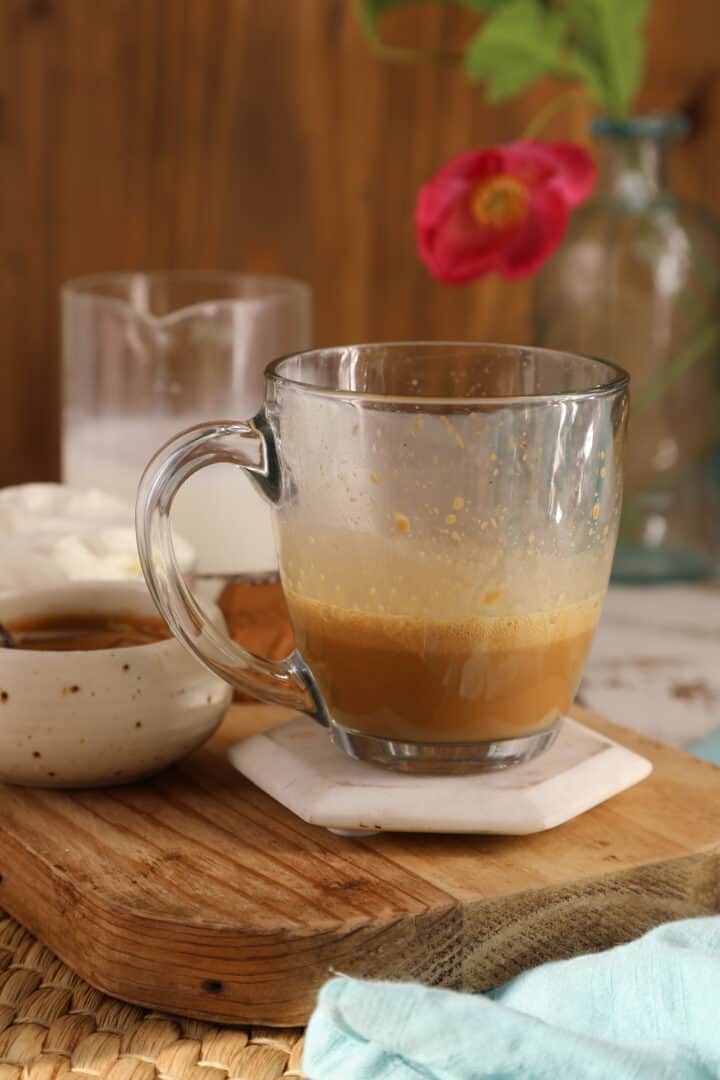
I love serving these churros with Spanish hot chocolate. Other options to serve with these churros is dulce de leche, condensed milk or your favorite chocolate sauce.
Variations or substitutions:
If you have a deep fryer, feel free to use that instead of a dutch oven.
Don't like vegetable oil? Opt for canola oil, sunflower oil or any neutral oil with a high smoke point.
Don't like churros con chocolate? Serve these warm churros with ice cream, or your choice of berry preserves.
Don't want a cinnamon sugar coating on your churros? Simply omit that step and serve them as is once they have draining excess oil. You can also give them a light dusting in caster sugar.
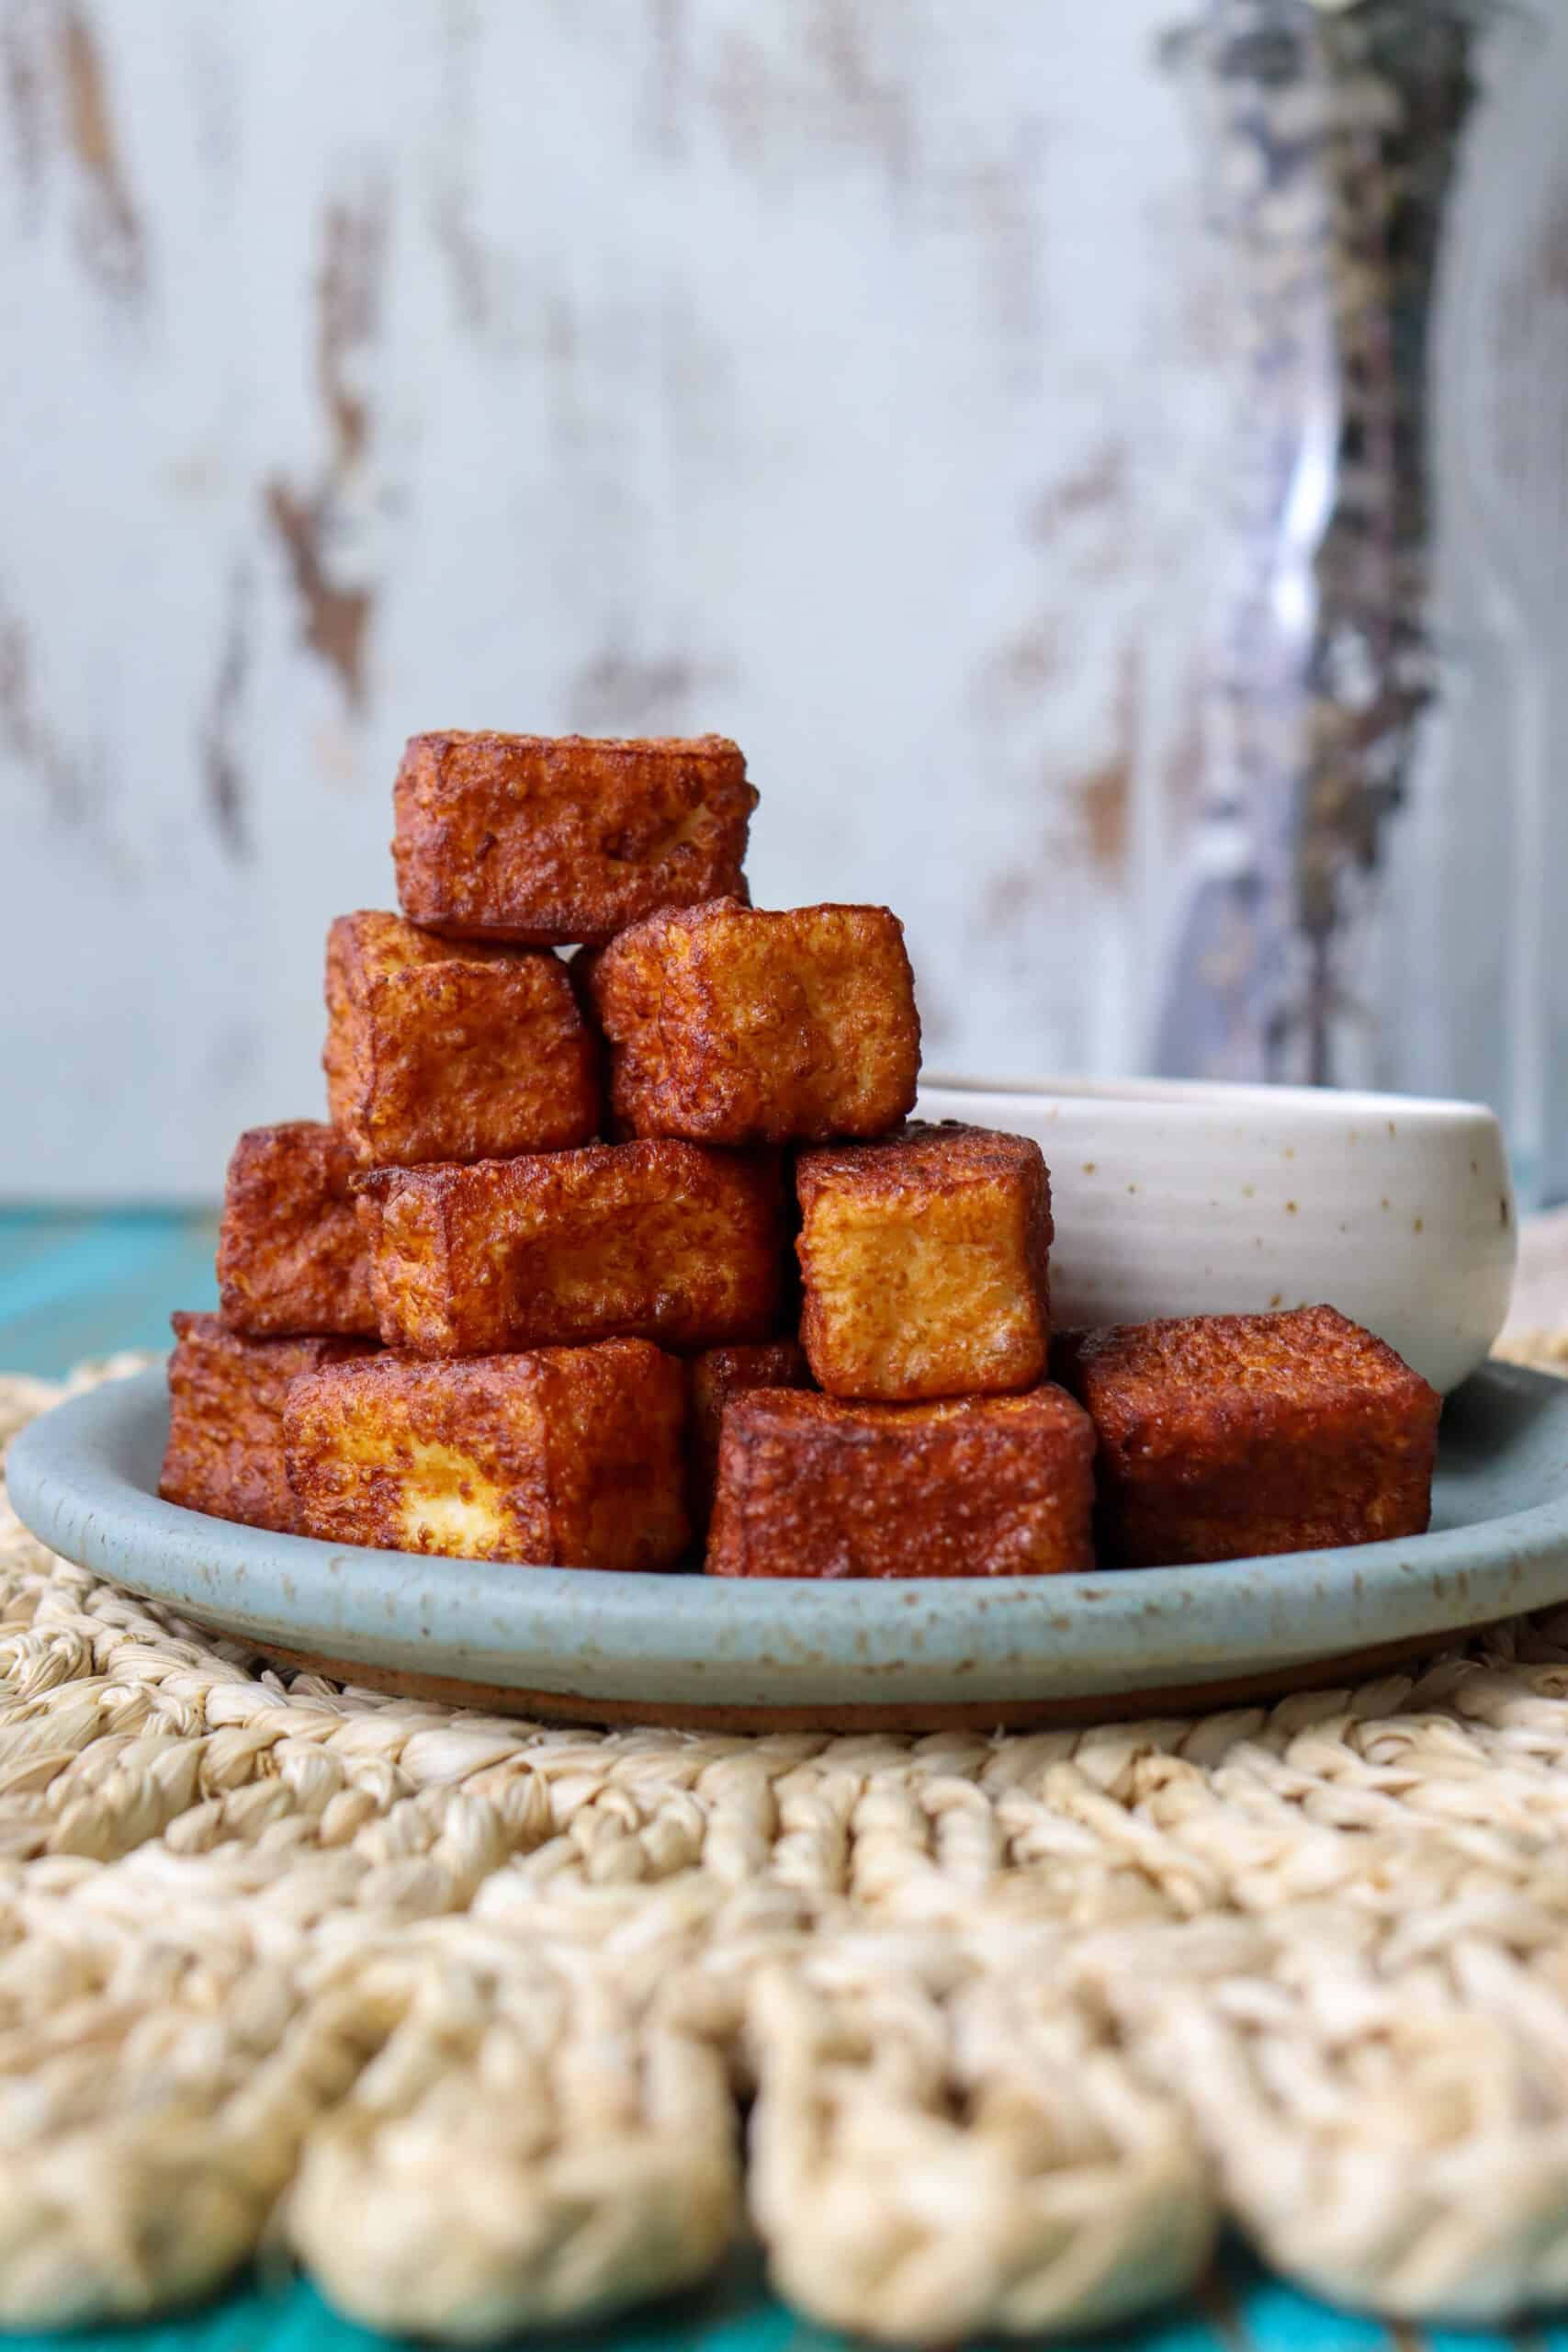
Dont like a long churro? Opt for small churro bites instead. You can shape your churros any way you like
Want to use an air fryer to make your churros? Pipe the churros onto parchment paper and refrigerate for 45 minutes. Place them in a greased airfryer and cook at 375 degrees for 10-12 minutes.
Storage for these churros
Storing cooked churros
Line an airtight container with paper towels and place your churros in the container. Store at room temperature for upto 48 hours.
Storing raw churro dough
Line a baking sheet with parchment paper or wax paper and pipe out the dough onto the paper. once you have finished piping all the dough, place the dough in the refrigerator for about 20 minutes until the dough hardens. Once hardened, wrap the dough in plastic wrap and place in a freezer safe bag and place in the freezer for upto 1 month. Once ready to cook, fry as usual.
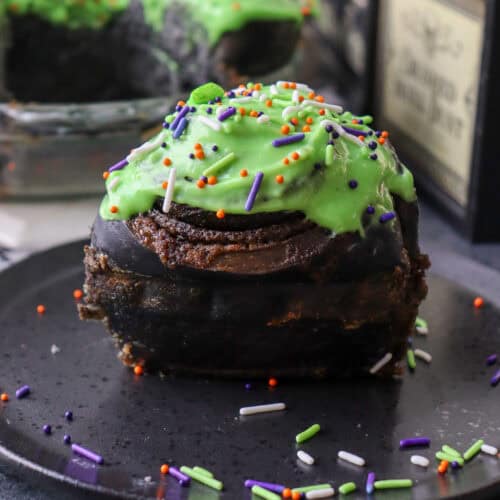
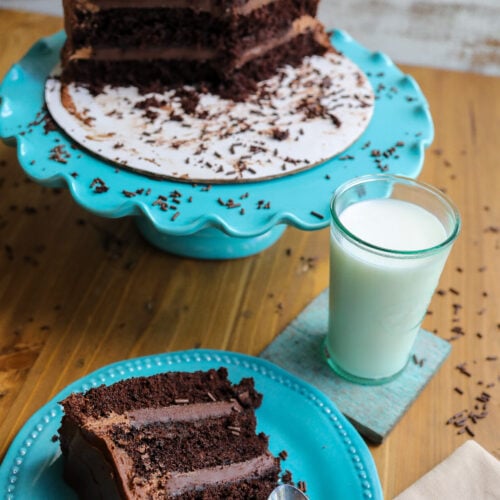
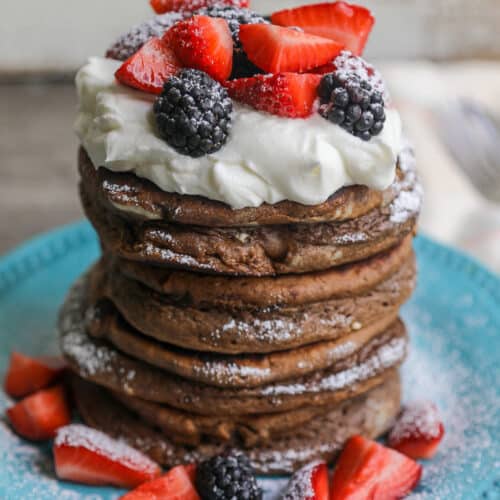
Check out these other dessert recipes
Traditional Churros Recipe
Ingredients
- 1 cup room temperature water
- ½ cup salted butter
- 1 teaspoon vanilla extract
- ¼ teaspoon salt
- 1 ½ cup all-purpose flour
- 1 teaspoon sugar
- 3 large eggs
- For the Cinnamon Sugar Coating Optional
- ½ cup sugar
- 1 tablsepoon ground cinnamon
Instructions
- First you're going to make your choux pastry dough. Heat the water, salt and melted butter in a large saucepan over medium-high heat.
- Once the butter is completely melted and the mixture begins to simmer, stir in the flour with a wooden spoon or heat safe rubber spatula.
- Remove the sauce pan from the heat and continue stirring. Once a dough is formed, add in the vanilla extract and the eggs one at a time, stirring and mashing the dough together until all of the eggs are fully incorporated.
- Transfer the mixture to a large piping bag fitted with a large open star tip.
- Place your frying oil into a dutch oven and heat until the temperature on a candy thermometer reads 350 degrees for the oil.
- Pipe the soft dough directly into the hot oil and use a pair of kitchen scissors to cut the churros into strips.
- Cook until dough puffs and turns golden brown, turning halfway through so all sides evenly cook. This should just take 2 to 4 minutes total.
- Carefully remove churro from oil using tongs and place on a paper towel-covered plate to drain excess oil, 1-2 minutes.
- Once the churros have drained some oil but are still hot, place the cinnamon and sugar in a large bowl and mix together. Place the churros in the cinnamon sugar mixture and give them a good toss until well coated.
- Once the Serve immediately with your choice of sauce or hot chocolate.