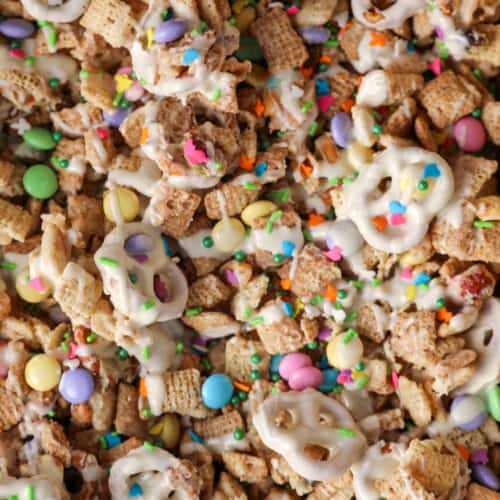
This is a fun no-bake snack mix that's perfect for Spring time. This mix has both sweet and salty flavors combining pretzels, cinnamon cereal, white chocolate, honey roasted nuts and M&M's!
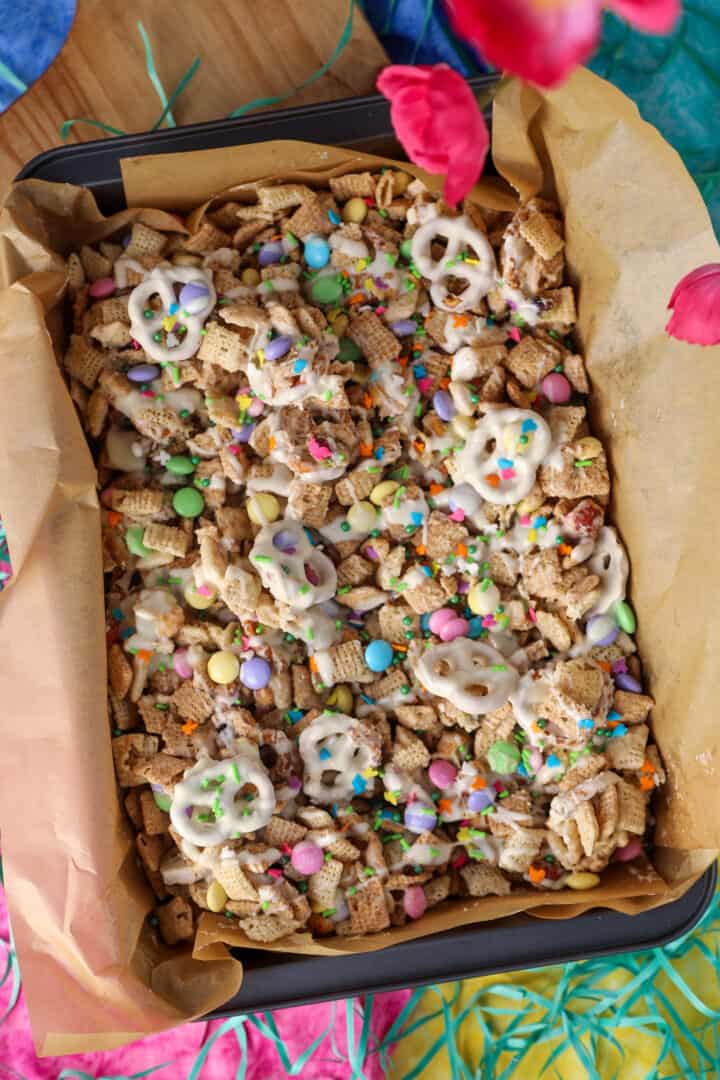
This is a great spring snack to make with kids. This was inspired by my other chex mix recipe on this site.
Ingredients
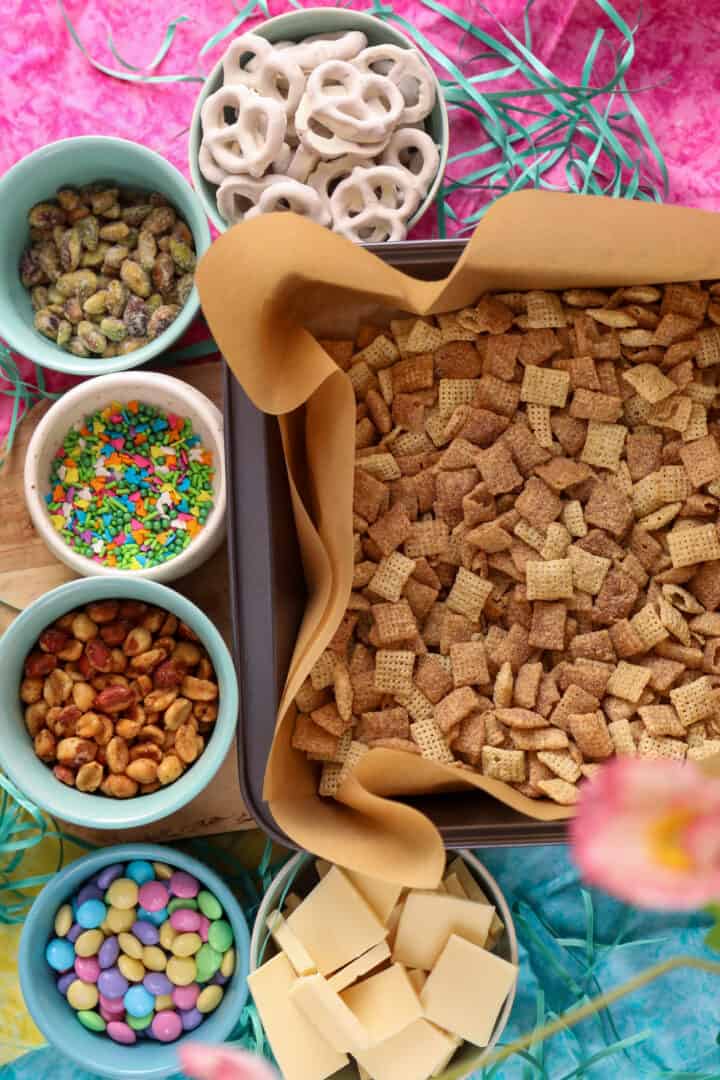
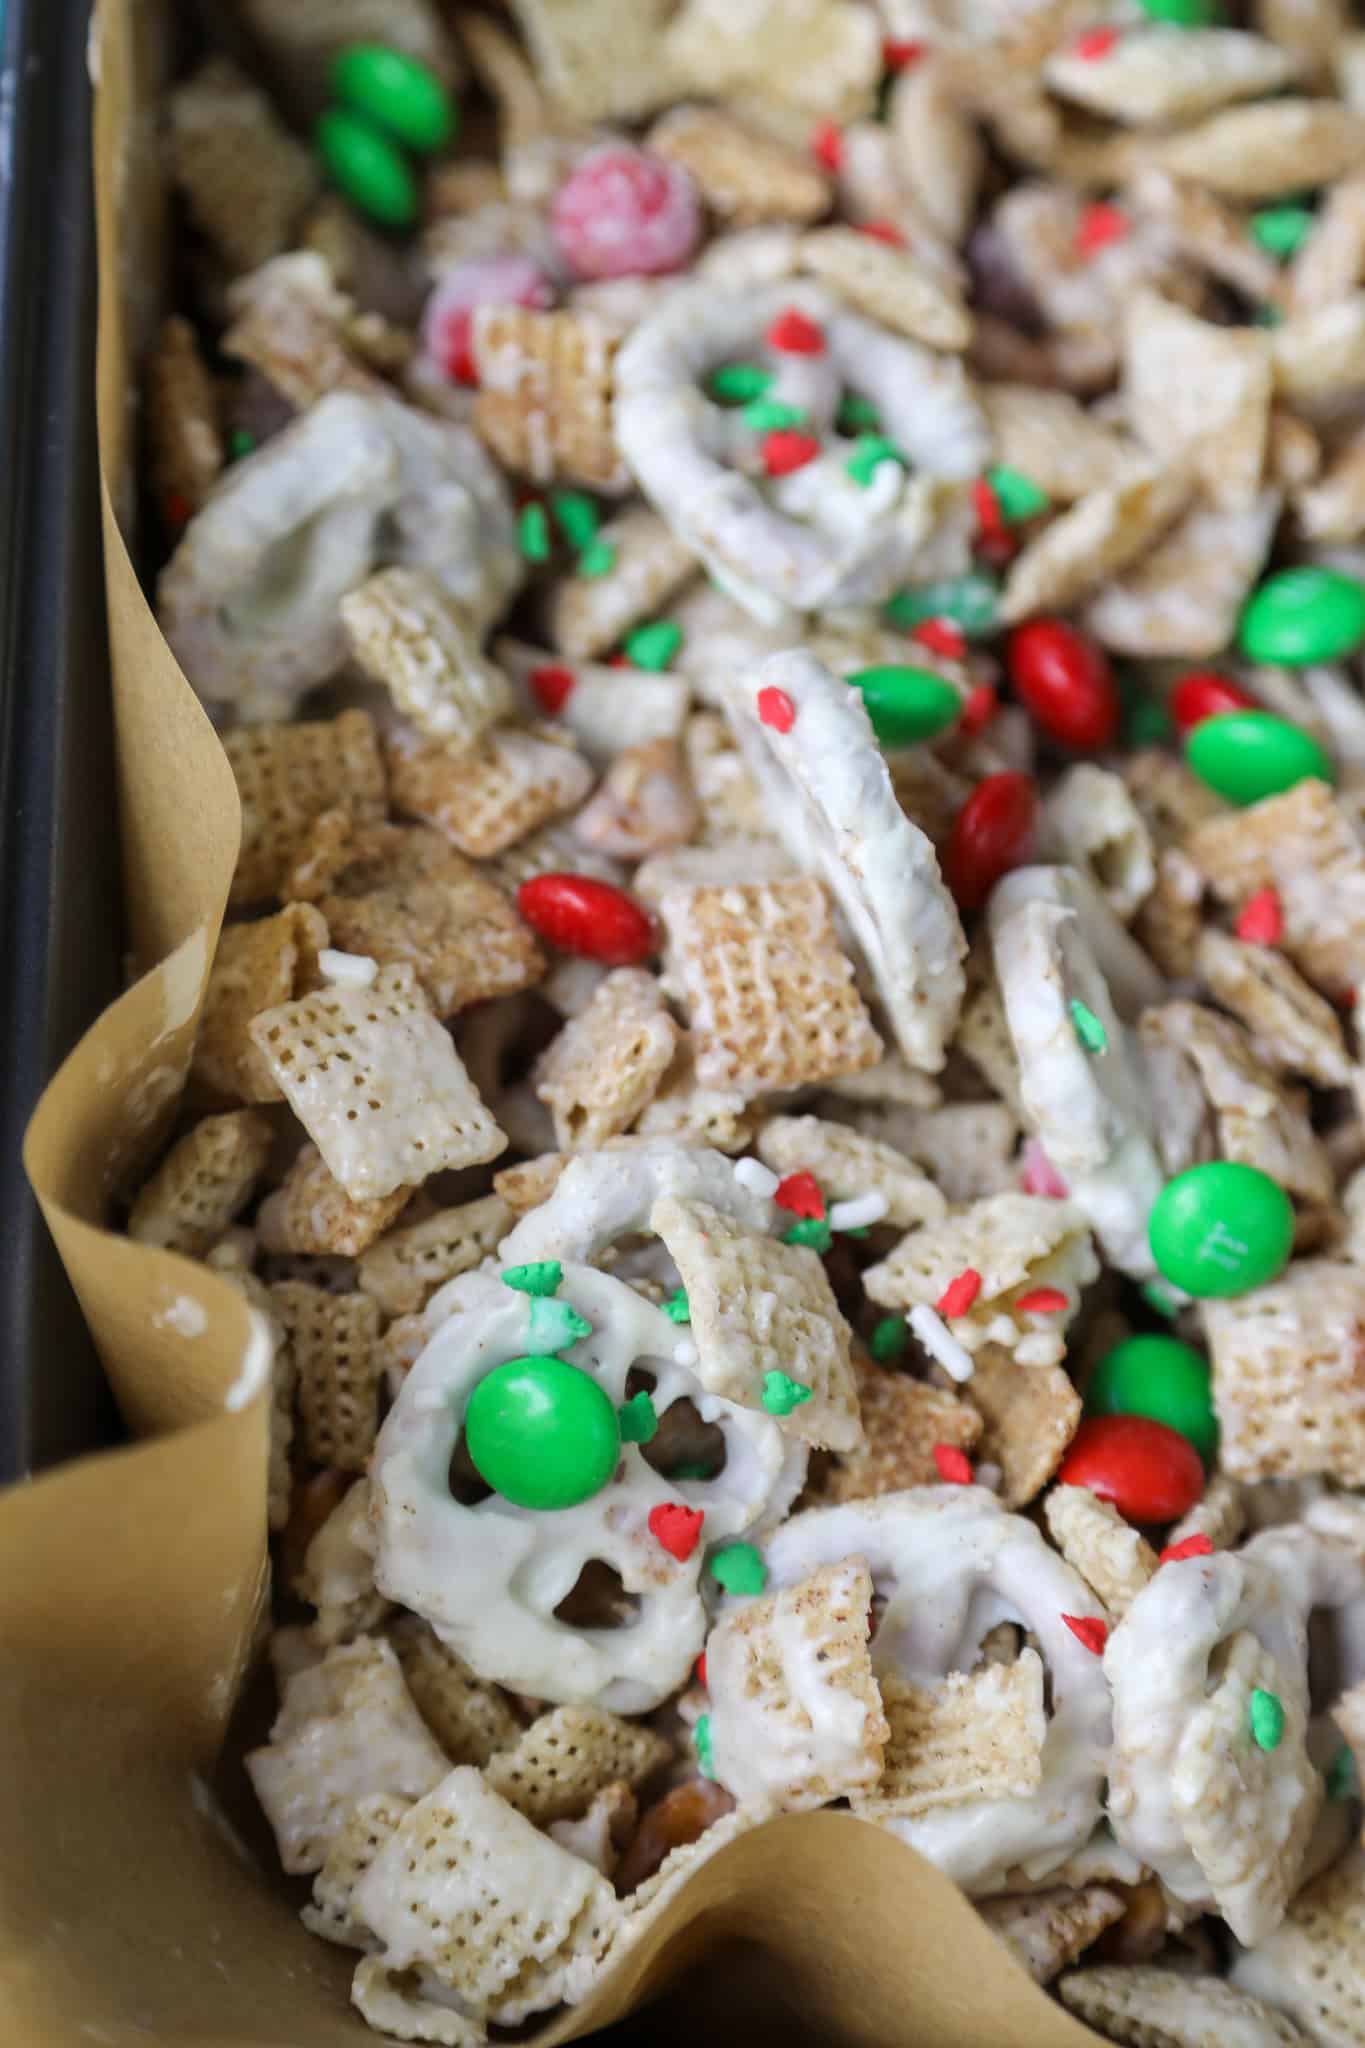
- Cinnamon flavored Chex cereal
- Easter M&M's
- Honey roasted peanuts
- Honey roasted pistachios
- White yogurt covered pretzels
- Spring sprinkles
- White chocolate chips
- coconut oil
Instructions
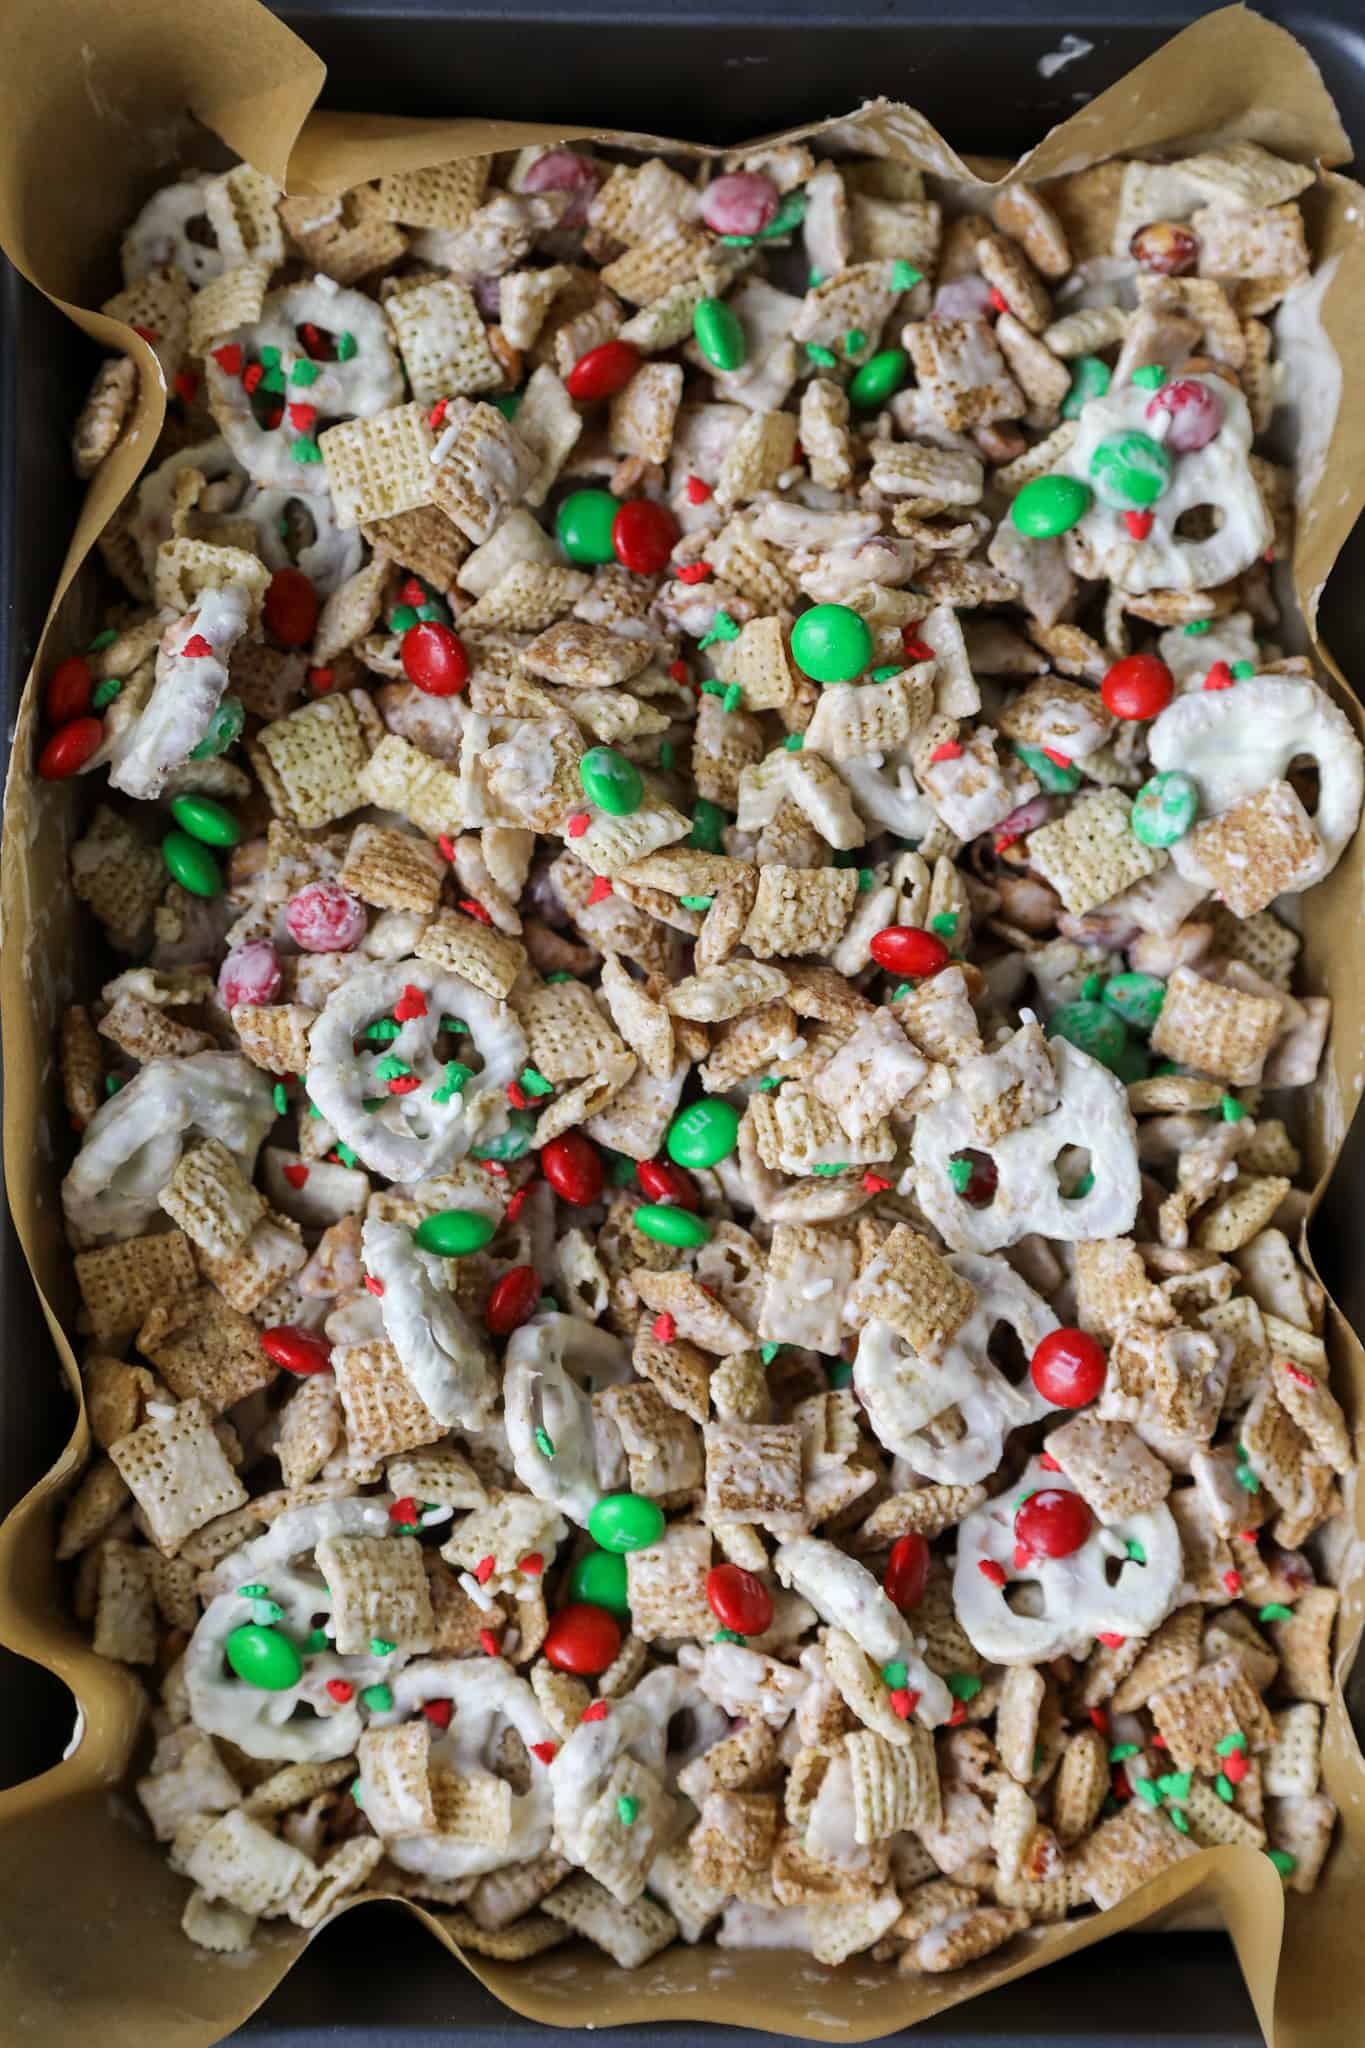
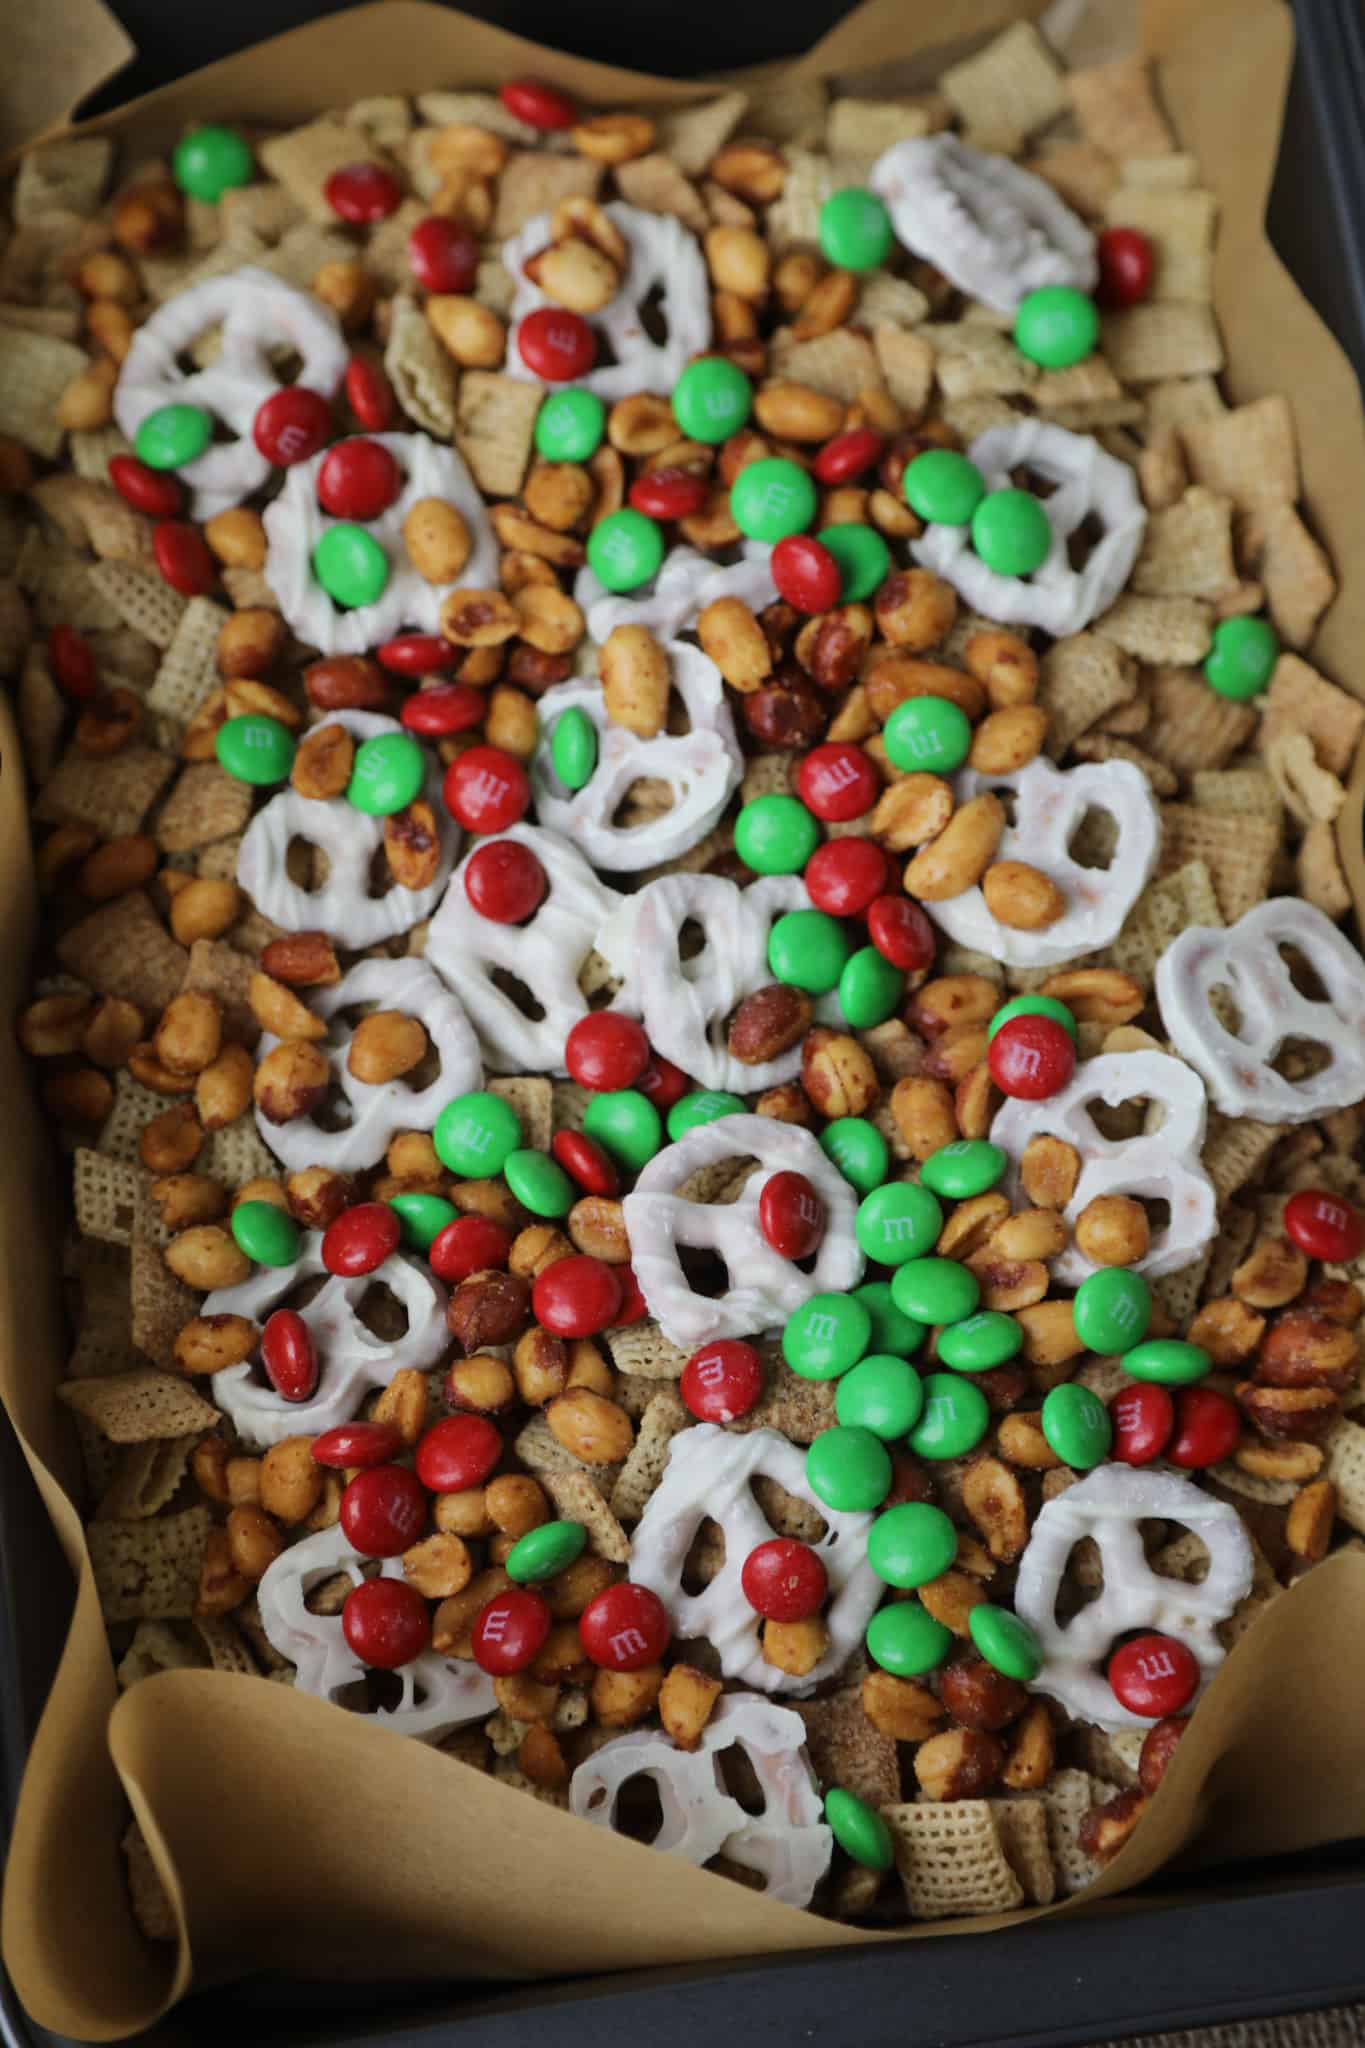
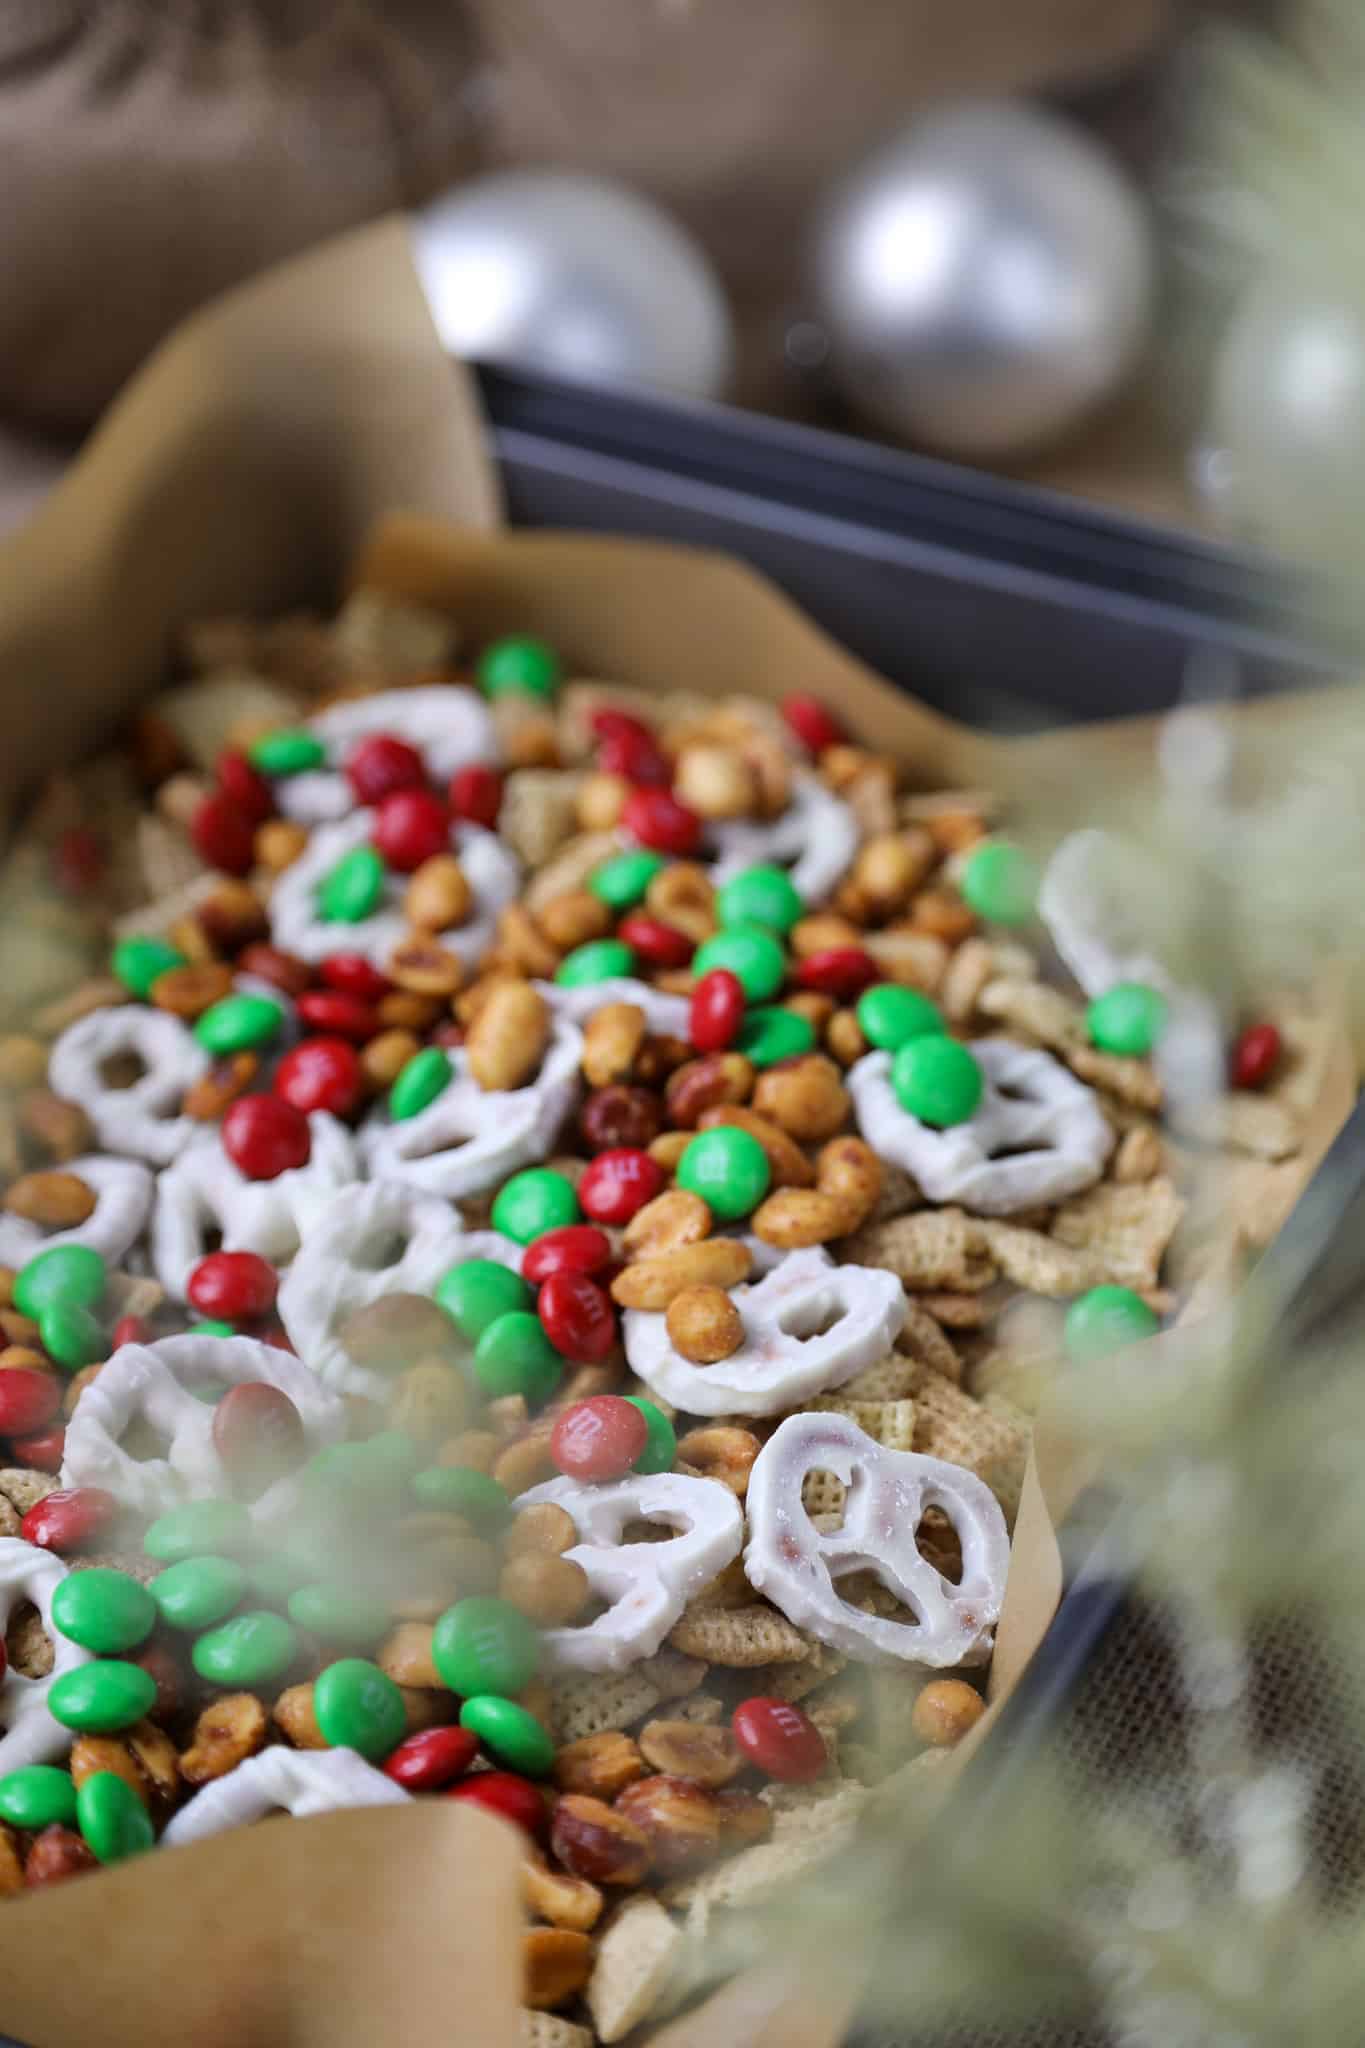
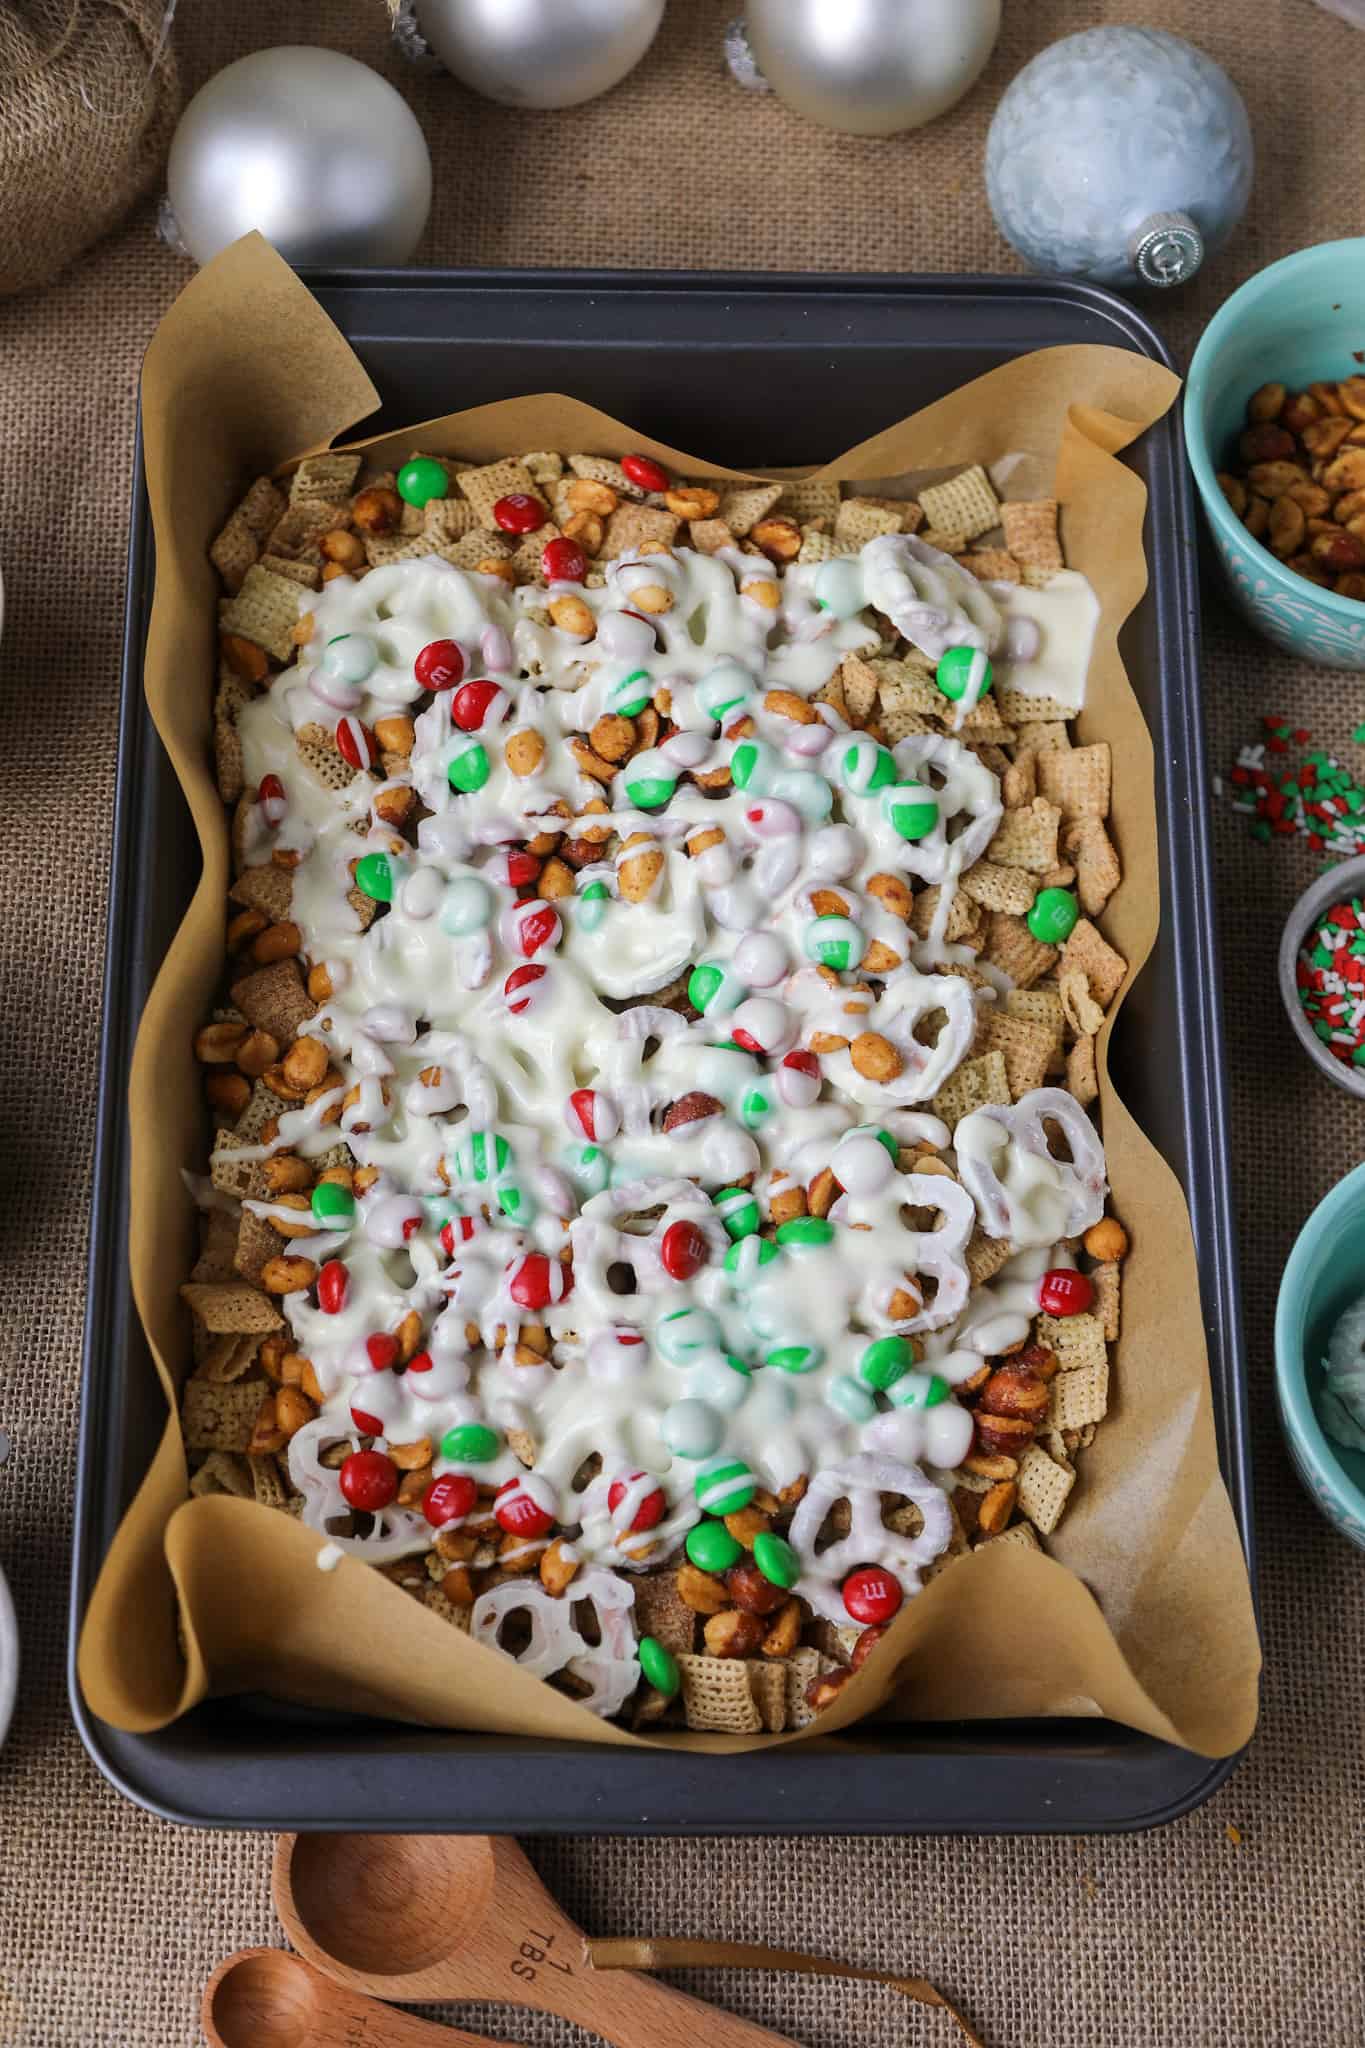
Line a 9x13 baking pan with parchment paper and then add your Chex mix and honey roasted nuts.
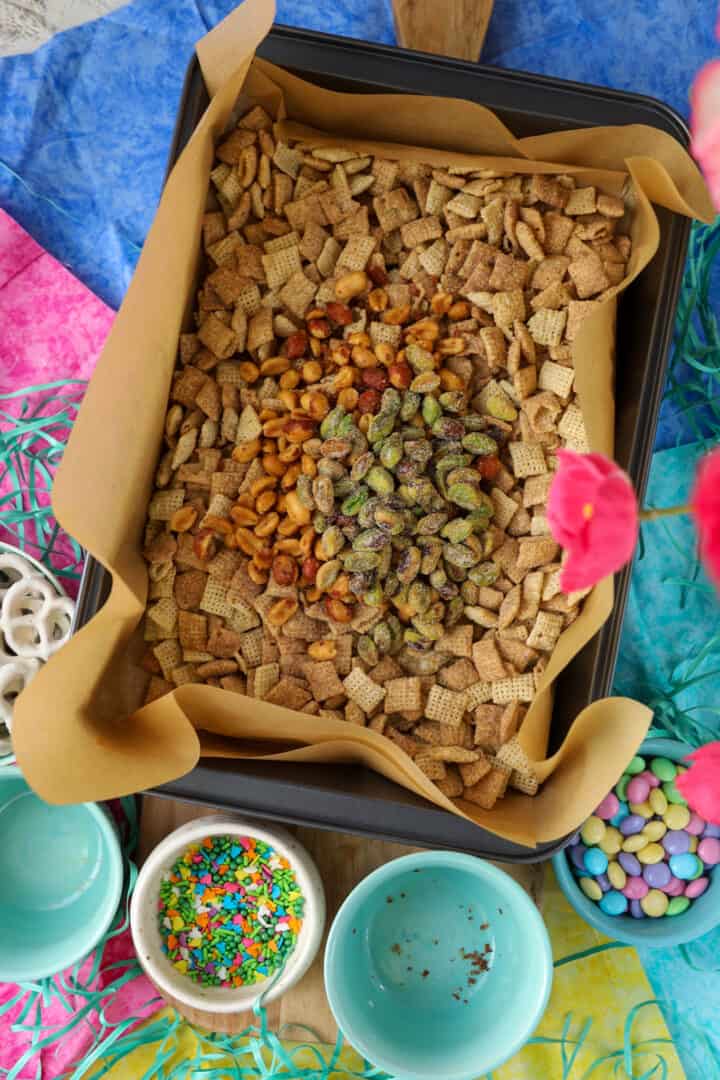
The add your M&M's to your cereal mix.
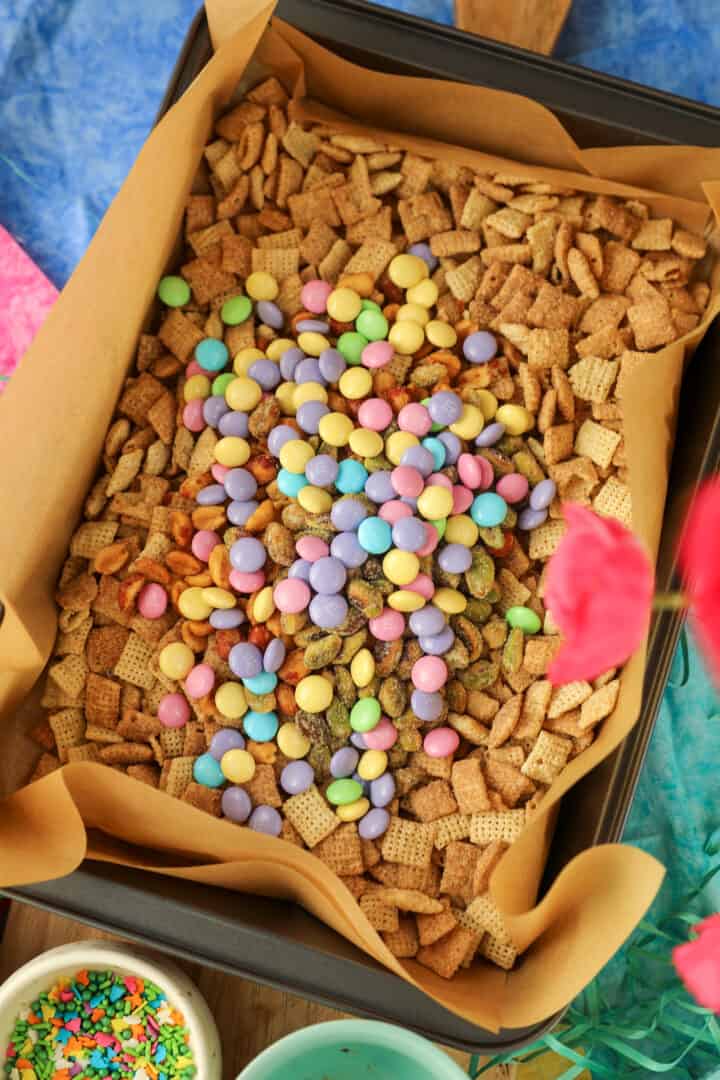
Then add in your yogurt covered pretzels.

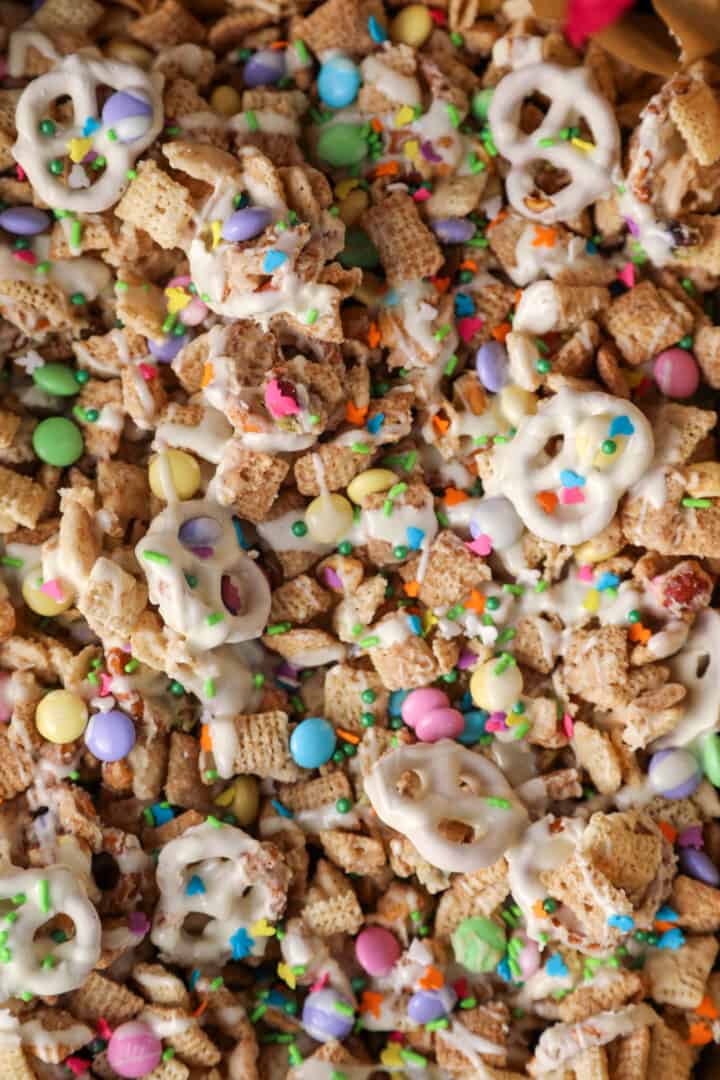
In a double boiler or in the microwave, melt white chocolate and coconut oil until smooth. Pour the white chocolate over your cereal mix. Using a spatula mix the white chocolate until well combined and distributed throughout the cereal mix.

Tops with sprinkles and place in the refrigerator and chill for 30 minutes before breaking apart into chunks.
Variations
If you want to make this recipe your own, here's some ideas on additional mix-ins that would go great:
- Yogurt covered raisins
- Popcorn/kettle corn
- Chocolate peanut butter cups
- Candied pecans or almonds
- Other cereals like Cheerios or Cinnamon Toast Crunch
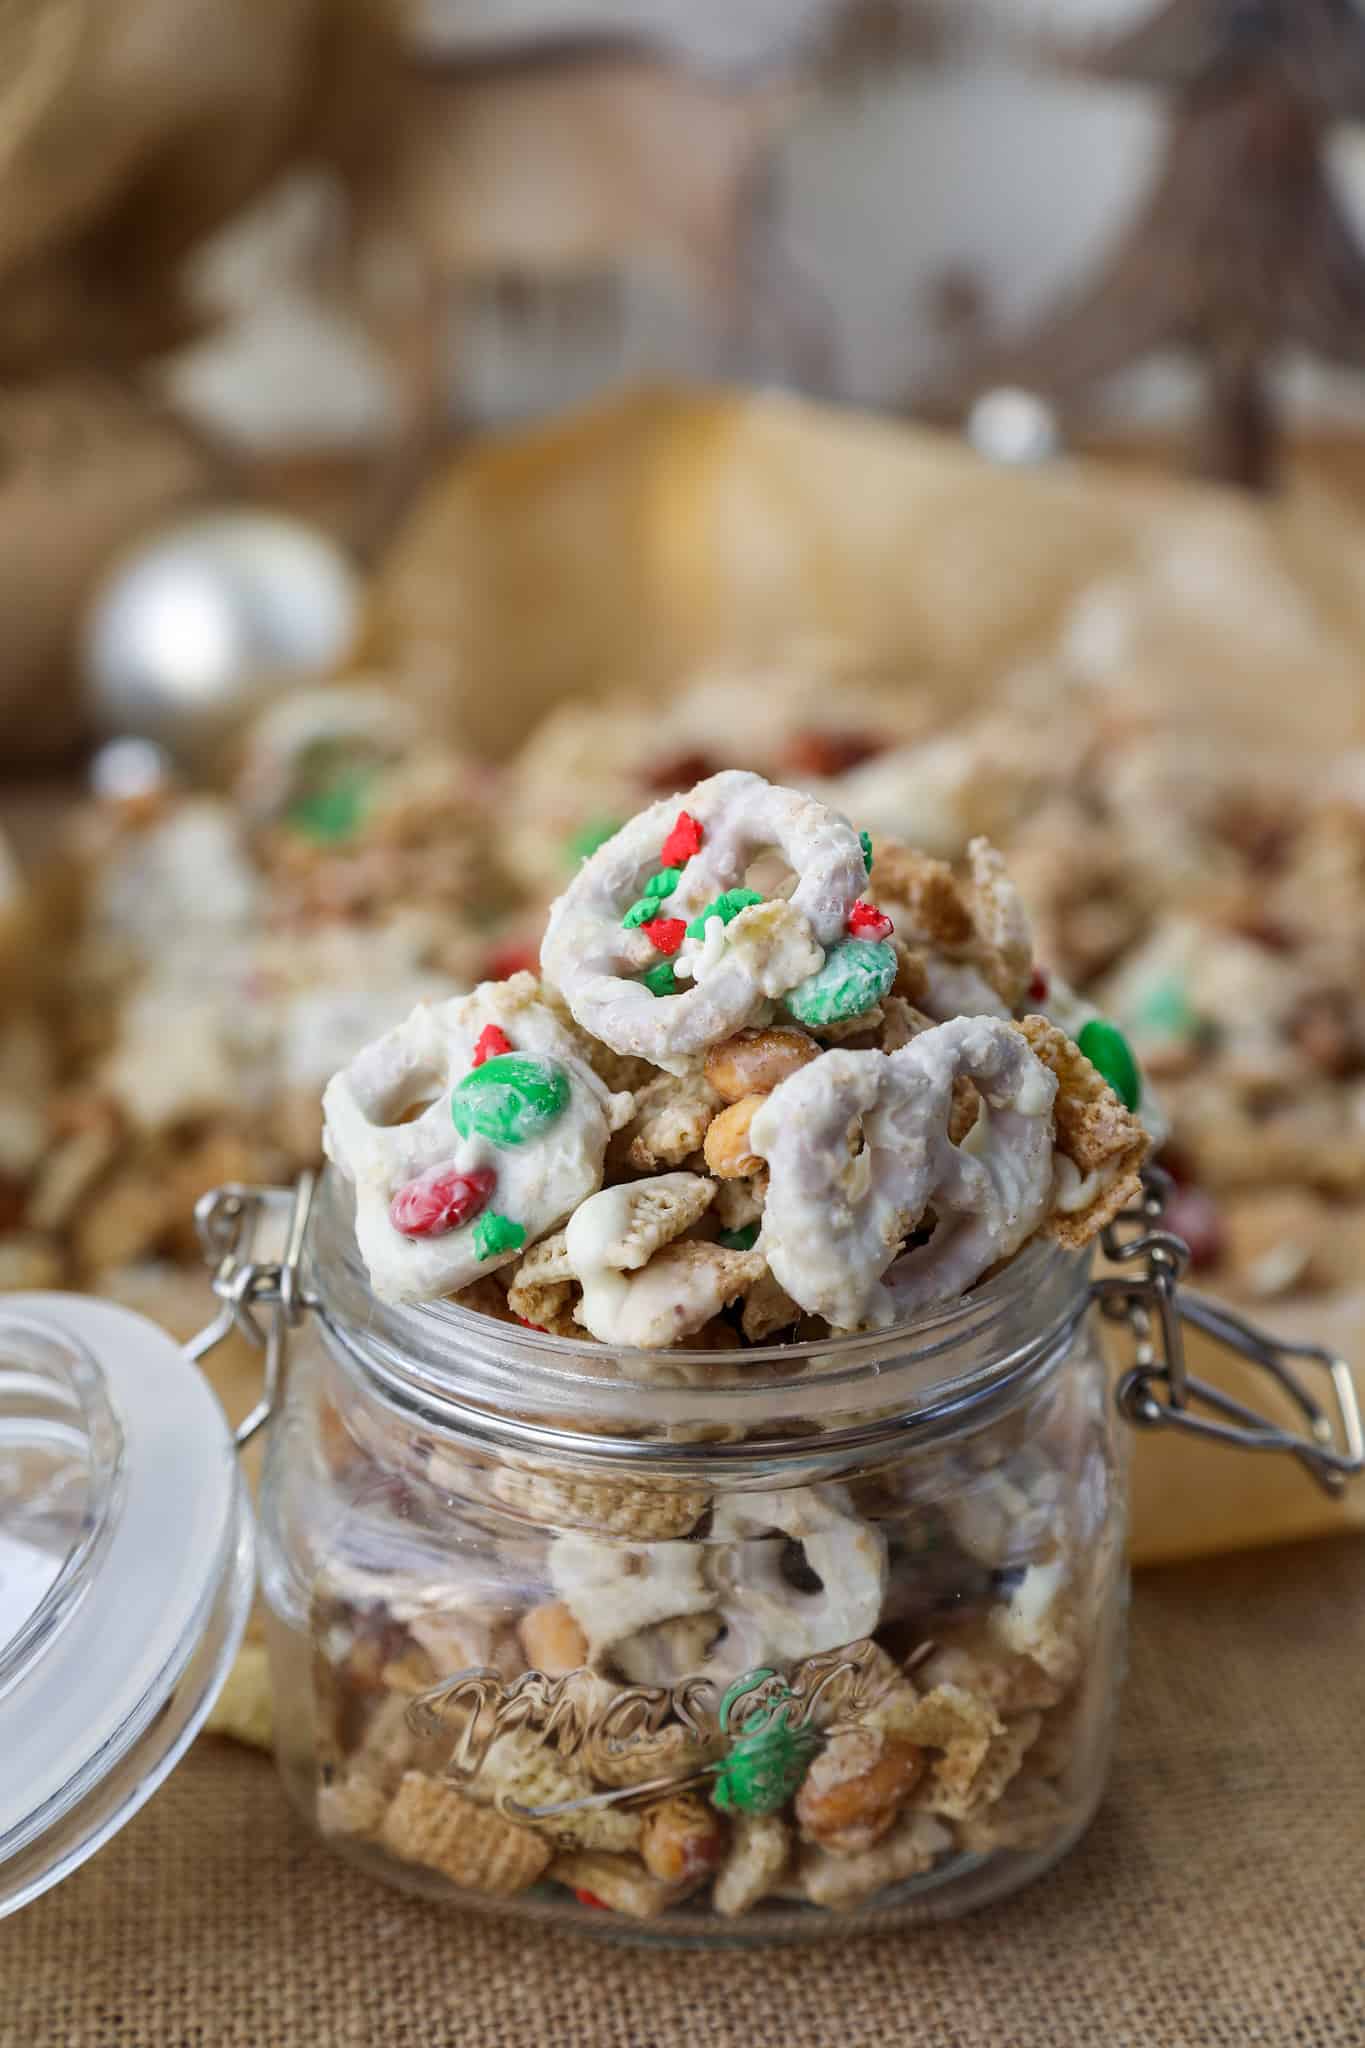
Storage
This is best kept in an air-tight container inside the refrigerator. It'll be good for about a 2 weeks.
Looking for other dessert recipes?

Bunny Bait Recipe
Ingredients
- 1 12 oz package Cinnamon Chex
- 1 cup Spring M&M's
- 1 cup Honey roasted peanuts
- 1 ½ cup White yogurt covered pretzels
- 1 cup White chocolate chips
- 2 tablespoon Coconut oil
- 2 tablespoon Spring sprinkles
Instructions
- Line a 9x13 baking pan with parchment paper.
- Place your Chex, M&M's, peanuts and pretzels over the parchment paper.
- In a double boiler or in the microwave, melt white chocolate and coconut oil until smooth. Remove from heat.
- Pour chocolate over the cereal mixture and using a spatula, mix the chocolate until evenly coated.
- Once the chocolate is well distributed, top with your sprinkles.
- Place in the refrigerator and chill for 30 minutes before breaking apart into chunks.