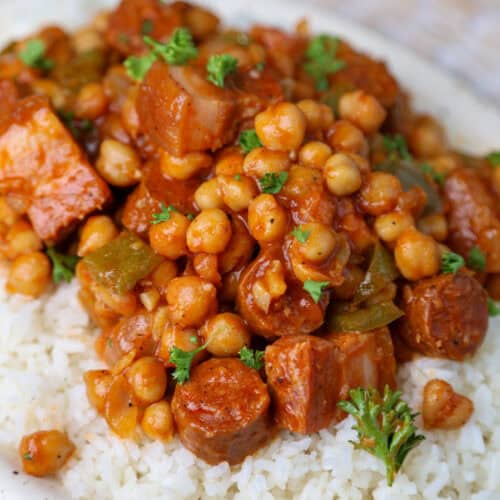
This chili recipe is packed with tons of rich flavor! From the Spanish chorizo to the IPA beer this chili will knock your socks off. I love making this recipe when the weather is cold. I've been making this chili every winter for years and it's a family favorite.
This recipe was a chaotic creation for me where I wanted chili but also had to find a way to use up some chorizo before it went bad. The addition of beer was a fluke as I was drinking some while playing with this recipe and it spilled into the pot.
Why you'll love this chorizo chili
- The combination of spicy chorizo and rich beer creates an incredibly deep, complex flavor that develops even more the next day
- Beer adds a subtle malty sweetness and helps tenderize the meat, making the chili extra hearty and satisfying
- It's perfect for meal prep - this chili actually tastes better after sitting in the fridge for a day or two as the flavors meld together
- The versatility is amazing - serve it over rice, with cornbread, topped with cheese, or use it for chili dogs and nachos
- Chorizo brings built-in seasoning and spices, making it easier to achieve great flavor without measuring lots of different spices
- It's a crowd-pleasing twist on traditional chili that feels both familiar and excitingly different
- The beer helps create a silky, rich texture that coats your spoon perfectly
- It's incredibly forgiving and adaptable - you can adjust the heat level, add beans or not, and use different types of beer to suit your taste
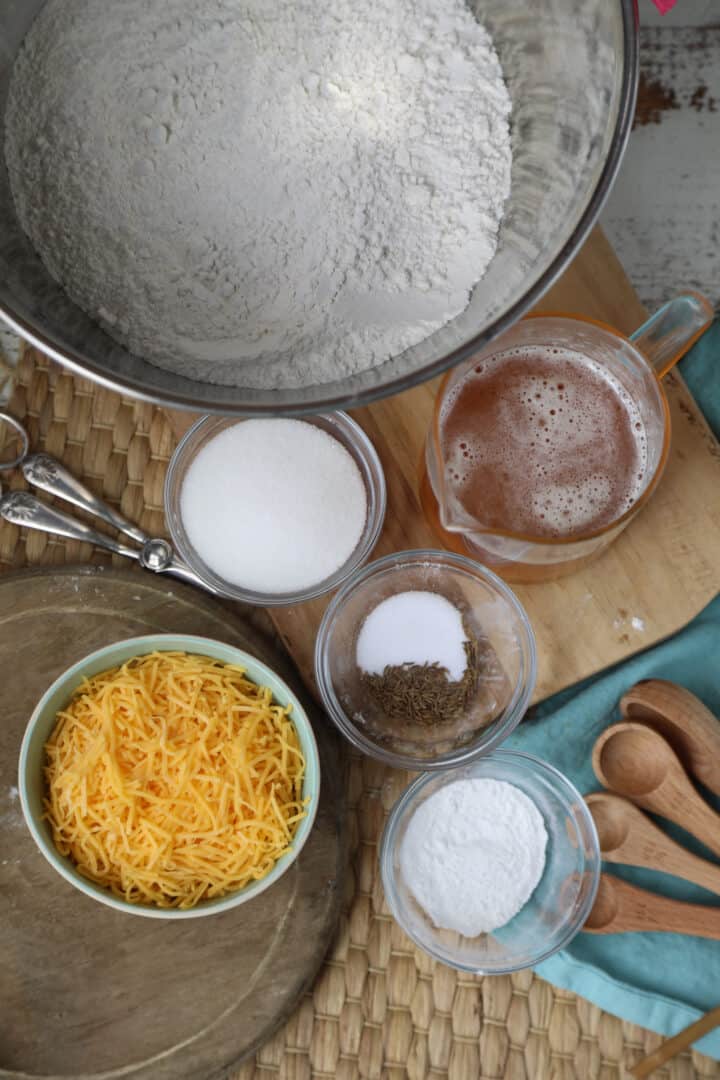
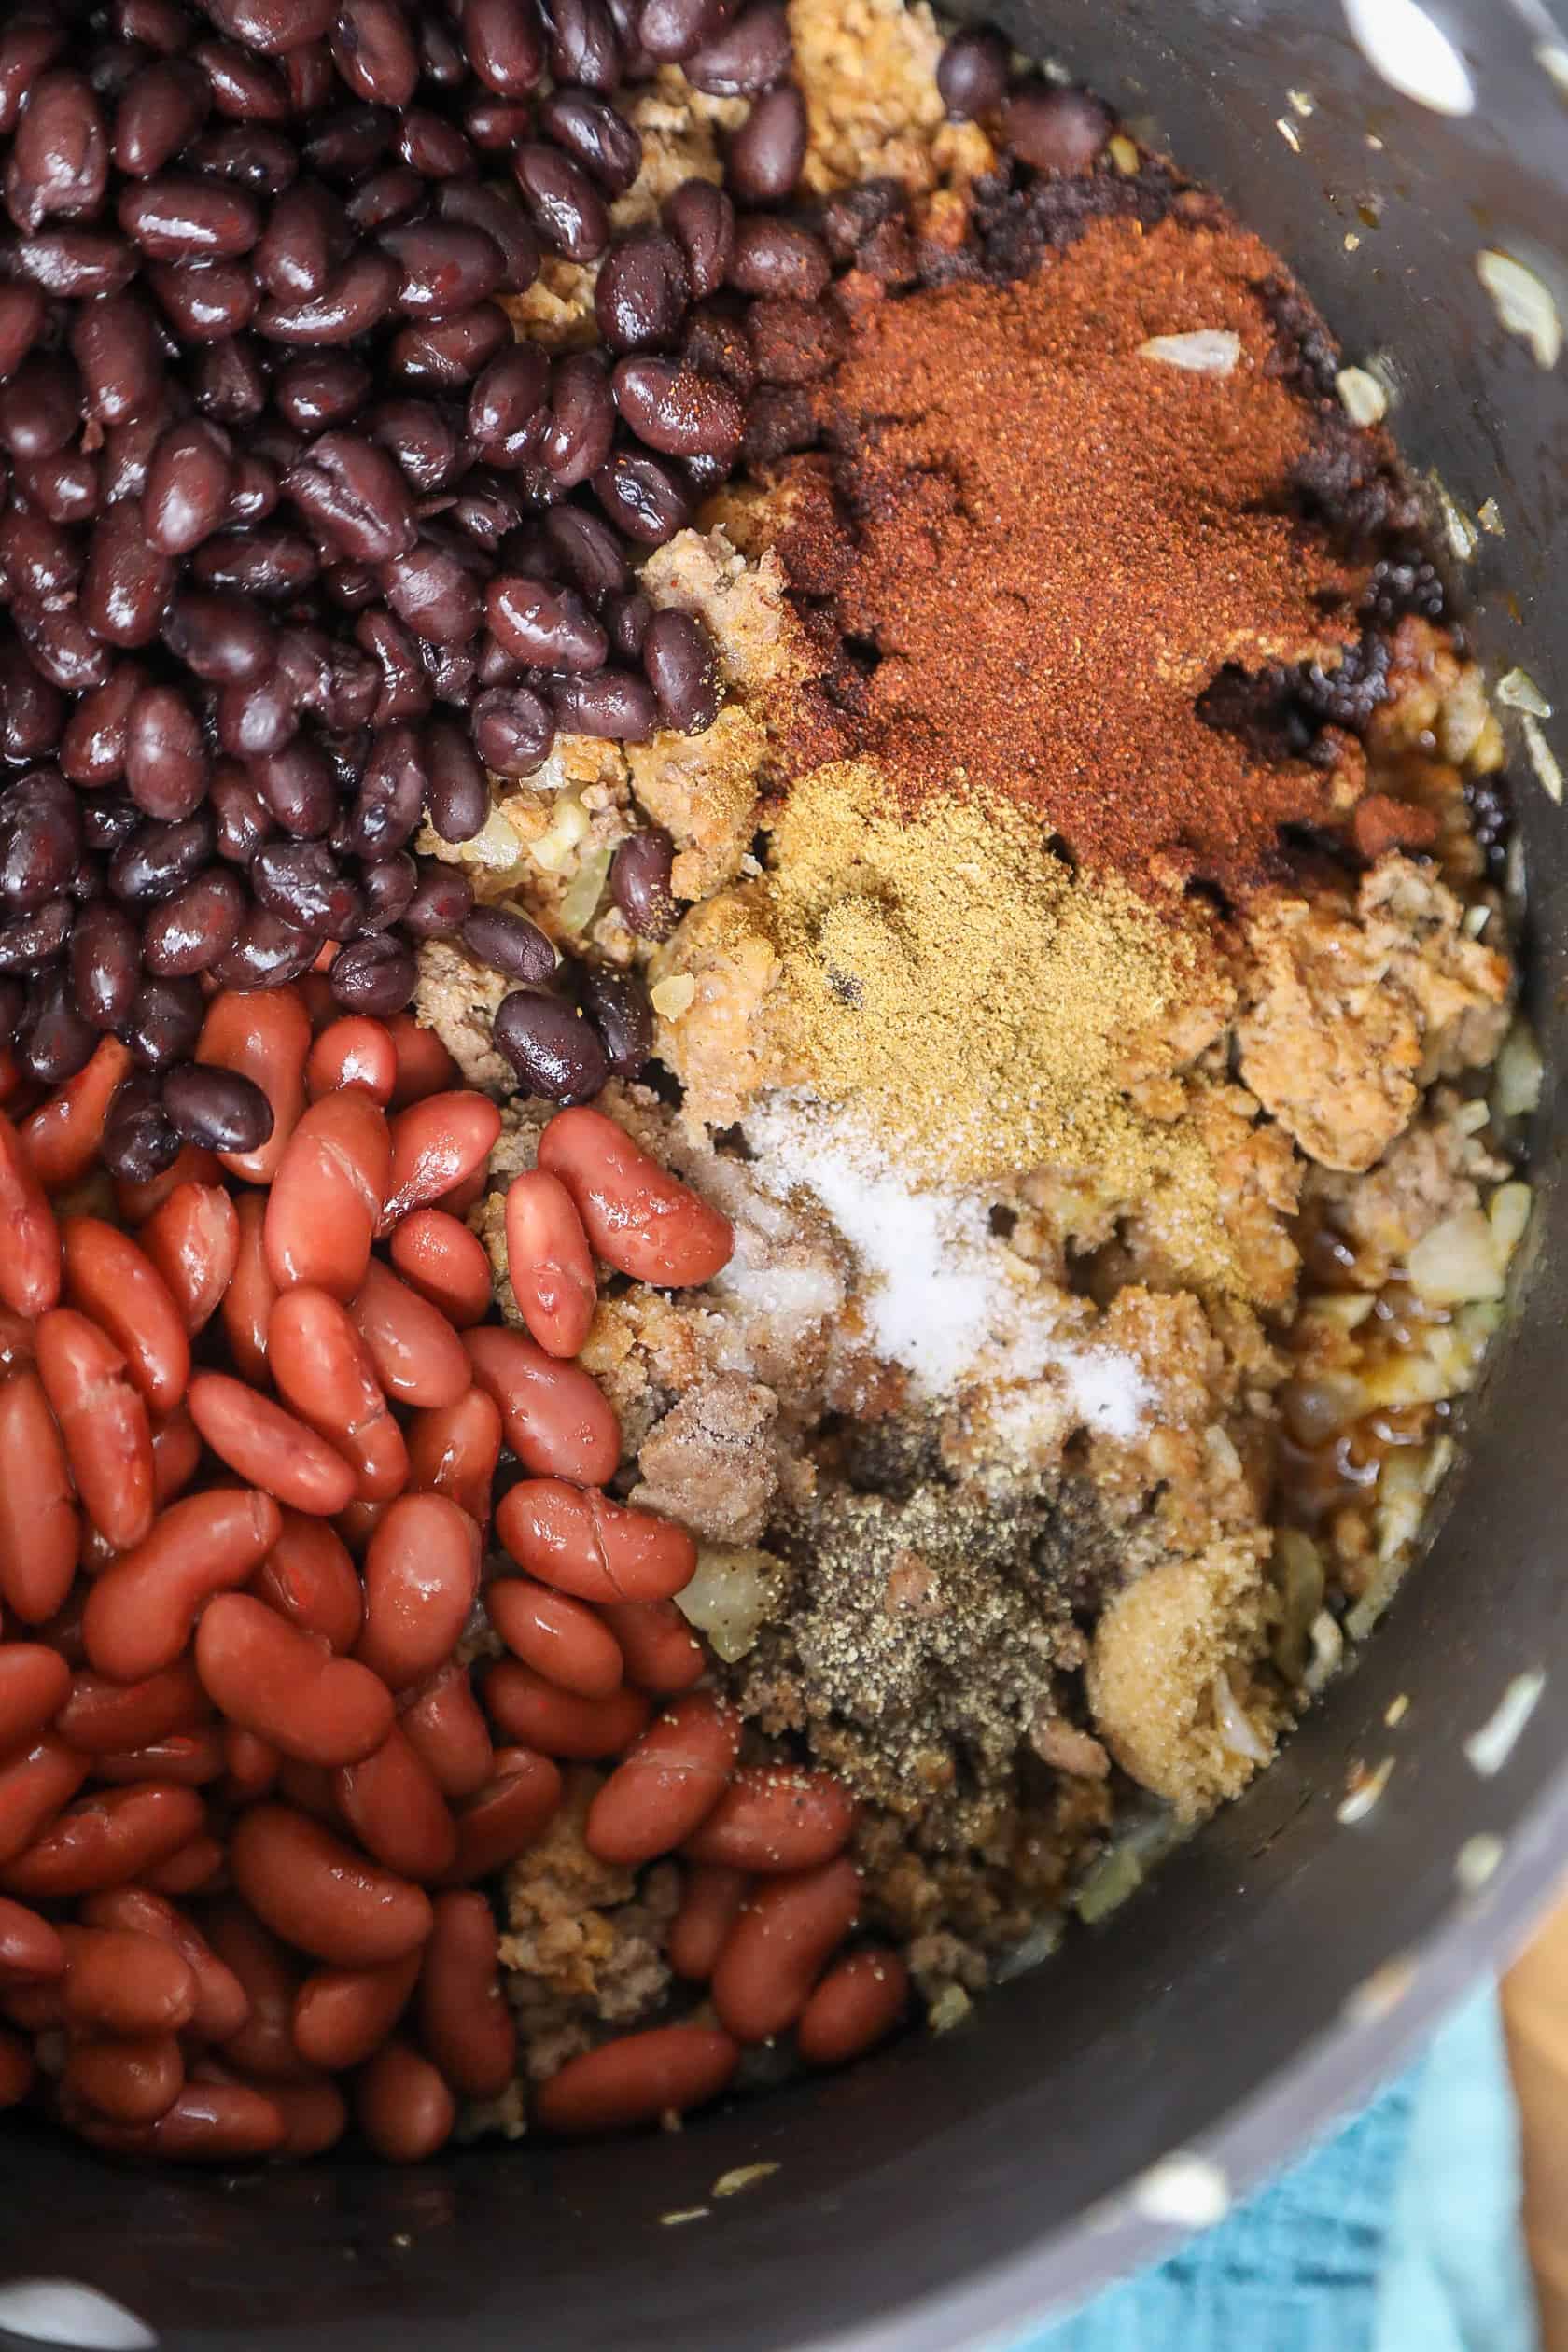
Ingredients Needed
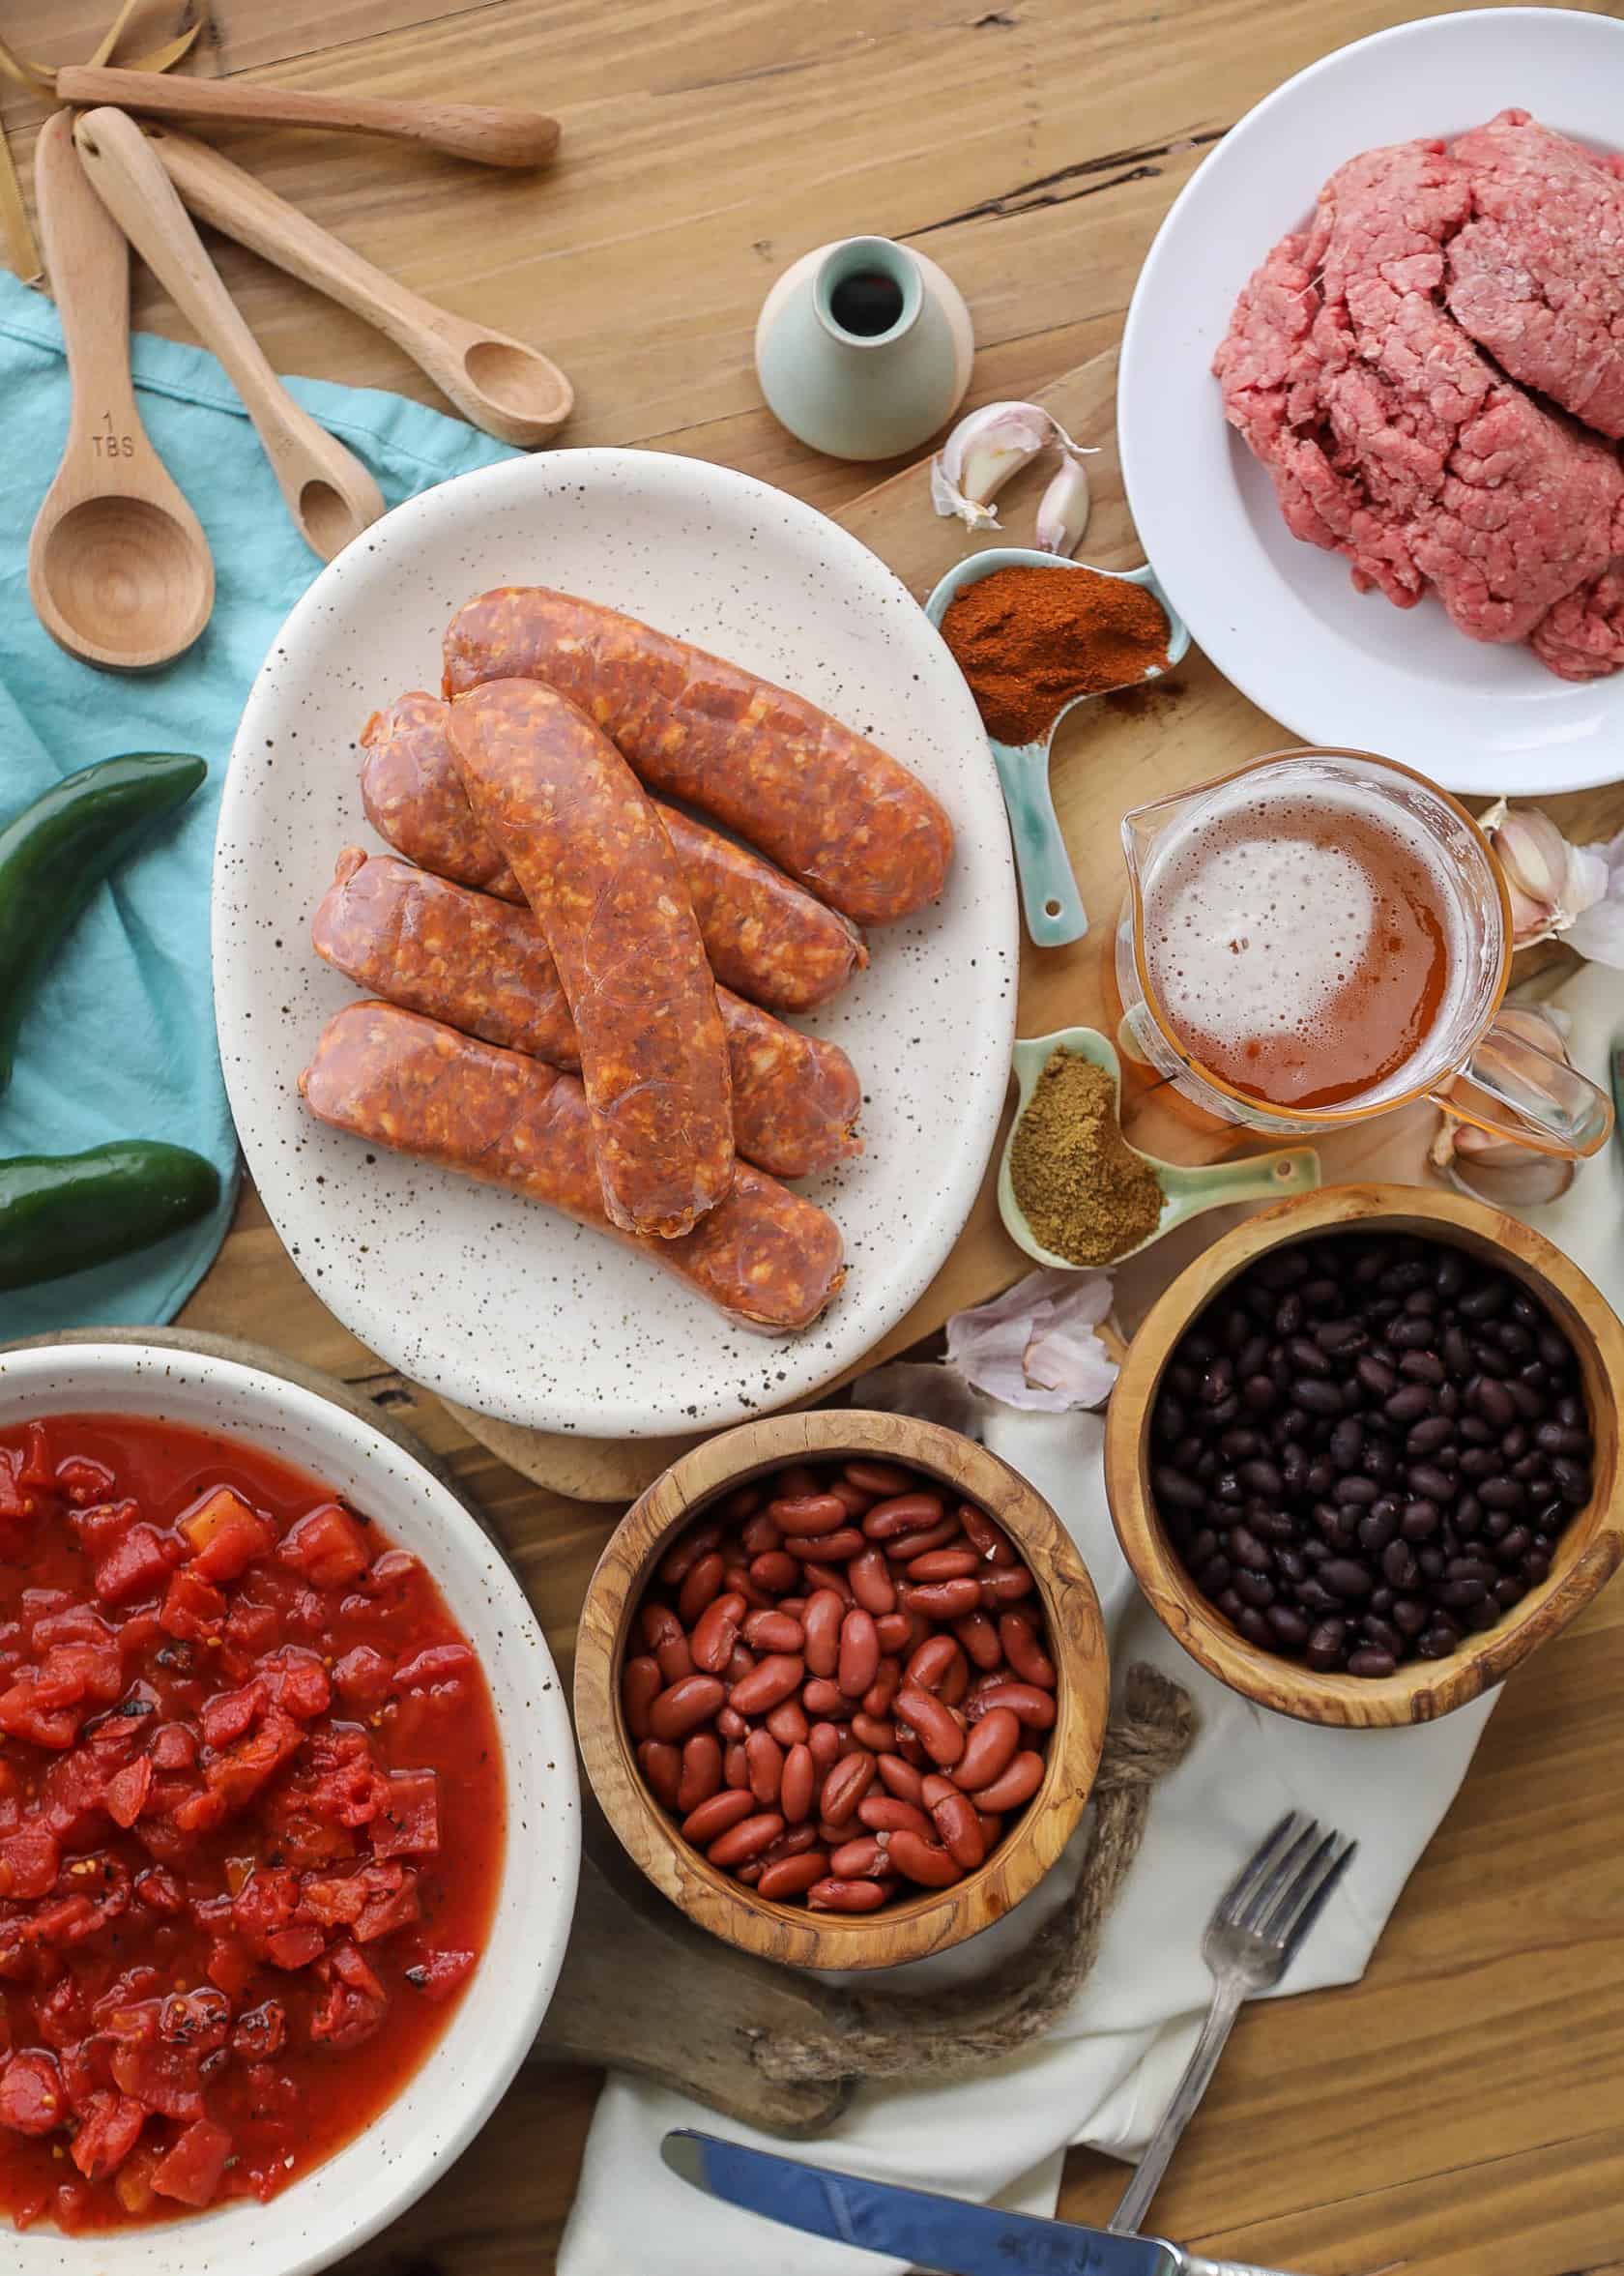
- Olive oil
- Ground beef
- Spanish chorizo
- Yellow onion
- Garlic
- Unsalted black beans
- Fire-roasted diced tomatoes
- Red kidney beans
- Serrano pepper
- IPA beer
- Chili powder
- Cumin
- Salt
- Sugar
- Black pepper
- Red pepper flakes
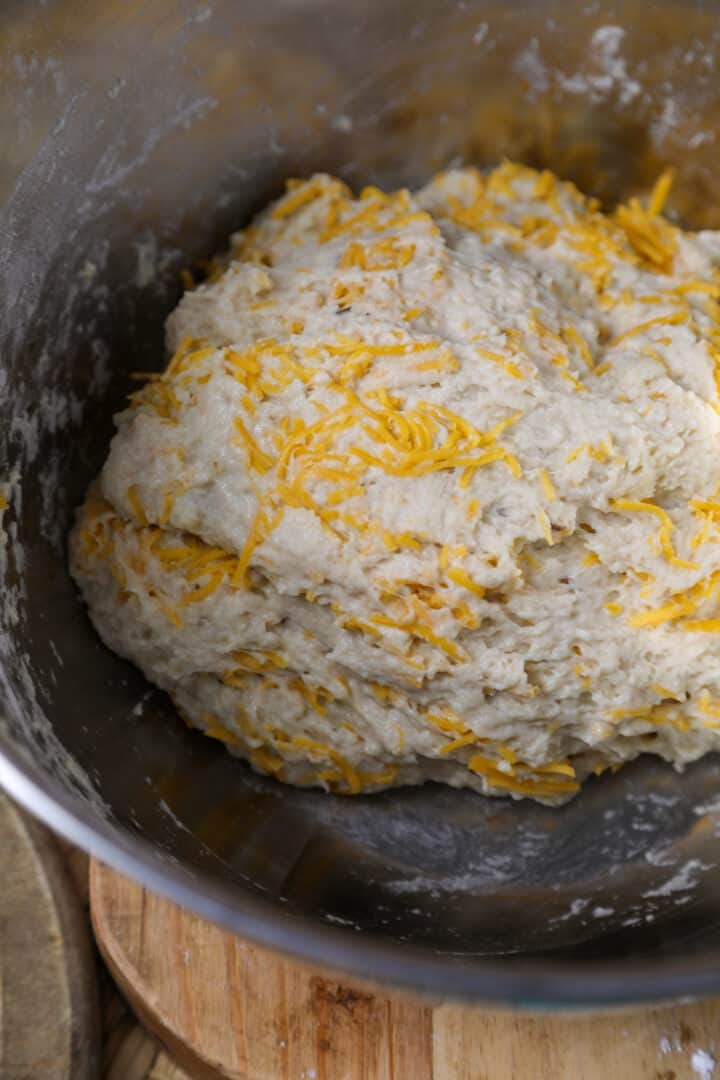
How to make this beer and beef chili
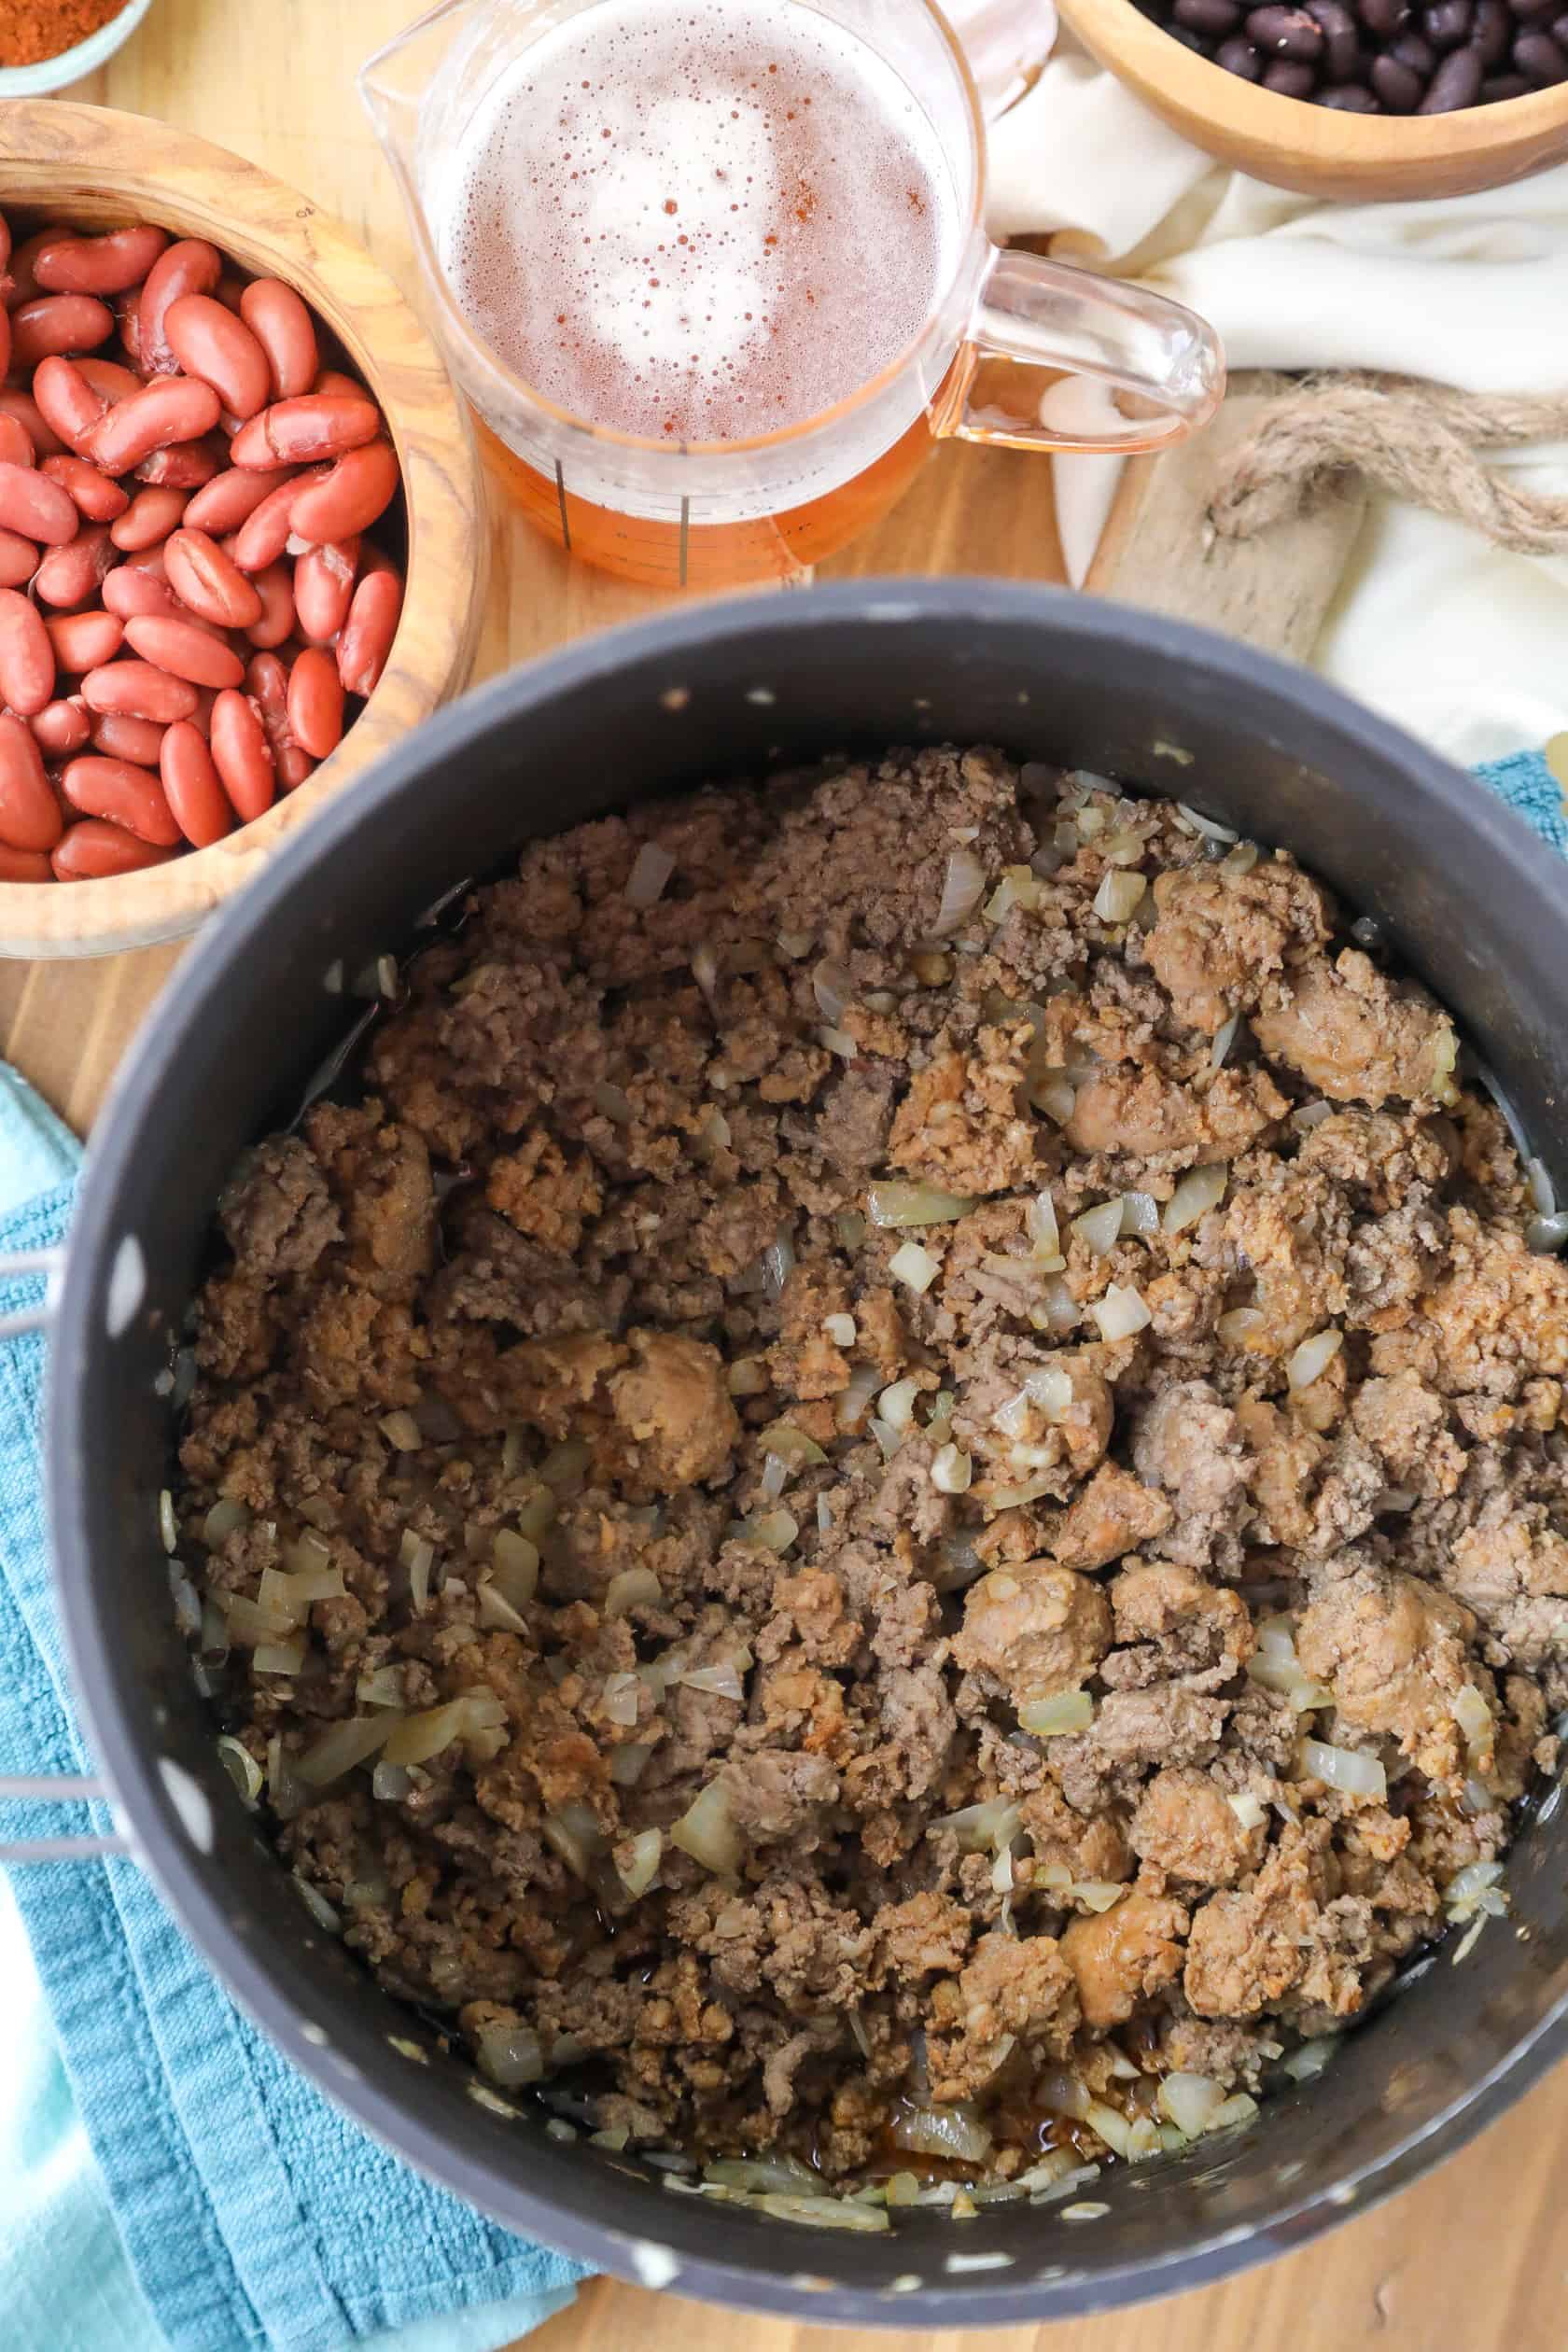
Heat oil in a large dutch oven over medium-high heat. Add the ground beef, chorizo onion, serrano pepper, garlic and a pinch of salt. Cook until all the beef and chorizo has browned. Drain about half the excess fat once cooked through.
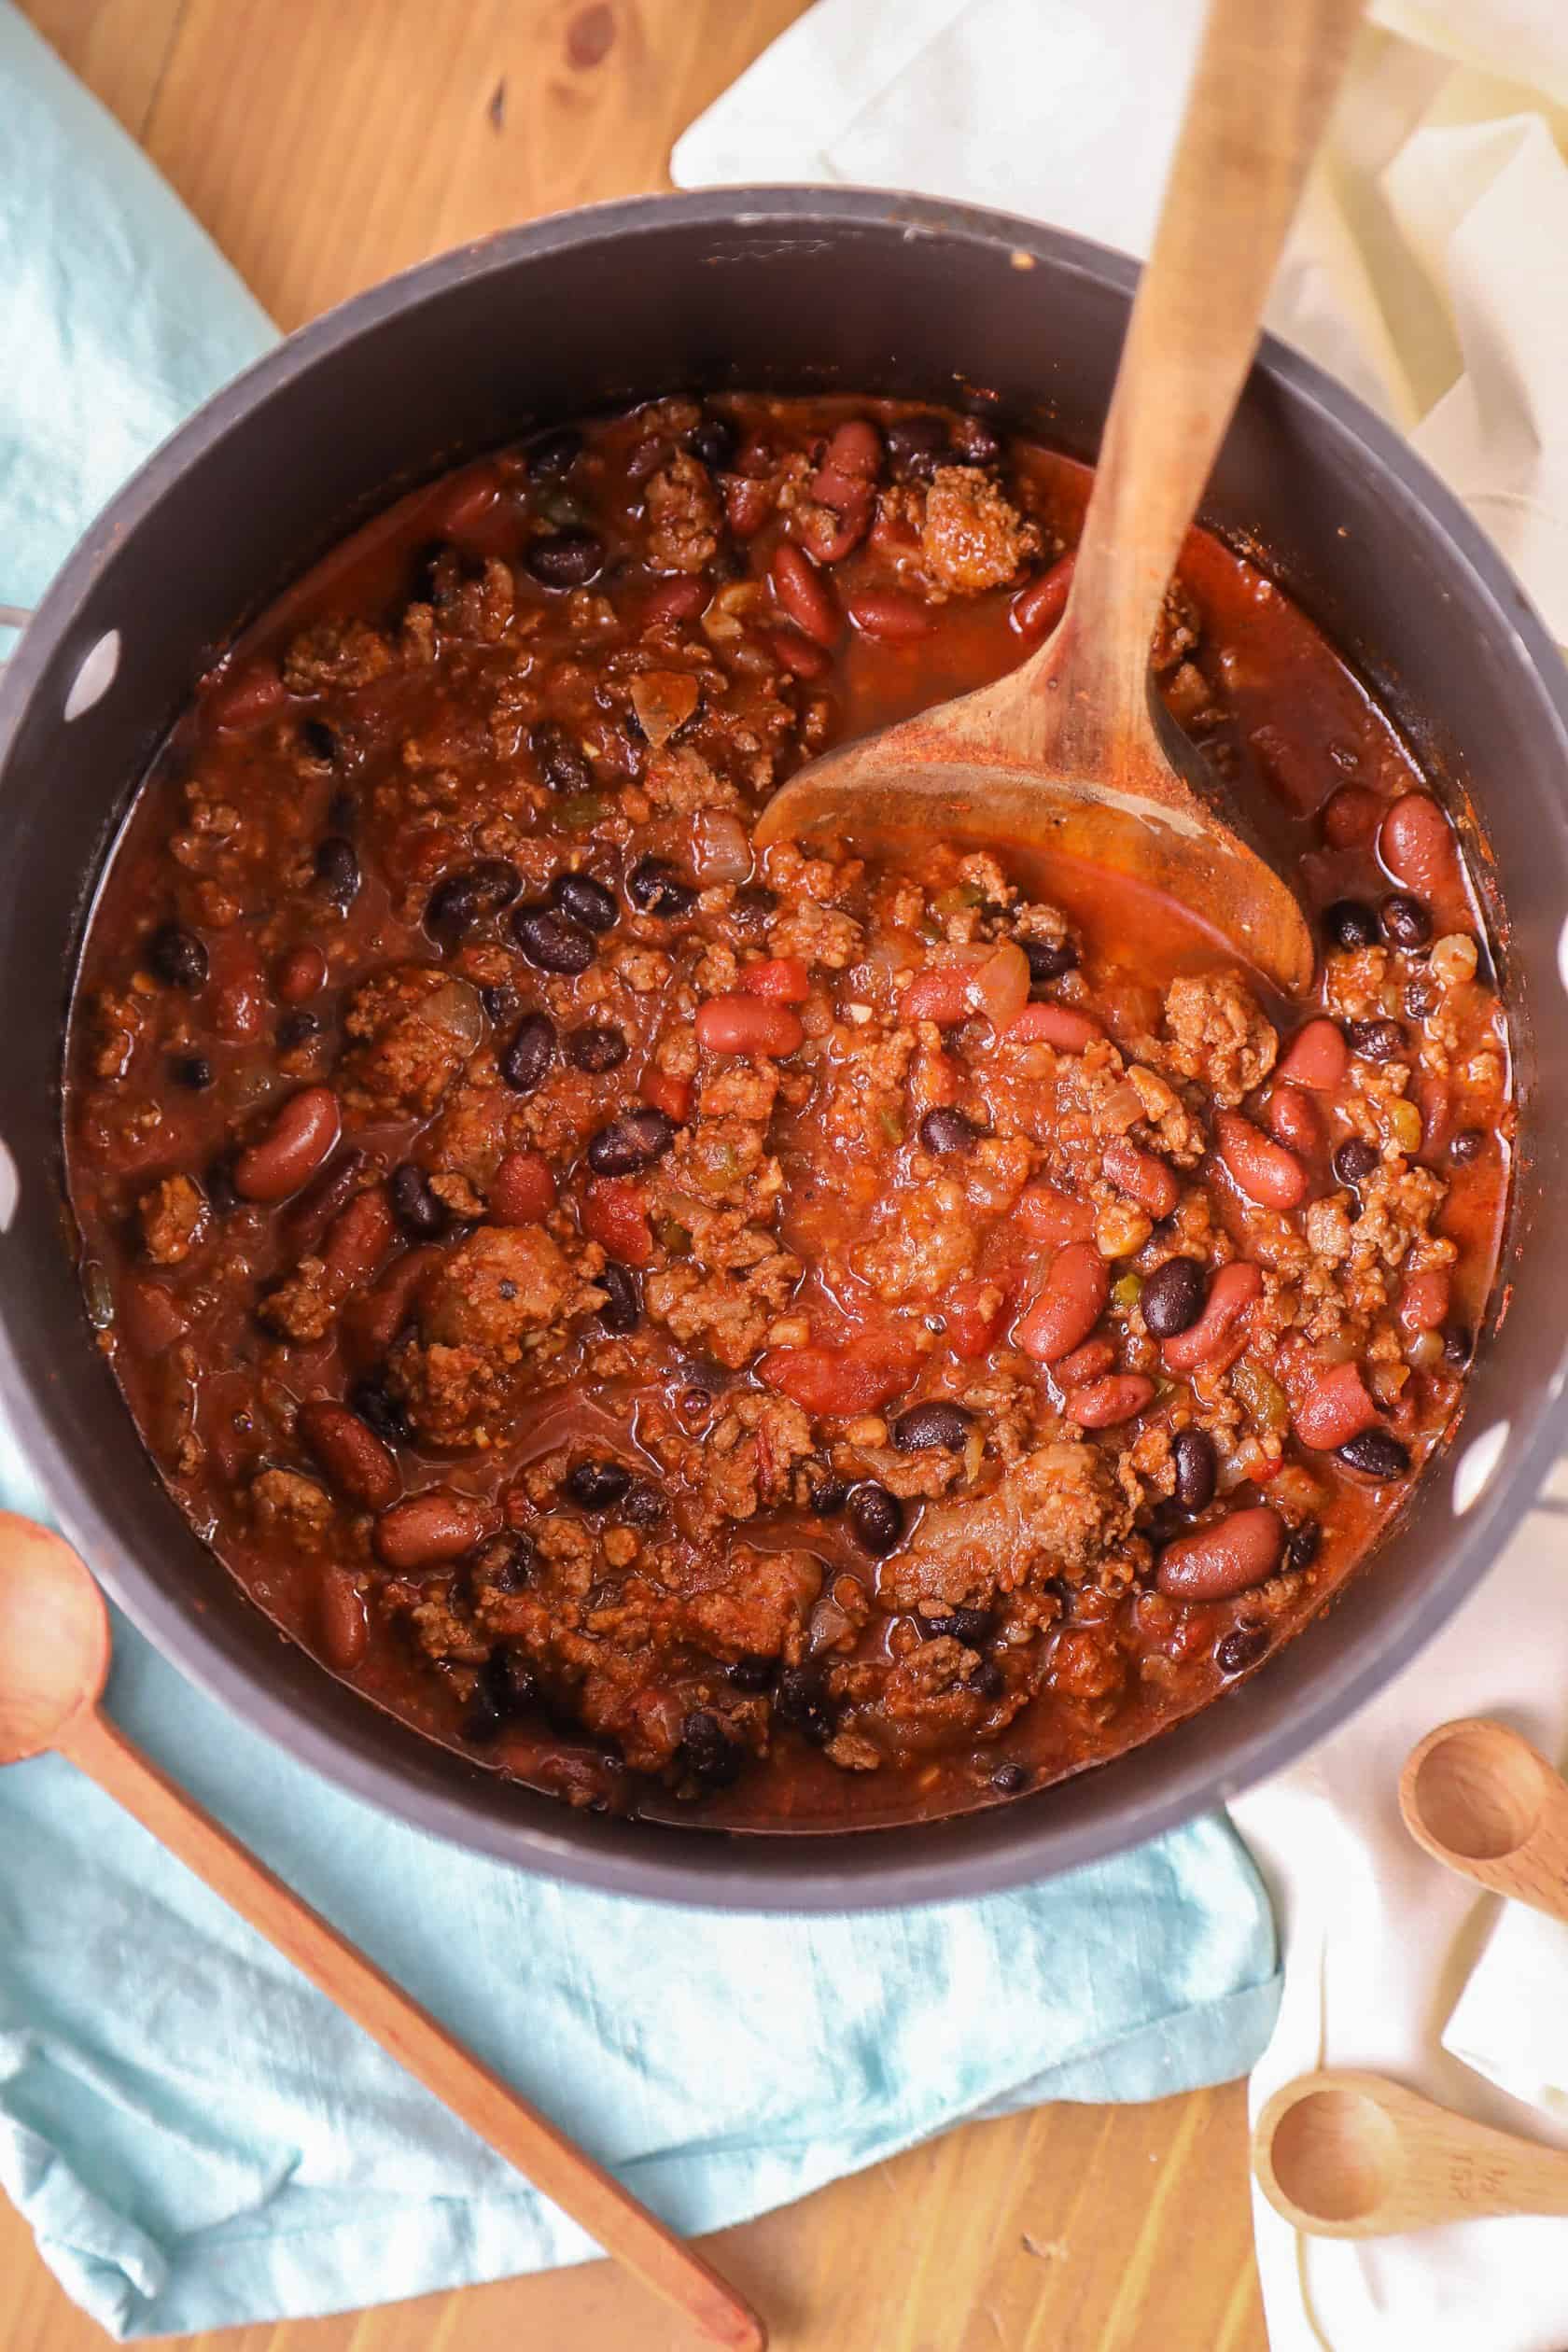
Once you have drained the excess fat from the cook meat, add the remaining ingredients including the pureed tomatoes and stir to combine.
Cover and bring to a boil over medium heat, takes about 20 minutes. Once boiling drop the heat to low and cook for 60 minutes, stirring occasionally. Taste, and season with additional salt and pepper if need be.
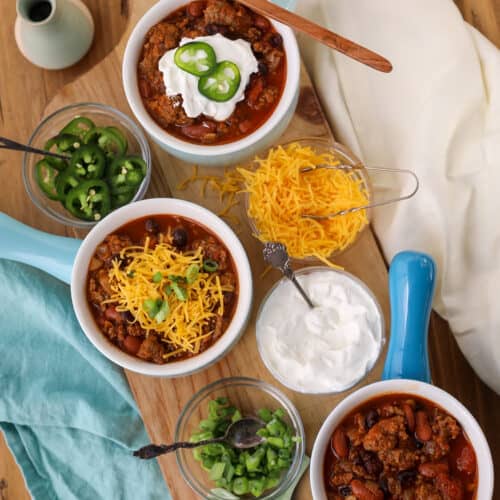
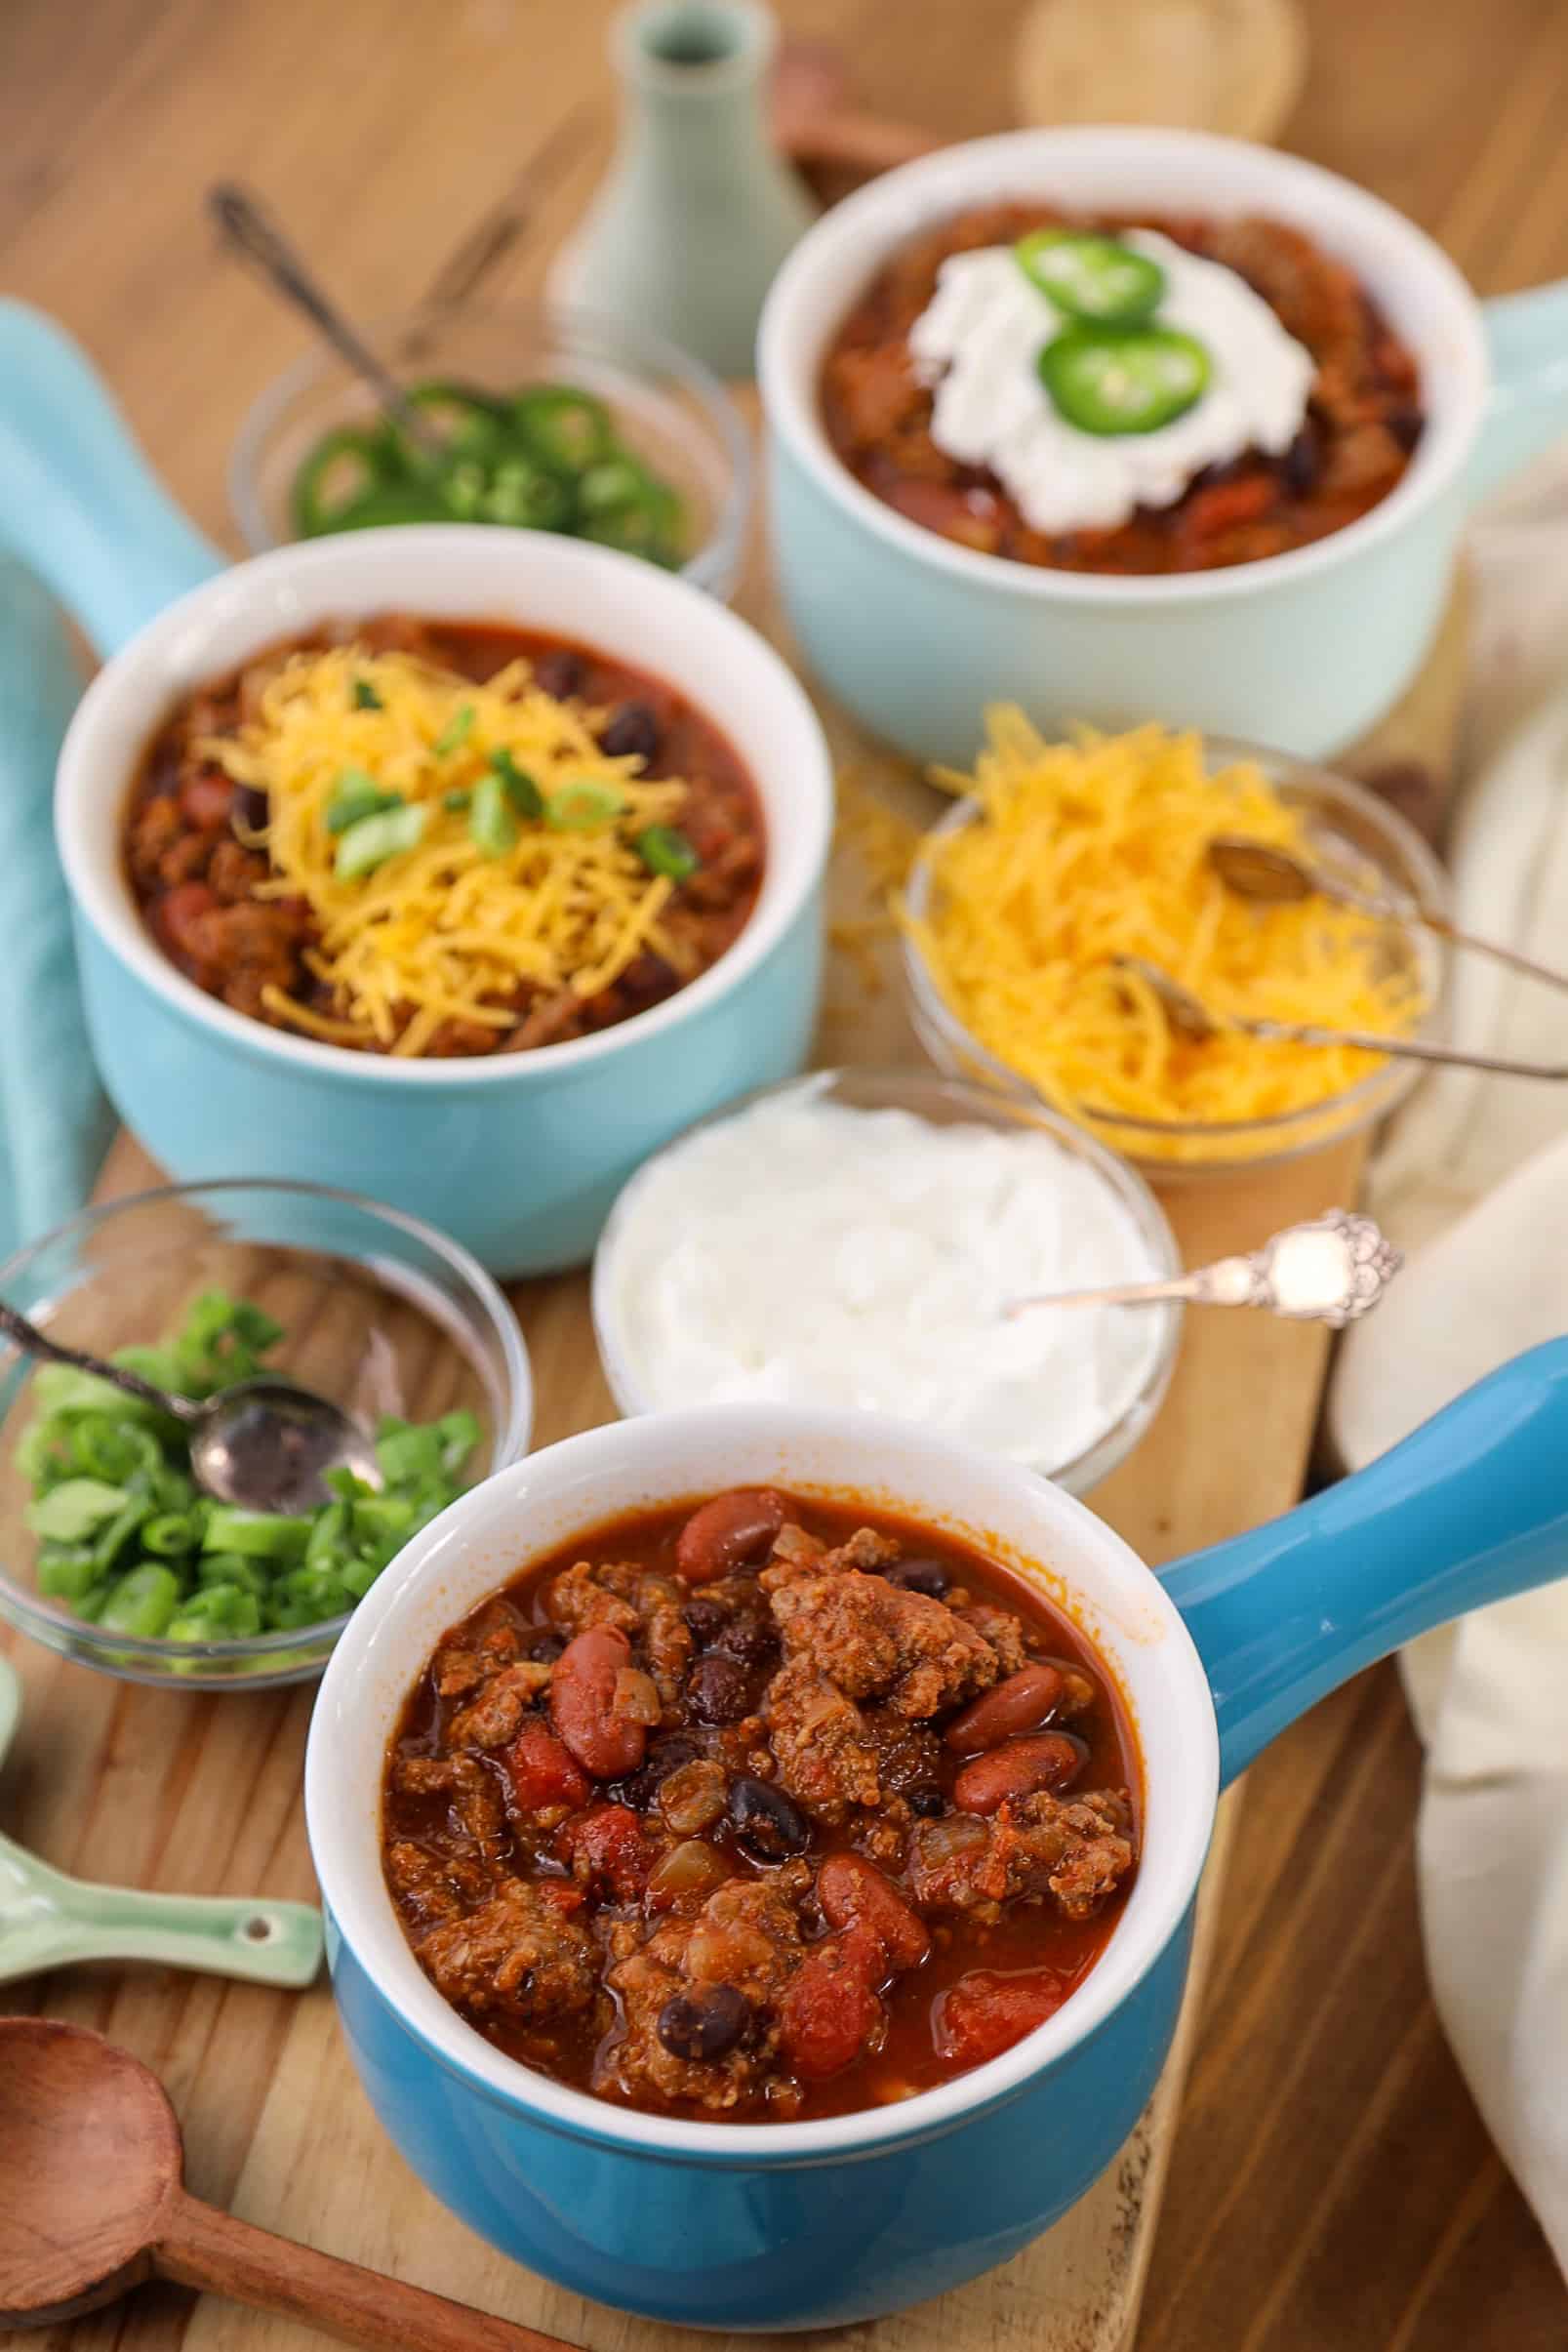
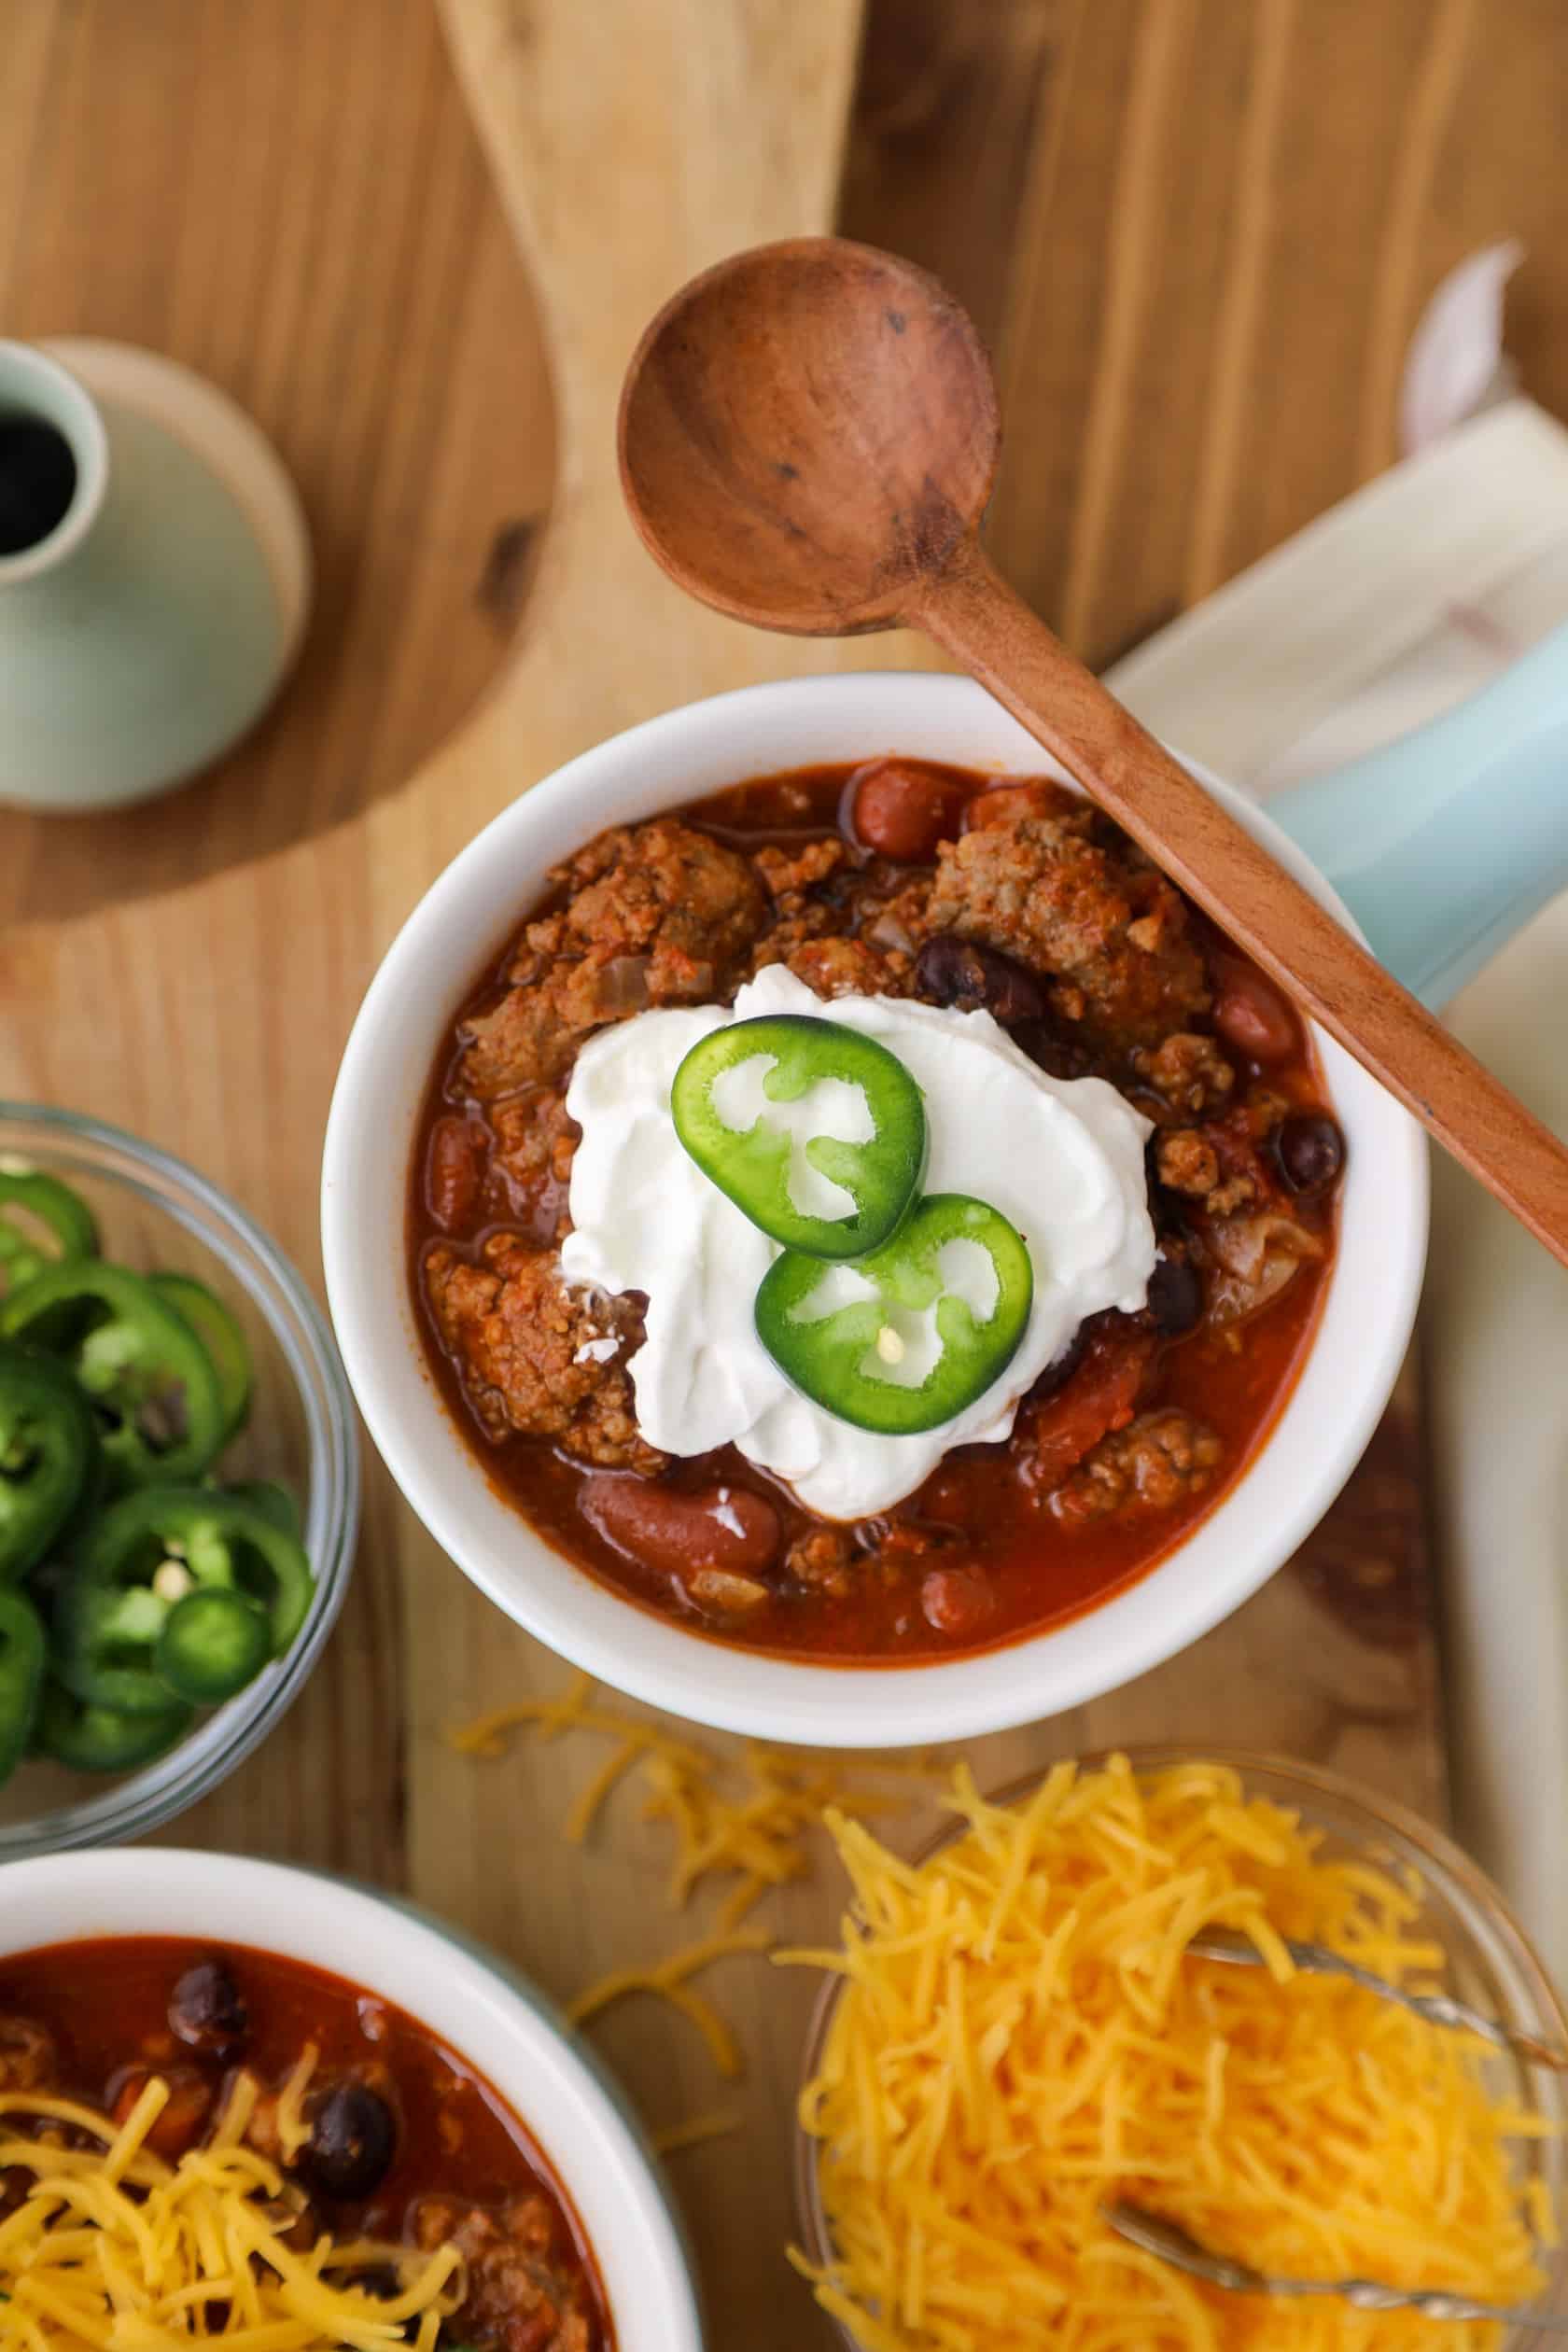
What's a good topping for this chili?
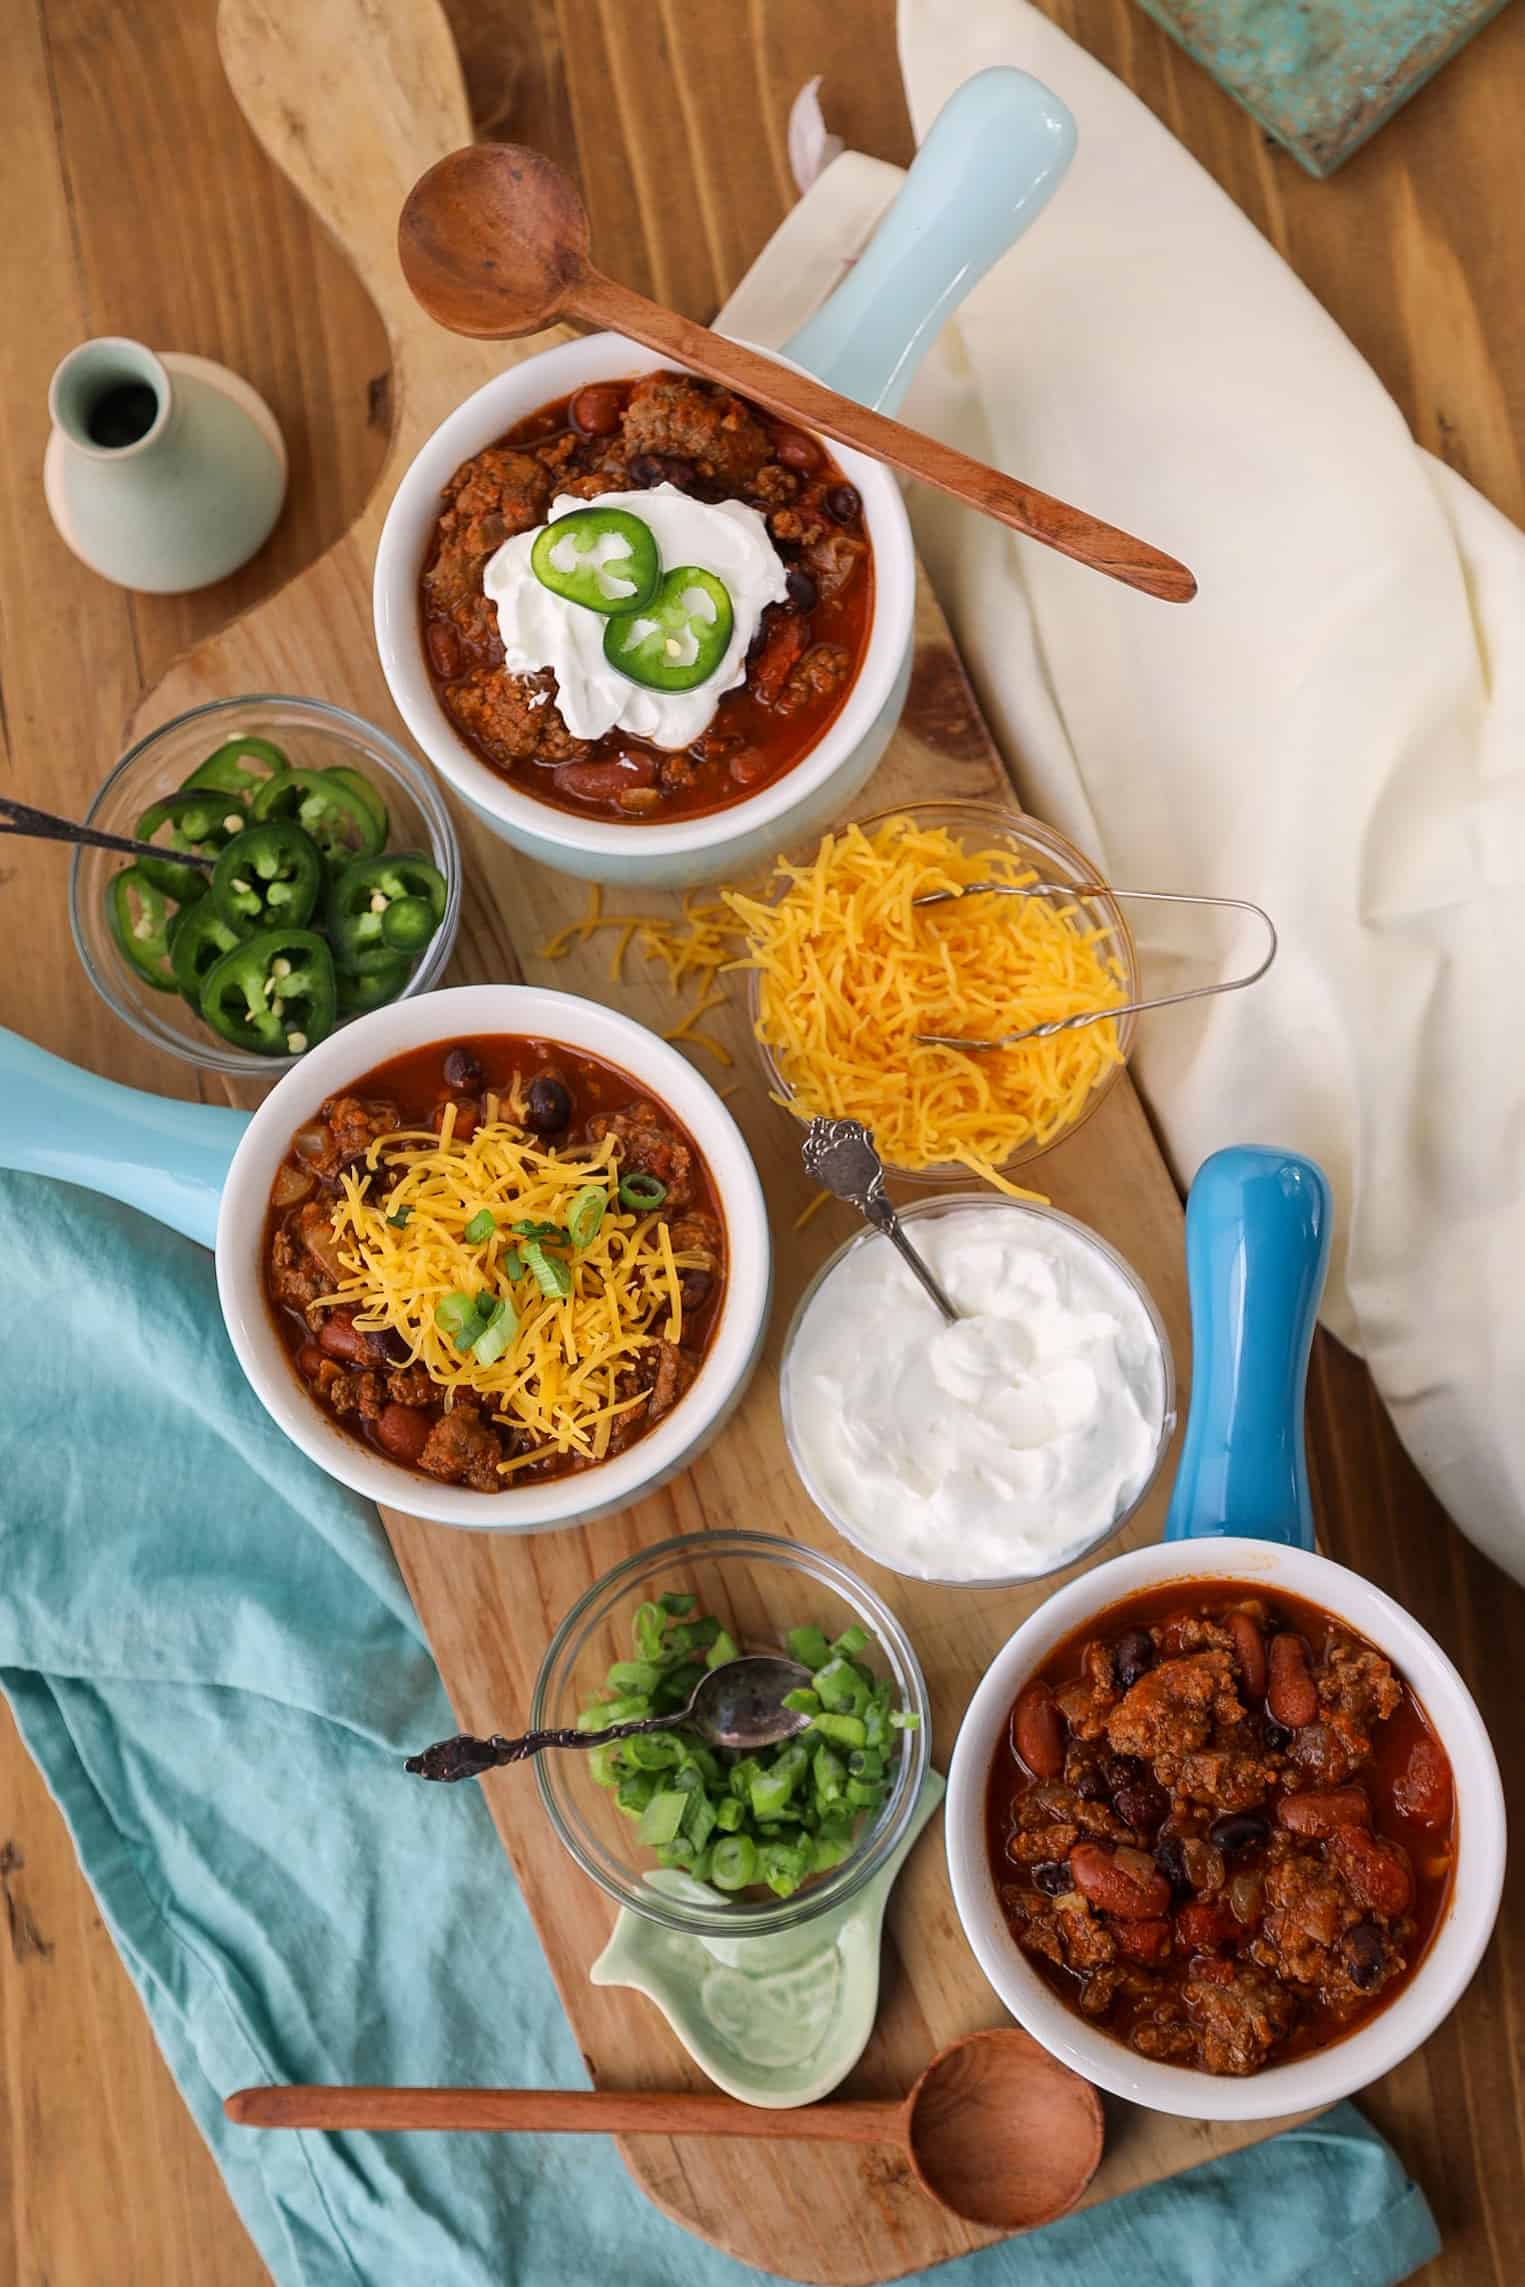
Although this recipe is delicious on it's own, some topping ideas include:
- cheddar cheese
- green onions,
- sliced serrano peppers
- sour cream
- crackers (oyster, cheez its or saltines)
- diced onions

Variations and substitutions for this chili recipe
- If you prefer a thinner consistency, you can add a half cup of beef broth or more beer.
- No Beans: if you don't care for beans in your chili, you can just omit that ingredient altogether.
- Instant Pot Beer, Chorizo & Beef Chili: brown the beef, onion, serrano pepper and garlic in the Instant Pot set at the Saute setting. Drain off the fat, then add the remaining ingredients. Cover and cook on meat/stew for 25 minutes
- For a spicy pot of chili, add more serrano pepper.
Storage instructions for this beer chili
Refrigerator Storage:
- Allow chili to cool completely before storing
- Transfer to airtight containers within 2 hours of cooking
- Store in refrigerator for up to 4-5 days
- Divide into smaller portions for easier reheating
Freezer Storage:
- Freezes exceptionally well for up to 4-6 months
- Use freezer-safe containers or heavy-duty freezer bags
- Leave about 1 inch of headspace for expansion
- Label with date and contents
- Consider portioning into individual servings
Reheating Guidelines:
- Stovetop: Heat over medium-low, stirring occasionally and adding liquid if needed
- Microwave: Heat in 2-minute intervals, stirring between each
- Slow cooker: Reheat on low for 2-3 hours
- From frozen: Thaw overnight in refrigerator before reheating
Safety Notes:
- Never refreeze previously frozen chili
- Don't leave at room temperature for more than 2 hours
- If chili seems too thick when reheating, add beef broth or beer
- Stir well when reheating as beans may have settled
- Check for any off-odors or unusual appearance before serving
Check out these other delicious soups


Beer, Chorizo & Beef Chili Recipe
Ingredients
- 1 pound lean ground beef
- 1 pound of Spanish chorizo skin removed
- 1 medium yellow onion peeled and thinly sliced
- 4 cloves of garlic minced
- 1 15 oz. can unsalted black beans, rinsed and drained
- 3 14 oz. cans unsalted, fire-roasted diced tomatoes
- 2 15 oz. can unsalted red kidney beans, rinsed and drained
- 1 serrano pepper thinly sliced jalapeño will work as well
- 1 12 oz bottle of beer pale ale, red ale or whatever beer is in your fridge
- 2 Tablespoons chili powder
- 1 Tablespoon ground cumin
- 1 teaspoon salt
- 1 teaspoon sugar
- ½ teaspoon black pepper
- ¼ teaspoon of red pepper flakes
- cheddar cheese garnish/optional
- sour cream garnish/optional
- sliced serrano pepper garnish/optional
Instructions
- Heat oil in a large stockpot pan over medium-high heat. Add the ground beef, chorizo onion, garlic and a pinch of salt.
- Cook for about 10 minutes or until the beef is completely browned, crumbling the beef with a wooden spoon as it cooks. Drain about half of the excess fat.
- While the beef is cooking, place the contents of two cans of fire-roasted diced tomatoes in the blender and puree. Set aside.
- Once you have drained the excess fat from the cook meat, add the remaining ingredients including the pureed tomatoes and stir to combine.
- Cover and bring to a boil over medium heat, takes about 20 minutes. Once boiling drop the heat to low and cook for 60 minutes, stirring occasionally. Taste, and season with additional salt and pepper if need be.
- Serve hot and garnish with cheddar cheese, sour cream, green onions and/orfresh serrano peppers
Video
Notes
- green onions,
- sliced serrano peppers
- sour cream
- crackers (oyster, cheez its or saltines)
- diced onions