Today I'm sharing 10 easy tips for cellphone/ iphone food photograhy. I have been taking pictures of my food for over a decade and have had a food instagram page for nearly 10 years. In today’s digital age, food that is almost too pretty to eat demands it’s photo be taken and shared throughout social media.
These simple tips will elevate your foodporn pictures to the next level. I'll be touching on everything from lighting to styling. So to help you and anyone help snap the best food pictures possible, I’m going to share some of my own personal food photography tips that I live by.
1. Natural light is your best friend!
What I mean by “natural light,” is actually indirect sunlight. Indirect sunlight brightens up your dishes and makes colors pop more than a dimly lit dining room. When dining out, don’t be embarrassed to ask for a table by a window or even outdoor seating if available. You’ll want to grab the seat that puts the sunlight behind you, so your food will be brightly lit and ready for its close-up.

indirect sunlight allows you to better see the details 
direct sunlight light washes out details
2. Colorful ingredients make for better pictures!
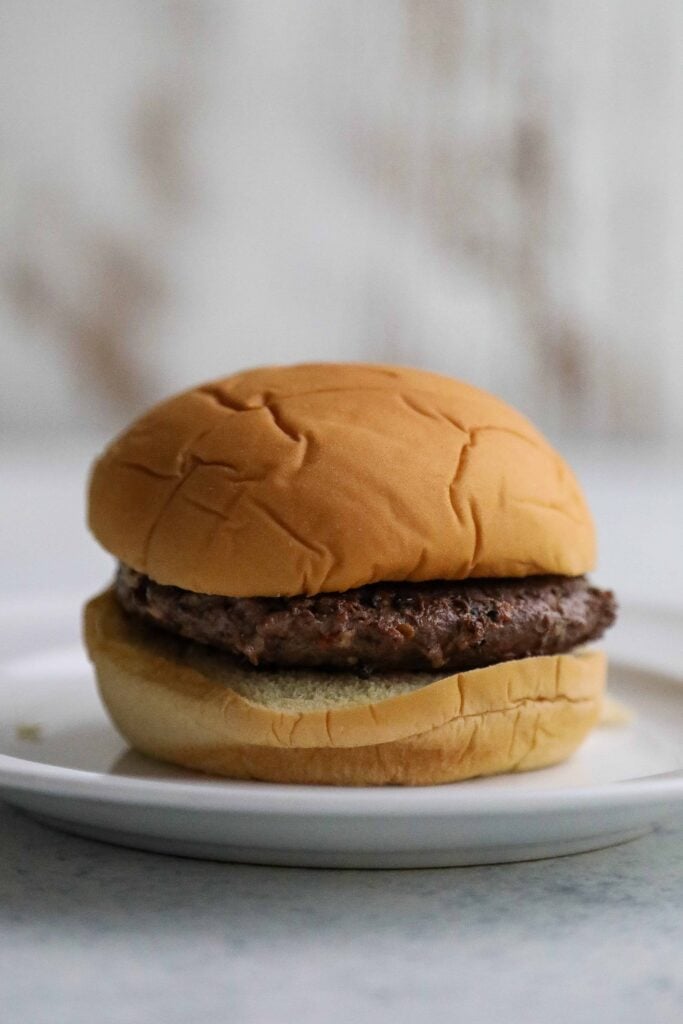
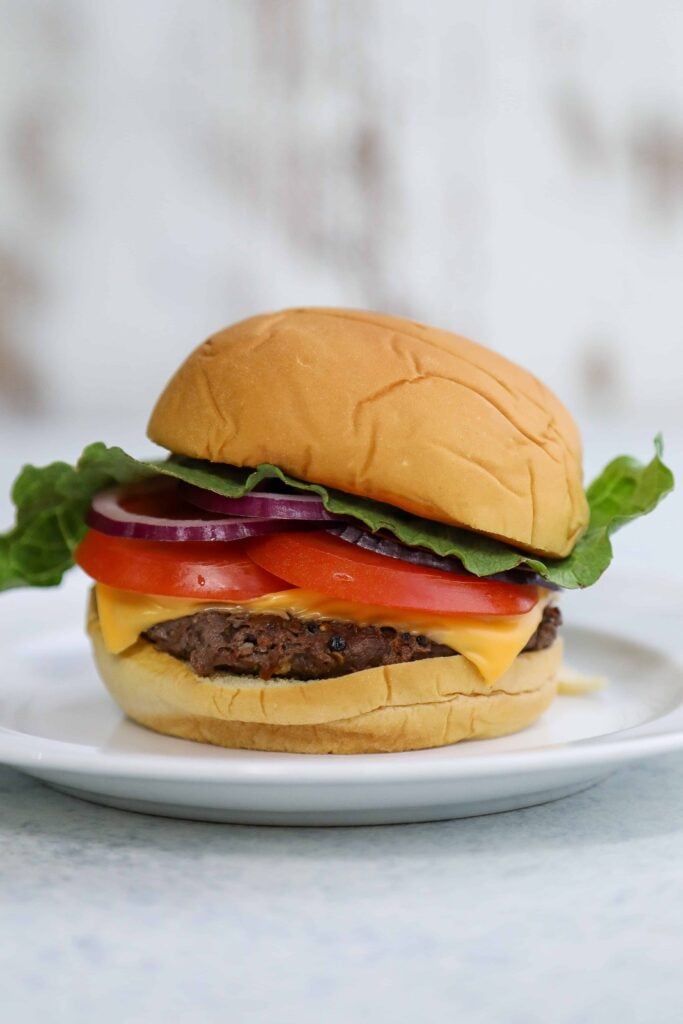
Sure your plain burger tastes great, but a brown bun with a brown patty isn’t very visually appetizing. Adding some colorful toppings such as bright green lettuce, a slice of red tomato and some red onions transforms your burger from plain to something that seduces all of your senses simultaneously.
Plain burger Same burger with yellow cheese, tomato, onions and lettuce
3. Some foods are meant to be eaten and not photographed!
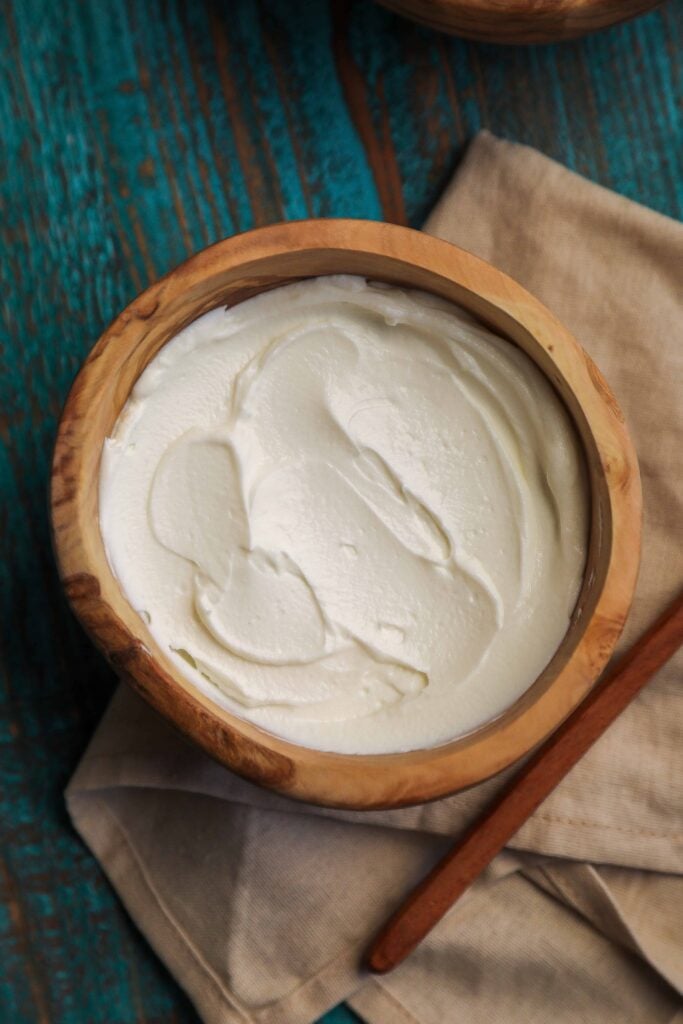
Yes, one food photography tip is that sometimes you don't take a picture of food. There are some foods that although delicious are not photogenic. Some examples include plain risotto, gravy, plain oatmeal, plain yogurt or even polenta. I’ve unfortunately made this mistake and learned this lesson the hard way. I was eaten alive by instagram users quickly pointing out that my picture of 3 cheese risotto looked more like the end result of a night of heavy drinking than a delicious meal. So learn from my mistakes!
What you can do is revert back to my previous tip and dress up your plain looking oatmeal by adding some colorful berries, a drizzle of honey. Or add some parsley, bacon, tomatoes and grated cheese to your risotto or polenta. In other news, add some color to make your dish more visually palatable.
Plain Yogurt Same bowl of yogurt with colorful berries
4. Set the scene!
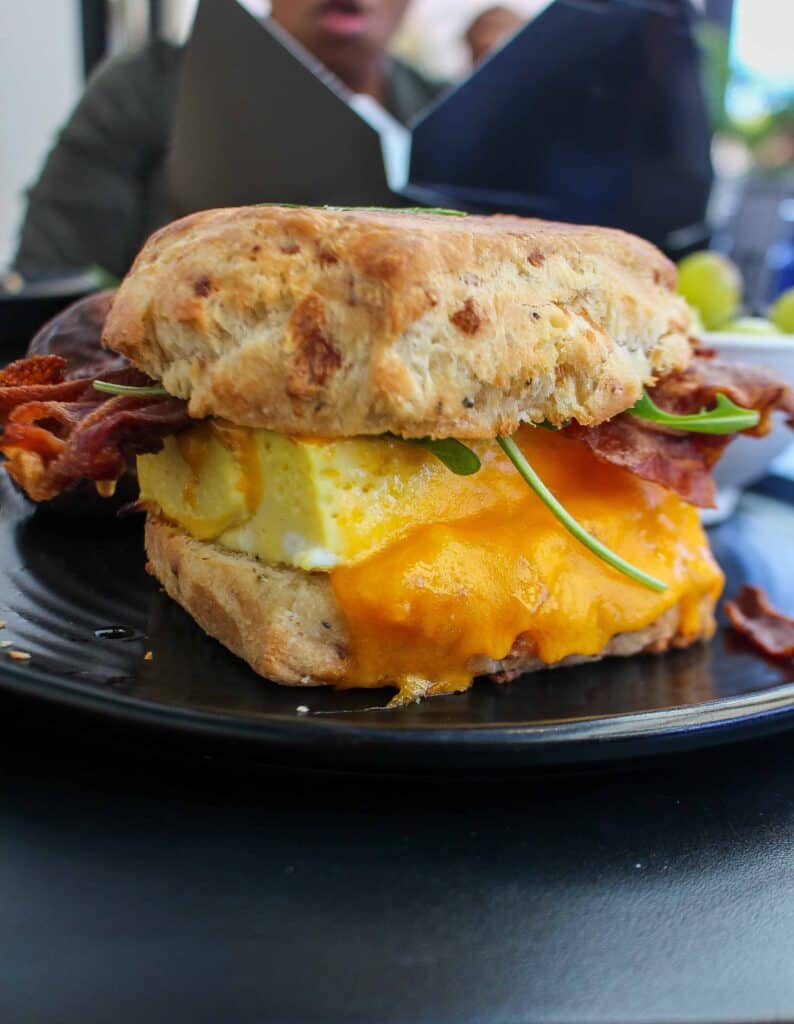
Ok so you’ve got a colorful plate of delicious tacos in front of you, now to set up your shot. Get rid of any clutter in the background such as straw wrappers and crumpled napkins. A messy background will take away from the main focal point of your picture and distract viewers. A messy background can also be people in your shot. If you’re opting for an overhead shot to take pictures of several dishes on the table, make sure the table looks neat and the dishes are relatively clean.
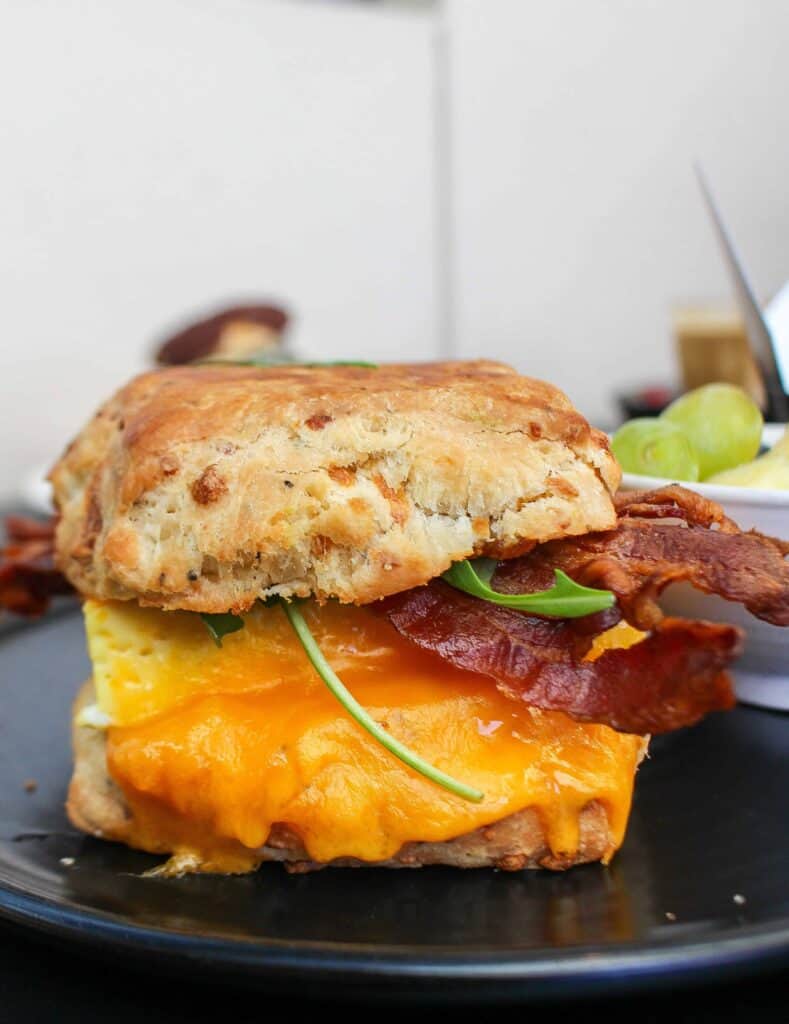
sandwich with no distracting background my friend in the background distracting my target focal point
5. Clean your plate!
This one is kind of upto your own personal preference. Some people dont mind a messy plate, I find it distracting. There have been a few times where I’ve been served a messy plate, but I still want to snap a picture of it. I am not above grabbing a napkin and quickly wiping down my plate so my photograph will look more visually appealing.
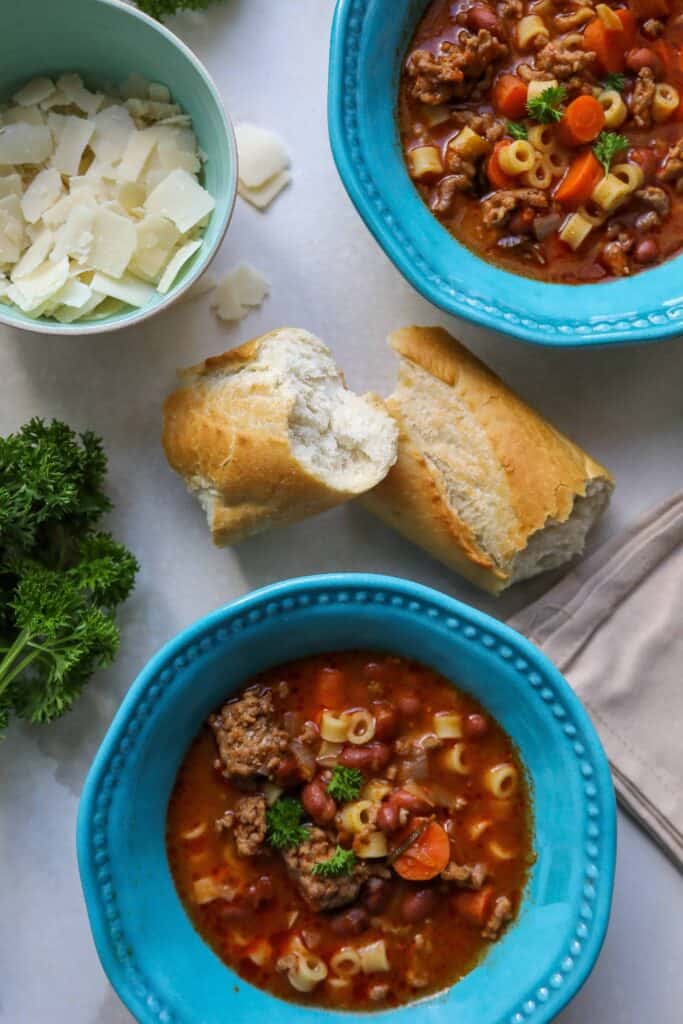
messy soup dish cleaned up dish
6. Lots of angles means lots of options!
Take lots of pictures of your food from all sorts of angles. Take close up pictures, take overhead pictures or zoomed-out pictures. Ask yourself what your main point in the picture is. Is the ooey-gooey cheese your main focal point or is it the entire burger?
Will your image be better served by seeing the whole plate and some context, or just getting a tight shot of a specific part? Some plates of food look better from above, or from the side, or at a 45-degree angle. Three main food photography angles to play around with are: overhead shot or the flat lay shot, 45 degree angle and the straight on angle.

Overhead shots eliminate depth of field, but are great for highlighting several dishes. The straight on shot is perfect for "tall" foods like burgers and cakes. Your 45 degree angle is the best of both worlds.
Don’t be afraid to explore various angles and figure out what picture you like best. Not only will this give you more options for that perfect instagram post, but it will let you explore your own style.
7. Focus! Focus! FOCUS!!
No one likes blurry pictures, period. Make sure your pictures are focused, clear and sharp. If you’re having a hard time keeping steady, take a deep breath and try positioning your hands differently. Maybe set your food down on a table instead of holding it. Sometimes, the problem may be related to a lack of light getting to the sensor of your camera. If that’s the case, try moving to an area with more light.
blurry photo, unsteady hands sharp crisp image
8. Forget the flash!
Do not use the flash on your phone if sitting in a dimly lit restaurant. If you're dining at night and want to shoot photos of your meal, opt instead for an LED light that offers constant and consistent light. I use the VILTROX L116T Key Light at 5600K at 20-30% brightness. I also use a much smaller selfie ring light that can be clipped onto most cellphones.
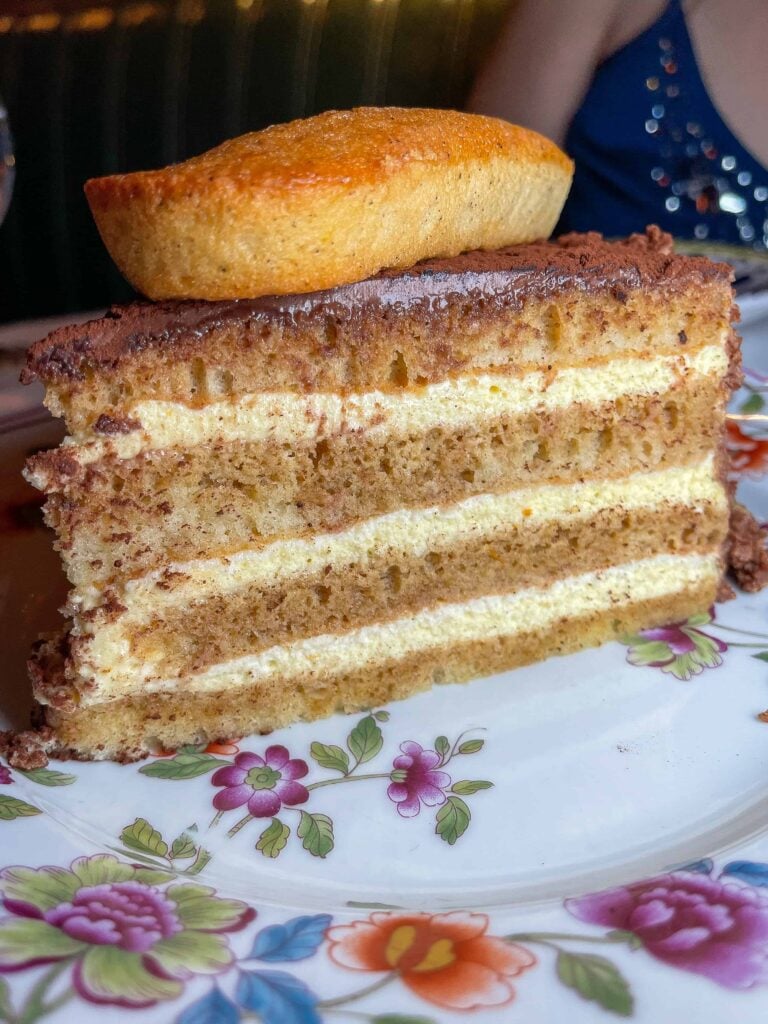
However, before pulling out your LED lights, be sure to ask the restaurant staff if they allow flash as some restaurants do not allow flash photography in their dining room. Staff will quickly ask diners who break this rule to put the flash away or even diners to leave their establishment. It can be considered rude and distracting to other people trying to enjoy a meal. However, keep in mind that pics using flash and LED lighting will have harsher contrasts and shadows.
9. Avoid filters!
Maybe that Valencia filter you love looks fab on all of your selfies, but it does absolutely nothing for that juicy steak. When it comes to food, 86 the filters. Instead, opt for some light editing. I personally, use the Adobe lightroom app, but there's also snapseed and VSCO. Cell phone pictures don’t always capture the brightness and vibrant colors of real life; photos tend to look rather grey when shot on smart phones.
By opting to adjust the brightness, saturation, sharpness and contrast levels in your photo, you give viewers the feeling that they’re actually facing the food instead of looking at their phone.
unedited image lightly edited to enhance colors and brightness
10. Take your time to find your style
My way of take pictures is different from other food bloggers. I love vibrant and bright colors. I don't like to over edit my shots and I don't rip food apart with my bare hands. Some people like to get messy with their food, or over expose their image and add filters. Don't be afraid to explore your photography style and find what makes you happy. Maybe you like shooting images with offset angles or images with a lot of negative space.
Time to take pictures!
Now that you’re armed with 10 food photography tips, it's time to take amazing food pictures Dining out with friends and loved ones is a bonding experience, don’t be afraid to include friends into your pictures as photobombs in the background or even as “hand models.” Some of these food photography tips may seem subtle, but applying them will help elevate your food pictures. Most importantly, be sure to enjoy your experience and have fun!






Leave a Reply