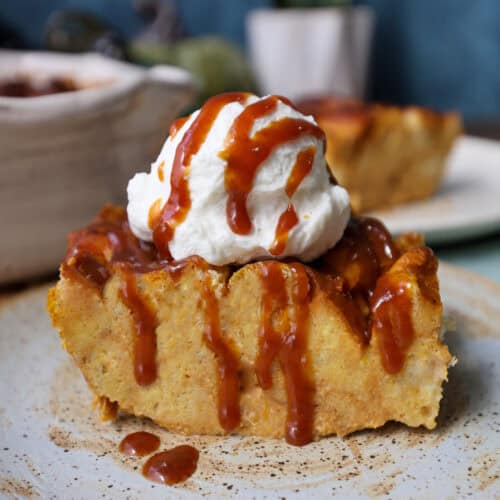
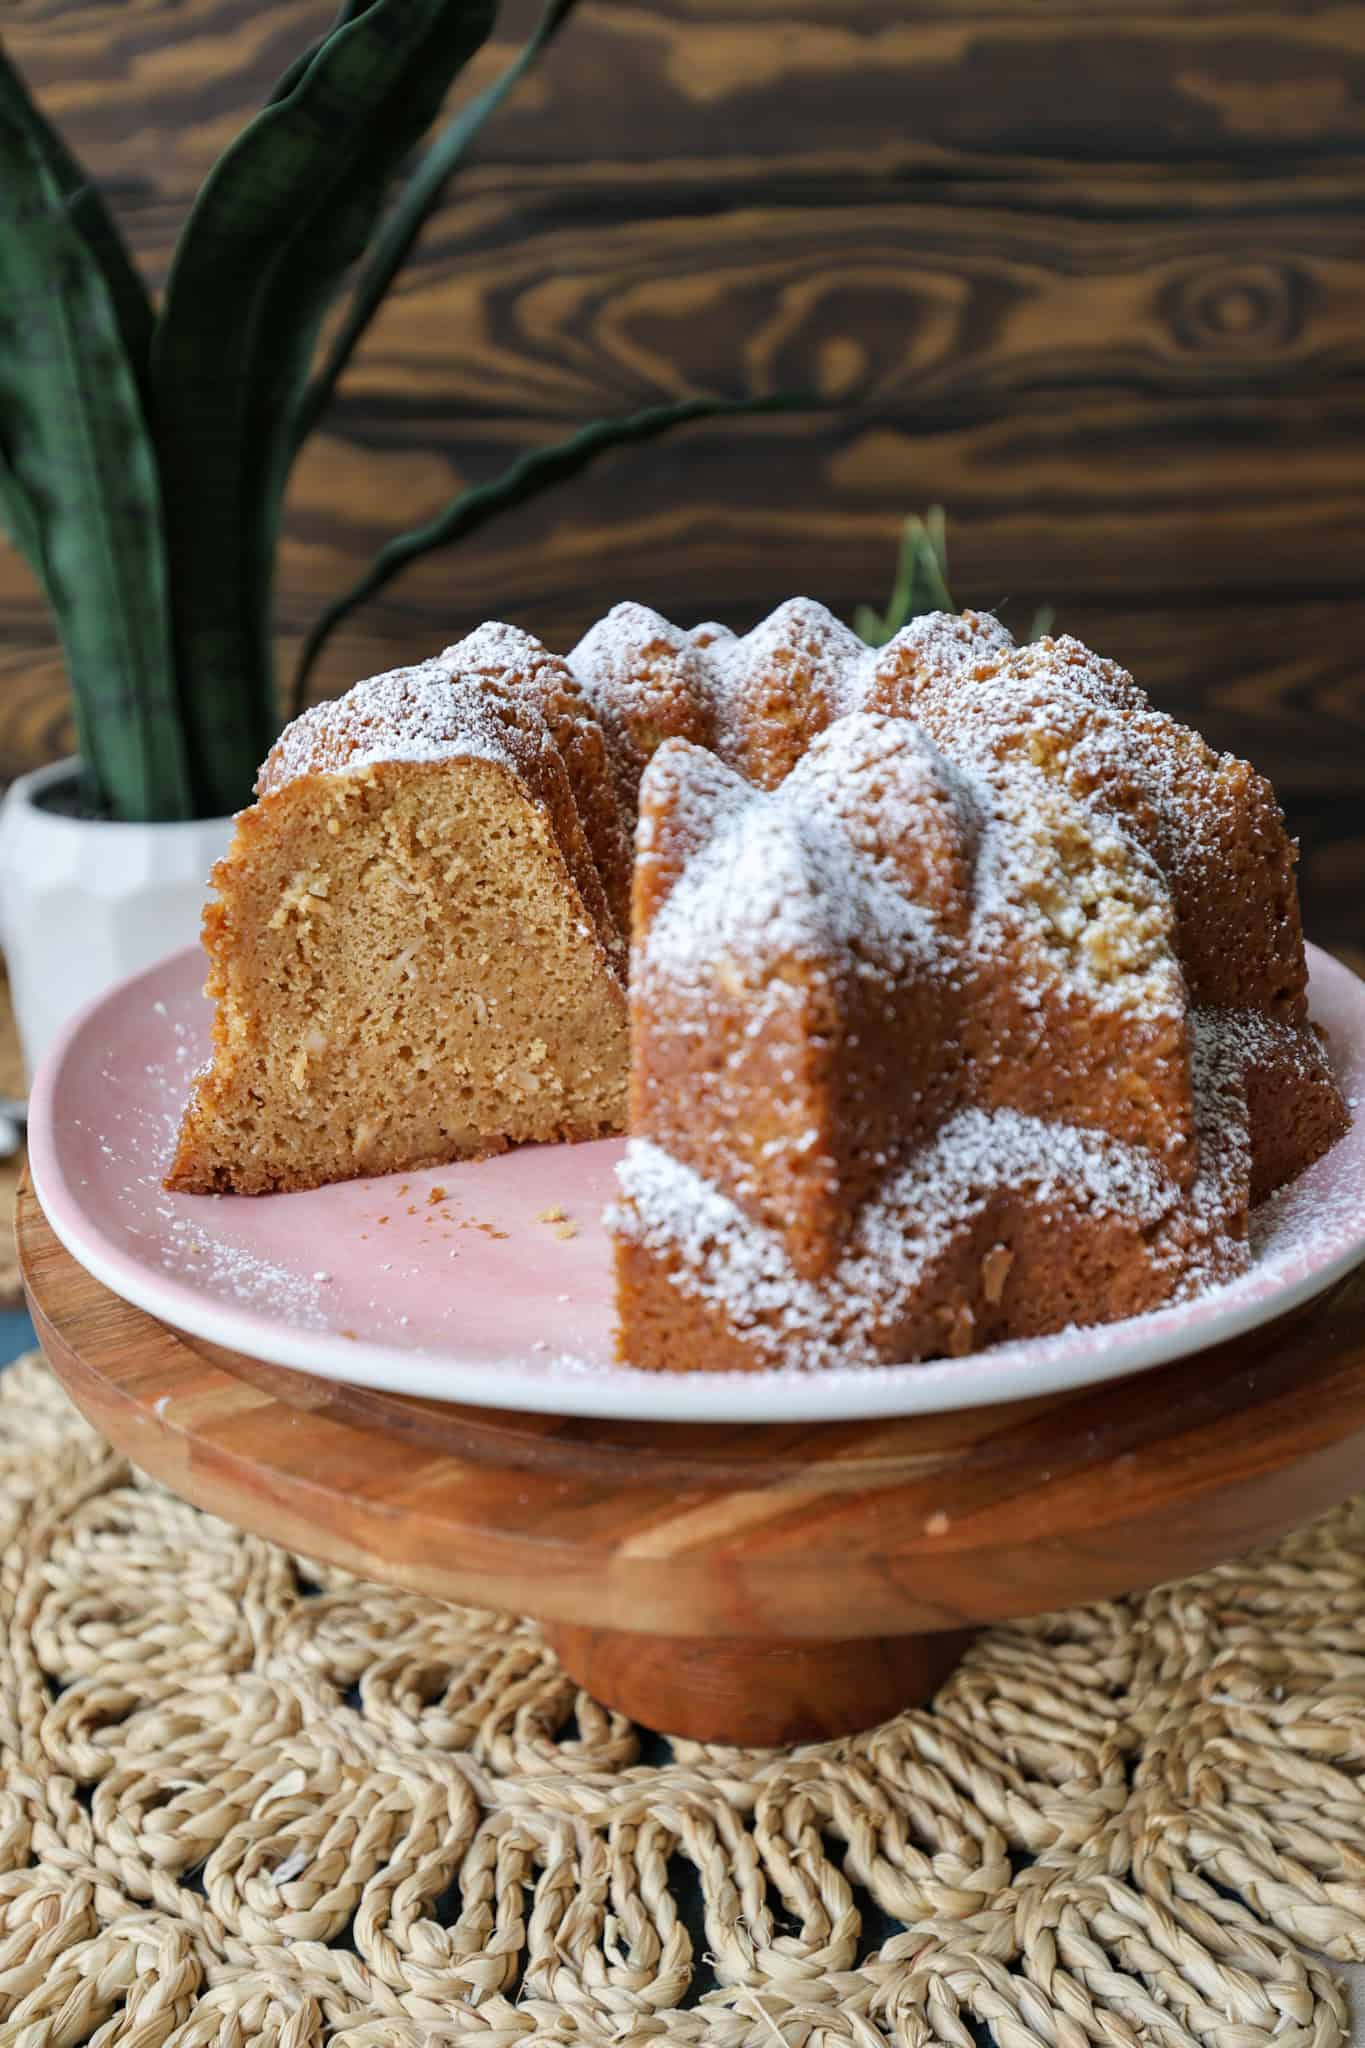
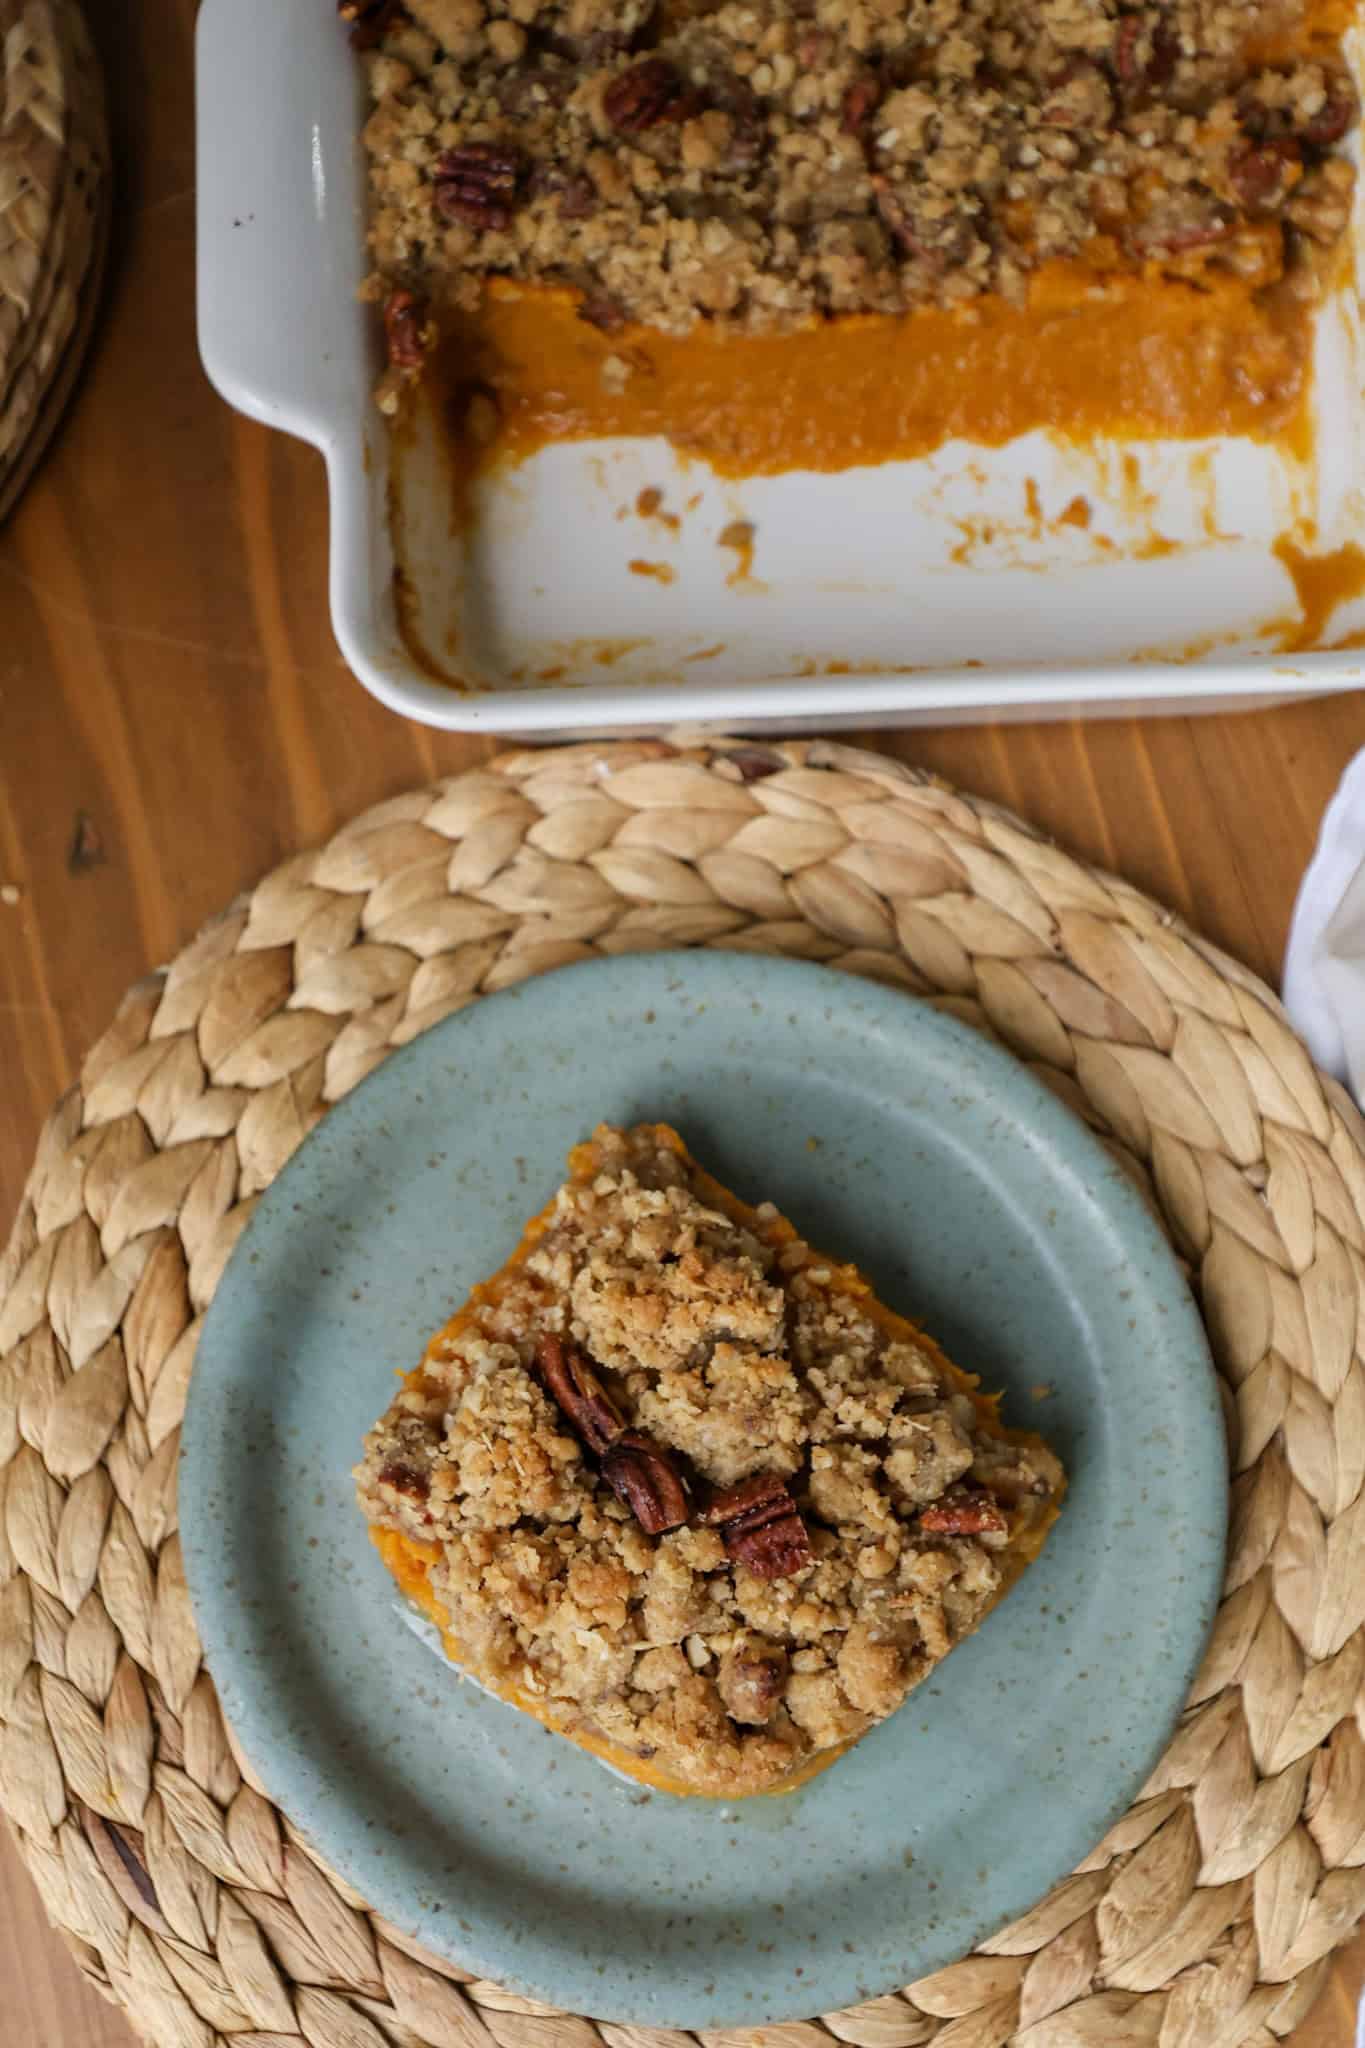
Sweet potato casserole is my absolute favorite Thanksgiving side dish. When I was tasked with this dish for the friends-giving potluck, I recipe tested this dish 7 times until I came up with the perfect dish that combines the sweet potato with a delicious pecan streusel topping. This dish always gets rave reviews from my friends and family and it's so good that no one even notices theres no marshmallows.
Why you'll love the best sweet potato casserole recipe
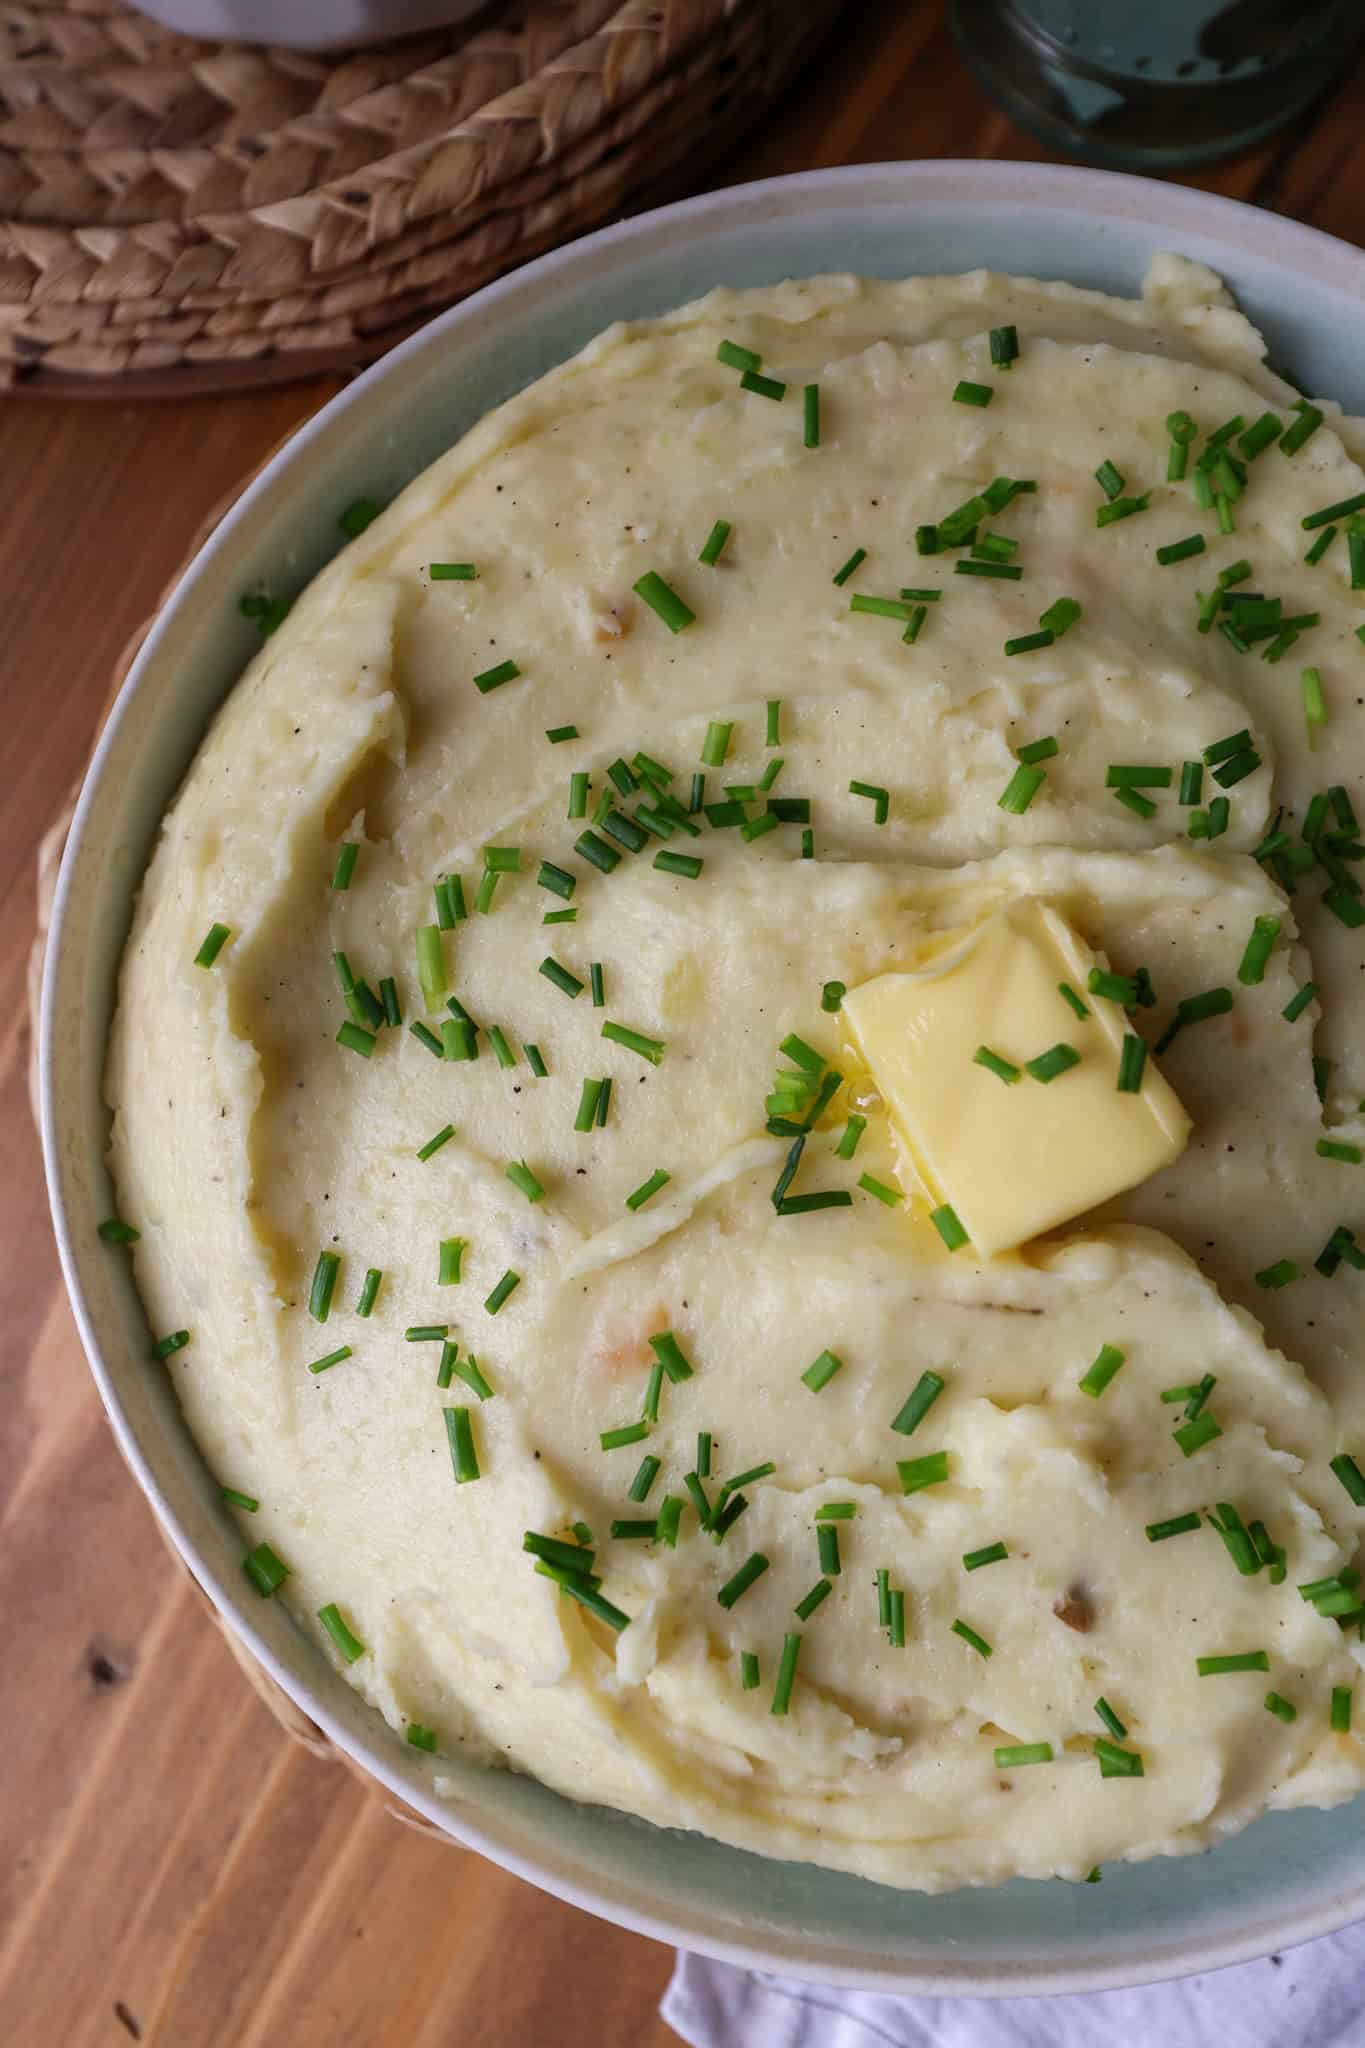
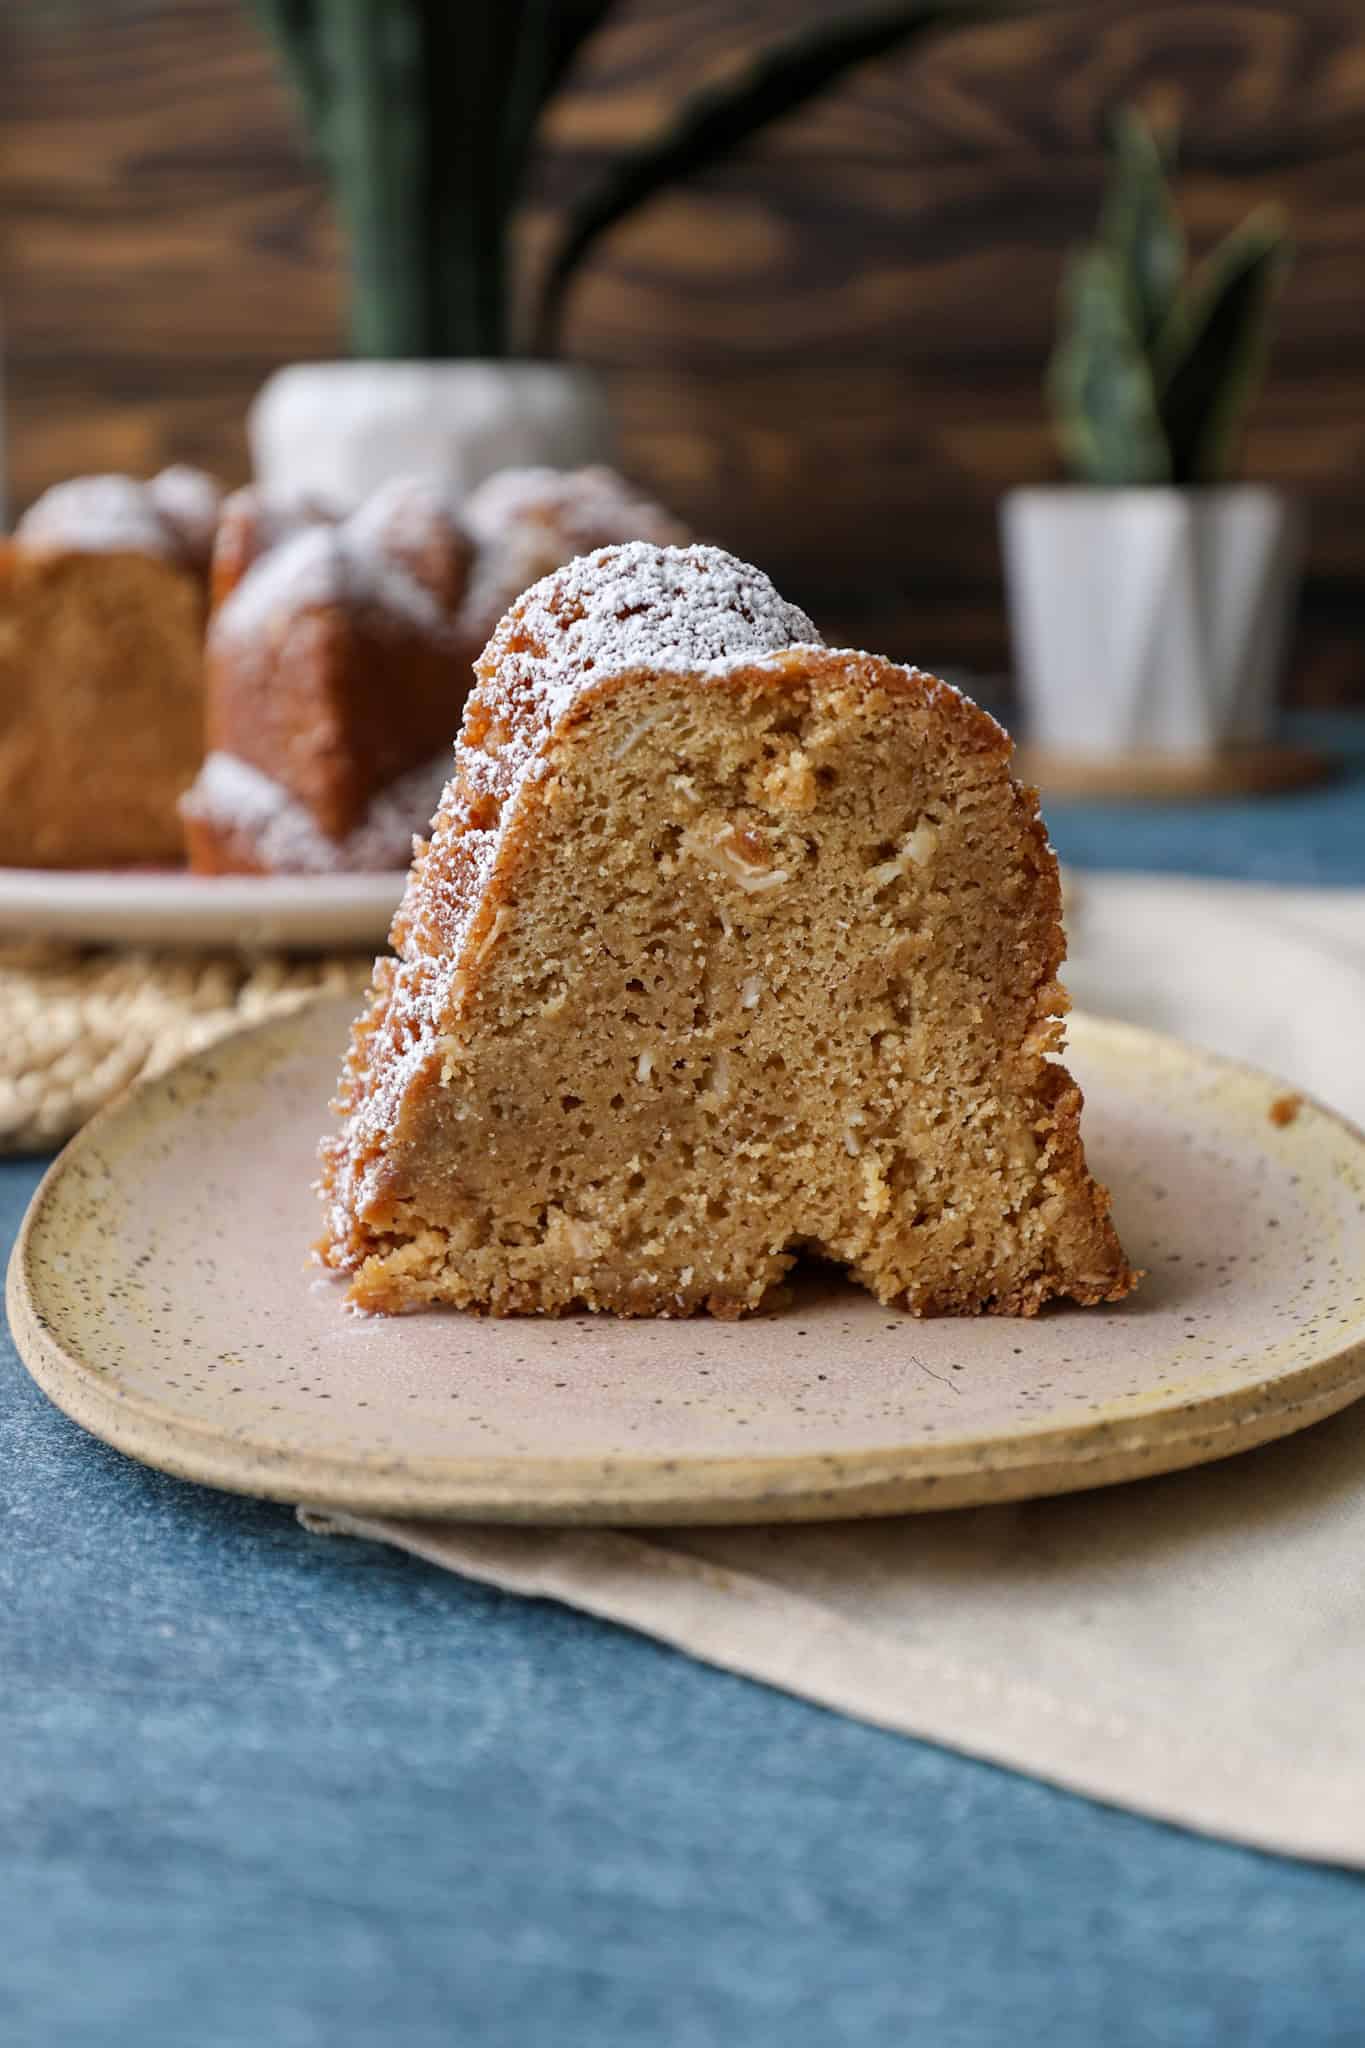
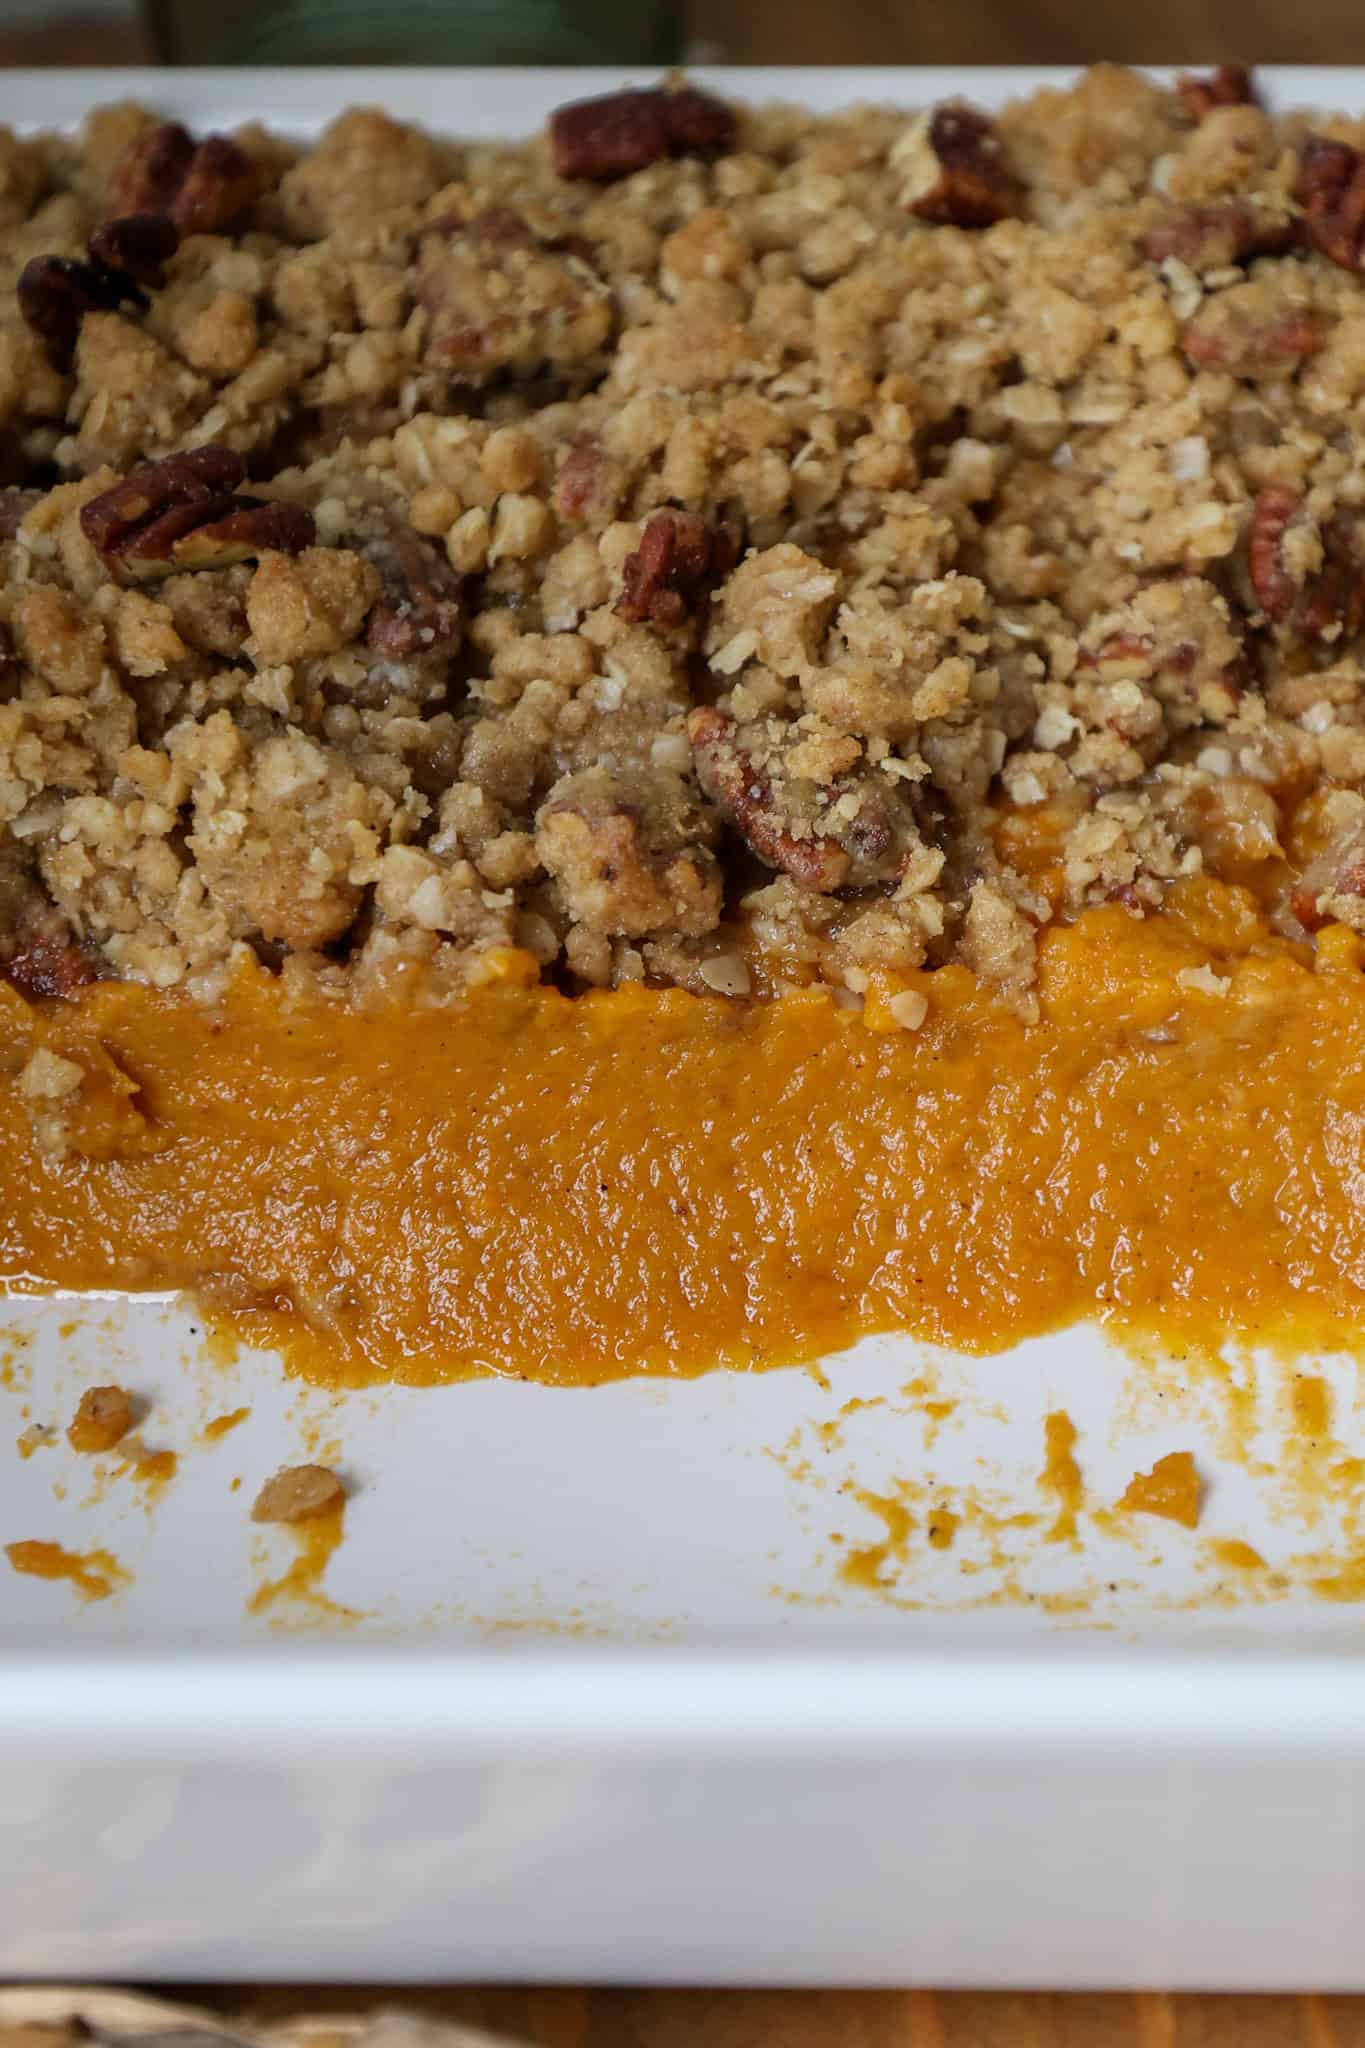
- Creamy and sweet: The smooth, naturally sweet mashed sweet potatoes offer a rich and satisfying base.
- Crunchy topping: The pecan oatmeal streusel adds a perfect contrast with its nutty, buttery crunch.
- Balanced flavors: A blend of warm spices enhances the sweetness of the potatoes, making each bite flavorful.
- Crowd-pleaser: It's a hit at holiday gatherings, combining comfort and nostalgia in one dish.
- Easy to make: This recipe is simple to prepare but delivers a big impact in taste and presentation.
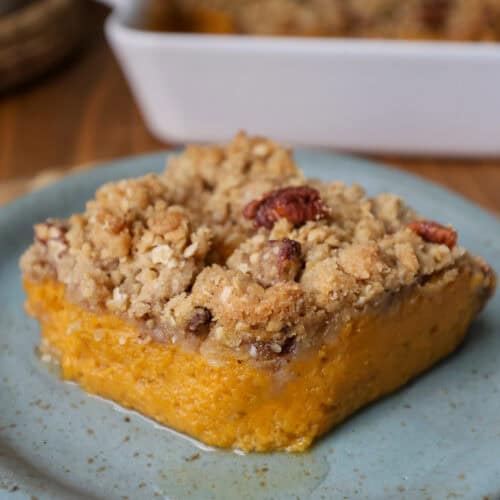
- Perfect mix of textures: The creamy filling paired with the crispy topping offers a delightful texture contrast everyone will enjoy.
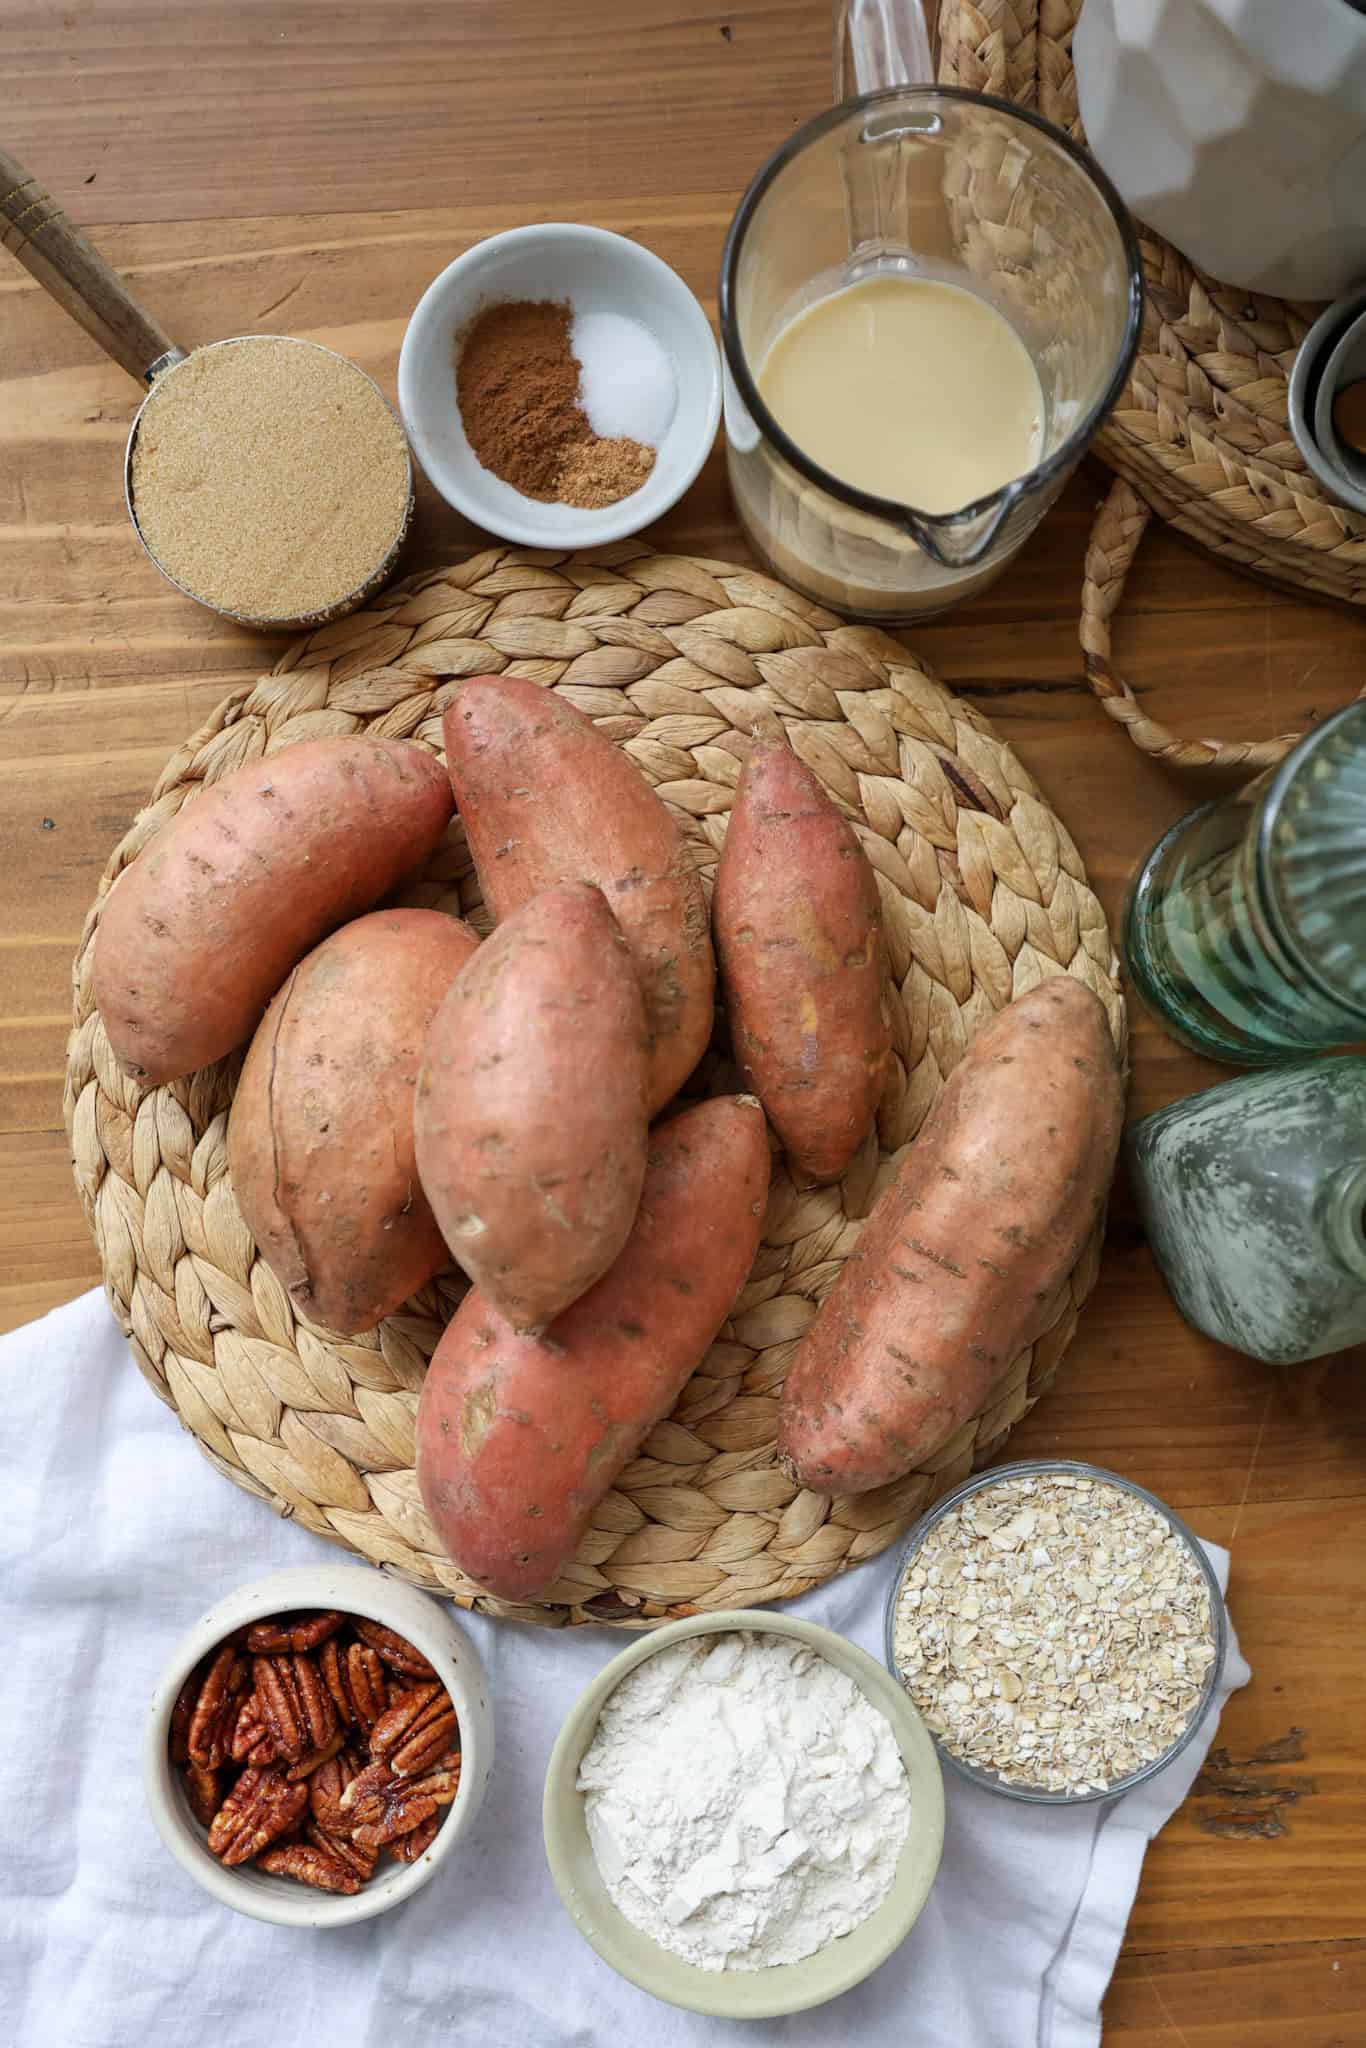
Ingredients needed for this sweet potato casserole with streusel topping
- Sweet potatoes
- Cinnamon stick
- evaporated milk
- vanilla extract
- large eggs
- all purpose flour
- oats
- pecans
- brown sugar
- ground cinnamon
- ground nutmeg
- Unsalted butter
Instructions for this sweet potato side dish
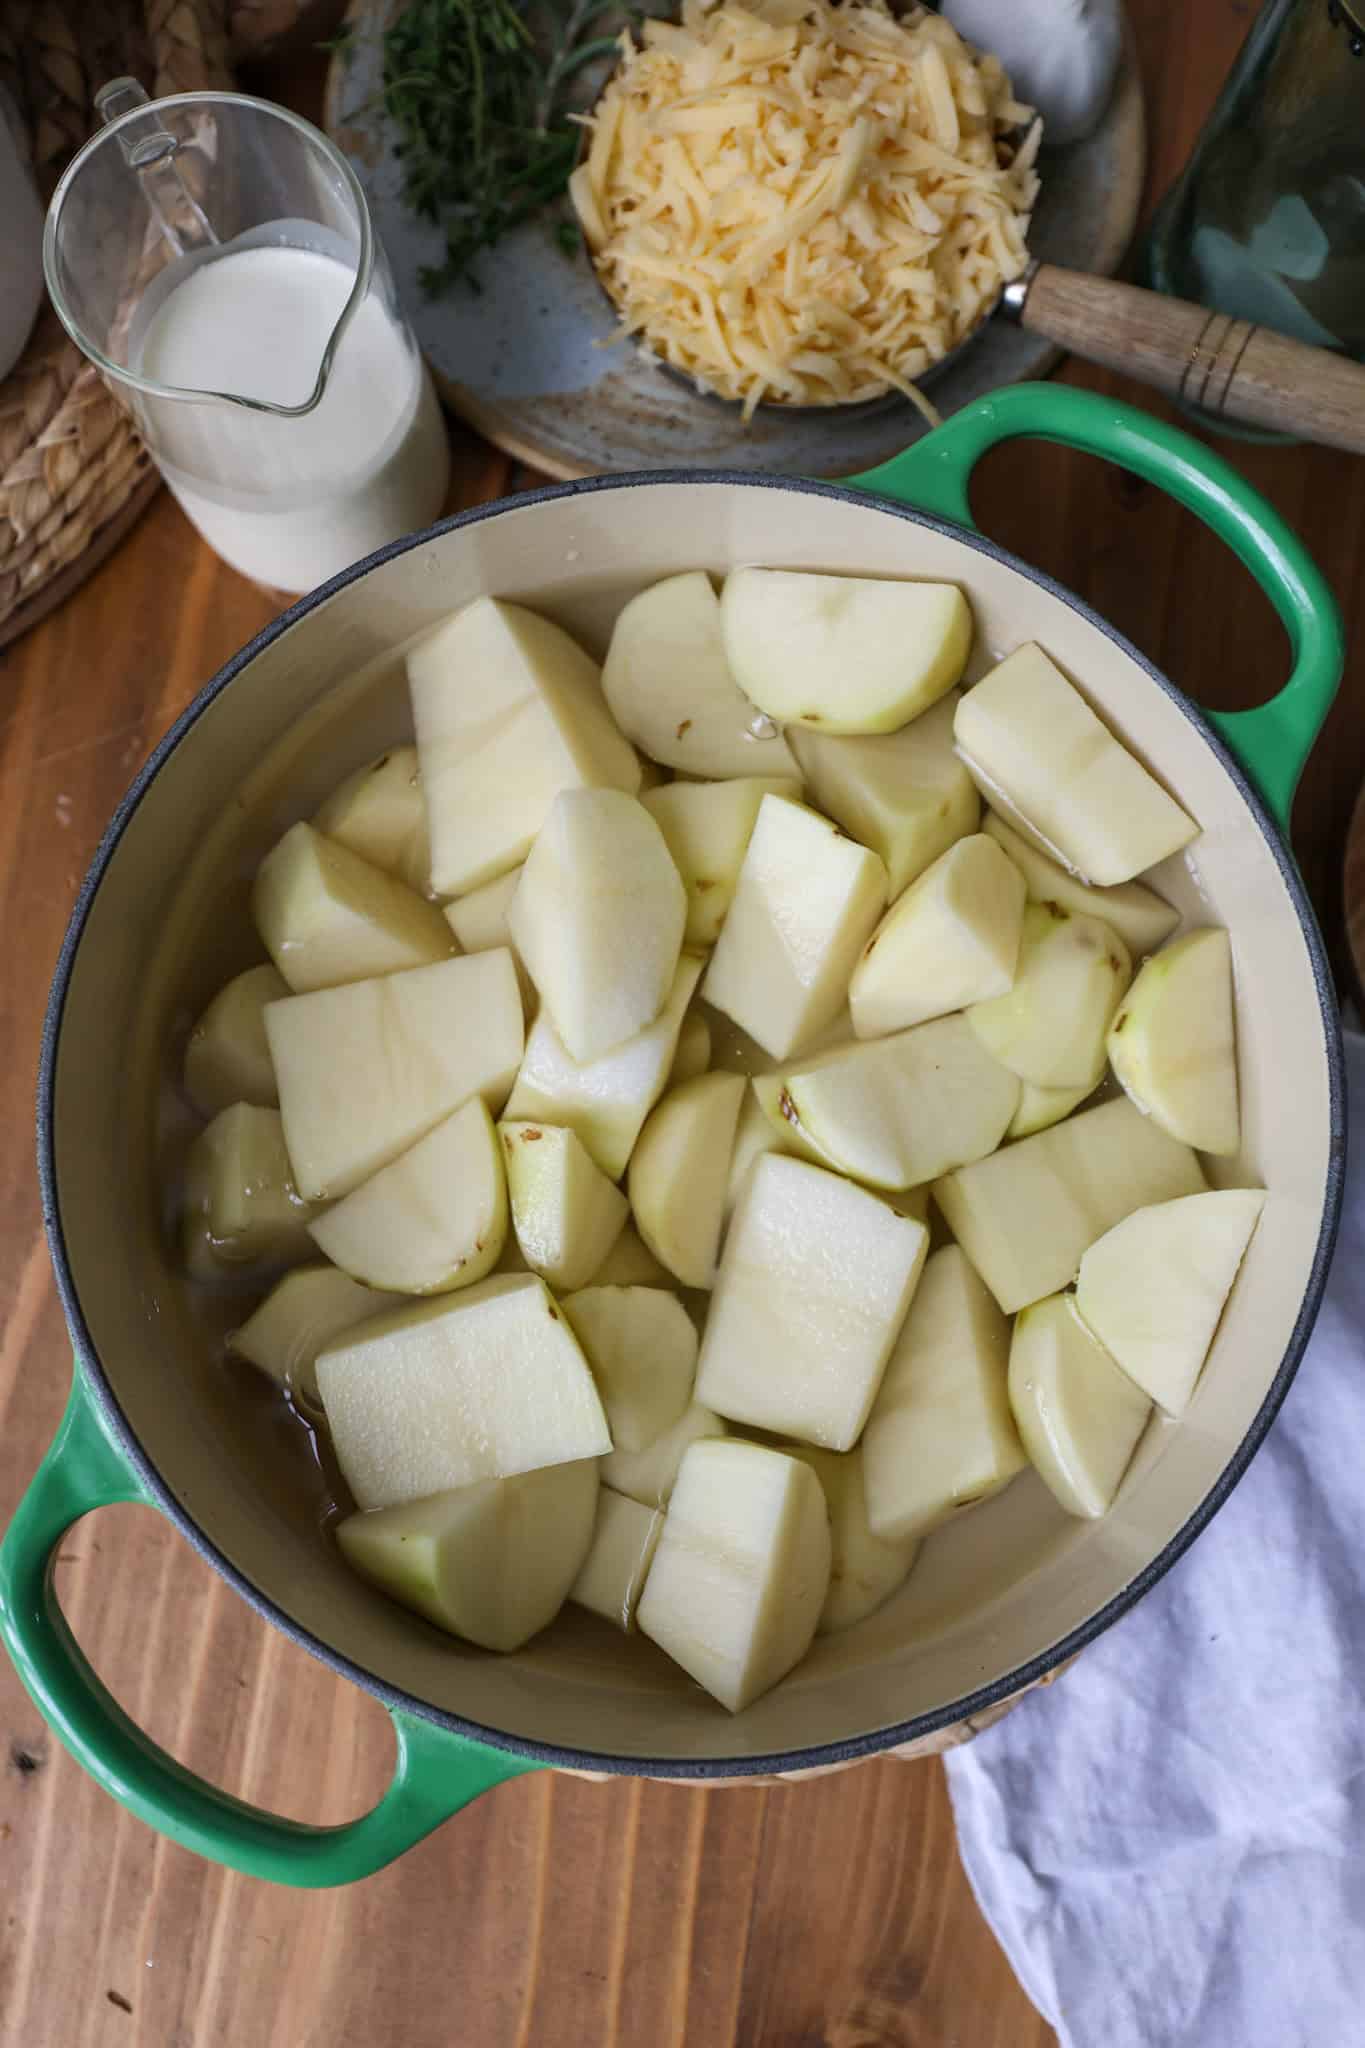
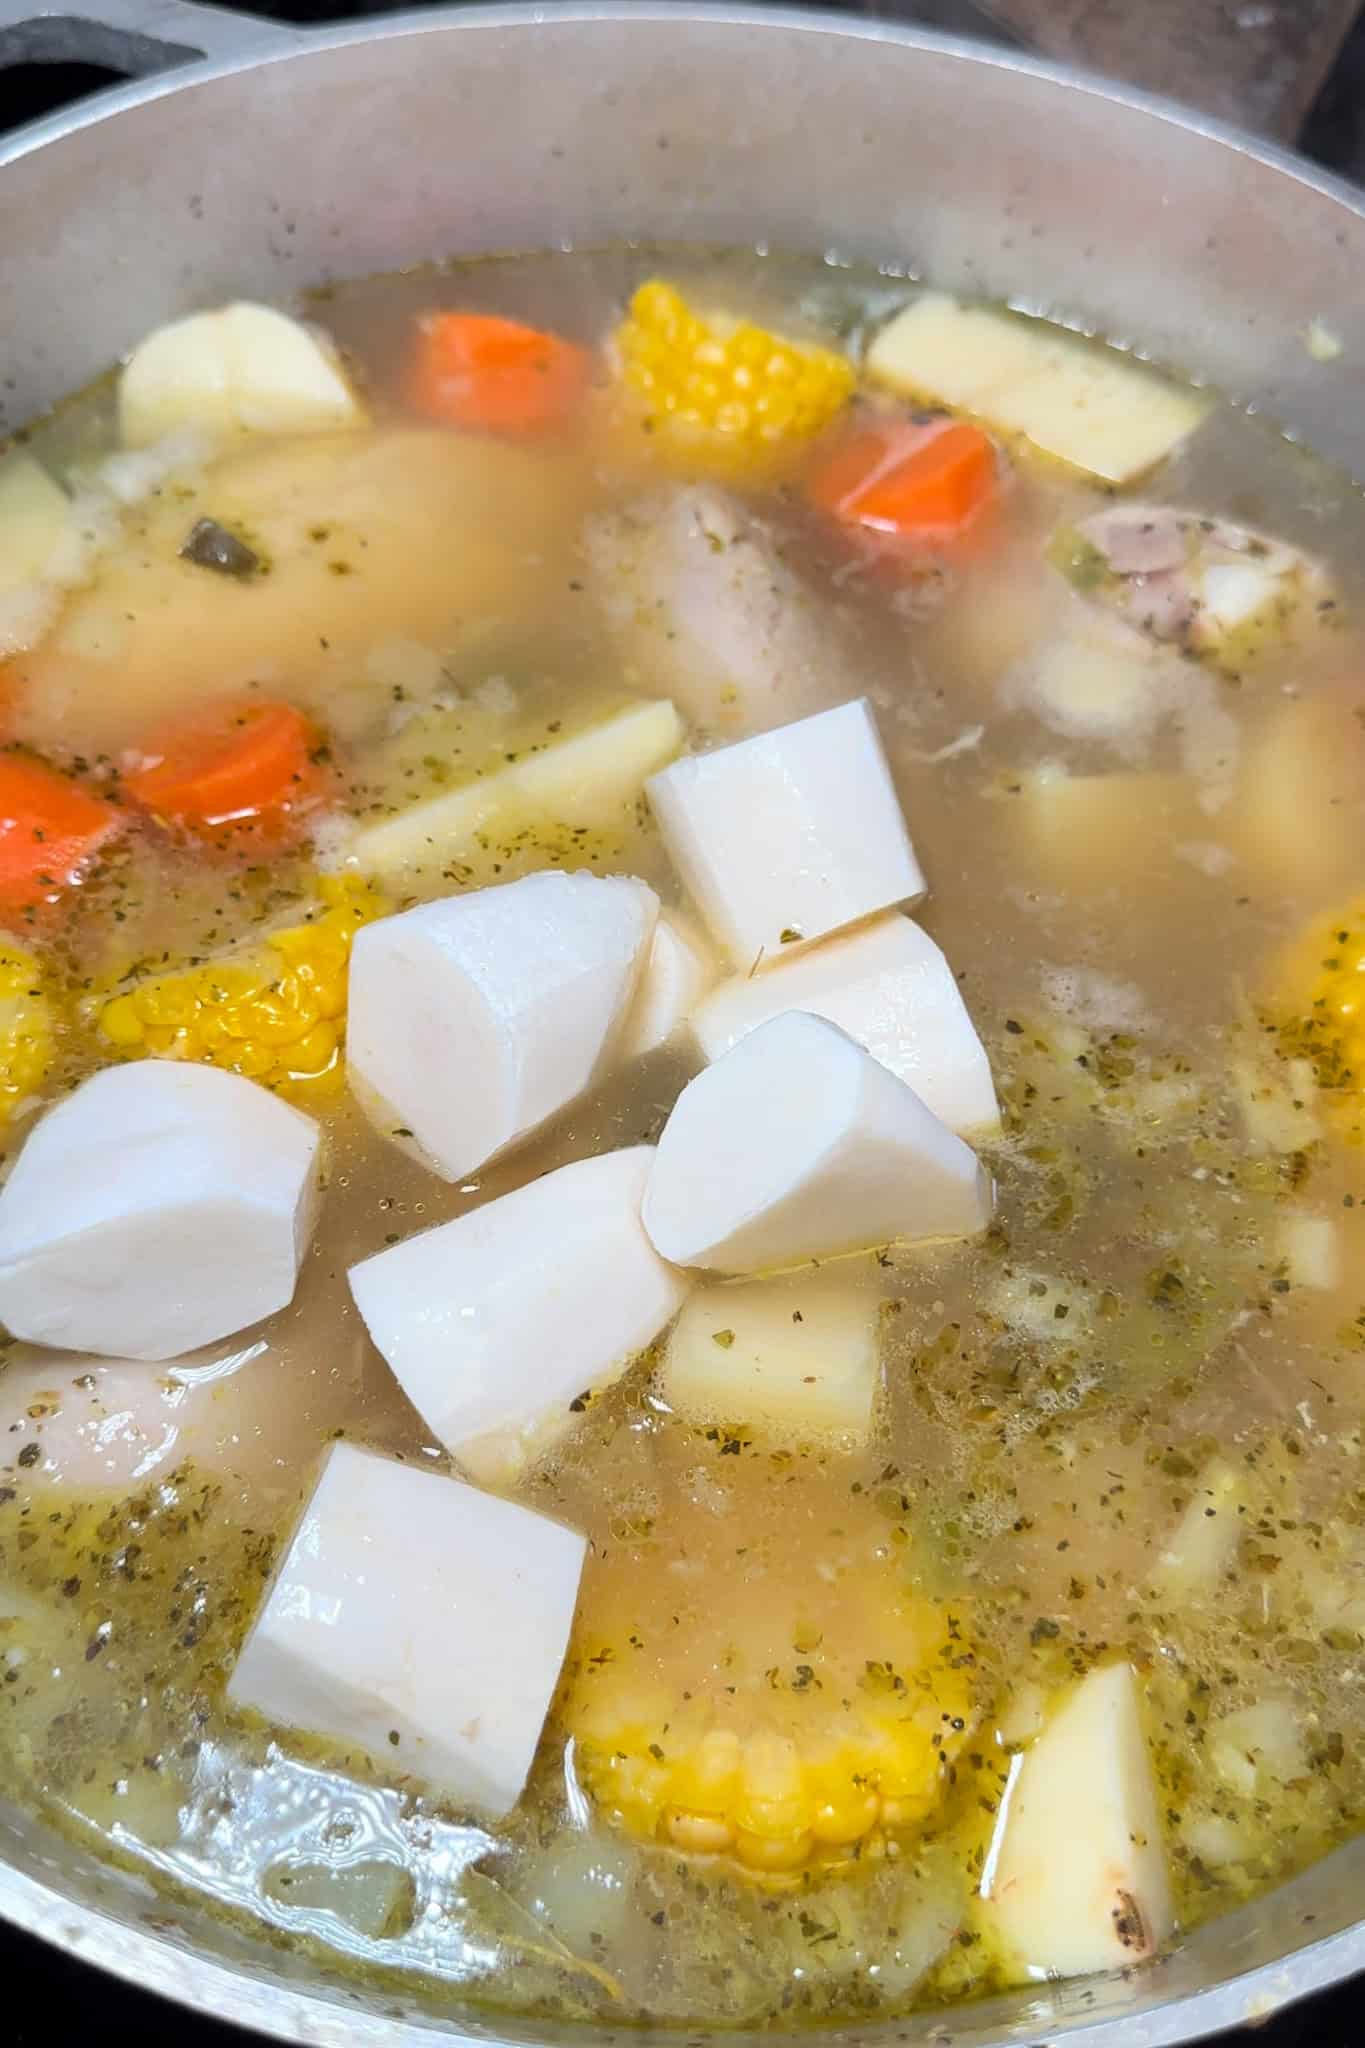
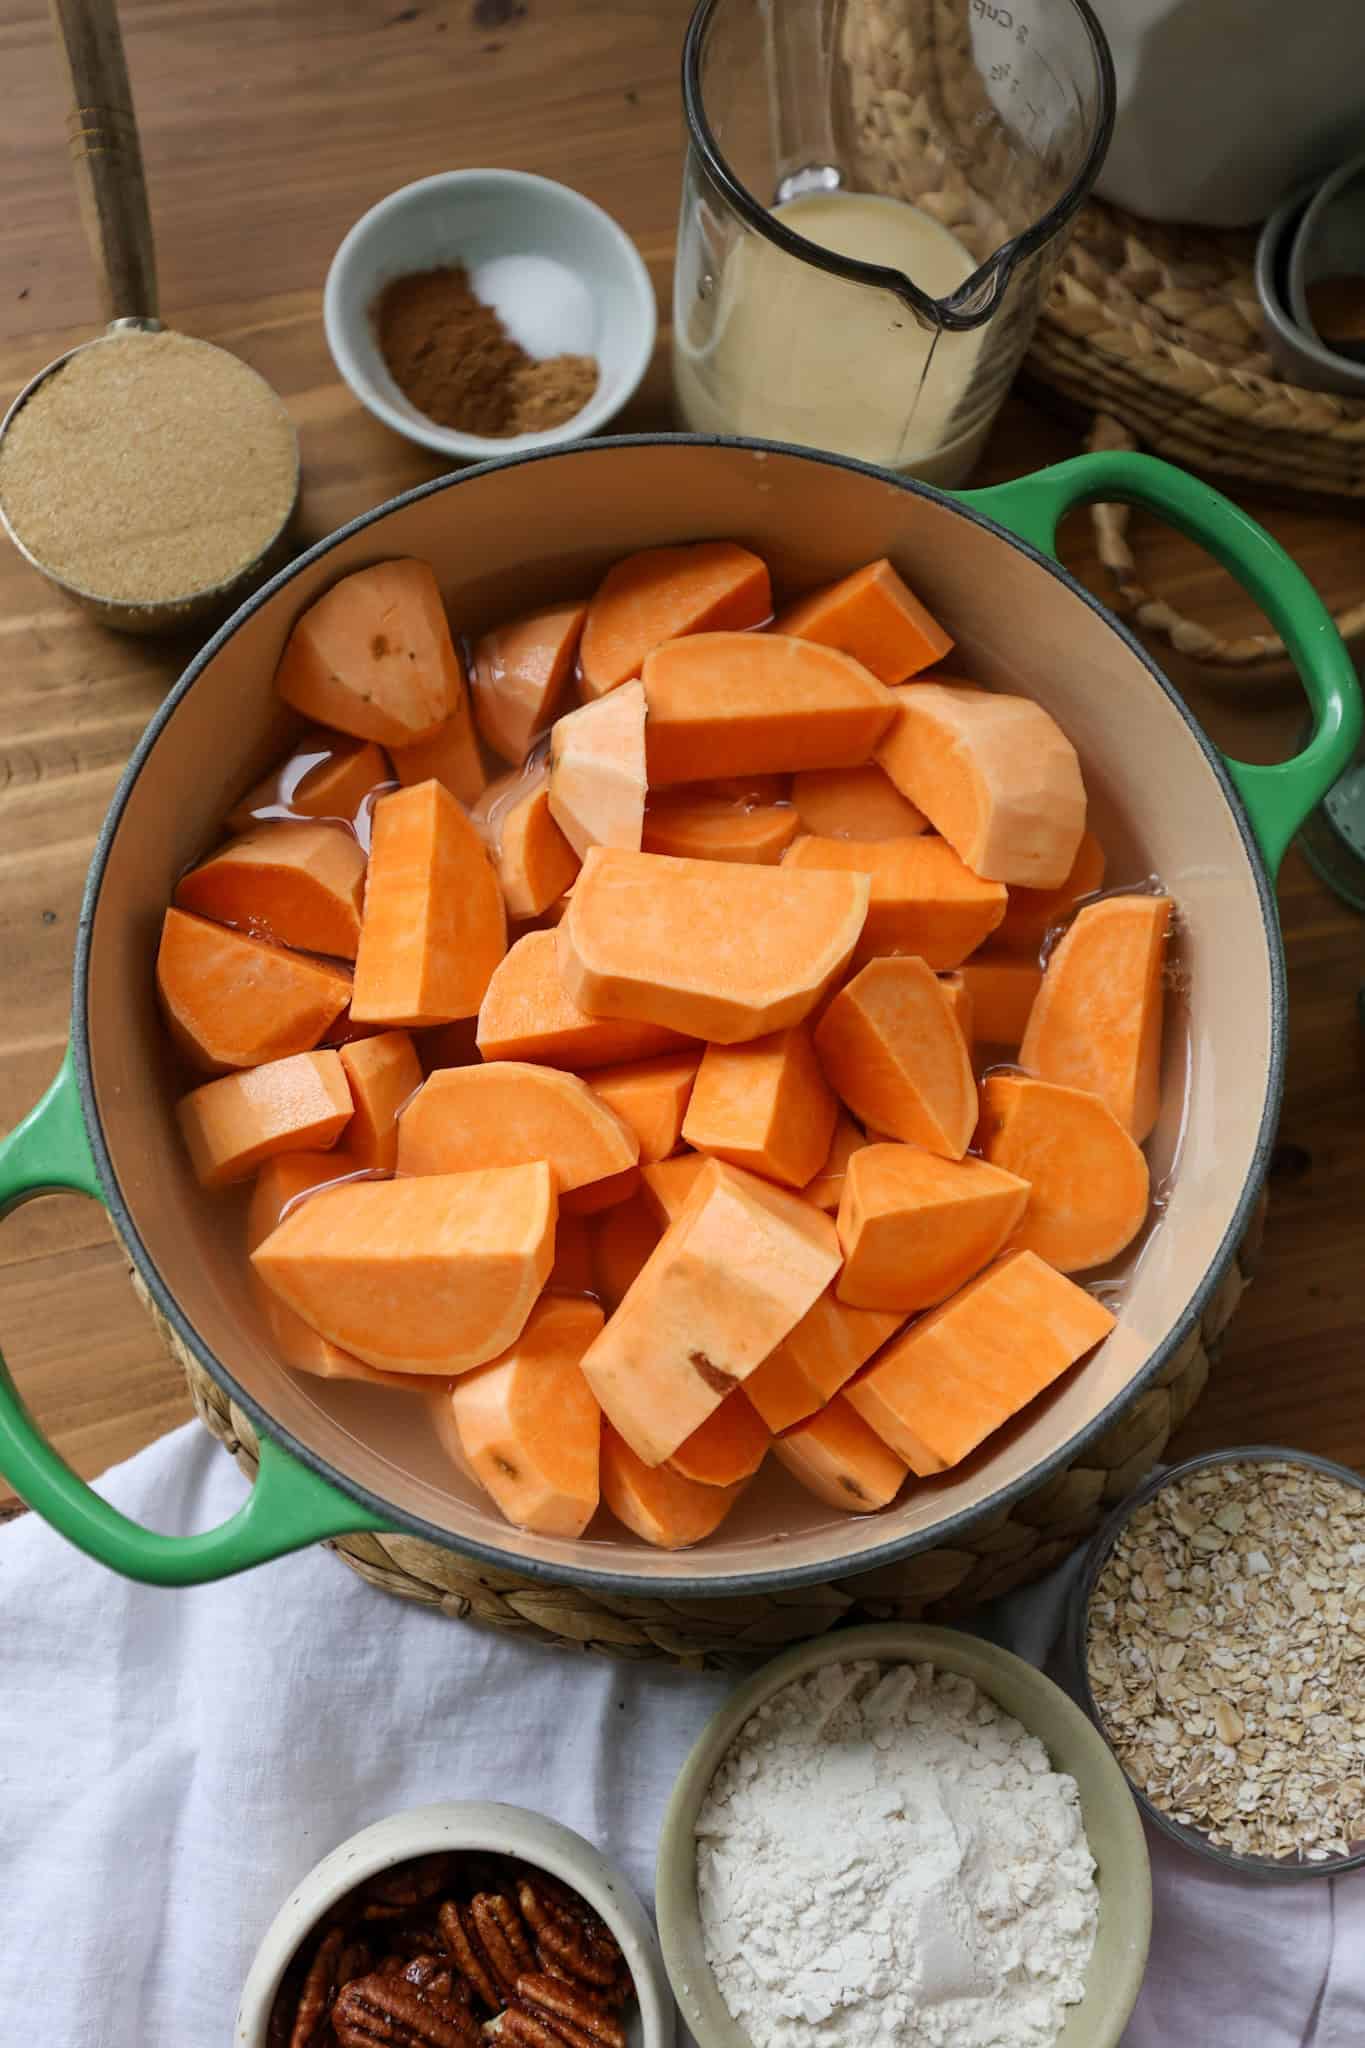
Peel sweet potatoes. Dice into 1-inch cubes. Add the sweet potatoes and cinnamon stick to a large pot of salted water. Bring to a boil over high heat, then lower the heat to a simmer and cook until the potatoes are tender about 15-20 minutes.
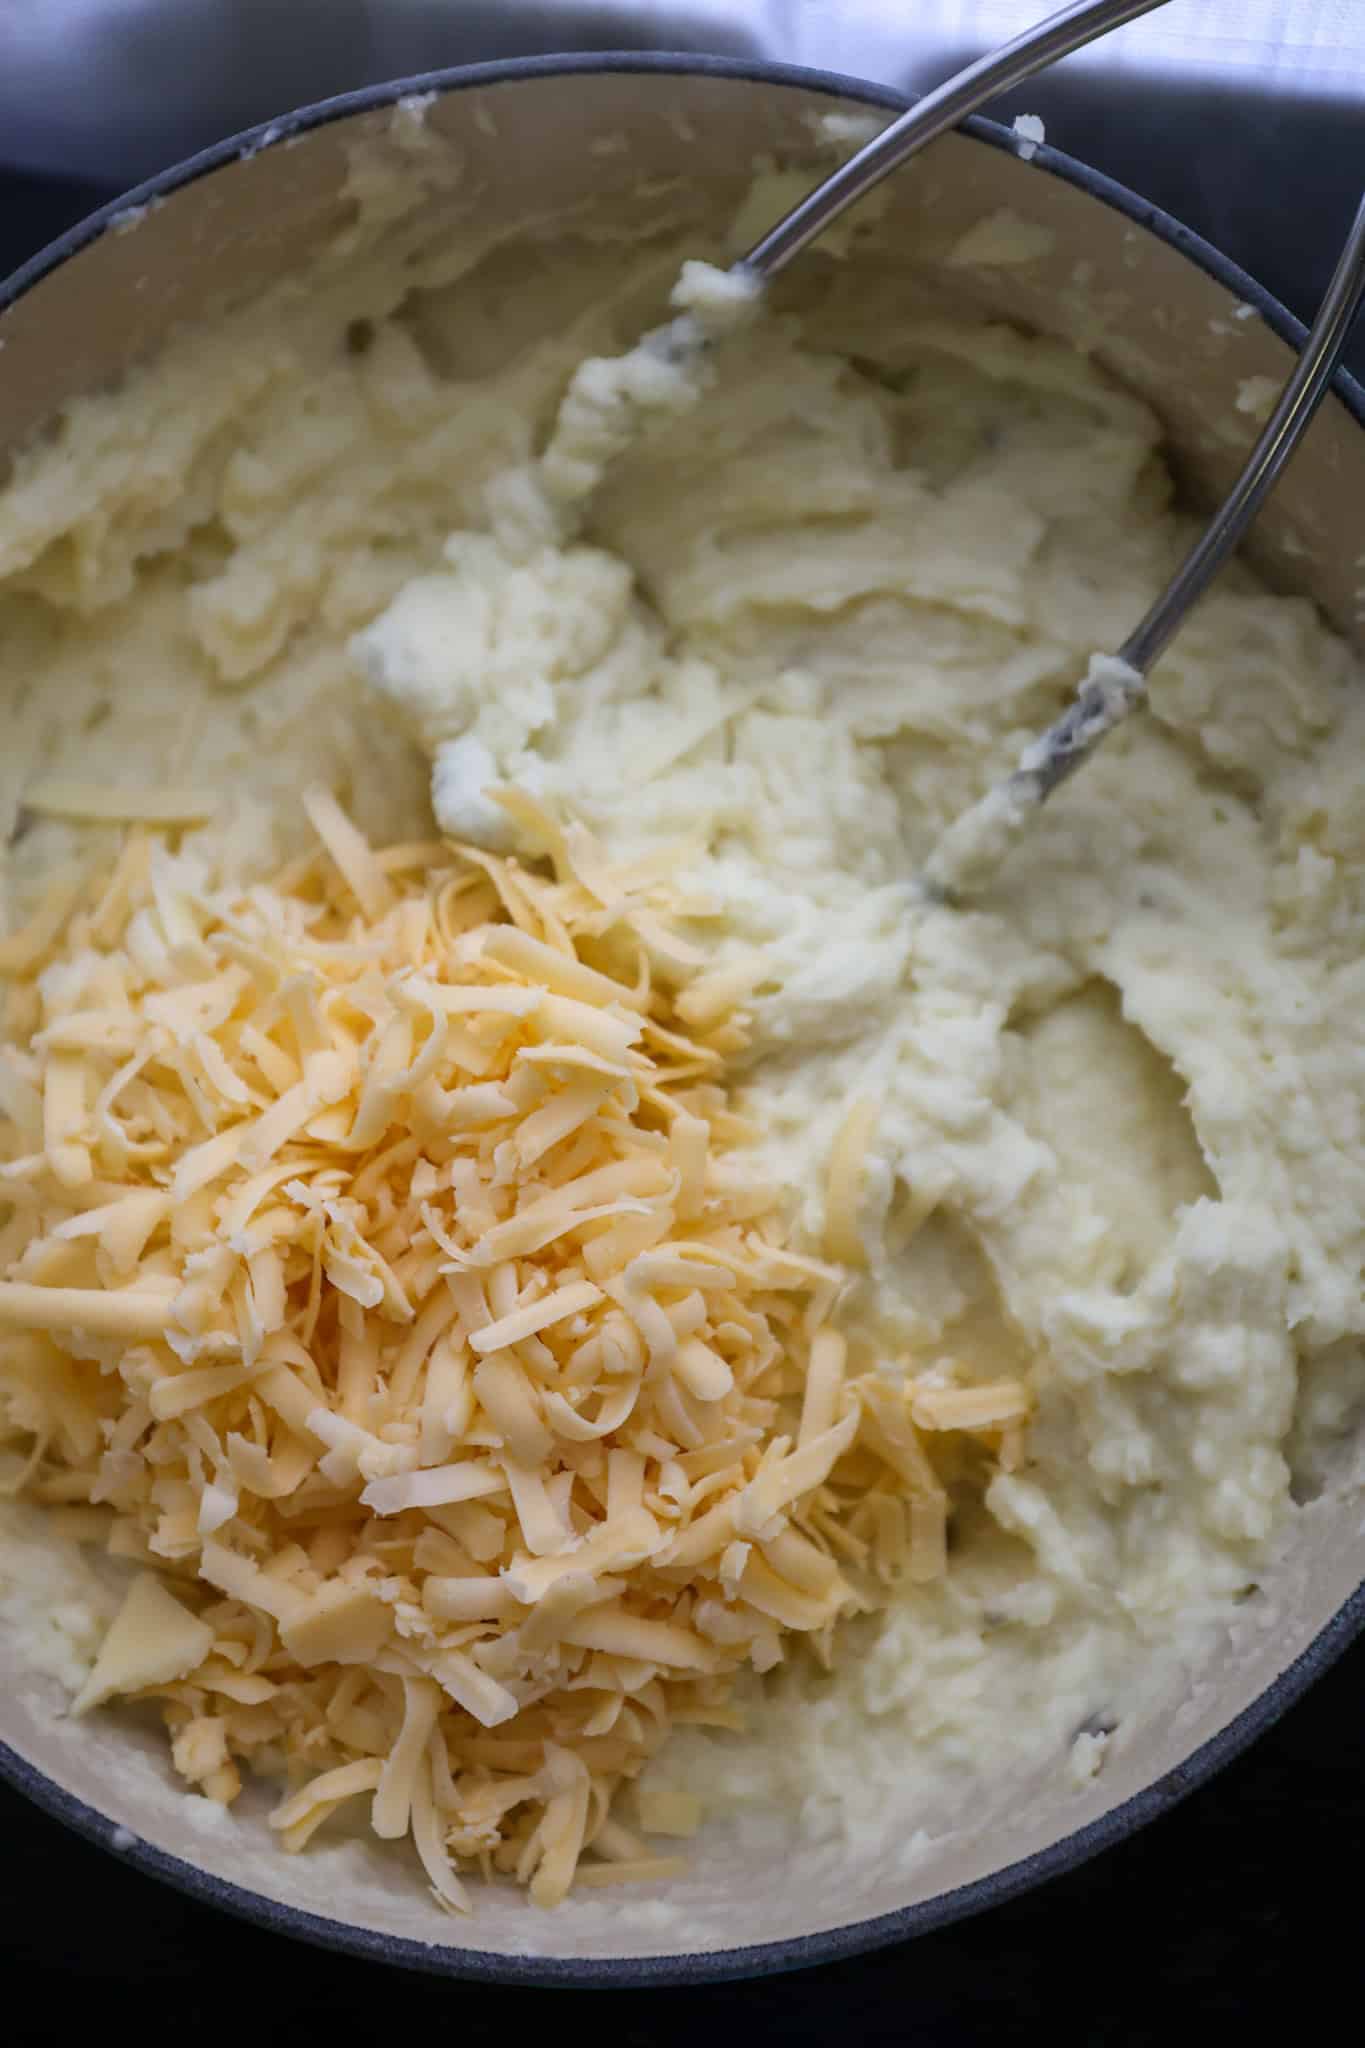
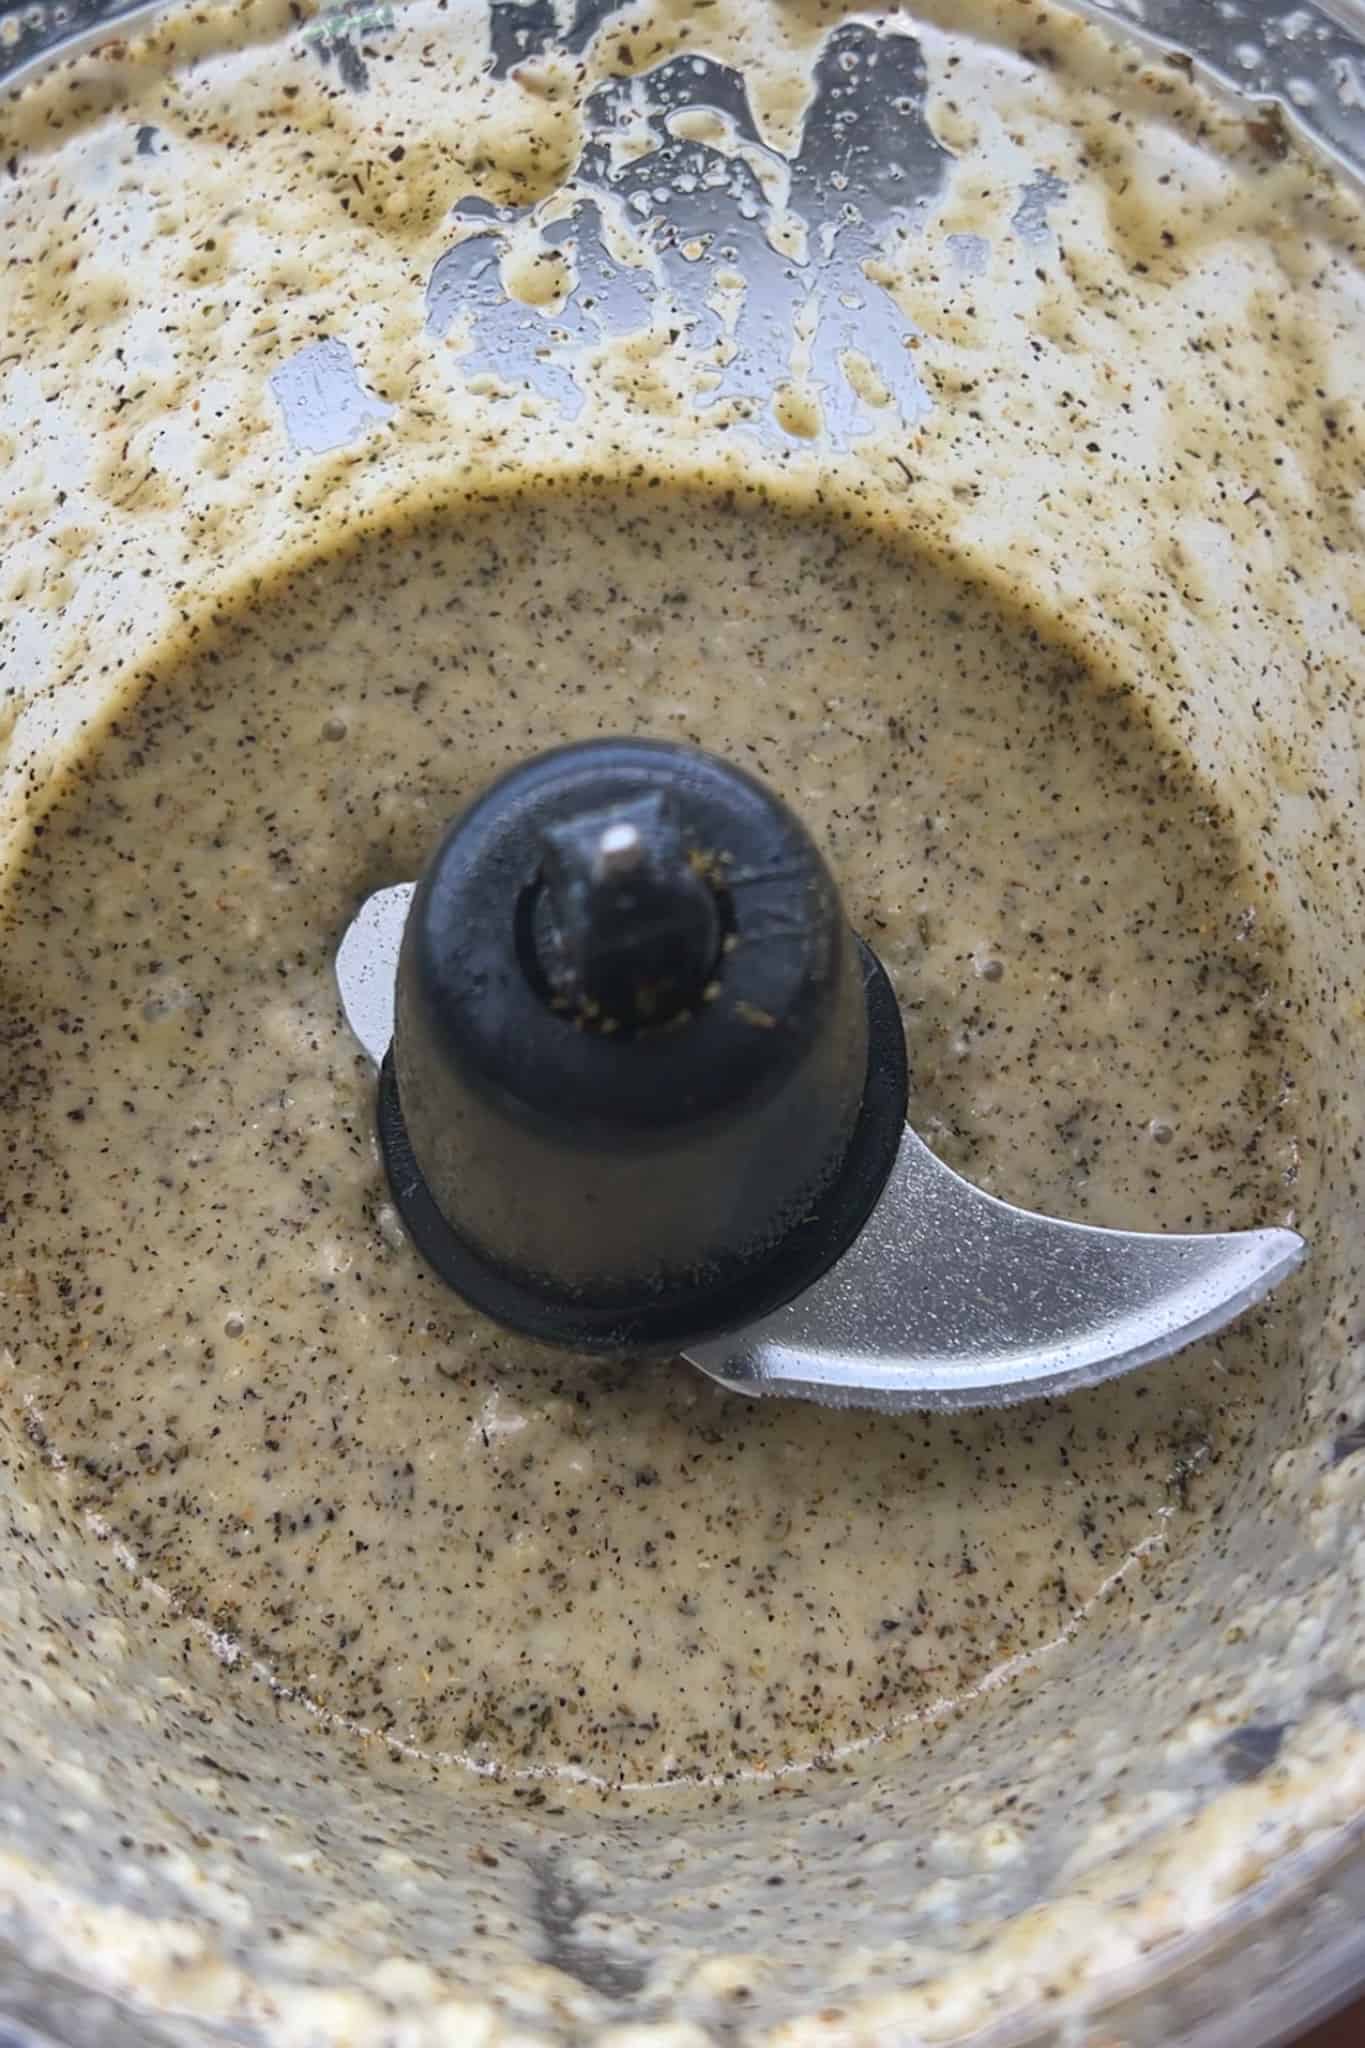
Drain sweet potatoes. Using a potato masher, mash well so that there are no big chunks.
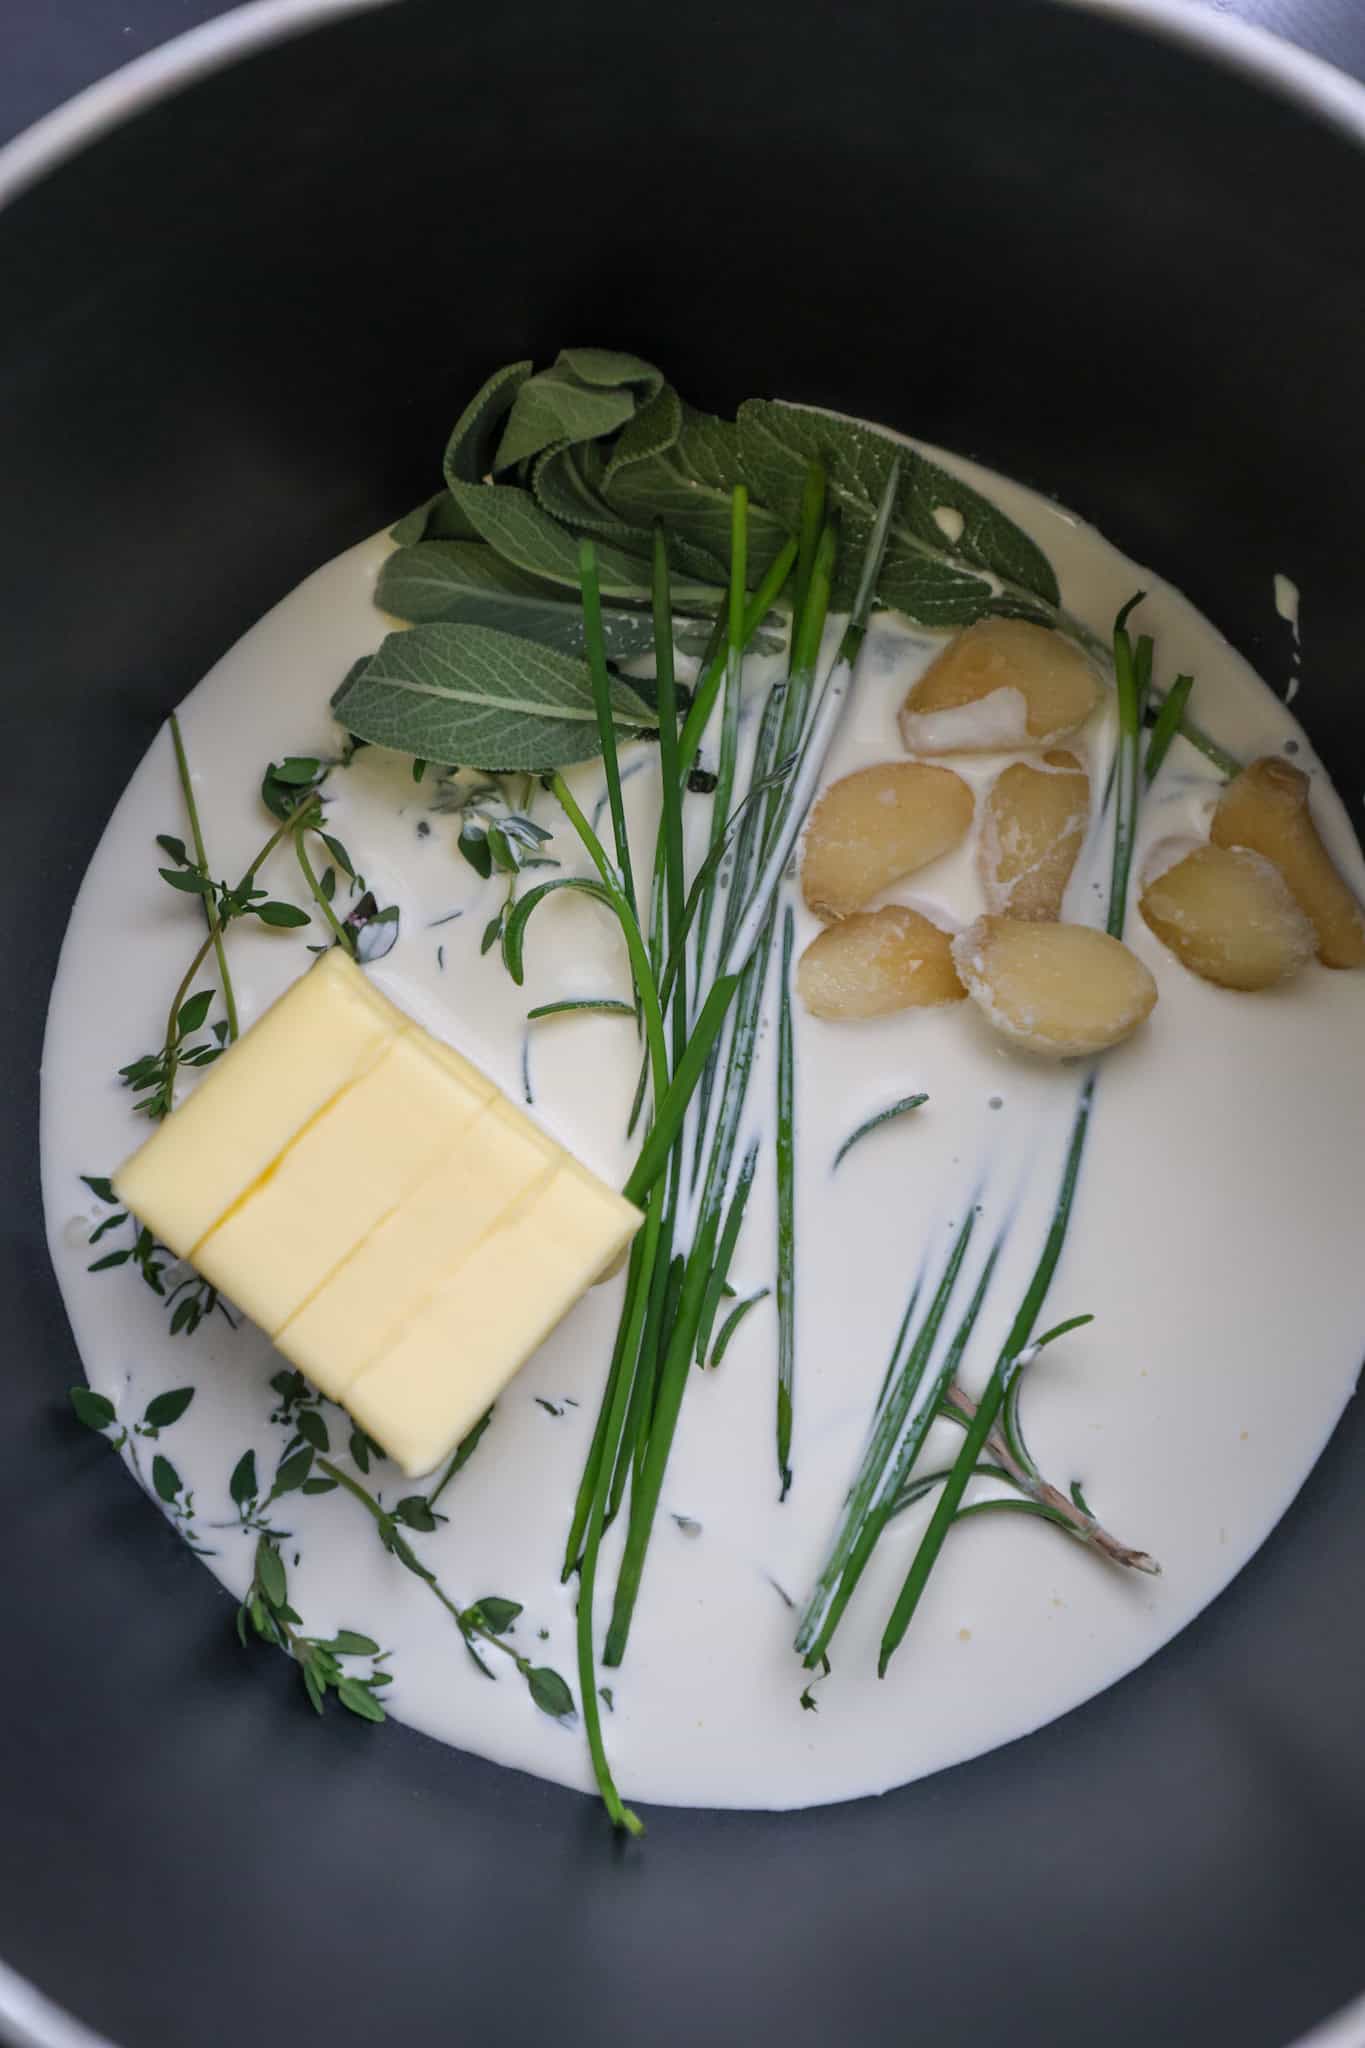
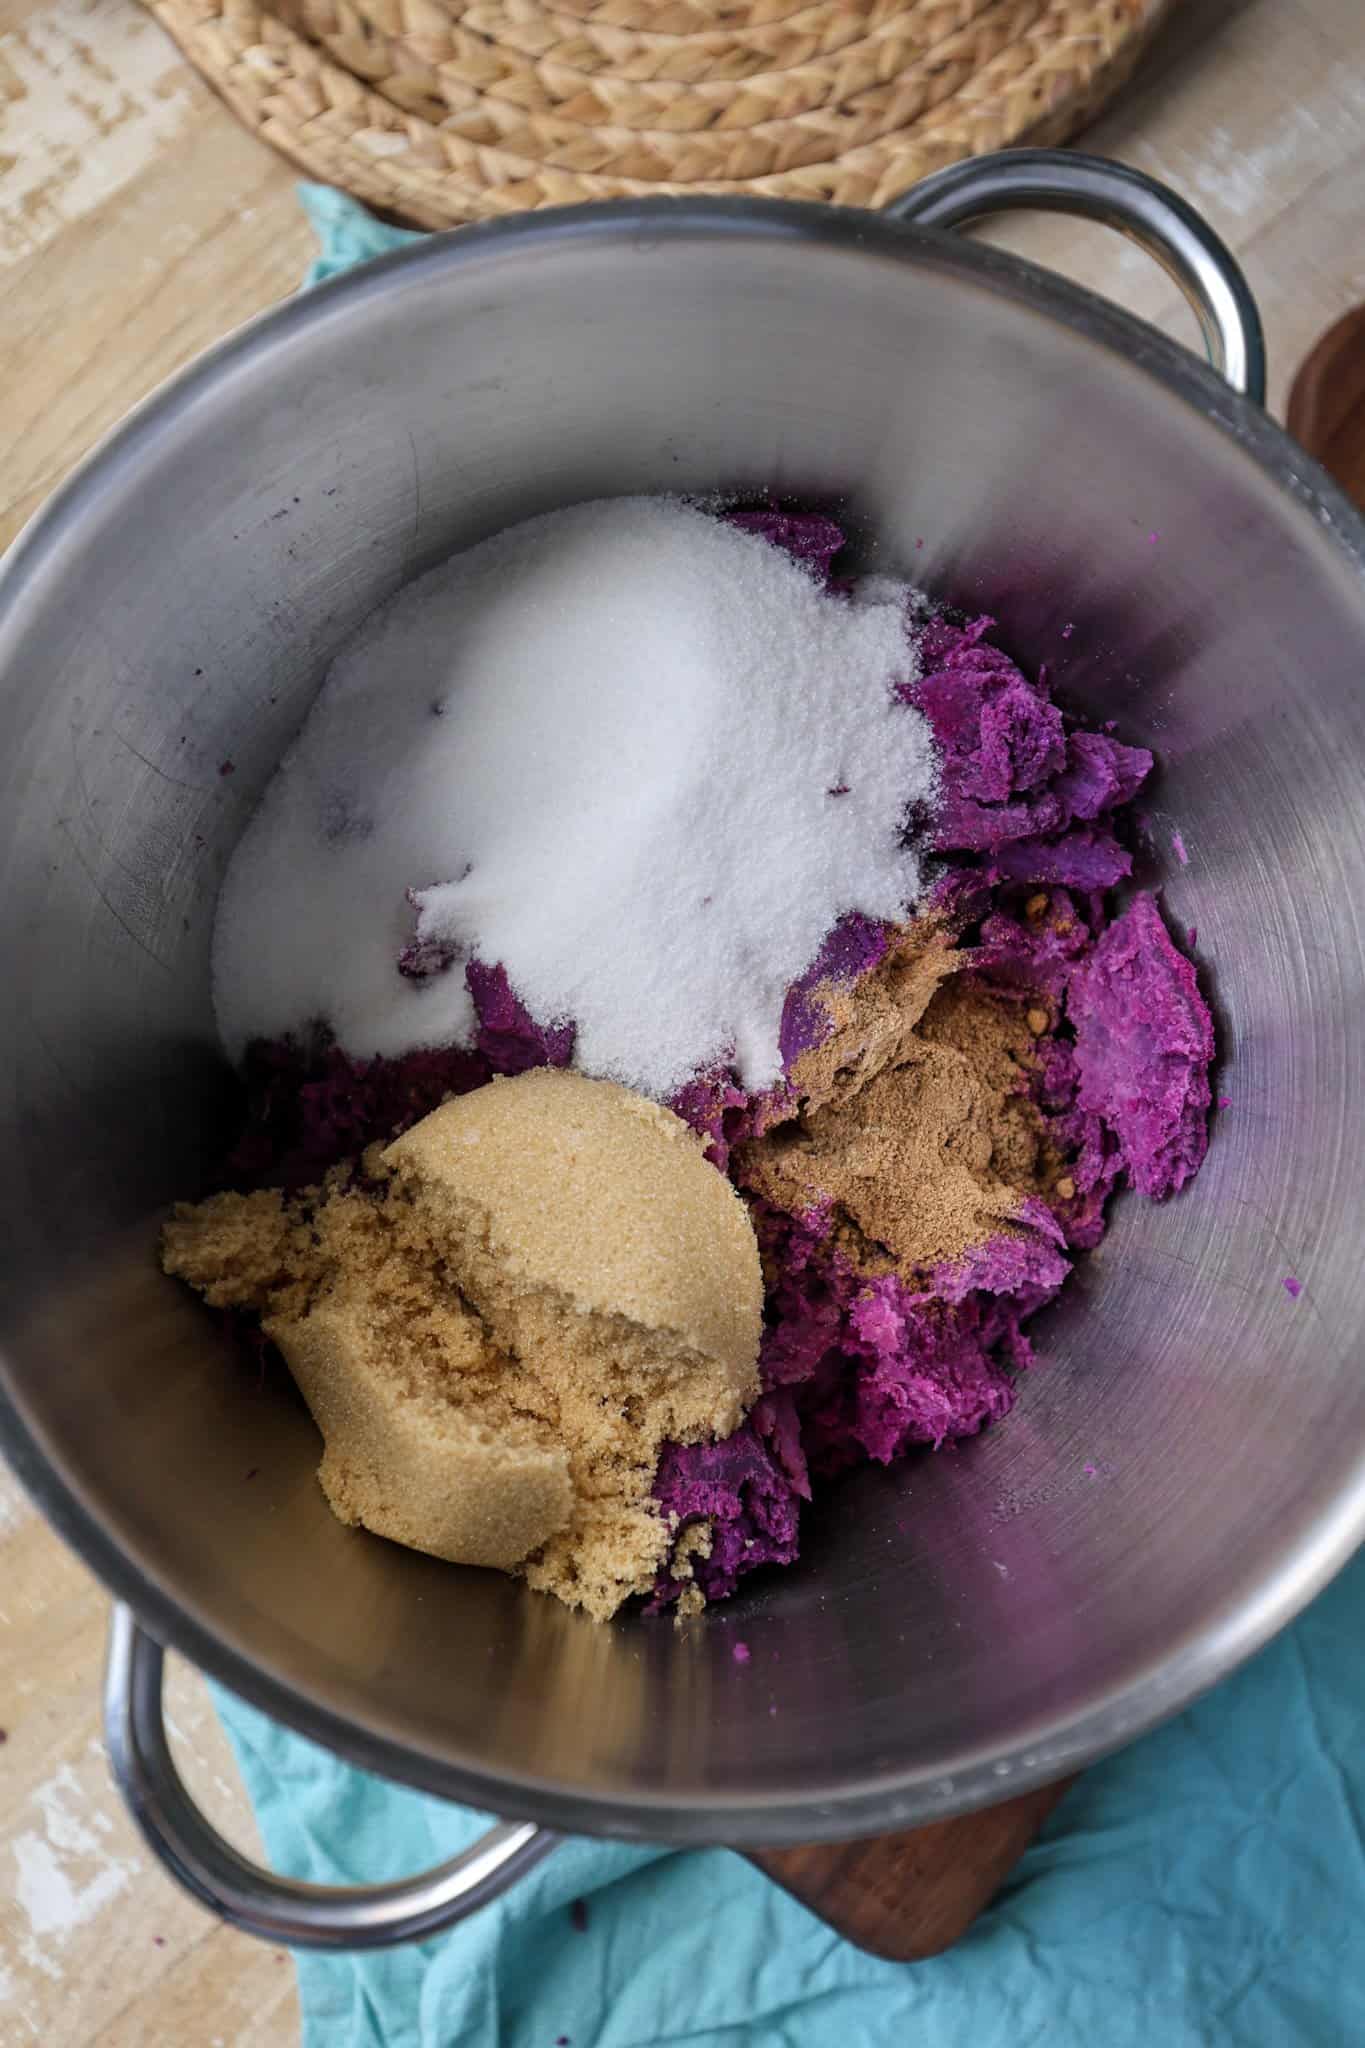
3. Add softened butter, evaporated milk, brown sugar, vanilla, ground cinnamon, nutmeg and salt. Mix by hand or for a smoother texture, with a hand mixer or electric mixer. Stir until completely combined then mix in eggs until incorporated.

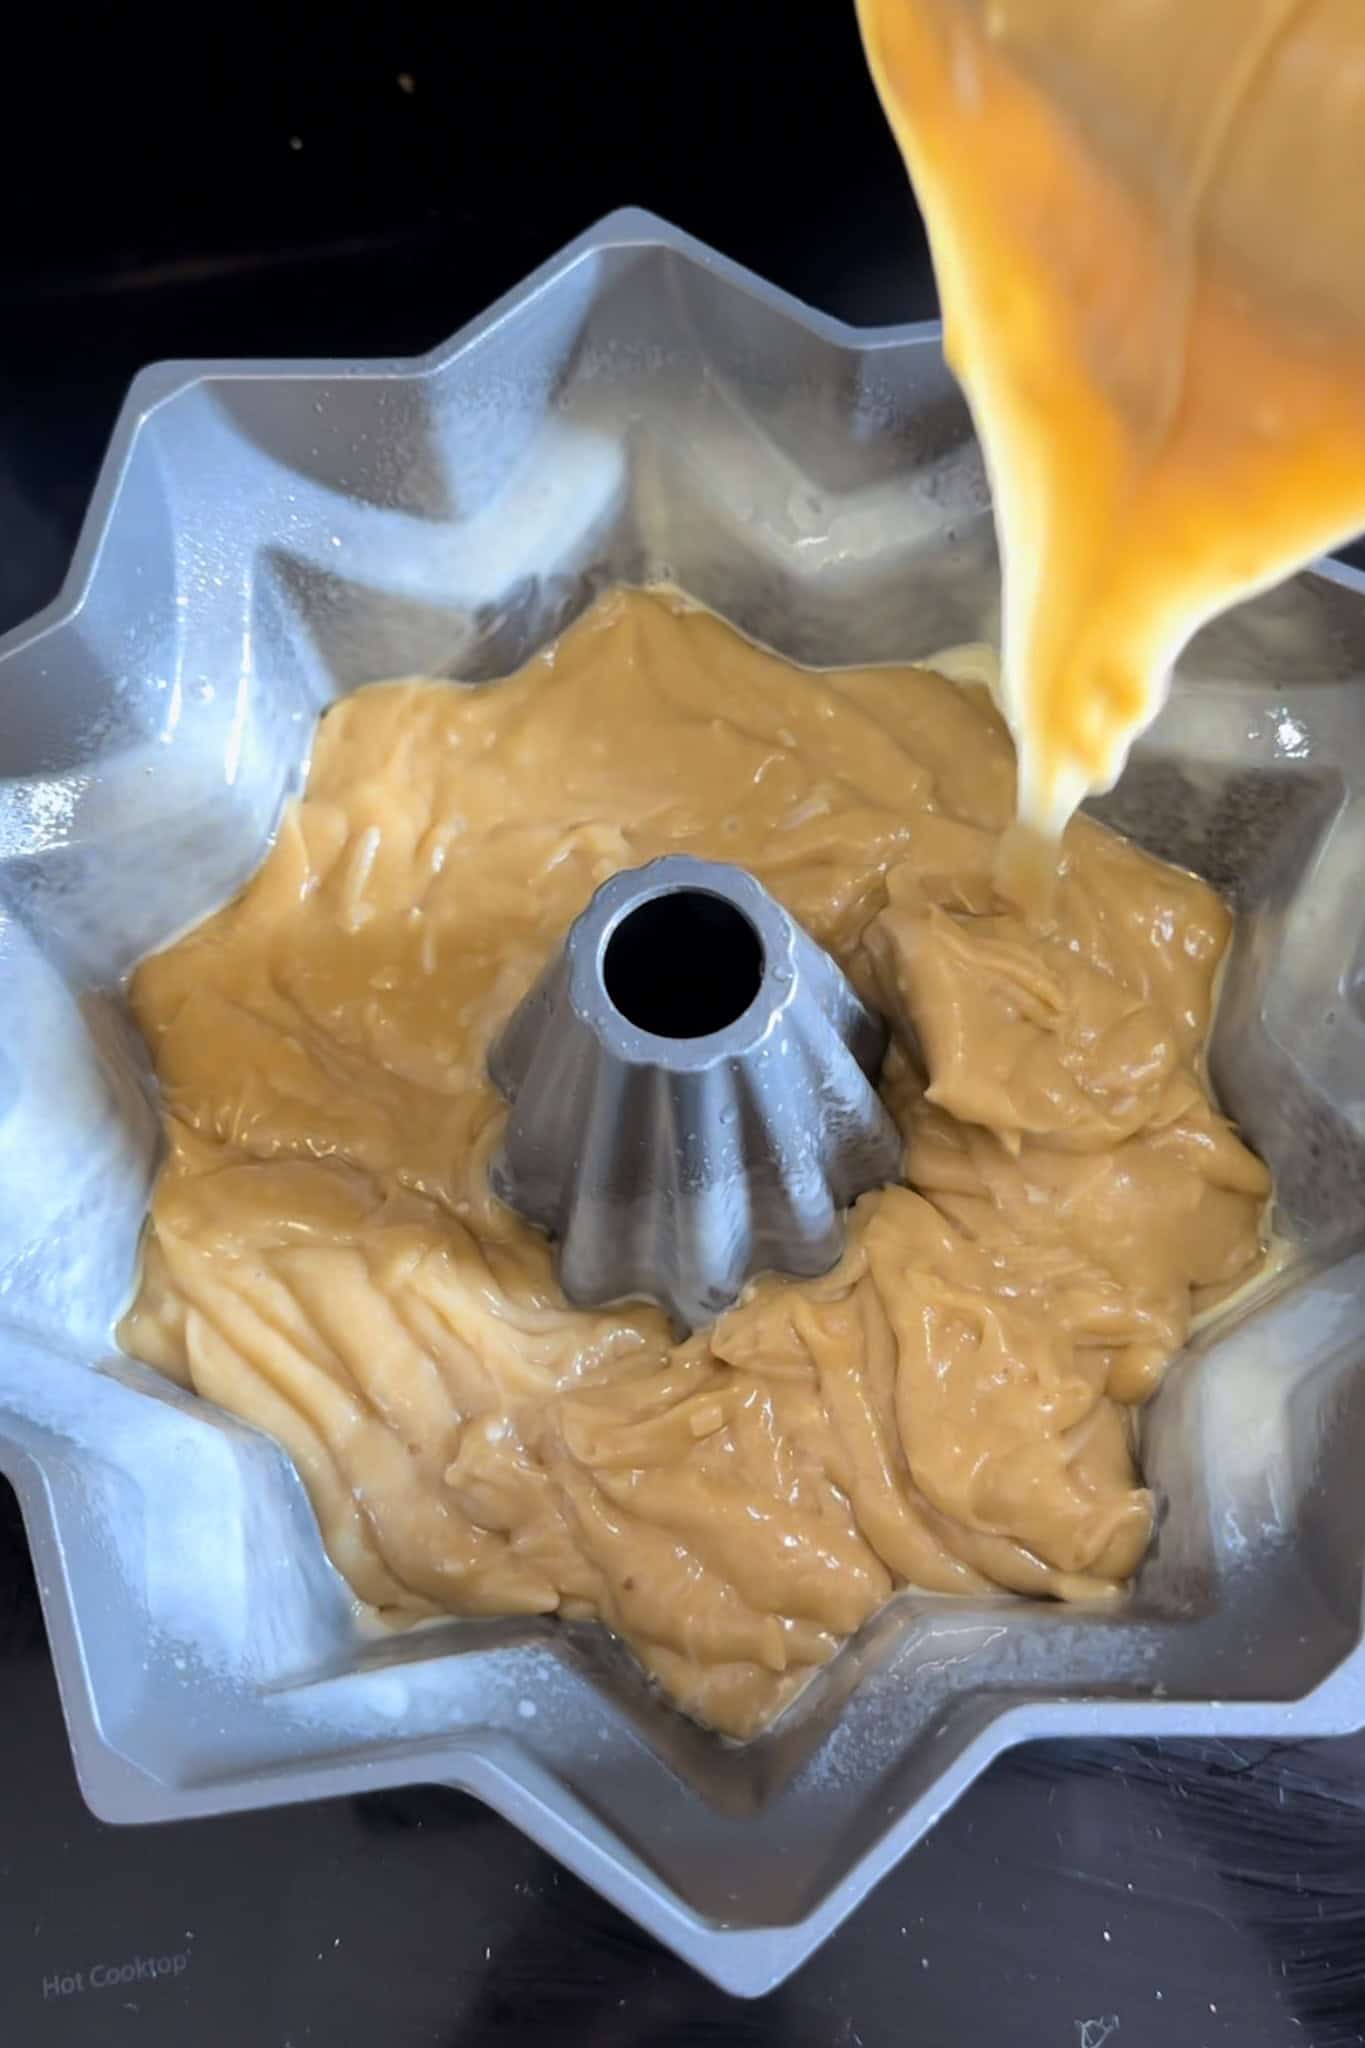
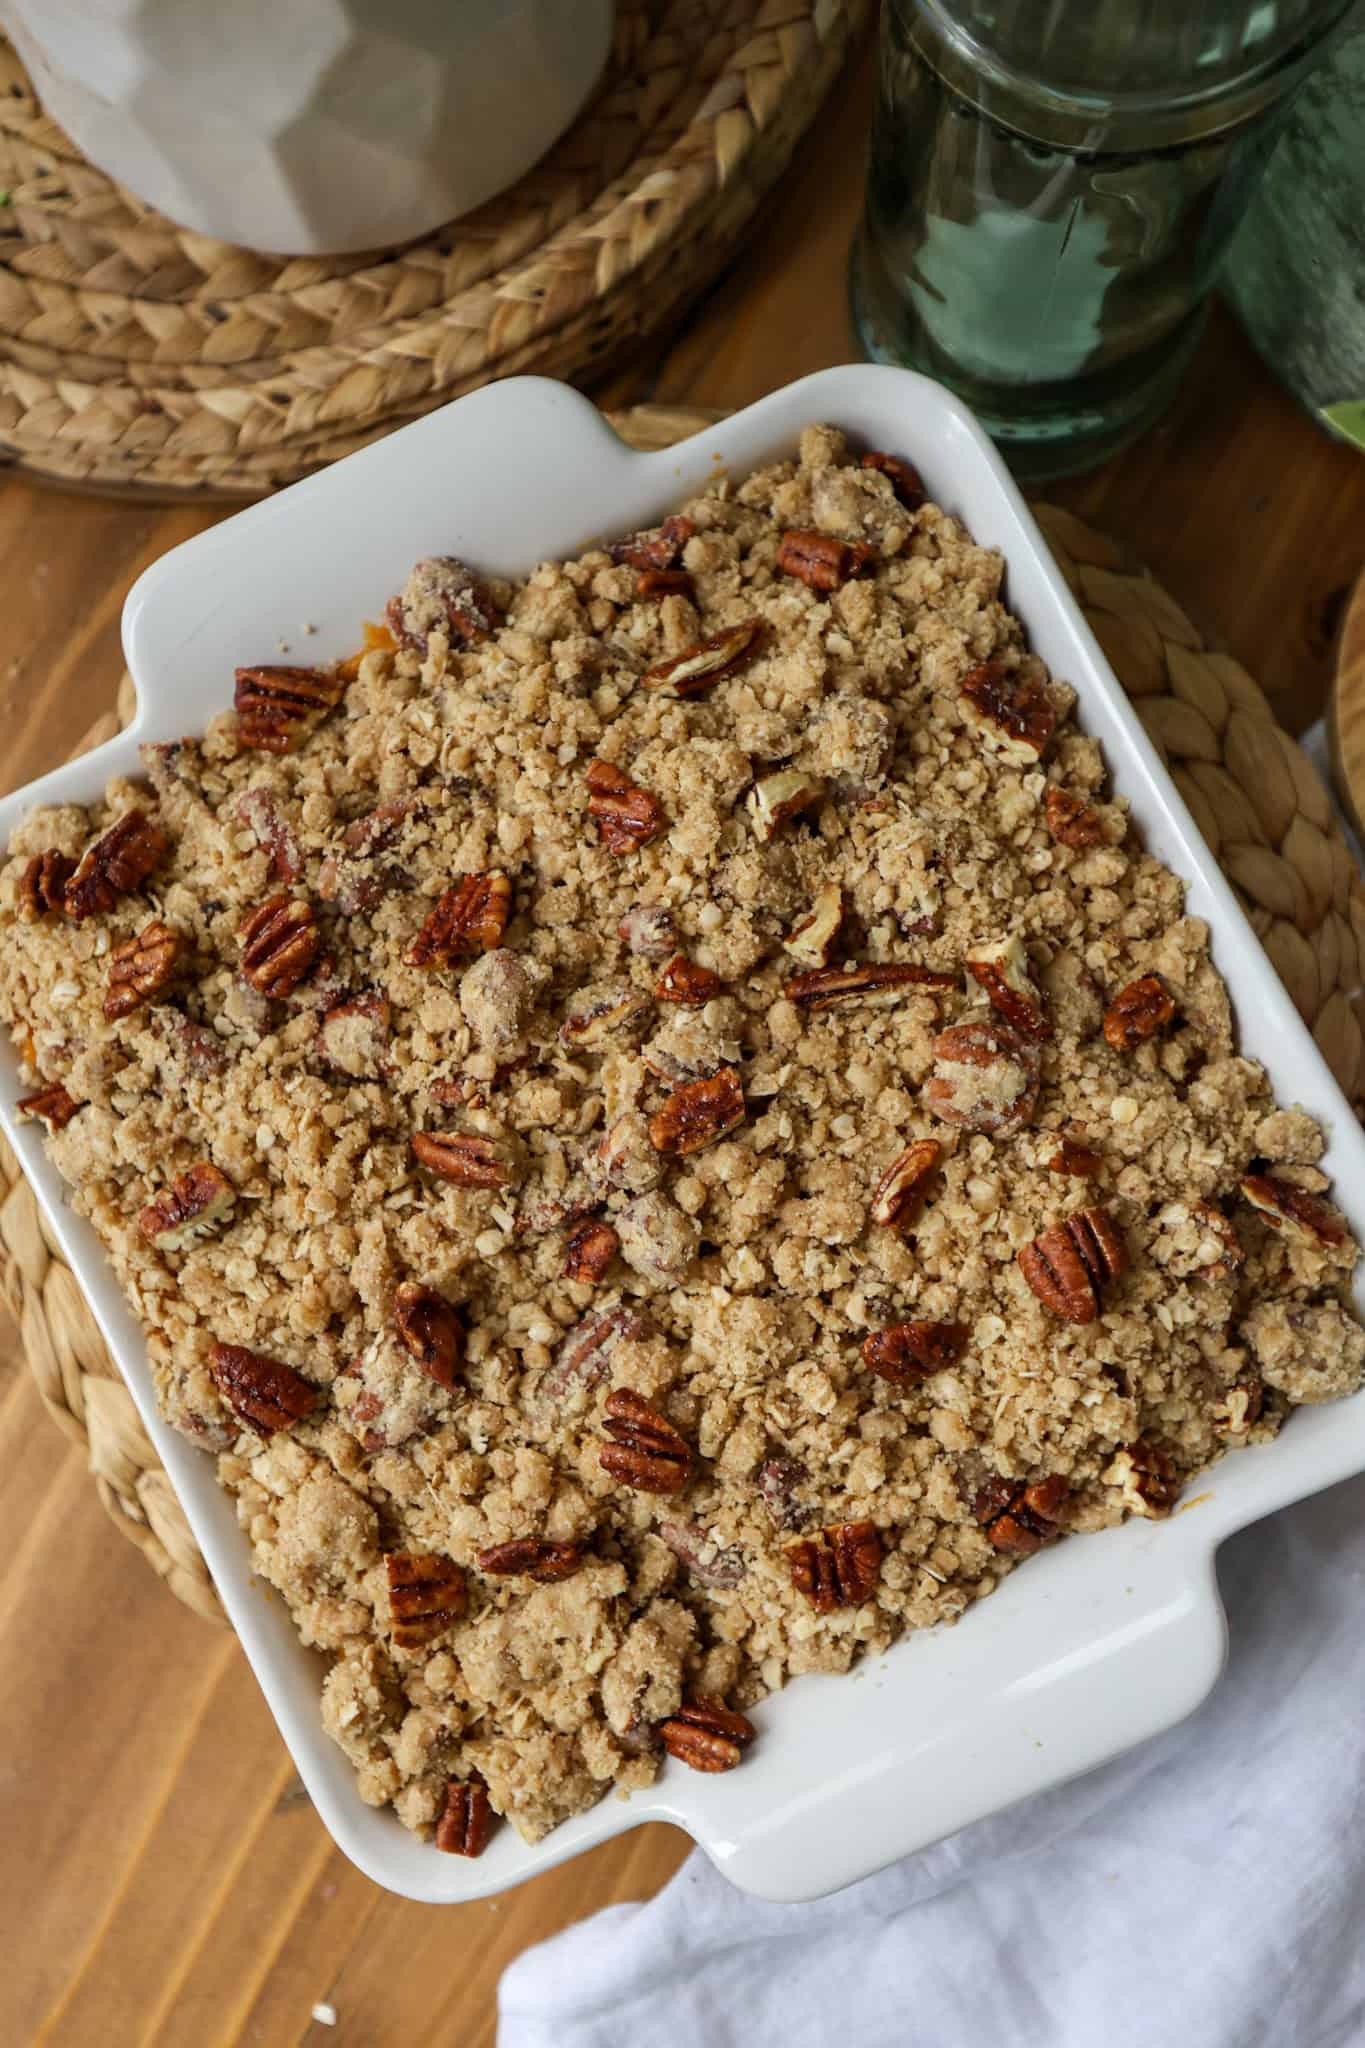
4. Preheat the oven to 350 degrees. Butter or grease a 9x9 inch baking dish and transfer the sweet potato mixture to the dish.

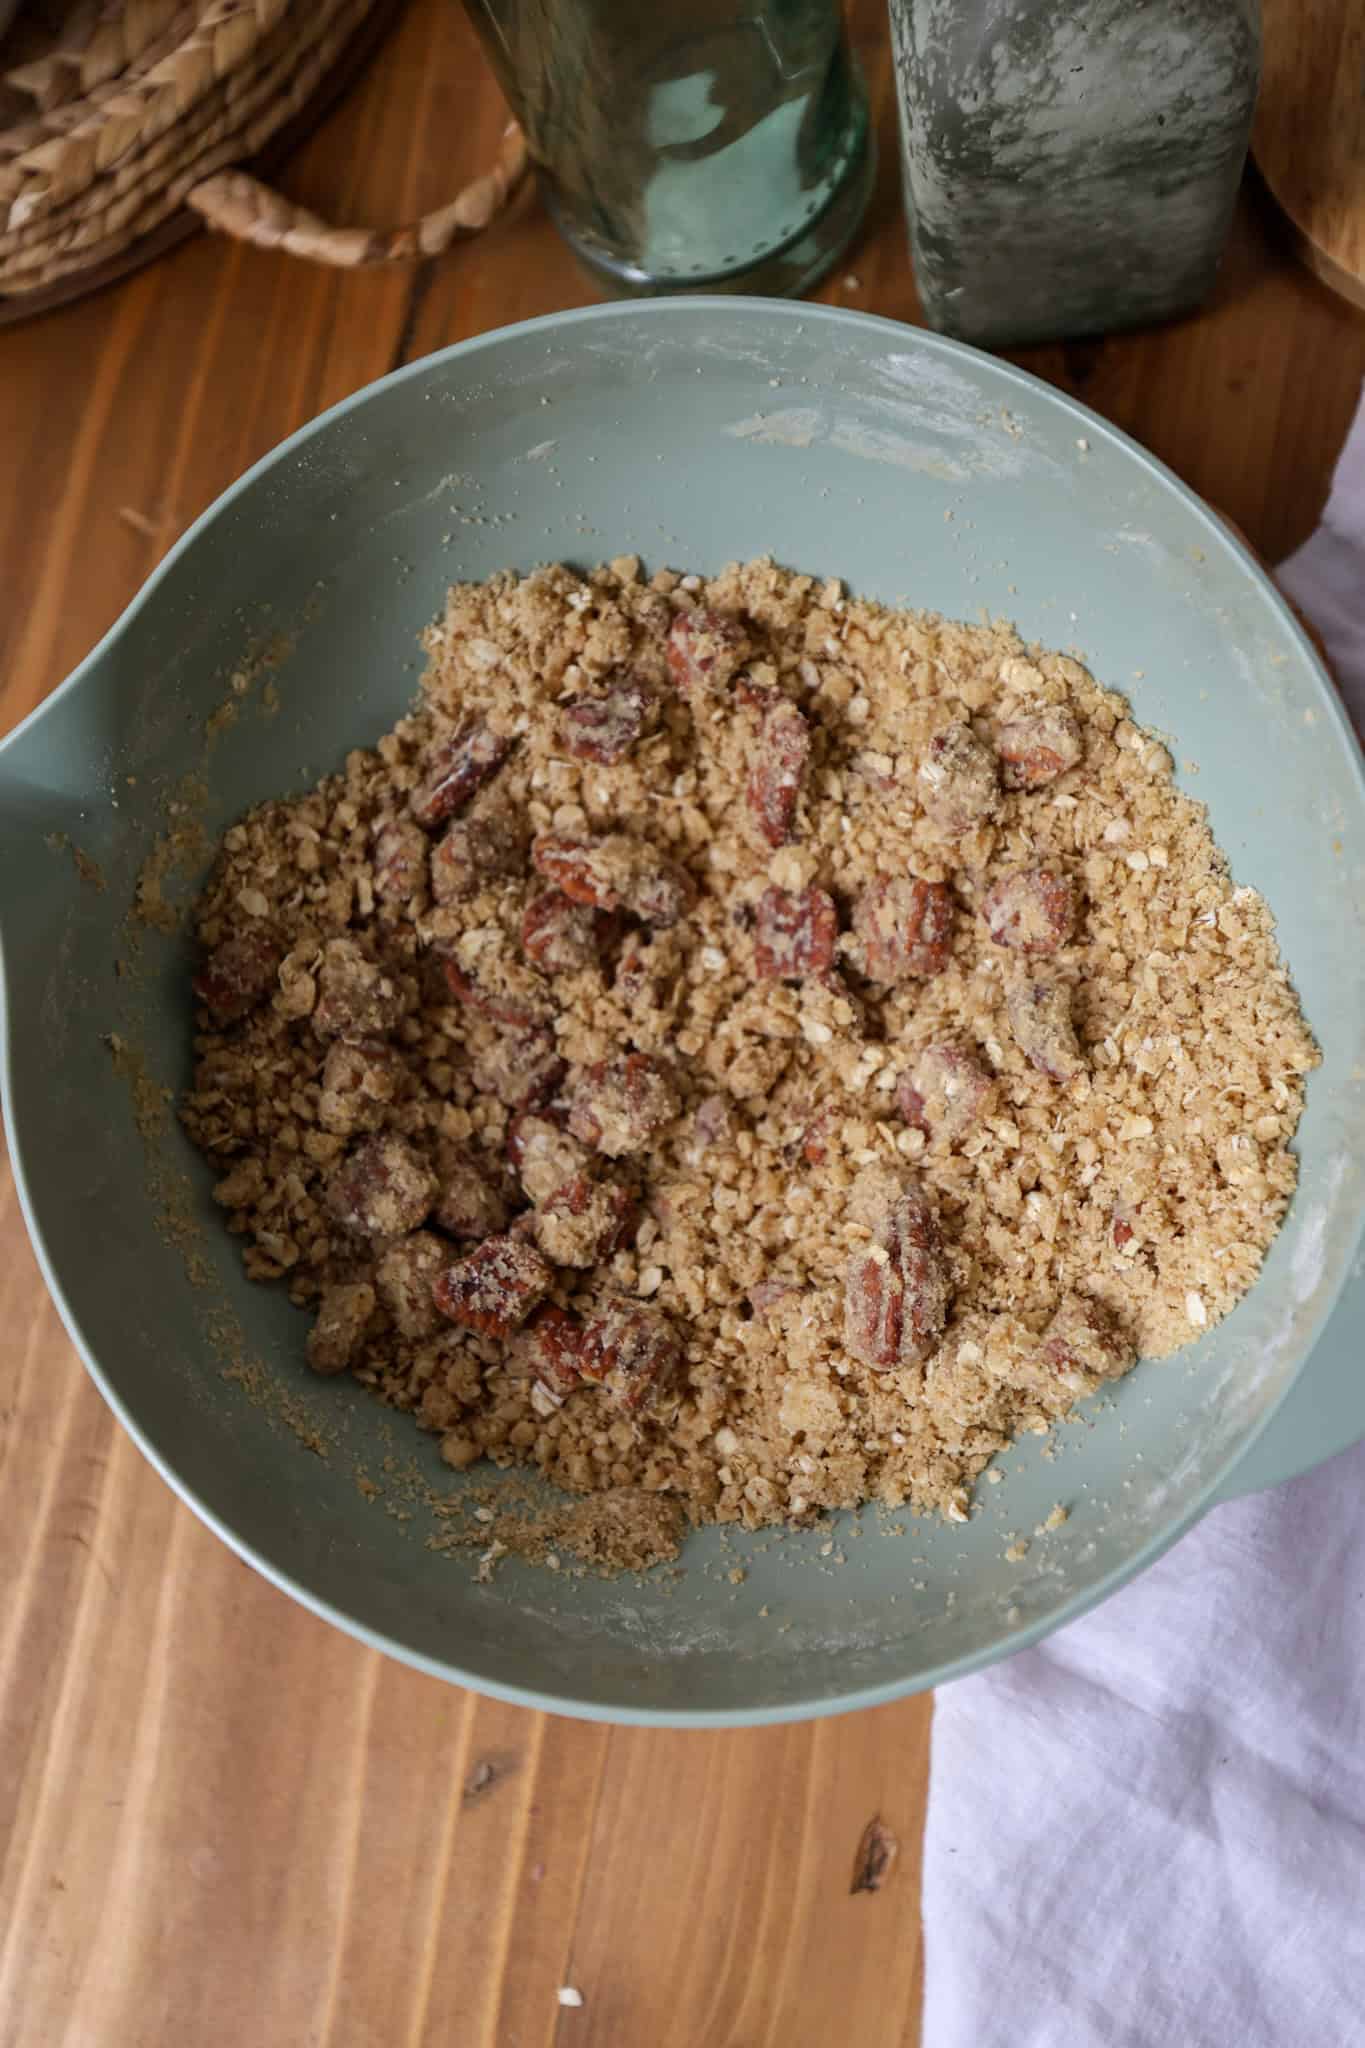
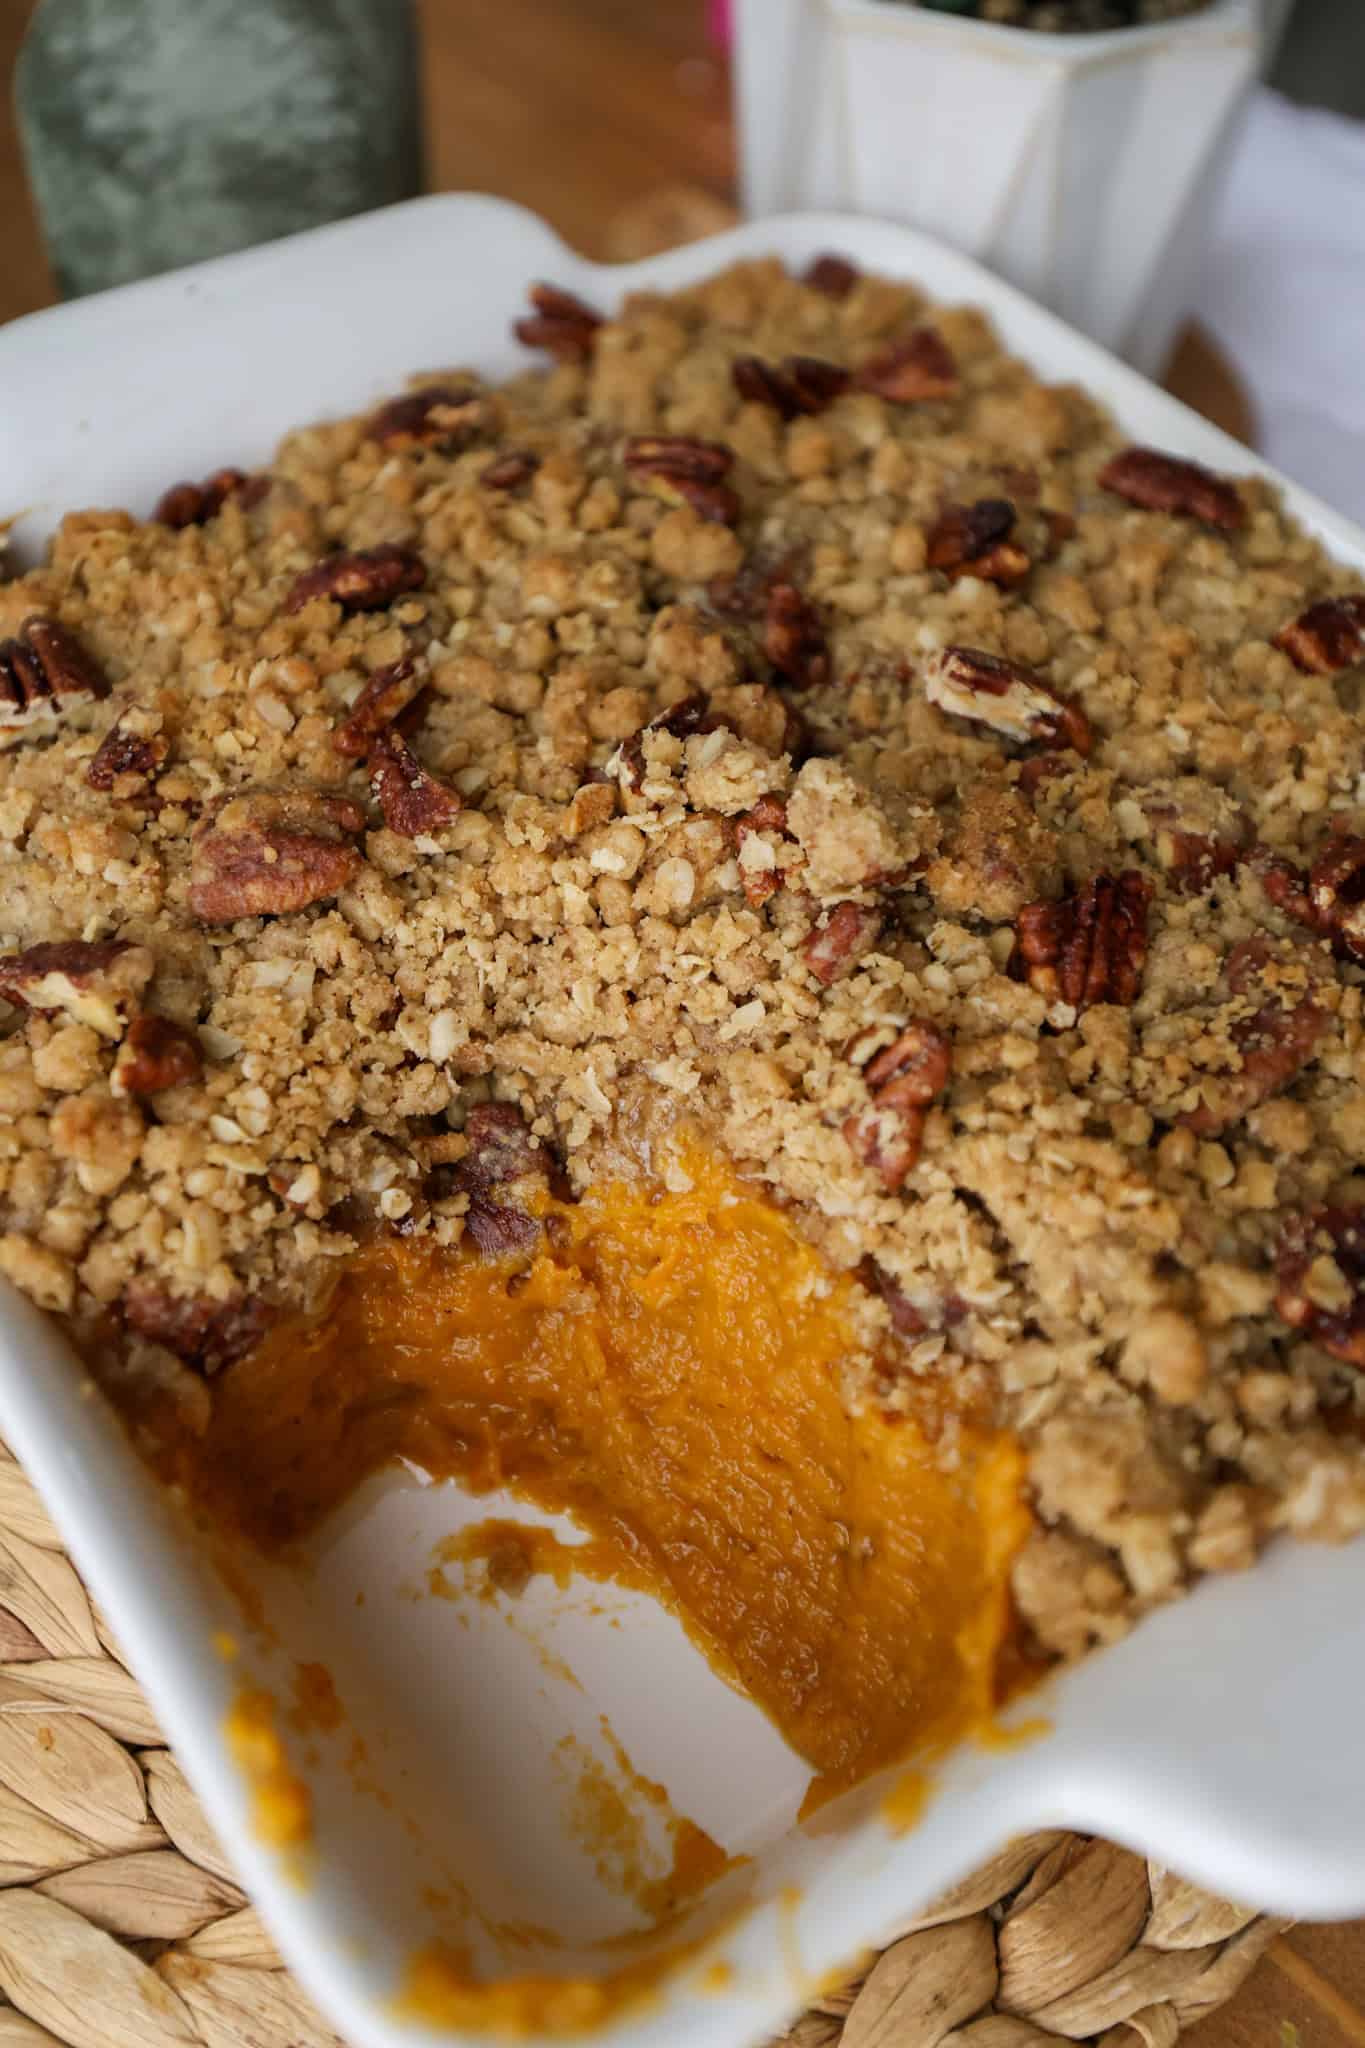
5. For the topping, in a medium bowl, combine all topping ingredients: flour, brown sugar, melted butter, salt, pecans, oats and cinnamon. Sprinkle evenly over the sweet potato mixture.
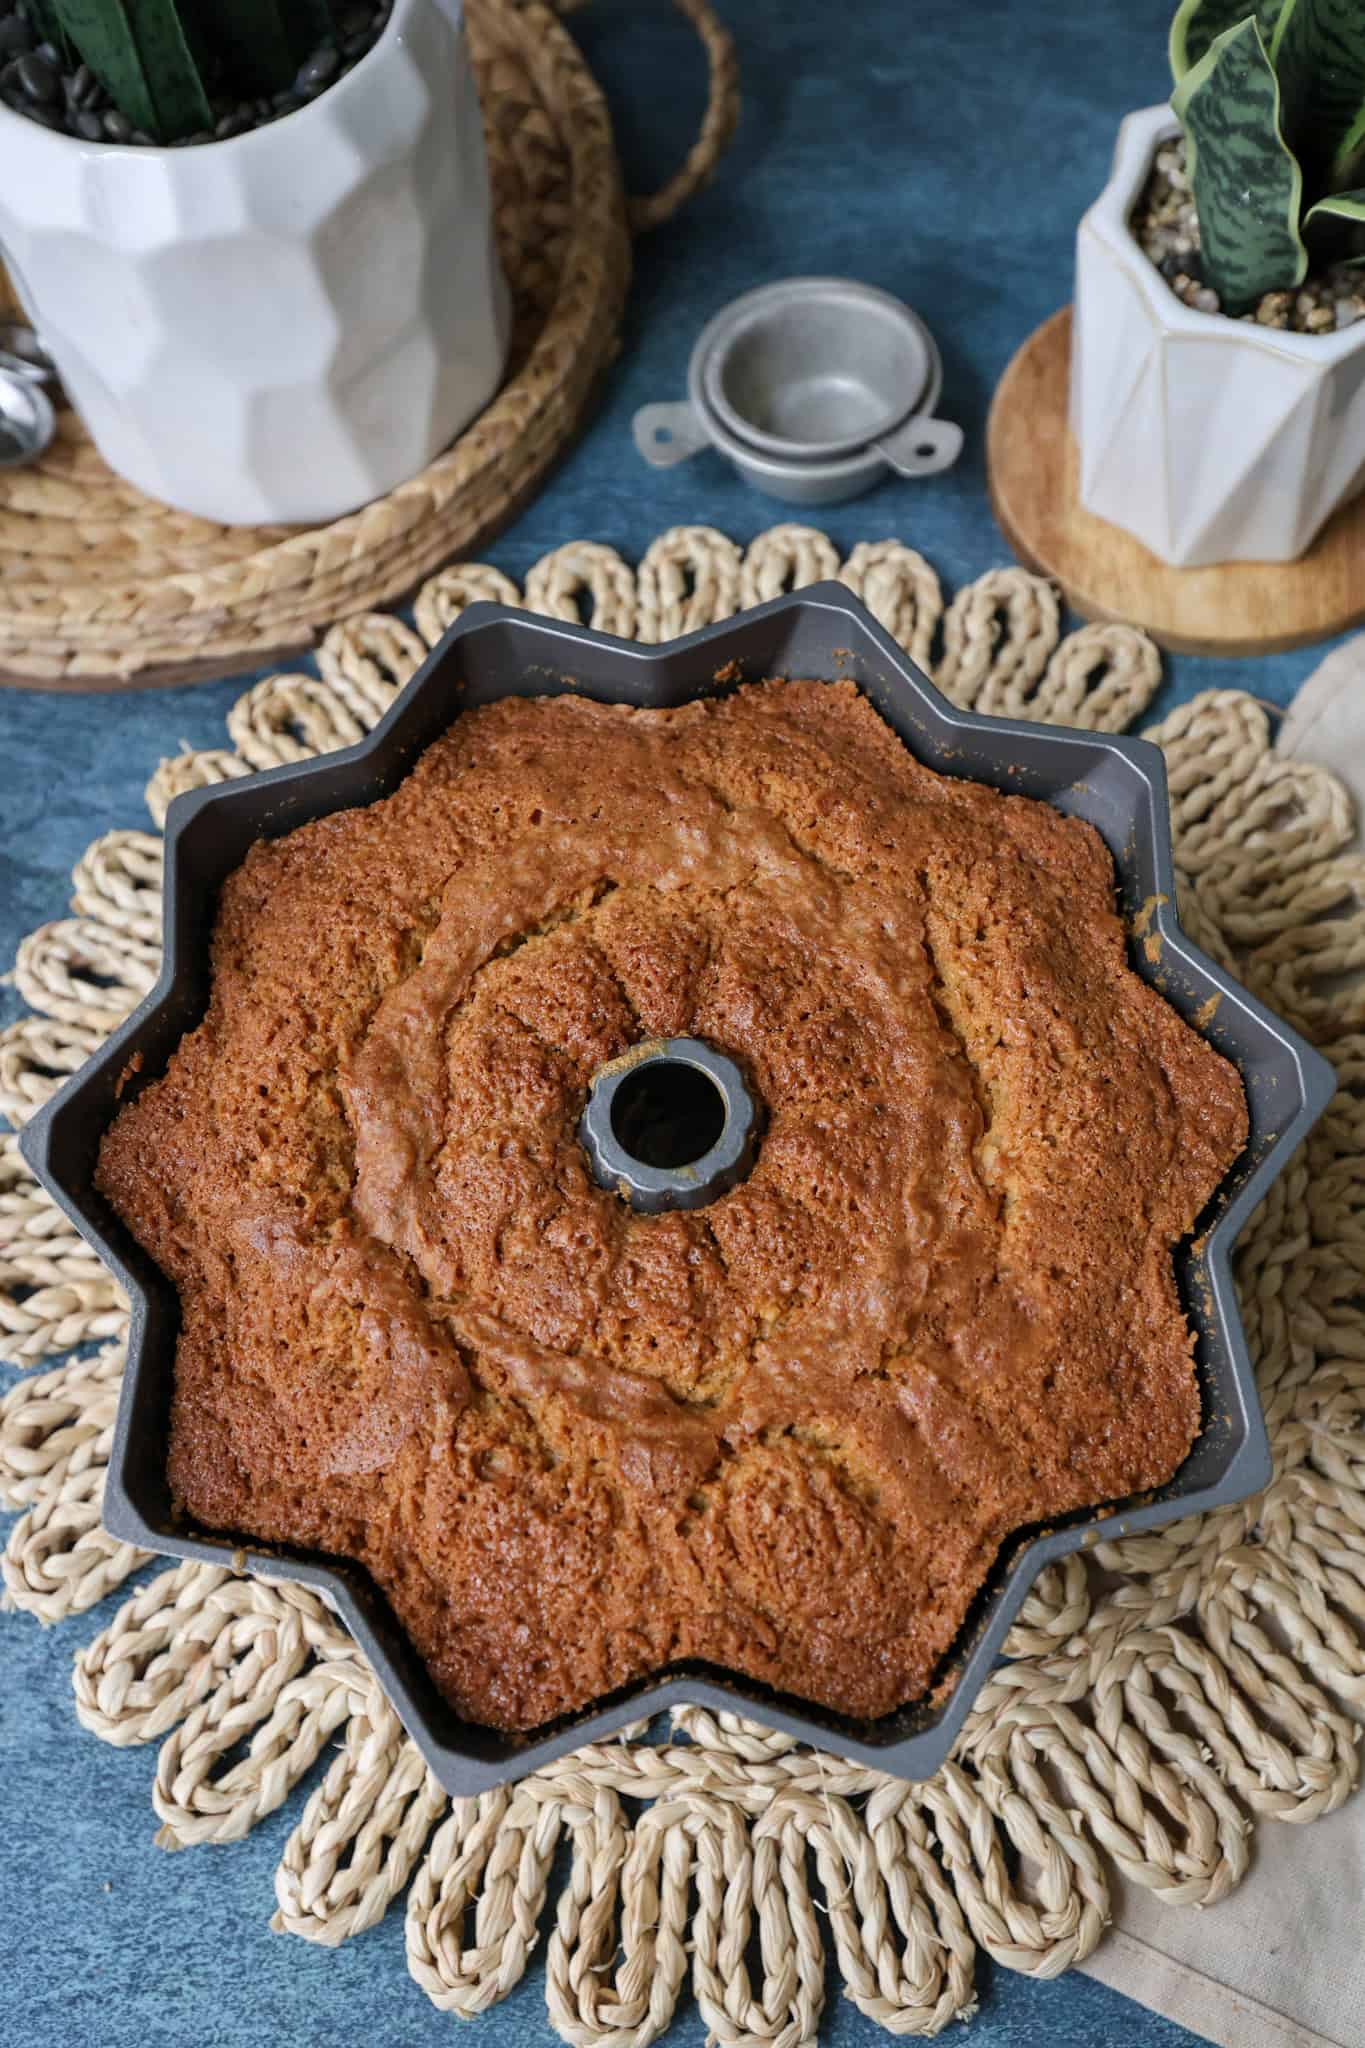
6. Bake for 20 minutes covered with aluminum foil. Uncover and bake for another 10 minutes at 350 degrees, until set in the middle and golden on top.
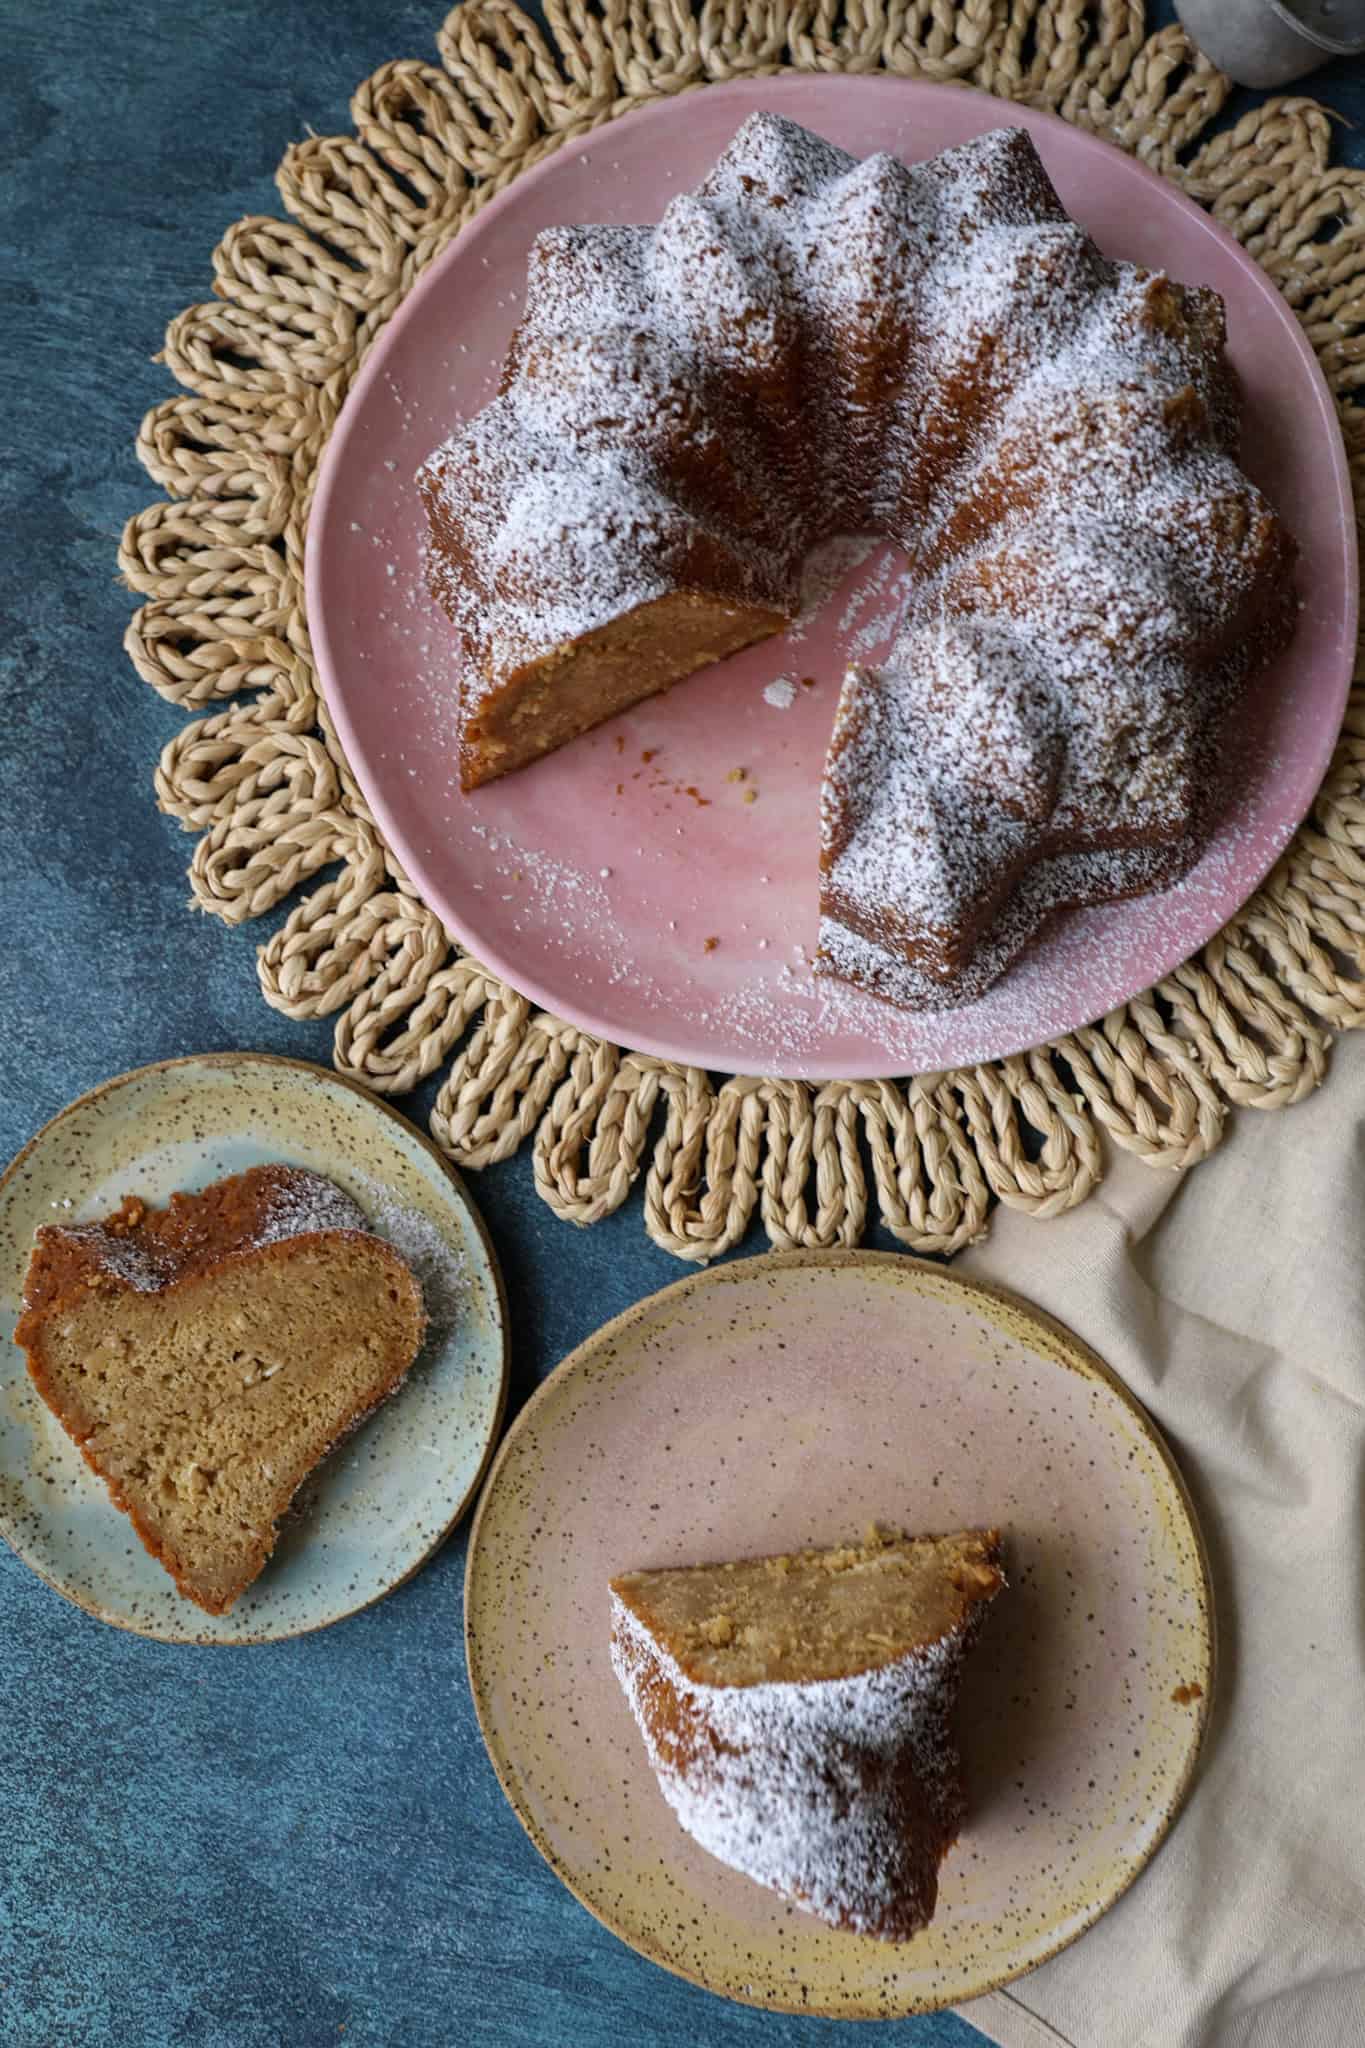
7. Serve warm.
Variations and substitutions for this sweet potato casserole oatmeal streusel
Sweet Potato Base Variations:
- Healthier Version: Use coconut milk or almond milk instead of heavy cream for a dairy-free option. Substitute honey or maple syrup for brown sugar to reduce refined sugar.
Topping Variations:
- Nut-Free: Replace pecans with sunflower seeds or pumpkin seeds for a similar crunchy texture without the nuts.
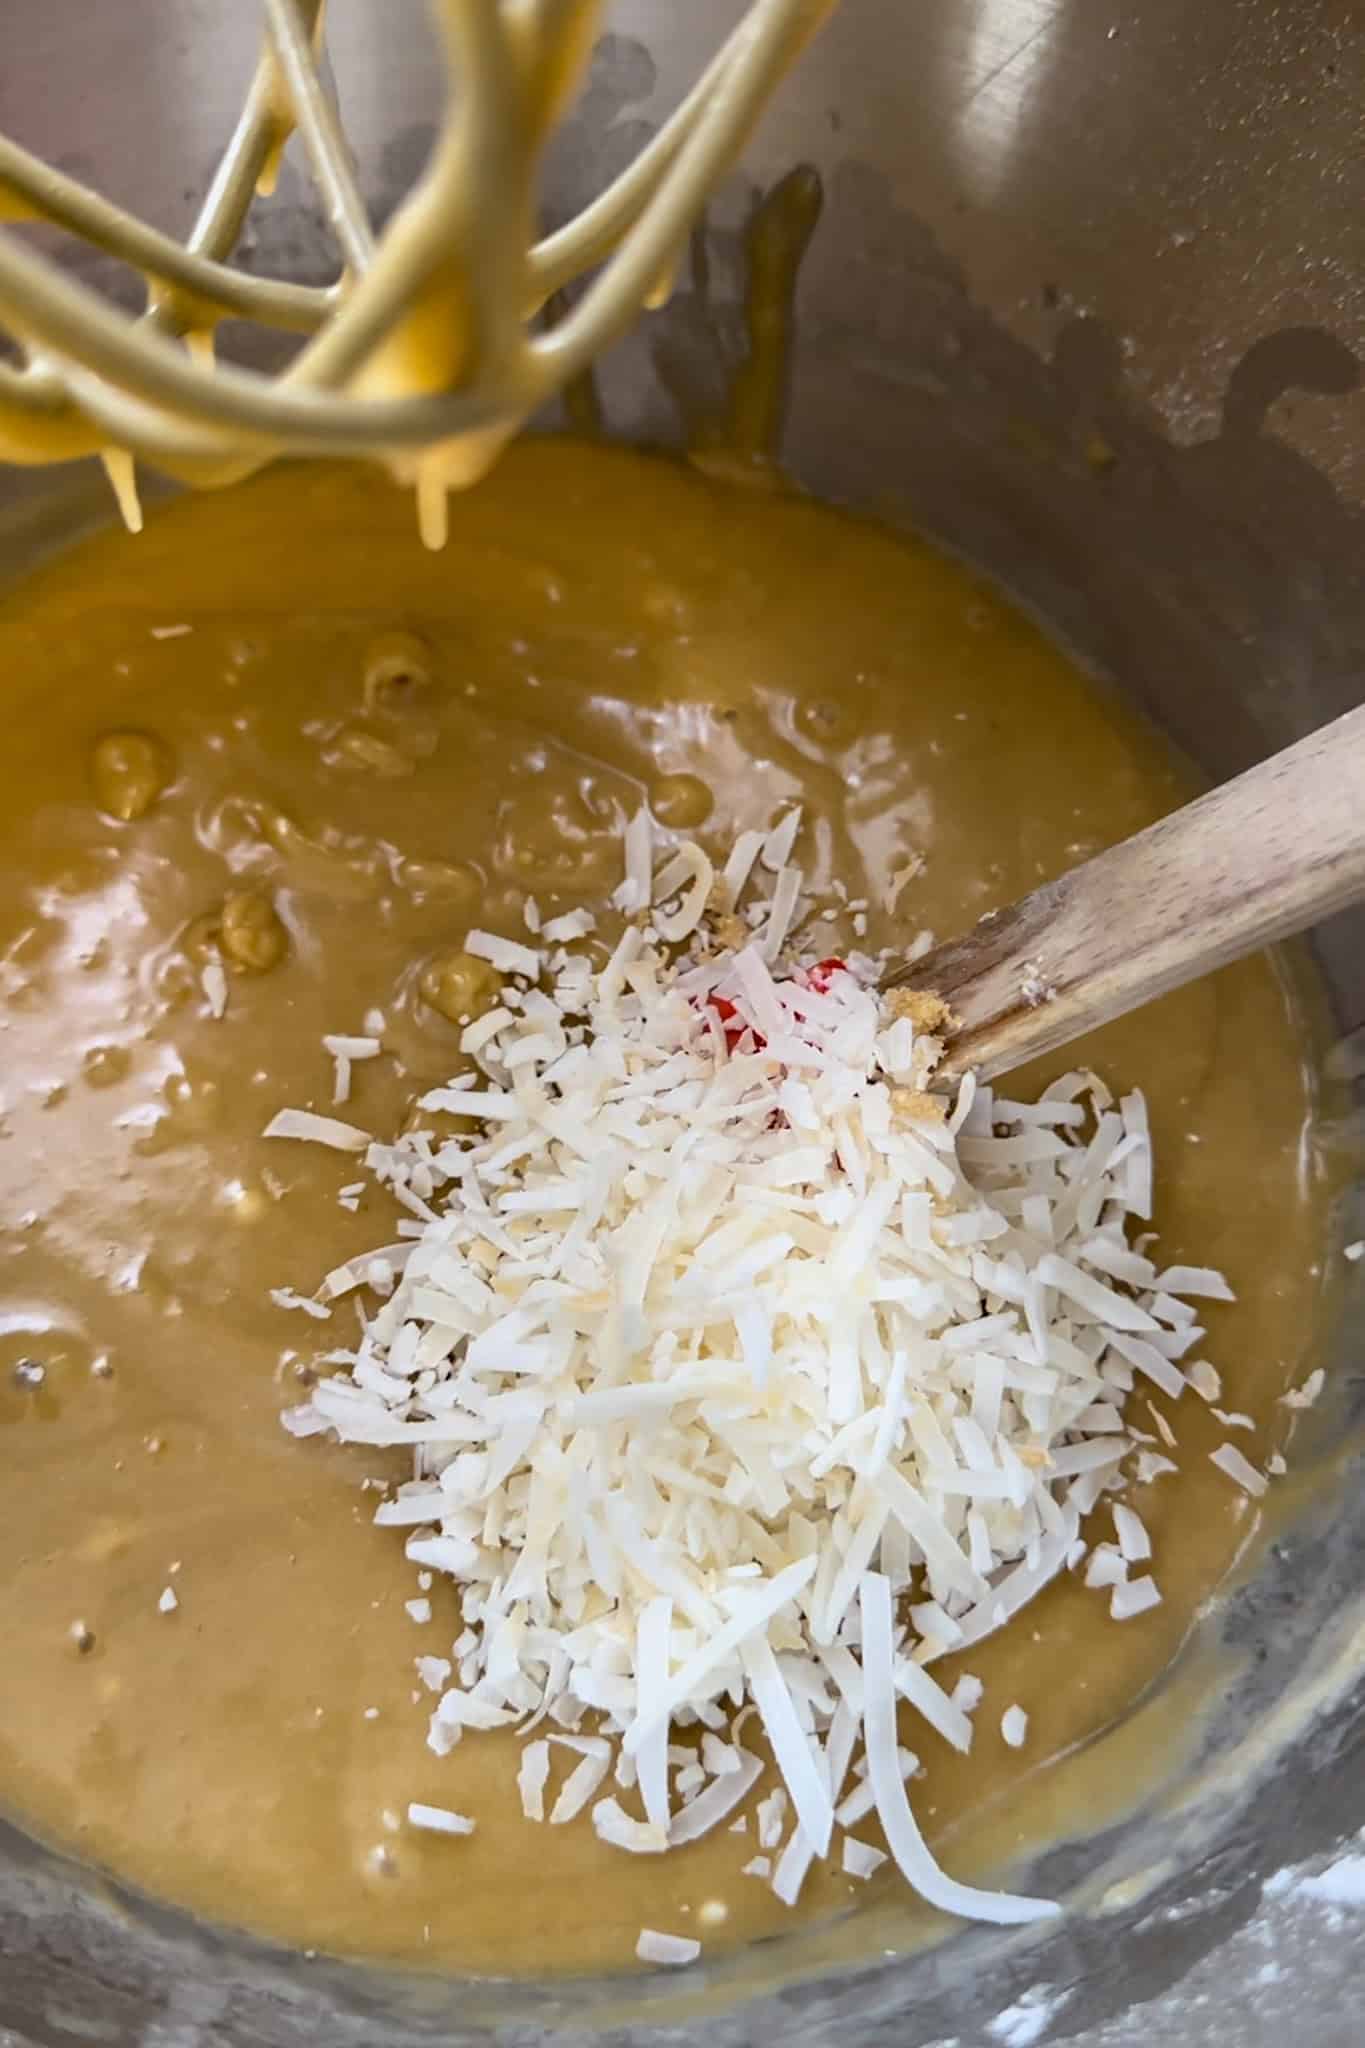
- Coconut Topping: Swap pecans for shredded coconut for a tropical twist.
- Gluten-Free Streusel: Use gluten-free oats and replace flour with almond flour or a gluten-free flour blend to make the dish gluten-free.
- Marshmallow Topping: Add mini marshmallows on top of the streusel, or replace the streusel altogether for a traditional sweet potato casserole with marshmallow topping.
Flavor Substitutions:
- Spices: Experiment with spices like cinnamon, nutmeg, allspice, or ginger to deepen the flavor profile.
- Add Citrus: Add a splash of orange juice or zest to the sweet potatoes for a bright, citrusy flavor.
- Vanilla or Maple: Mix in a teaspoon of vanilla extract or maple syrup for extra sweetness and richness.
Sweetener Substitutions:
Maple Syrup: Use maple syrup instead of brown sugar for a more natural, rich sweetness.
Lower Sugar: Reduce the amount of brown sugar or use natural sweeteners like honey, agave, or stevia to cut down on refined sugar.
FAQ's for making the best sweet potato casserole
1. Can I make sweet potato casserole ahead of time?
Yes! You can prepare the casserole up to 2 days in advance. Assemble the casserole (without baking), cover tightly, and refrigerate. Add the streusel topping just before baking.
2. Can I freeze sweet potato casserole?
Yes, you can freeze it. Assemble the casserole without the streusel topping, then wrap it tightly and freeze for up to 2 months. When ready to bake, thaw in the refrigerator, add the streusel, and bake as directed.
3. Can I use canned sweet potatoes?
Yes, you can substitute canned sweet potatoes for fresh. Be sure to drain them well, and reduce the added sugar slightly, as canned sweet potatoes tend to be sweeter.
4. Can I make this casserole gluten-free?
Absolutely! Use gluten-free oats and substitute the flour in the streusel with almond flour or a gluten-free flour blend.
5. How do I prevent my streusel from getting soggy?
To ensure a crunchy topping, bake the casserole uncovered, or bake the streusel separately for a few minutes before adding it on top of the casserole.
6. What can I substitute for pecans in the streusel?
You can use walnuts, almonds, or hazelnuts, or for a nut-free version, try sunflower or pumpkin seeds for a similar crunch.
7. Can I make this casserole dairy-free?
Yes! Substitute the butter with dairy-free margarine or coconut oil, and use a non-dairy milk like almond milk or coconut milk in the sweet potato base.
8. How do I know when the casserole is done?
The casserole is done when the sweet potatoes are heated through and the streusel topping is golden brown and crisp, usually after baking for 25-30 minutes at 350°F.
9. Can I add marshmallows to this recipe?
Yes, for a more traditional sweet potato casserole, you can add mini marshmallows on top of the streusel during the last 5 minutes of baking.
Storage Instructions for this sweet potato casserole without marshmallows
Refrigerator Storage:
- Allow the casserole to cool completely after baking.
- Cover tightly with plastic wrap or aluminum foil, or transfer leftovers to an airtight container.
- Store in the refrigerator for up to 4 days.
Freezer Storage:
- If you want to freeze the casserole, it’s best to do so before baking.
- Assemble the casserole (without the streusel topping), wrap it tightly in plastic wrap, then in aluminum foil, or place it in an airtight, freezer-safe container.
- Freeze for up to 2 months.
- When ready to bake, thaw the casserole in the refrigerator overnight, add the pecan oatmeal streusel topping, and bake as directed.
Reheating:
- For individual portions, reheat in the microwave for 1-2 minutes until warmed through.
- For reheating the entire casserole, place it in a 350°F oven, covered with foil, and bake for 20-30 minutes until heated through. Remove the foil during the last 5 minutes if you want to crisp up the streusel topping again.
Check out these other side dishes


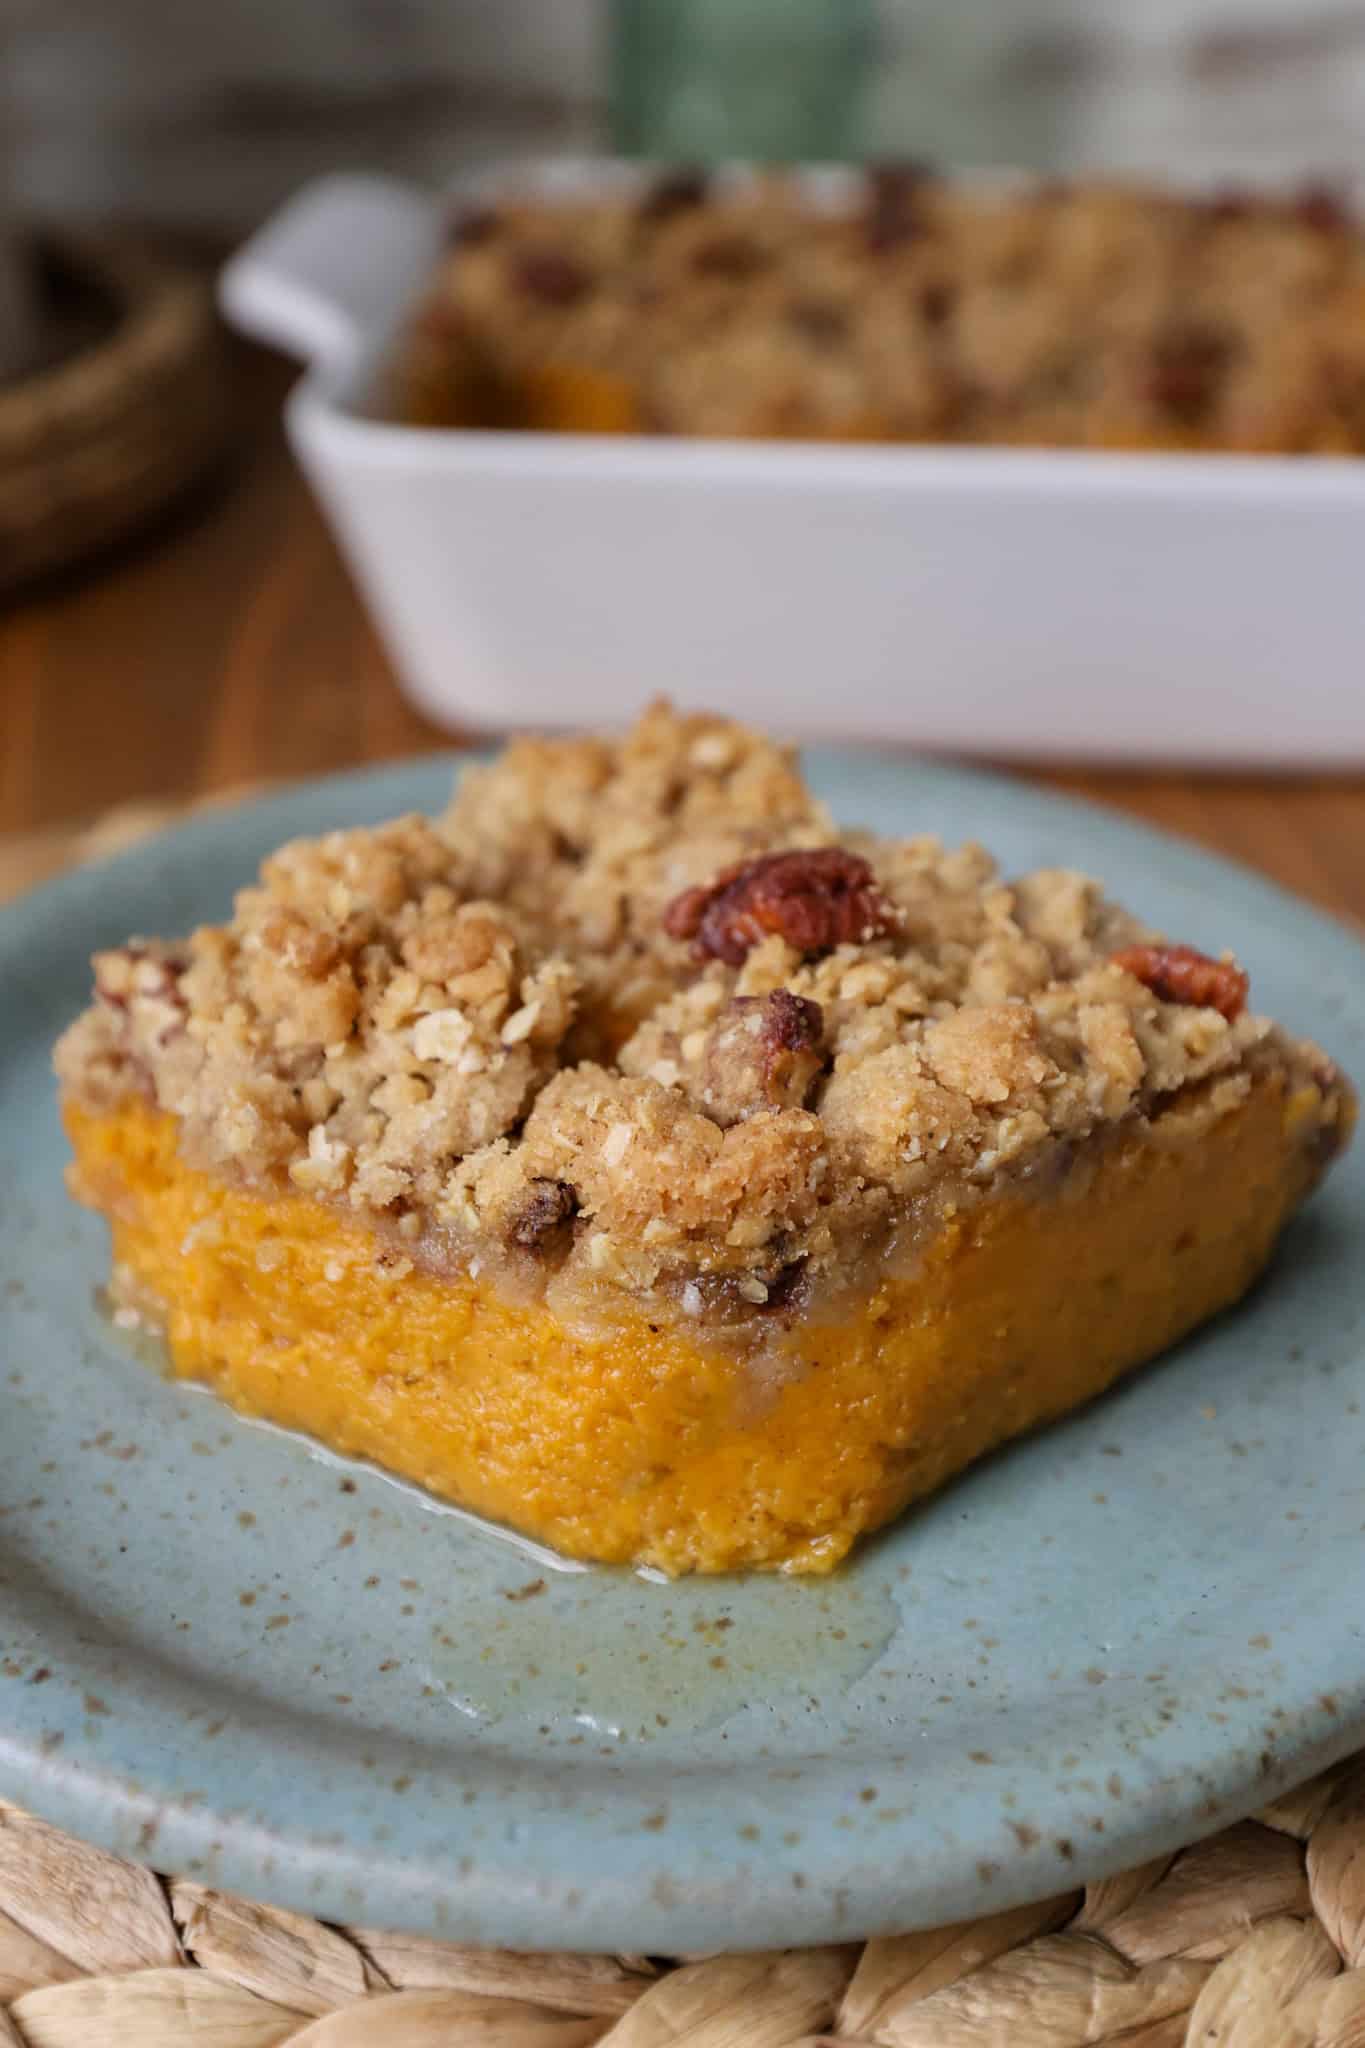
Sweet Potato Casserole with Pecan Streusel
Ingredients
- 3 pounds sweet potatoes about 3-4 large sweet potatoes
- 1 cinnamon stick
- ⅓ cup butter softened
- ½ cup evaporated milk
- ½ cup brown sugar
- 1 teaspoon vanilla extract
- ¼ teaspoon ground nutmeg
- ½ teaspoon ground cinnamon
- ½ teaspoon salt
- 2 eggs
Streusel Topping
- ½ cup all-purpose flour
- ⅓ cup brown sugar packed
- ⅓ cup old fashioned oats
- ⅓ cup unsalted butter melted
- ¼ teaspoon kosher salt
- ¾ cup chopped toasted pecans
- ½ teaspoon cinnamon
Instructions
- Peel sweet potatoes. Dice into 2-inch cubes. Add the sweet potatoes and cinnamon stick to a large pot of salted water. Bring to a boil over high heat, then lower the heat to a simmer and cook until the potatoes are tender about 15-20 minutes.
- Drain sweet potatoes well. Using a potato masher, mash well so that there are no big chunks.
- Add softened butter, evaporated milk, brown sugar, vanilla, ground cinnamon, nutmeg and salt. Mix by hand or for a smoother texture, with a hand mixer or food processor. Stir until completely combined then mix in eggs until incorporated.
- Preheat the oven to 350 degrees. Butter or grease a 9x9 inch baking dish and transfer the sweet potato mixture to the dish.
- For the topping, in a medium bowl, combine all topping ingredients: flour, brown sugar, melted butter, salt, pecans, oats and cinnamon. Sprinkle evenly over the sweet potato mixture.
- Bake for 20 minutes covered with aluminum foil. Uncover and bake for another 10 minutes at 350 degrees, until set in the middle and golden on top.
Video
Notes
Variations and substitutions for this sweet potato casserole oatmeal streusel
Sweet Potato Base Variations:
- Healthier Version: Use coconut milk or almond milk instead of heavy cream for a dairy-free option. Substitute honey or maple syrup for brown sugar to reduce refined sugar.
Topping Variations:
- Nut-Free: Replace pecans with sunflower seeds or pumpkin seeds for a similar crunchy texture without the nuts.
- Coconut Topping: Swap pecans for shredded coconut for a tropical twist.
- Gluten-Free Streusel: Use gluten-free oats and replace flour with almond flour or a gluten-free flour blend to make the dish gluten-free.
- Marshmallow Topping: Add mini marshmallows on top of the streusel, or replace the streusel altogether for a traditional sweet potato casserole with marshmallow topping.
Flavor Substitutions:
- Spices: Experiment with spices like cinnamon, nutmeg, allspice, or ginger to deepen the flavor profile.
- Add Citrus: Add a splash of orange juice or zest to the sweet potatoes for a bright, citrusy flavor.
- Vanilla or Maple: Mix in a teaspoon of vanilla extract or maple syrup for extra sweetness and richness.
Sweetener Substitutions:
Maple Syrup: Use maple syrup instead of brown sugar for a more natural, rich sweetness. Lower Sugar: Reduce the amount of brown sugar or use natural sweeteners like honey, agave, or stevia to cut down on refined sugar.Storage Instructions for this sweet potato casserole without marshmallows
Refrigerator Storage:- Allow the casserole to cool completely after baking.
- Cover tightly with plastic wrap or aluminum foil, or transfer leftovers to an airtight container.
- Store in the refrigerator for up to 4 days.
- If you want to freeze the casserole, it’s best to do so before baking.
- Assemble the casserole (without the streusel topping), wrap it tightly in plastic wrap, then in aluminum foil, or place it in an airtight, freezer-safe container.
- Freeze for up to 2 months.
- When ready to bake, thaw the casserole in the refrigerator overnight, add the pecan oatmeal streusel topping, and bake as directed.
- For individual portions, reheat in the microwave for 1-2 minutes until warmed through.
- For reheating the entire casserole, place it in a 350°F oven, covered with foil, and bake for 20-30 minutes until heated through. Remove the foil during the last 5 minutes if you want to crisp up the streusel topping again.